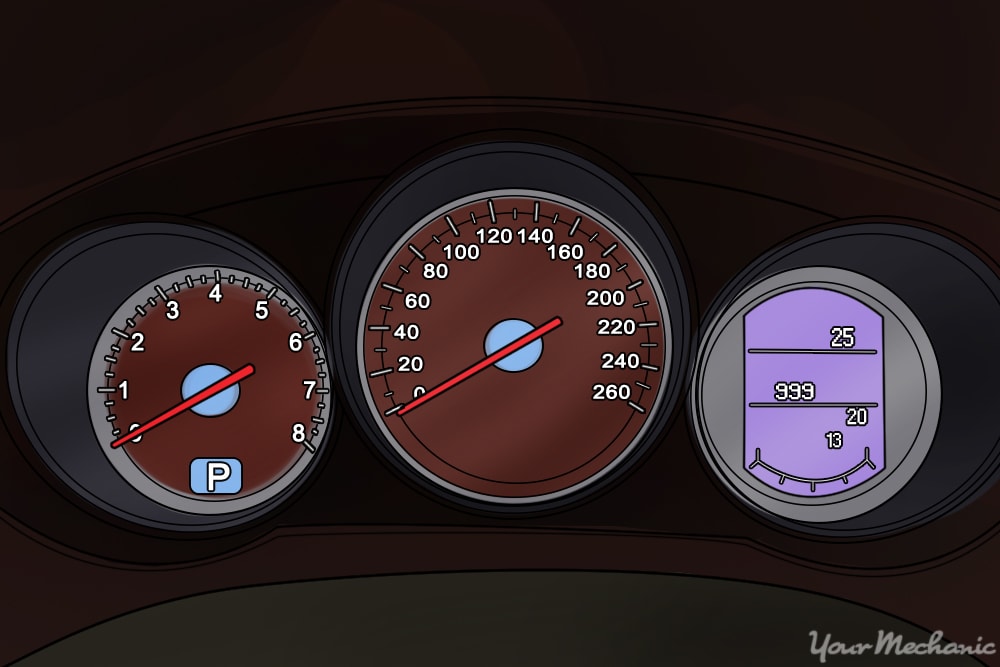
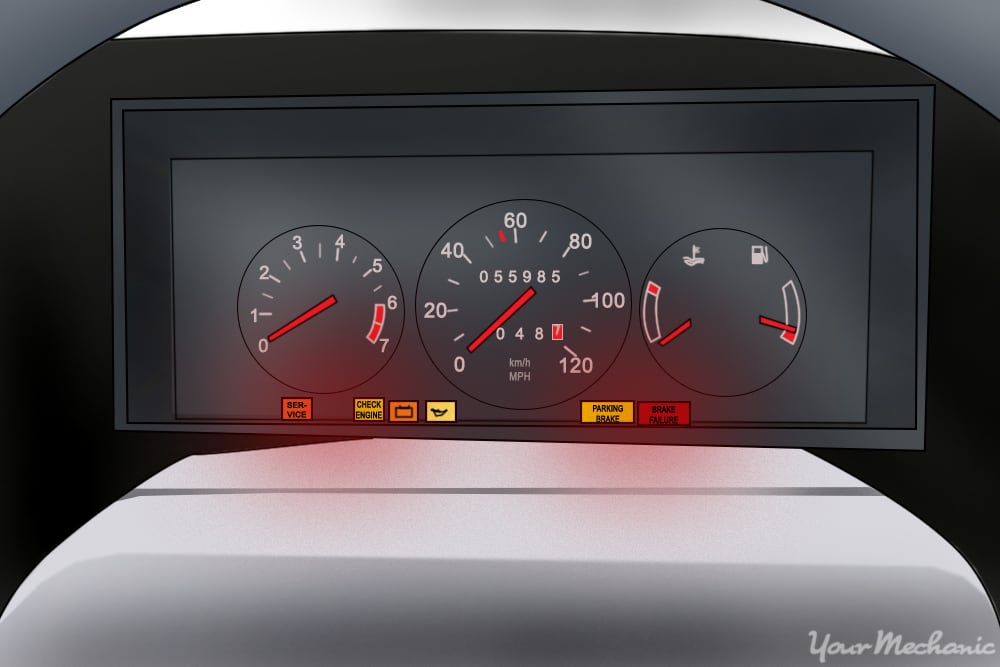
So, you just filled up with gas, and the gauge only reads ¾ or you ran out of gas when your gauge said you still had a quarter tank. Maybe you noticed that your temperature gauge seems to be reading high, even when the car has only just been started. When the instrument cluster is dim or erratic, and especially when it is completely inoperable, there may be a common cause: a failing instrument voltage regulator.
On older cars, the system voltage could vary and would normally be as low as 12 volts right after startup to 14.8 volts when the car is moving down the road. The gauges were the only devices in the car that required precision voltage regulation.
The gauges work by applying a voltage to a variable-resistance sensor. The amount of voltage that can move through the sensor determines the position of the needle on the dial. If the voltage at the gauge is just a little high or a little low, it can give an inaccurate reading. So the designers put a voltage regulator (sometimes called a stabilizer) in the system to control the voltage to the instruments. Look in your workshop manual in the instrument section to determine if your car uses one that can be changed. Chances are, if your car was made after 1998, it has a computerized dashboard and doesn’t use a separate regulator.
Part 1 of 3: Removing the instrument cluster
Materials Needed
- Open end wrenches
- Plastic or wooden wedge
- Rags
- Safety glasses
- Screwdrivers, phillips and straight
- Workshop manual
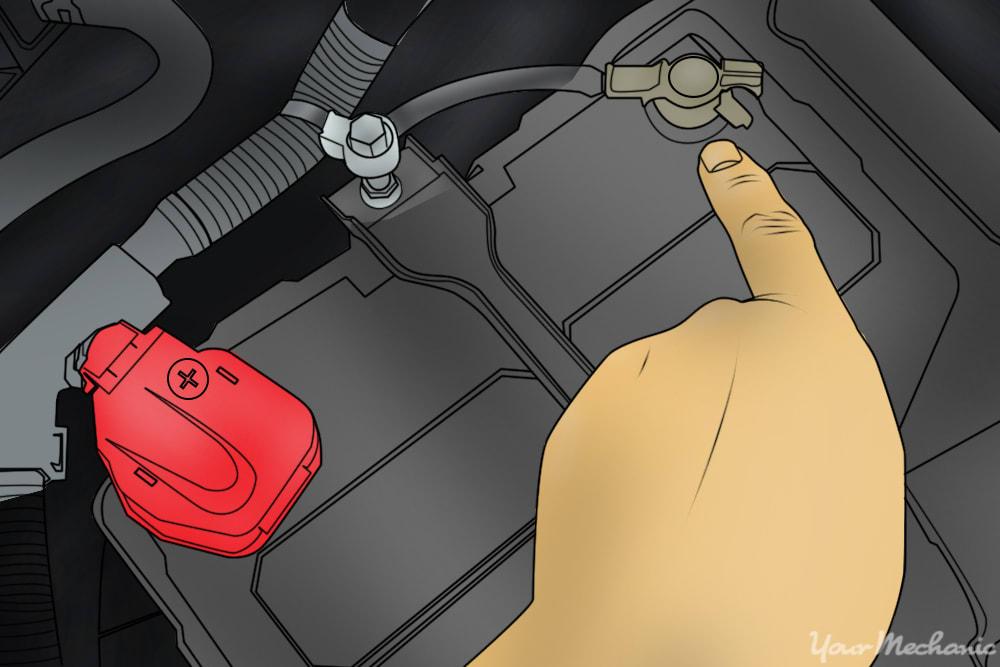
Step 1: Disconnect the battery ground cable. Loosen the battery ground cable clamp (usually a 10-13 mm nut) and disconnect the cable.
This will keep you from making sparks with your tools while you’re fumbling around under the dashboard. If your radio has an anti-theft security code, make sure you know what it is.

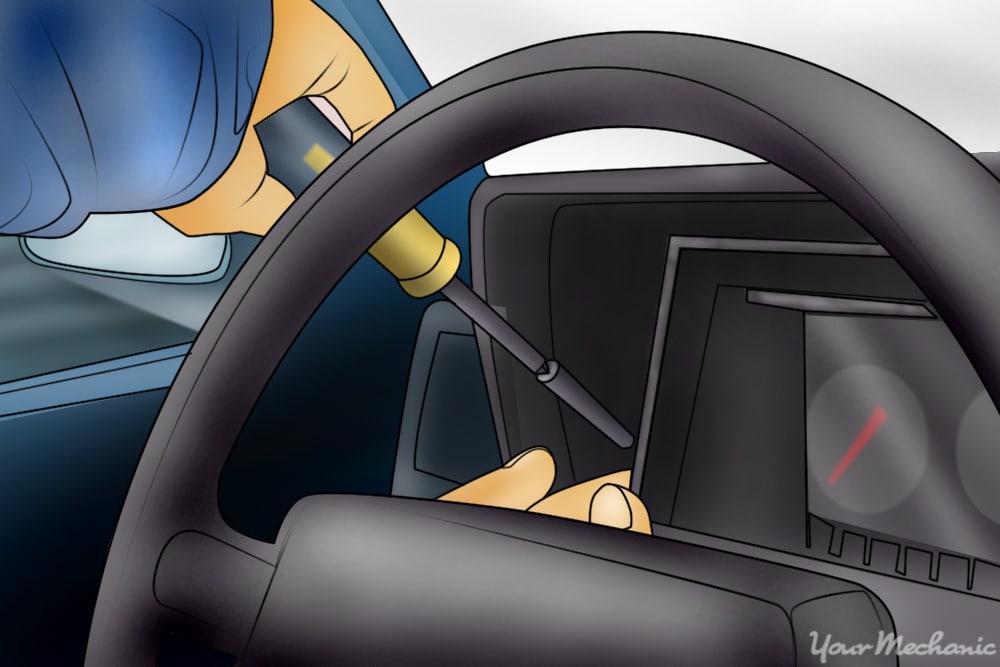
Step 2: Remove instrument panel trim. In most cases, it’s not necessary to remove the steering wheel, though it can be a little awkward working around it.
Most cars have a plastic trim ring of some kind around the instrument cluster. The fasteners may be phillips screws in the trim ring in plain view or are hidden by plastic plugs. Your workshop manual should be helpful in locating them.
In some cases the trim are held on by clips that must be pried loose. If this is the case, your plastic wedge will help work them out without damaging the trim.
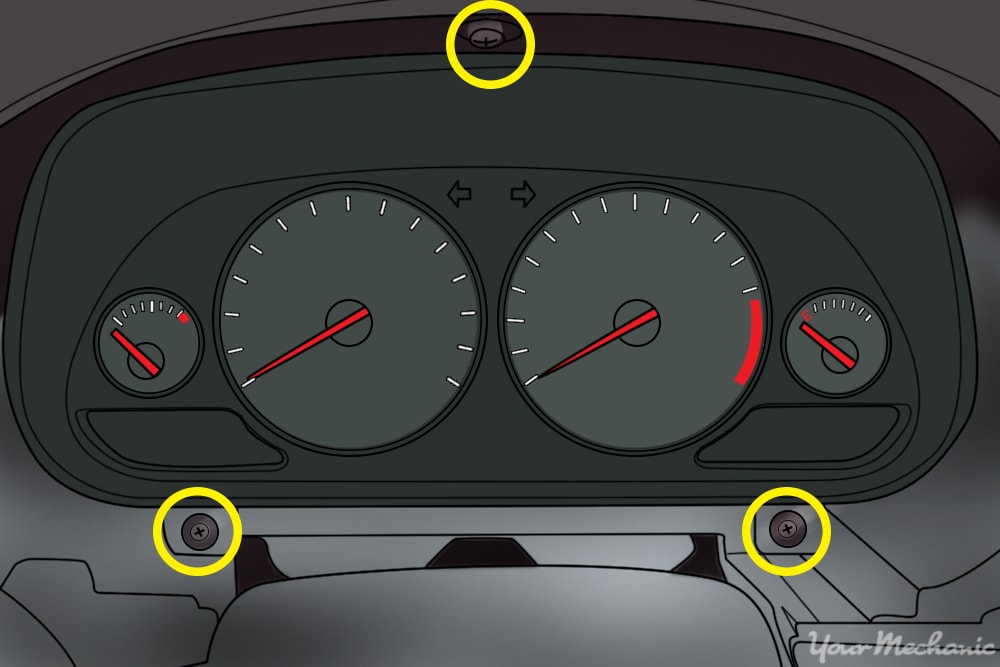
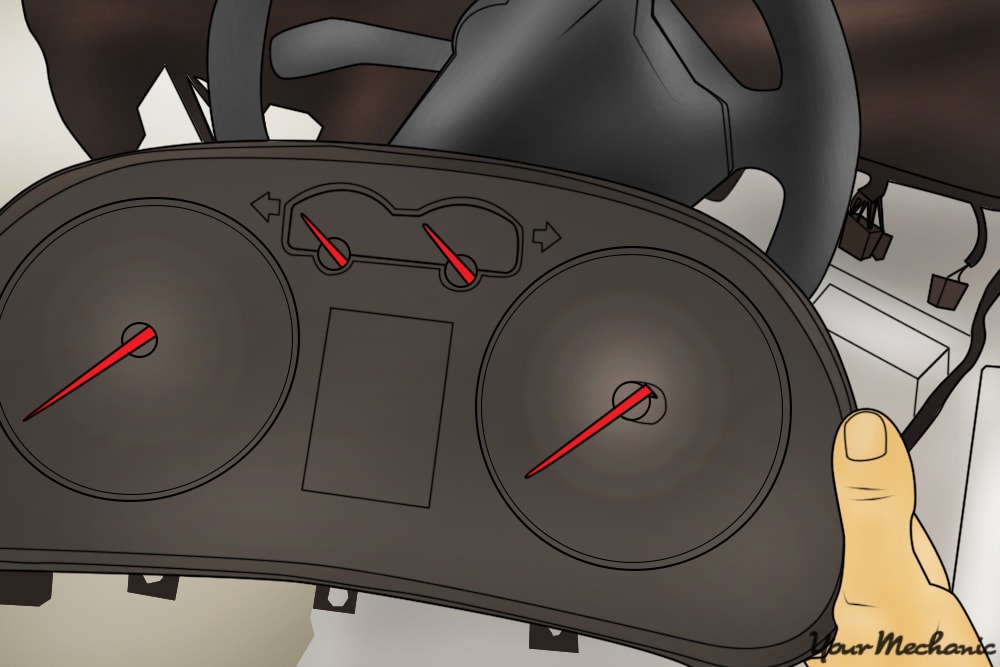
Step 3: Remove the fasteners holding the cluster. Once the trim has been removed, it should be easy to access the fasteners holding the instrument cluster.
Once you do this, the cluster can be pulled toward you out of the dashboard.
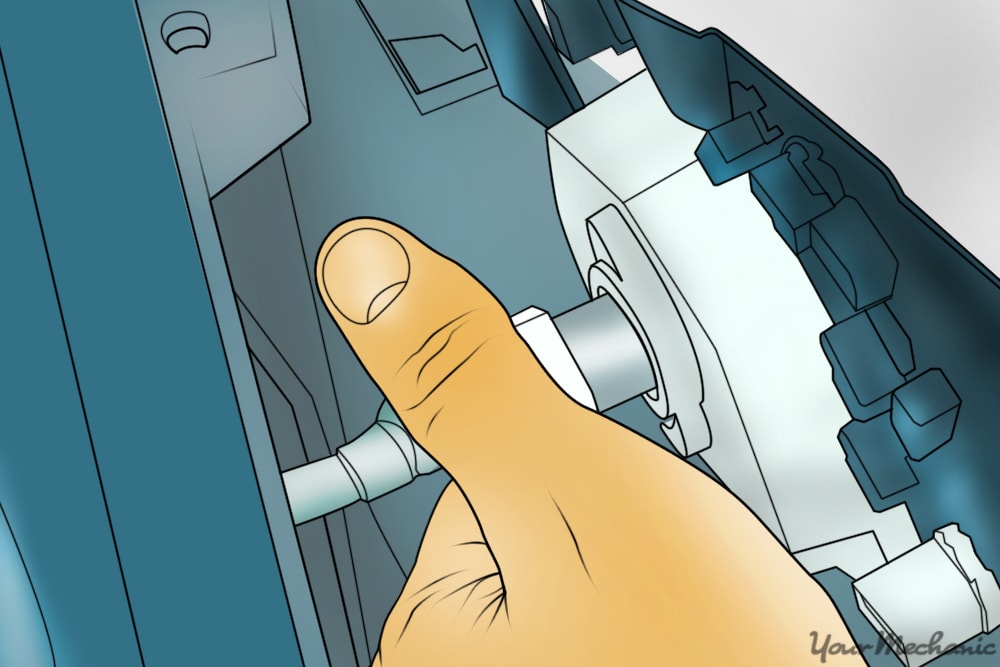
Step 4: Disconnect the speedometer cable and electrical connections. Many cars made since about 1985 don’t have a speedometer cable, so that can make your job that much easier.
Most of the cars that don’t use a speedometer cable don’t use an instrument voltage regulator either, so you’ll probably have to deal with one. It’s rare that there is enough space to see the back of the cluster, so you have to work by feel.
The speedometer cable will usually be a plastic connector that disengages with a ¼ turn counterclockwise twist, except that you’re facing the cluster and the cable is coming into the back, so you have to think backwards when deciding which way to turn it. When you give it a twist in the right direction, it should snap right out.
Once you unhook the cable, there will be more free movement of the cluster and you will be able to shift it around to where you can see the back of it. There will be one or more multi- connectors, probably color coded, and a few individual wires connecting to the panel. It’s a good idea to make notes about these connections as few workshop manuals have a good illustration of this.
Step 5: Remove the instrument cluster. With the speedometer cable and the electrical connections loose, you can get the instrument panel out of the dashboard.
Put rags on the top of the steering column or any other surface that you may bump the cluster into to keep from scratching the clear surface.
Part 2 of 3: Replacing the voltage regulator
Materials Needed
- ¼ drive socket set
- Instrument voltage regulator
- Small phillips or straight screwdrivers
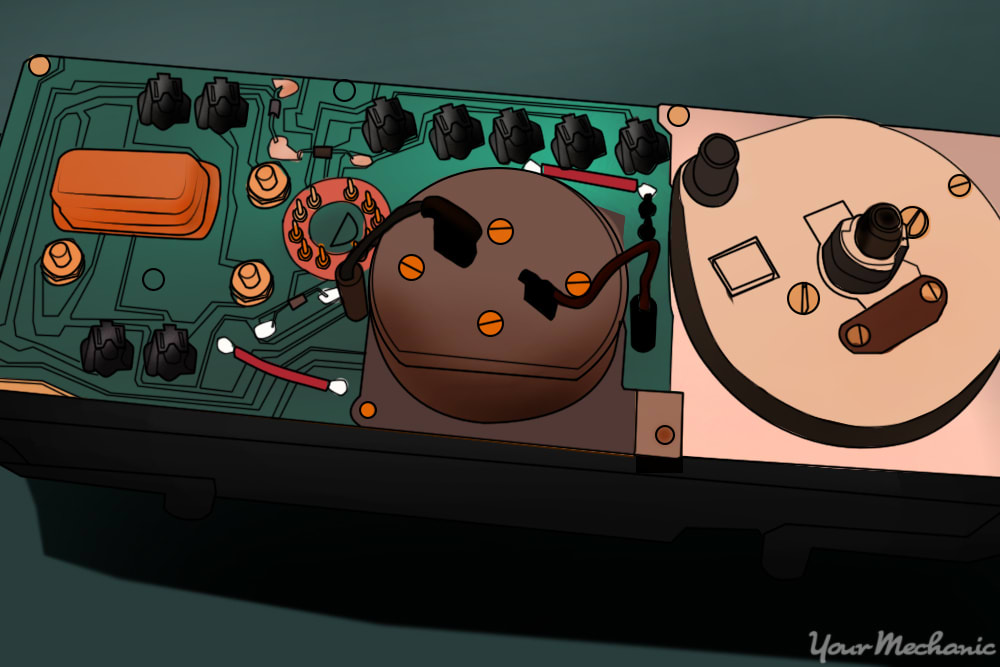
Step 1: Locate the voltage regulator. On older cars, the voltage regulator will likely be a metal box a little more than an inch long and will plug into the dashboard.
On some cars it might be held in with screws or nuts. The replacement regulator may not look like this at all. Many of these old regulators were replaced with power transistors. If that’s the case, your parts professional will provide you with an update kit.
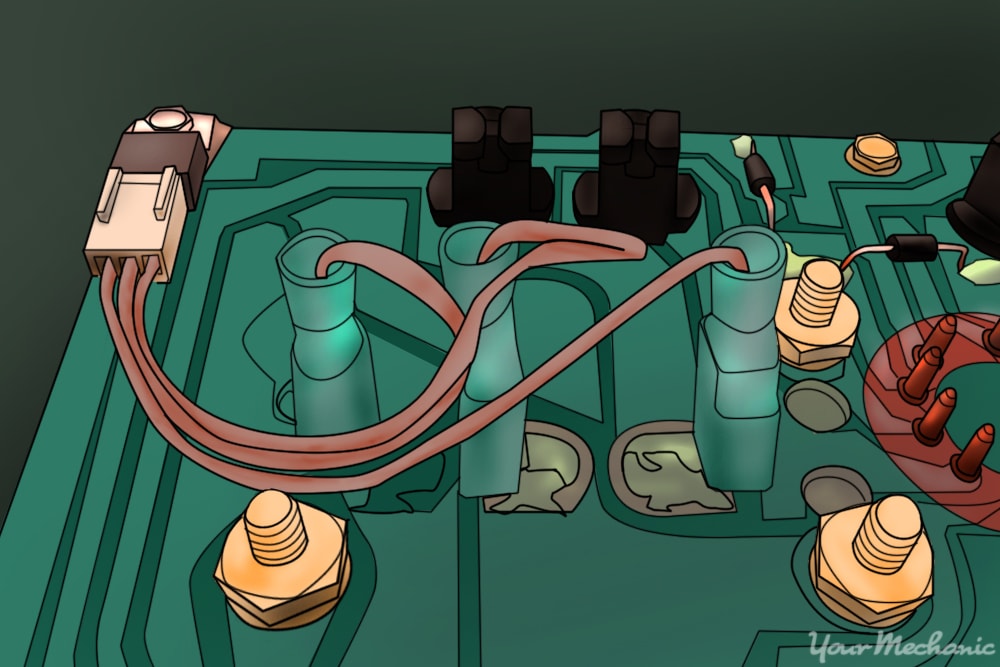
Step 2: Replace the voltage regulator. Install the original replacement by simply plugging it in.
Or, install the update by fastening the transistor to the cluster and connecting the wiring according to the instructions.
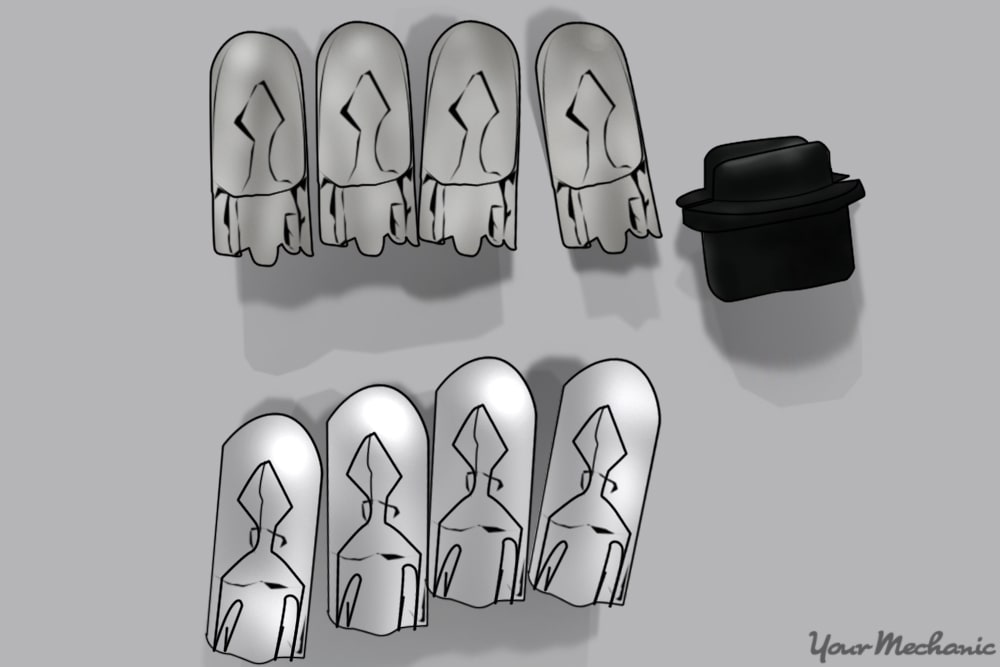
Step 3: Replace the instrument light bulbs. It’s a very good idea to change all the instrument lights at this time, since you already have the cluster out.
It could save you some headache later on.
Part 3 of 3: Reinstall the cluster
Materials Needed
- Open end wrenches
- Phillips and straight screwdrivers
- Safety glasses
Step 1: Re-connect the cluster. Using your notes, reconnect the electrical connectors to the cluster.
Temporarily connect the battery ground cable and start the car without installing the cluster. Observe the instruments and test all the light functions before connecting the speedometer cable. If everything is working correctly, disconnect the battery again, connect the speedometer cable, and insert the cluster back into the dashboard.
Step 2: Install the cluster. With the cluster back in the dashboard, working in reverse from the removal, fit the screws and trim back to the dashboard.
Reconnect the battery ground cable, being sure to tighten the clamp this time. Turn on the key and input the security code into your radio, and your work is done.
This job will take you an afternoon, if not a whole day. If you have ideas about better ways to spend that time, you can have one of YourMechanic’s certified technicians come to your home or place of business and perform a replacement for you.