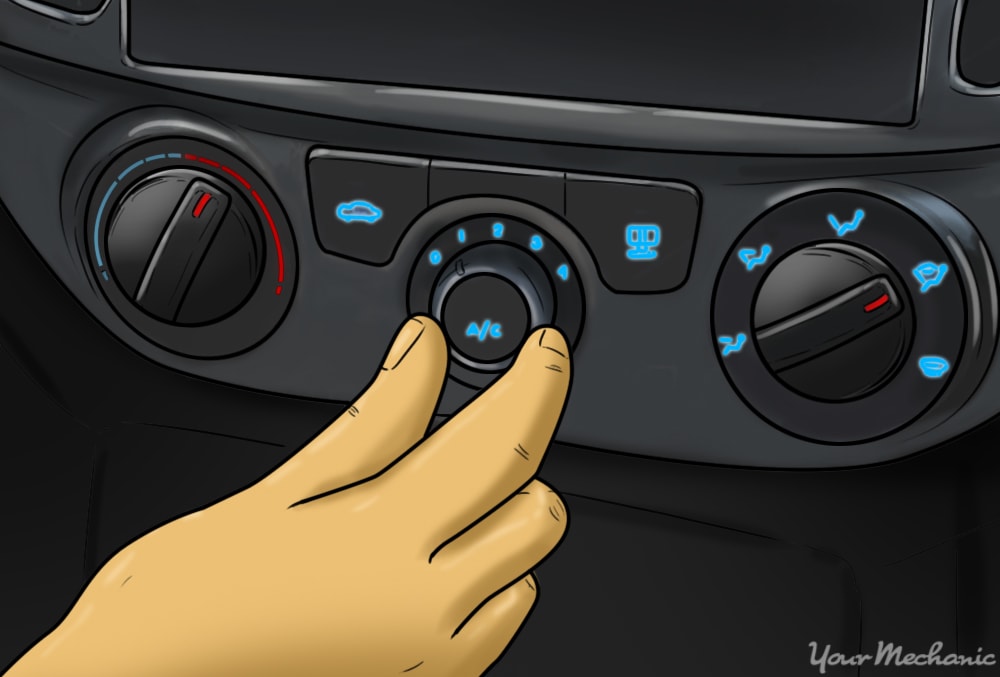
On many of today's cars, the driver has the luxury of setting a desired temperature inside the vehicle through the air conditioning control panel. Often, this feature is available on both passenger and driver sides. The operation of this luxury feature is controlled by a very small sensor called the evaporator temperature sensor or EVAP temperature switch.
This component has a very simple job: simply monitoring the temperature of the inside of the vehicle and relaying this information to the vehicle's ECM, which tells the AC to continue flowing cool or warm air in the heater to achieve a desired temperature setting. Typically this component is installed directly on the AC evaporator, as it accomplishes its job by monitoring the temperature found in this component.
The AC evaporator is typically located behind the firewall of the engine compartment, tucked in tightly behind the dashboard as well. This location makes it very time consuming for a mechanic to reach as it will require the removal of most of the dashboard.
If the sensor detects that the temperature is approaching high temperatures, the AC system increases flow through the system to increase cooling. It reduces flow when it detects that the evaporator is cold to conserve power and prevent it from freezing over. When the switch fails or has issues, it hinders the performance of the AC system and even causes it to malfunction.
Since it's very difficult to reach, this job is typically completed by ASE certified mechanics or larger repair shops with extensive resources at their disposal. However, the job itself of replacing the sensor is incredibly simple (once the dashboard has been removed).Common vehicles that experience failure of this component frequently include the Ford Focus from 2003 to 2008; however, it can fail on any vehicle over a period of time.
- Note: Since dash removal is extremely complex and specific to each vehicle make and model, all mechanics should refer to the vehicle's service manual for specific instructions on removing the dashboard.
Part 1 of 3: Determining the symptoms of a bad EVAP temperature sensor
Most air conditioning problems are related to a sensor or electrical issue; especially in modern vehicles. In many cases, when the AC stops blowing hot or cold air, it's due to a malfunction of the EVAP temperature sensor. The best way of determining that this component is malfunctioning will be to complete an error code download with a scanner. The OBD-II code (P-0535) indicates that an Evaporator Temperature Sensor failure has occurred. Beyond completing an OBD-II scan, a bad or failing evaporator temperature switch will produce a few symptoms that can alert the driver of a potential issue that should be serviced.
Noted below are a few of the common warning signs that a problem with the EVAP temperature sensor exists.
No cold air from the AC system: Usually when a vehicle has a coolant leak on a closed loop system or is running low on refrigerant, the air conditioning system slowly stops blowing cold air into the vehicle. However, when this function stops instantly, it's typically due to a problem with the temperature sensor found in the AC evaporator. When this sensor fails, it does not send accurate information to the ECM; which triggers the error code and, most of the time, will disable the AC system.
AC temperature is inconsistent: On the lines of the warning sign above, inconsistent temperature is often an indicator that the sensor is starting to fail. In this case, the sensor will occasionally send correct data, causing the AC system to work fine. However, if the temperature raises and lowers frequently without adjusting the temperature setting on the driver or passenger side, it usually means the sensor is starting to fail. If this occurs, you'll have to replace the sensor.
The AC compressor does not work: Another error code that commonly can be mistaken for an AC compressor failure is P-0533, which indicates that the circuit to the AC compressor is too high. In this case, the compressor itself is fine, but the usual suspect is the evaporator temperature sensor located under the dashboard.
Part 2 of 3: Replacing the EVAP emissions control canister
Materials Needed
- Boxed end wrench or ratchet wrench set(s)
- Flashlight
- Flathead and Phillips head screwdriver
- Replacement EVAP temperature sensor
- Safety glasses
Specialized dash removal tools
Tip: Most service manuals indicate that this job takes between 5 to 7 hours to complete. The majority of this time is spent removing dashboard and interior components and reinstalling them. Make sure you give yourself plenty of time to complete this task in one day.
Warning: This job requires the removal of many electrical harnesses that connect to gauges and sensors underneath the dash. It will also typically include removing the steering wheel from the assembly located underneath the floorboard. If you don't feel comfortable with this, do not attempt to complete this job.
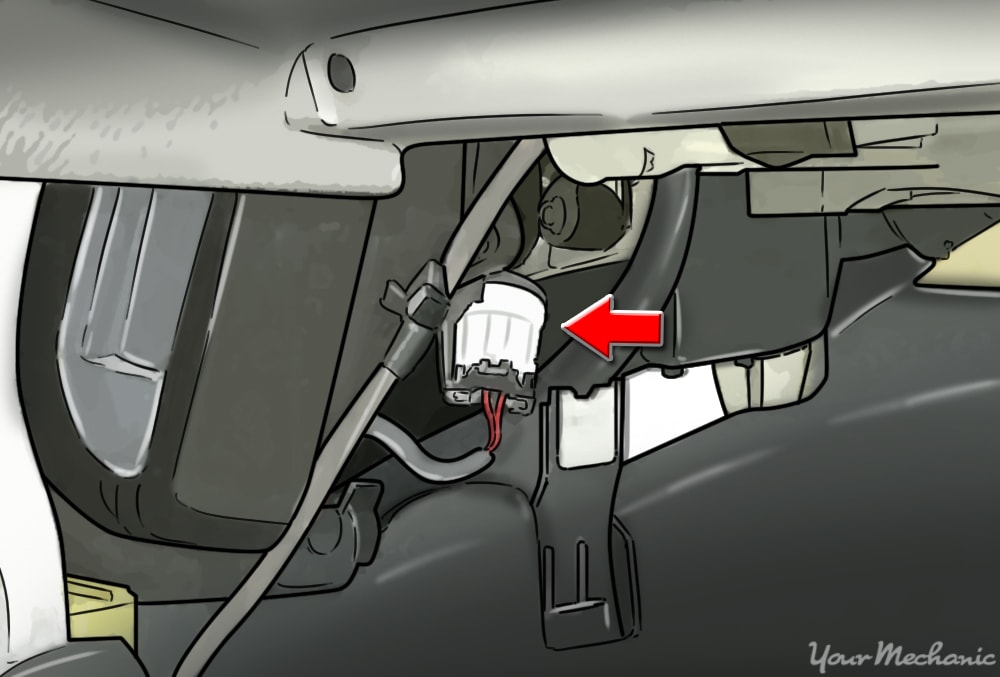
Step 1: Determine the location of the sensor. Each vehicle that utilizes an EVAP temperature sensor has a unique location and process for replacing this component.
By purchasing a service manual, you can determine where the sensor is located and the precise steps needed to replace this component.

Step 2: Disconnect the vehicle's battery. Locate the vehicle's battery and disconnect the positive and negative battery cables before proceeding.
Step 3: Get detailed instructions on removing your vehicle's dashboard. In order to gain access to the EVAP temperature sensor, you'll have to remove the dashboard and many supporting components.
Most vehicle manufactures sell a service manual for each make, year, and model vehicle they sell. It's advised to purchase this manual and look up the exact instructions for removing the dashboard.
Step 4: Remove the dashboard. The following are general steps that typically need to be completed, but you should follow the steps outlined in your service manual.
Pull the center console and remove the center trim panel. Remove the center pull tray and unplug the cigarette lighter harness. Remove the center shifter cover and the shifter (while removing the shifter from the linkage). Remove side dash panel, the door spill plates, and weather stripping, as well as the steering wheel from the center steering shaft. Finally, remove the instrument cluster and any electrical cluster harnesses.
The exact steps for removing each of these components will be noted in the vehicle's service manual and should be followed exactly to ensure that other electrical or mechanical components are not damaged and are reinstalled correctly.
Step 5: Gain access to the AC condenser. On most domestic and foreign cars, trucks, and SUV's the AC condenser is located deep inside the vehicle's dashboard and behind the firewall.
It's commonly located on the passenger side on most cars, trucks, and SUV's. Most of the time, the sensor is located towards the rear of the condenser (or closer to the rear of the vehicle as opposed to the front end).
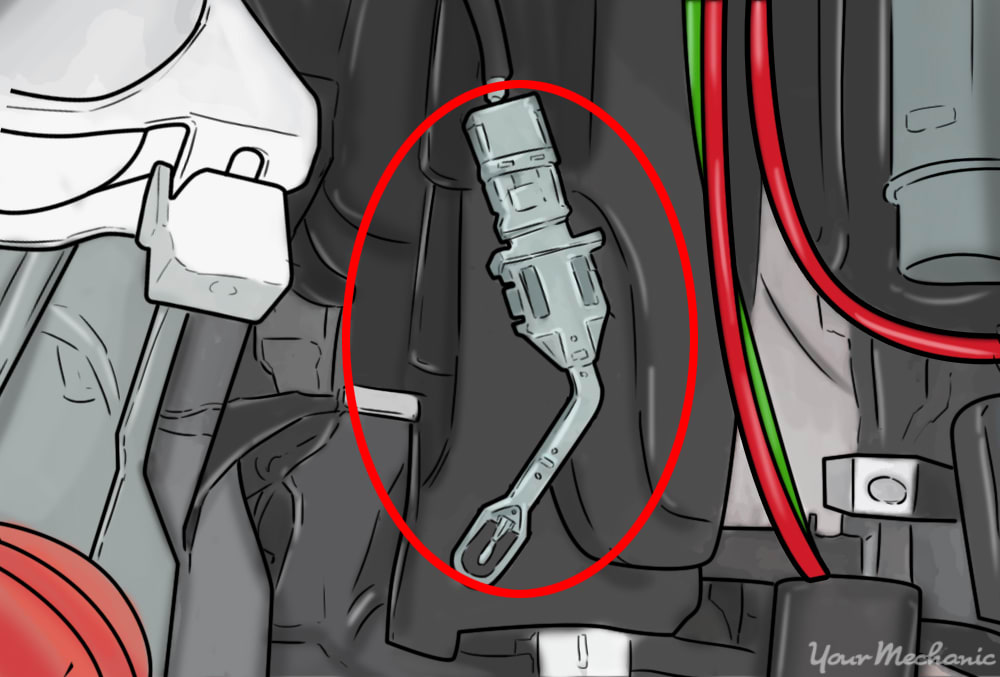
Step 6: Remove the EVAP temperature sensor. Most sensors are screwed into the AC condenser and held onto the sensor by a secondary clip.
To remove the sensor, you'll need to remove the support clip first. After the clip has been removed, you can unscrew the sensor by pressing down and turning the switch to the left.
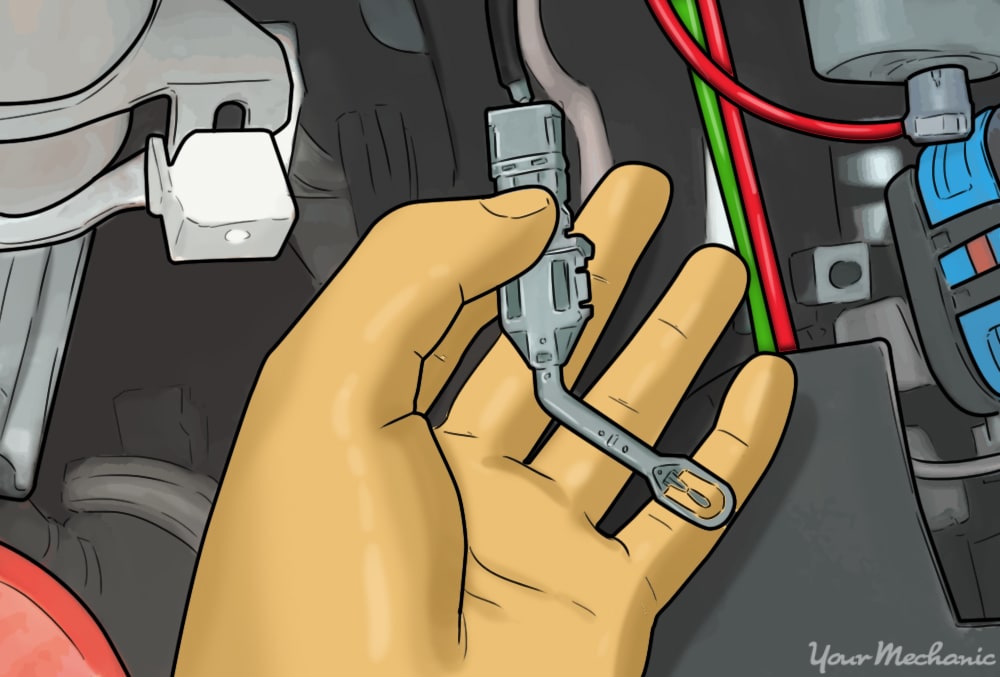
Step 7: Remove electrical harness from the old EVAP temperature sensor. The EVAP temperature sensor has an electrical harness attached that powers the unit and sends signals to the vehicle's ECM.
To remove this harness, depress a small clip that is located on the back of it with a very small flat-blade screwdriver. Once the tab has been depressed, you can easily remove the electrical harness.
Step 8: Remove the old EVAP temperature sensor from the vehicle.
Step 9: Reinstall the electrical harness on the new sensor. Once you've removed the old sensor, the replacement steps are in direct opposite order.
The first step in the installation process will be to reattach the electrical harness to the new sensor.
Step 10: Reinstall the EVAP temperature sensor. Screw the new sensor into the AC condenser, turning it to the right.
Step 11: Reinstall the support clip. In some cases, you'll have to reinstall the support clip on top of the sensor.
If this is the case, simply press the clip onto the back of the sensor. It should easily snap into place.
Step 12: Replace all dashboard hardware, attachments, and electrical harnesses. Following your service manual instructions, replace dashboard components in the exact order you removed them.
Pay special attention to reattaching electrical harnesses in the correct position and to the right attachment.
Part 3 of 3: Testing the repair
Step 1: Test start vehicle. Clear error codes with scanner.
Before you complete the test drive or fully test the operation of the air conditioning, it's important to start the vehicle and clear any error codes that previously were downloaded. This will give you a "clean slate" in which to test the new EVAP temperature sensor.
Step 2: Start the vehicle. Let it warm up to operating temperature
Step 3: Check the dashboard to verify that the check engine light does not come on. If it does, you should shut the vehicle off and complete a diagnostic scan.
The error codes must be cleared on most vehicles after completing this service.
Step 4: Turn on air conditioning system. Set the temperature at the lowest possible temperature.
After about 5 minutes, check the vents on the AC system to ensure they are blowing cold air.
Step 5: Turn AC system off. Keep the engine running and activate the heater function on the temperature controls and turn up to 80 degrees (if possible).
Step 6: Verify that hot air is blowing into the cabin.
Step 7: Perform a road test. Take the vehicle on a 10 mile road test with the air conditioning set to its lowest setting and return home after verifying the AC works again.
As you can see by reading the steps above, once you gain access to the EVAP temperature sensor, the replacement job is really simple. However, the hard part is removing the dashboard, which should only be completed by a certified ASE mechanic. If you've read these instructions and still don't feel 100% confident in completing this repair, please contact one of YourMechanic’s local, ASE certified mechanics to complete the evaporator temperature sensor replacement for you.