
Tire pressure helps to maintain good traction, support, and control of your vehicle. If your tires are too low, you will be burning up extra gas (which costs you extra money) or they may blow out. If the tire pressure is too high, the car may be hard to control or the tires could blow out.
Checking the tire pressure in cold weather is particularly important because tire pressure decreases one to two pounds per square inch (PSI) for every ten degrees the outside temperature decreases. If it was 100 degrees when you filled up your tires, and now it’s 60 degrees, you will have potentially lost 8 pounds per square inch of pressure in each tire.
Below are a few easy steps to follow in order to check the tire pressure in cold weather so that you can drive safely during the winter months.
Part 1 of 4: Park the car near an air supply
If you notice that your tires are beginning to look deflated or flat, then it’s a good idea to add air to them. Typically, the tire will begin to look like it’s been losing air and appear flat where the tire is pressing against the road.
If you need to add air to increase the air pressure of your tires, you will need to have access to an air pump. If you don’t have one at your house, you can drive to the nearest gas station.
Park close enough to the air supply so that the hose can reach the tires. If you only need to release air from your tires, an air pump will not be necessary.
Part 2 of 4: Identify the recommended tire pressure
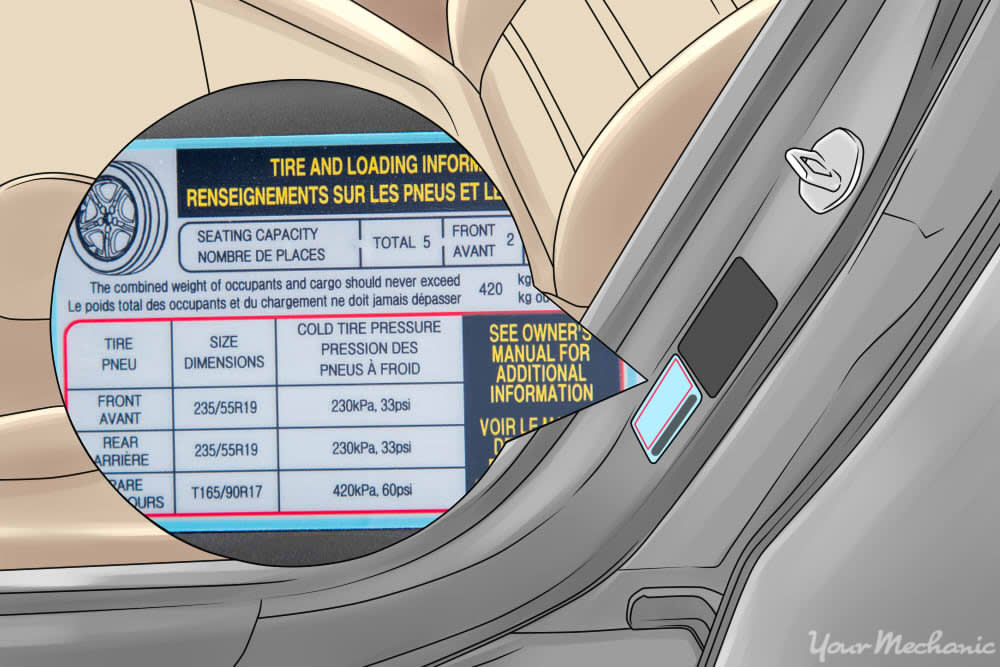
Your tires should always be filled to the recommended safe pressure level. You can check the sticker on the inside of the driver's door or your owner's manual for the recommended PSI (pound of air pressure per square inch) range at different loads and temperatures.
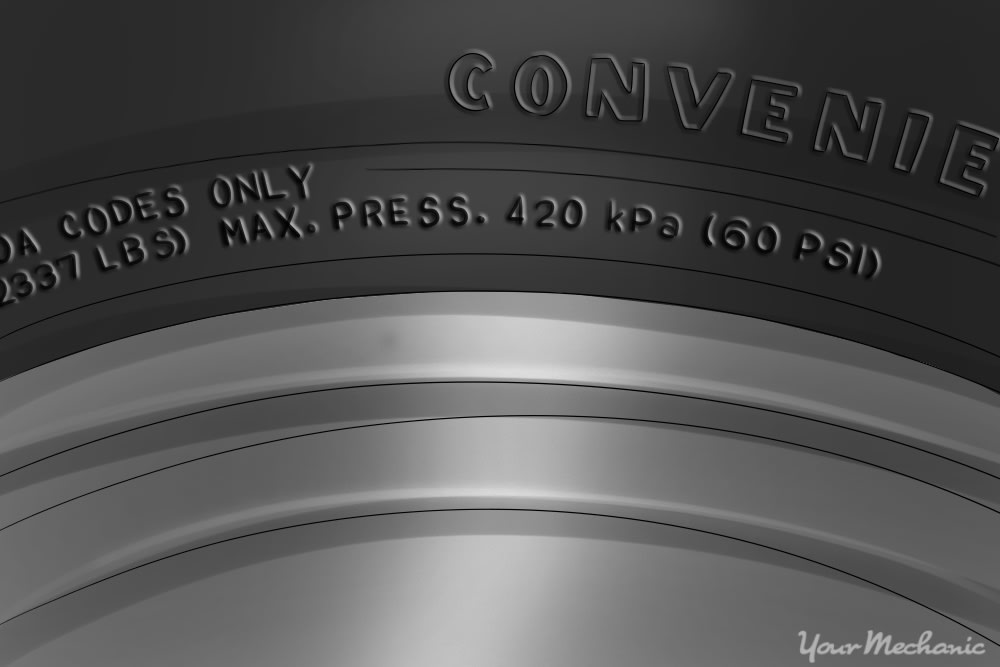
Step 1: Find your tire’s PSI. Look at the outside of your tire. You should be able to find the recommended PSI (pounds per square inch) range printed in very small print on the outside of the tire.
It’s typically between 30 and 60 PSI. The text will be slightly raised so that it can be read more easily. Again, consult the sticker inside the driver's door or your owner's manual to determine the correct PSI given vehicle load and outside temperature.
- Tip: Be sure to check the recommended PSI on each tire before adding or releasing air. If you happen to have different types of tires on your car, they might require slightly different pressure.
Part 3 of 4: Check the current pressure
Before adding or releasing any air from your tires, you need to check their pressure to get an accurate reading of how much pressure they currently have.
- Tip: You should always allow the tires to cool down for a few minutes before checking the pressure because heat from friction generated by rolling down the road may result in an inaccurate reading.
Materials Needed
- Tire gauge
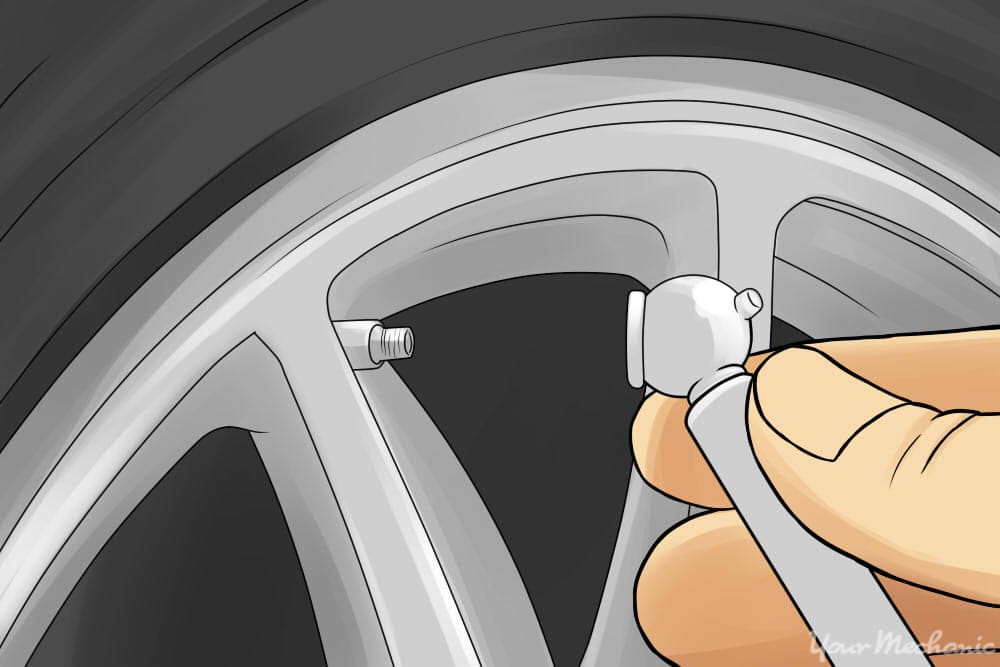
Step 1: Unscrew the cap of the tire valve. Make sure to keep it a safe, easy to locate place because you will be putting it back on once you’ve finished.
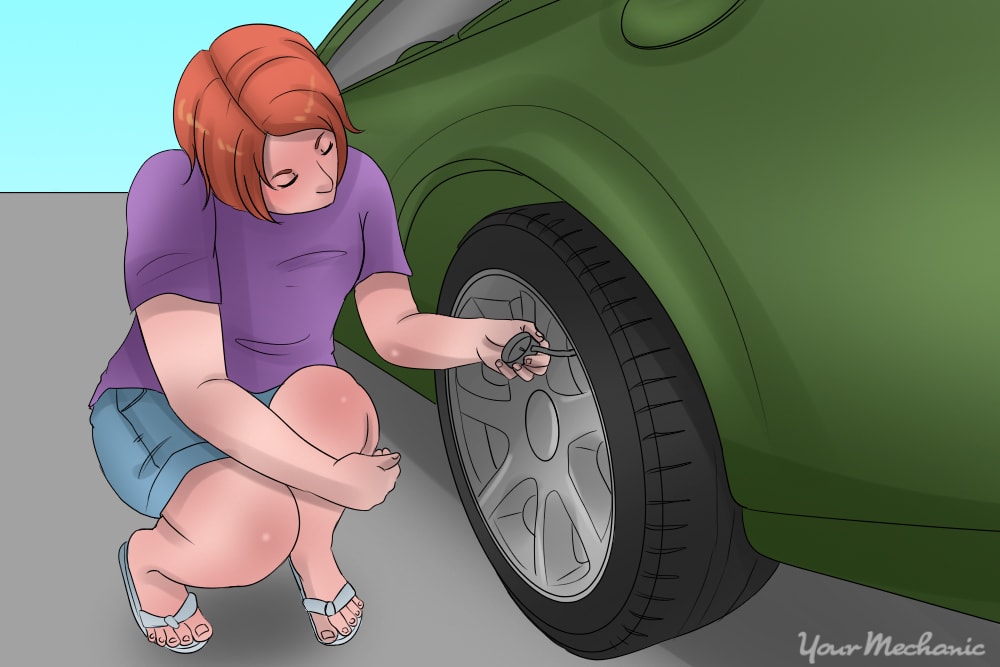
Step 2: Fit the nozzle over the valve. Press the nozzle of the tire gauge directly onto the tire valve and hold it firmly in place.
- Tip: Hold the gauge evenly over the valve until you stop hearing air come out of the tire.
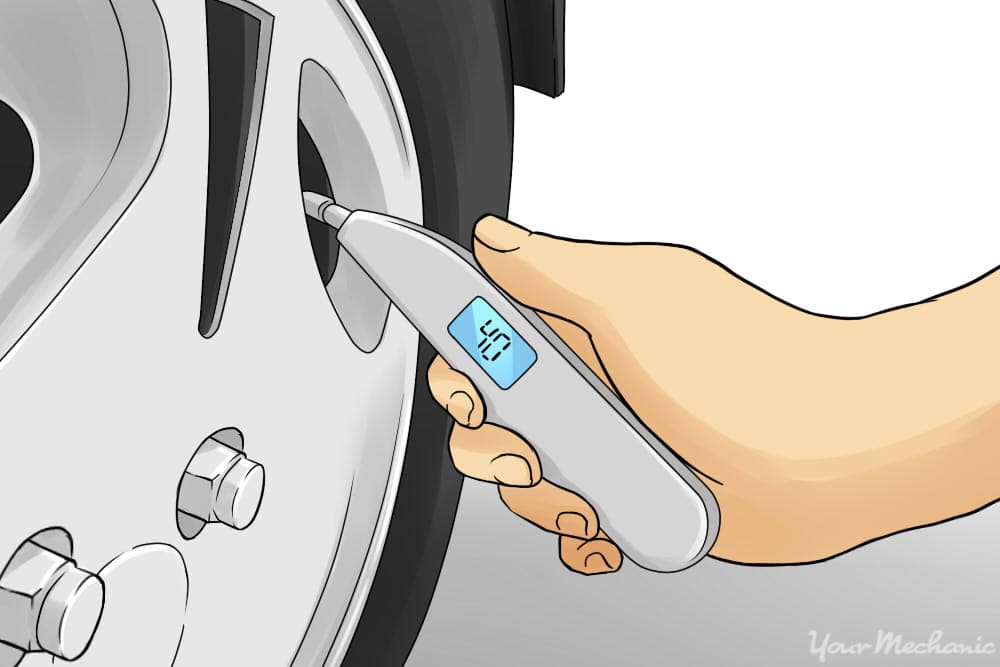
Step 3: Read the tire pressure. Your gauge will either have a numbered stick that extends from the bottom of the gauge, or your gauge will have a digital screen. If you’re using a gauge with a stick, make sure to accurately read the pressure as it's indicated by the markings on the stick. If you’re using a gauge with a digital screen, read the PSI number off of the screen.
Part 4 of 4: Add or release air
Depending on the current PSI level you will either need to add or release air to your tires.
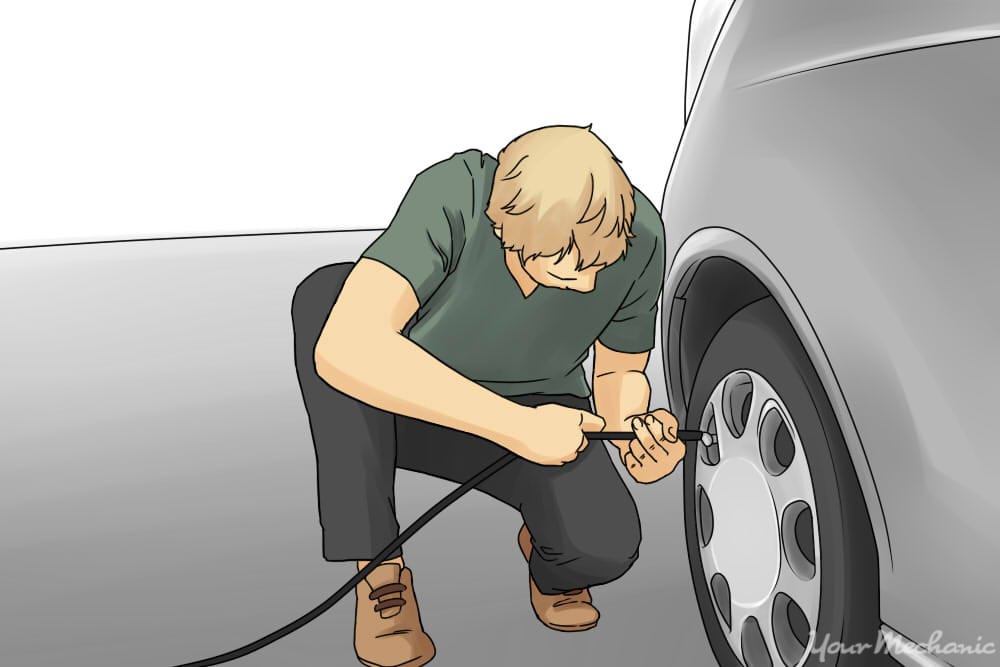
Step 1: Put the air hose on the valve. Take the air hose and fix it over the tire valve in the the same manner as the gauge.
You will stop hearing air come out when you have the hose evenly pressed against the valve.
If you’re releasing air, simply press the small metal tip of the air hose into the center of the valve and you will begin to hear air leaving the tire.
Step 2: Do not add or release too much air at one time. Make sure to stop occasionally and recheck the PSI level with your tire gauge.
This way, you will avoid overfilling your tires or letting too much air out of them.
Step 3: Continue this process until you’ve reached the correct PSI level of your tires.
Step 4: Replace the caps on the tire valves.
- Tip: Check each tire individually and only do one at a time. Do not overfill tires in anticipation of cold weather or to try and compensate for the estimated temperature change. Wait until the temperature has dropped and then check the pressure of your tires.
Keeping your car in working condition is important for safety, and this includes maintaining appropriate air pressure in your tires. Be sure to check your tires regularly, especially during cold months when the tire pressure can decrease more rapidly. Adding air to low tires can be done quickly and easily if you follow the above steps. If you notice that one tire is wearing more quickly or that your tires need to berotated when you’re adding air to them, be sure to contact a qualified mechanic, such as one from YourMechanic, to perform these services at your home or office for you - our mechanics can even add the air for you.


