
If you have back problems, sitting in a car for an extended period of time can be excruciating. Even without back problems, you could experience discomfort and soreness from sitting in a car’s seat for a long drive. Sometimes, if the seat doesn’t fit your figure quite right, it can be just a few minutes before the soreness begins.
This rings especially true for those of a stature that is beyond the norm. Tall people, short people, and those with overly wide or overly slender builds can have a hard time properly fitting into an average seat.
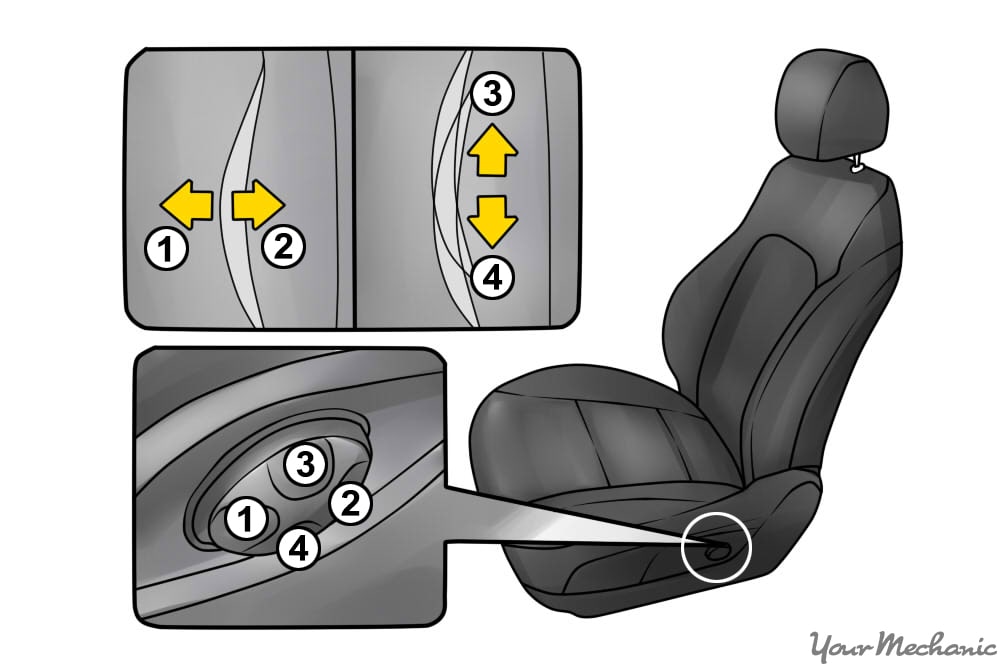
There are several seat adjustments you can make to sit more comfortably in the driver’s seat. Many cars have fore and aft seat adjustments on a slider, recline adjustments, height adjustments, and even lumbar back support adjustments. There are some manufacturers that include a tilt function to support the back of your thighs, while others offer an adjustable distance from the seat to the back of your knees.
Even with all the adjustments available, it can be hard to find a car’s seat comfortable. For some, no matter what you do, you just can’t seem to stop fidgeting. Have you adjusted your seat properly?
Part 1 of 5: Adjusting the distance from the steering wheel
For drivers, the most important seat adjustment you can make is correcting the distance from the steering wheel. If you can’t properly manipulate the steering wheel with your hands, there is no point in driving at all.
When your arms are stressed just holding onto the wheel, the tension extends into your back and causes pain, especially for those with back trouble.
- Warning: Only adjust your seat when you are at a complete stop and your vehicle is in park. Performing seat adjustments while you are driving is dangerous and can cause an accident.
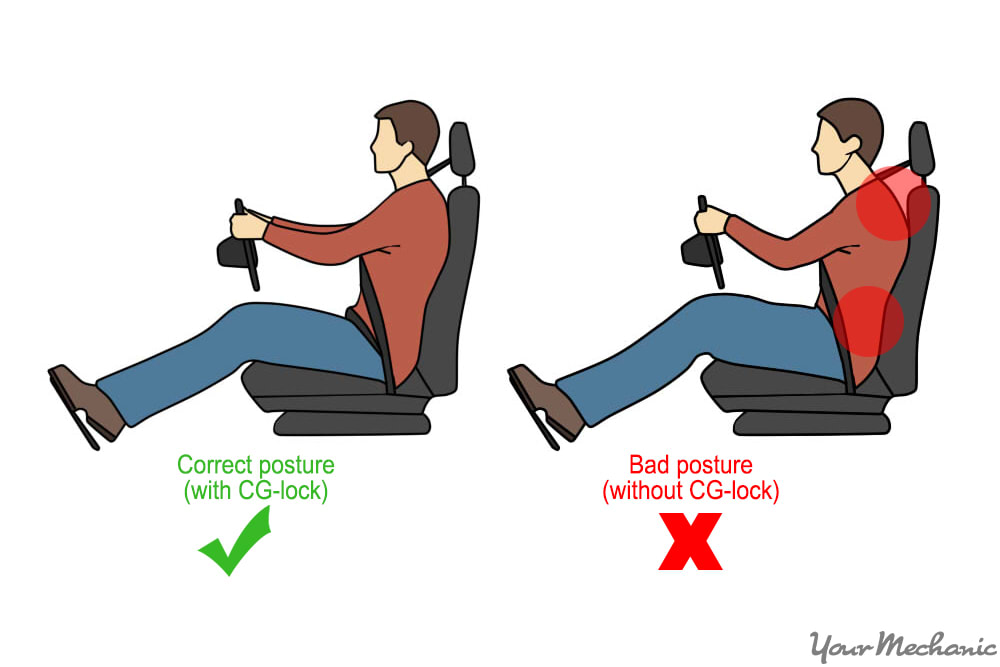
Step 1: Position yourself properly. Sit with your back fully against the seat back.
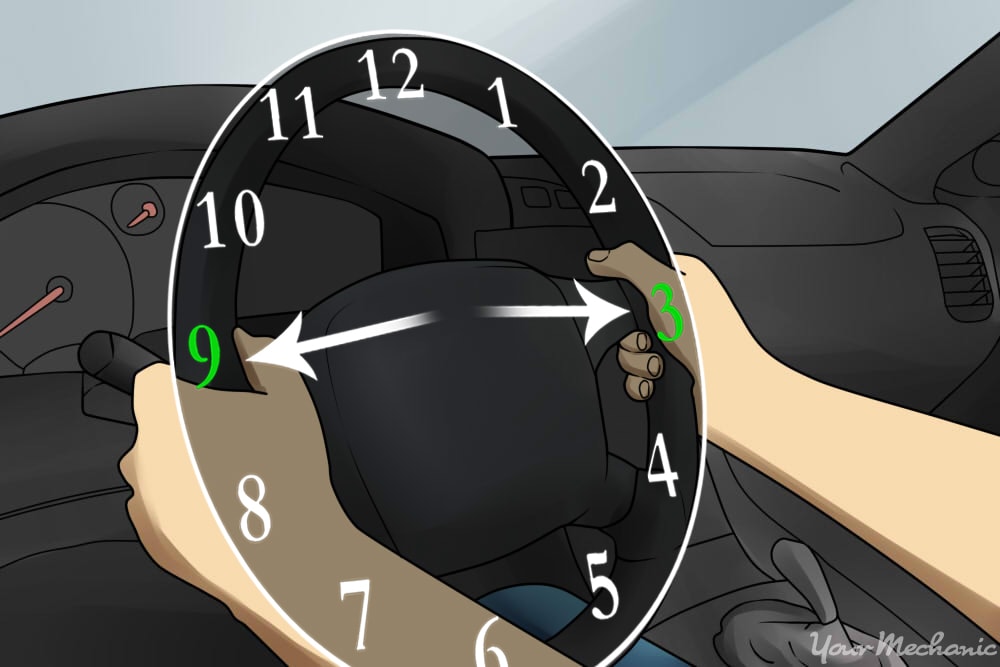
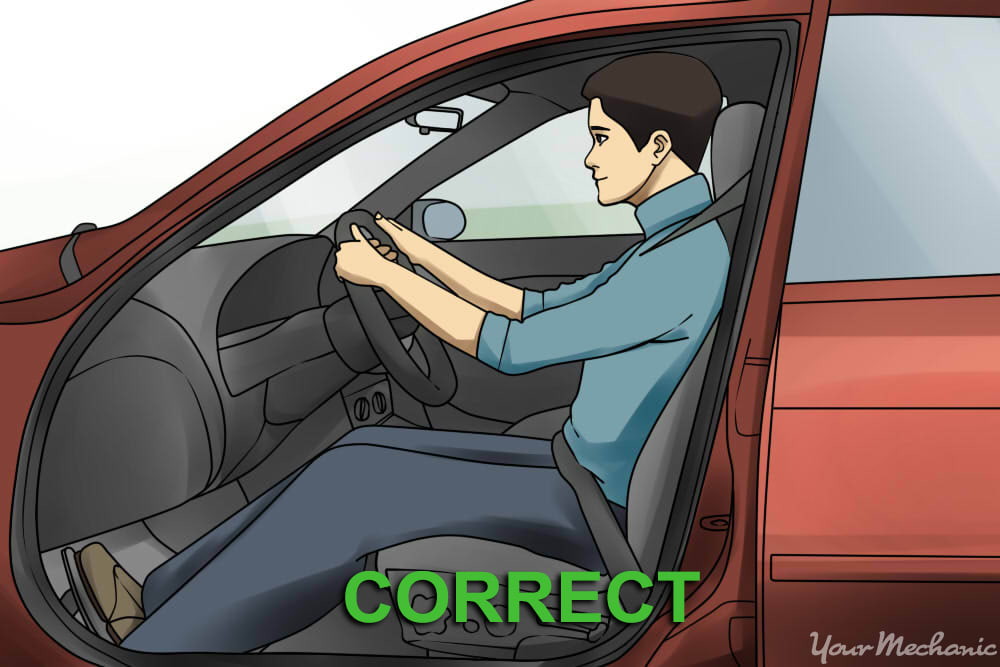
Step 2: Hold the steering wheel properly. Reach forward and grip the steering wheel at the nine o’clock and three o’clock positions.
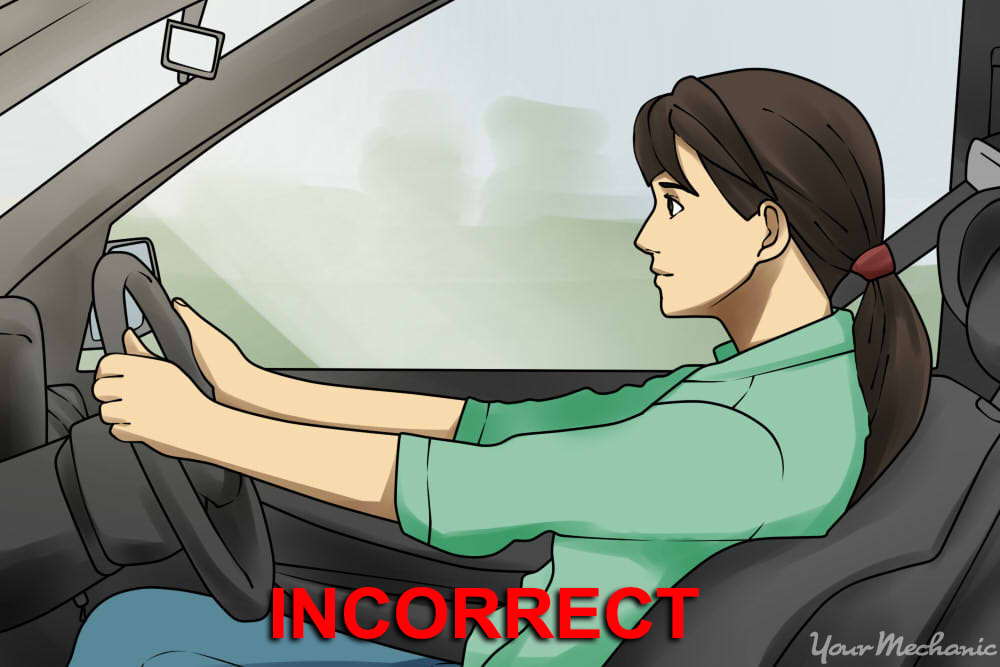
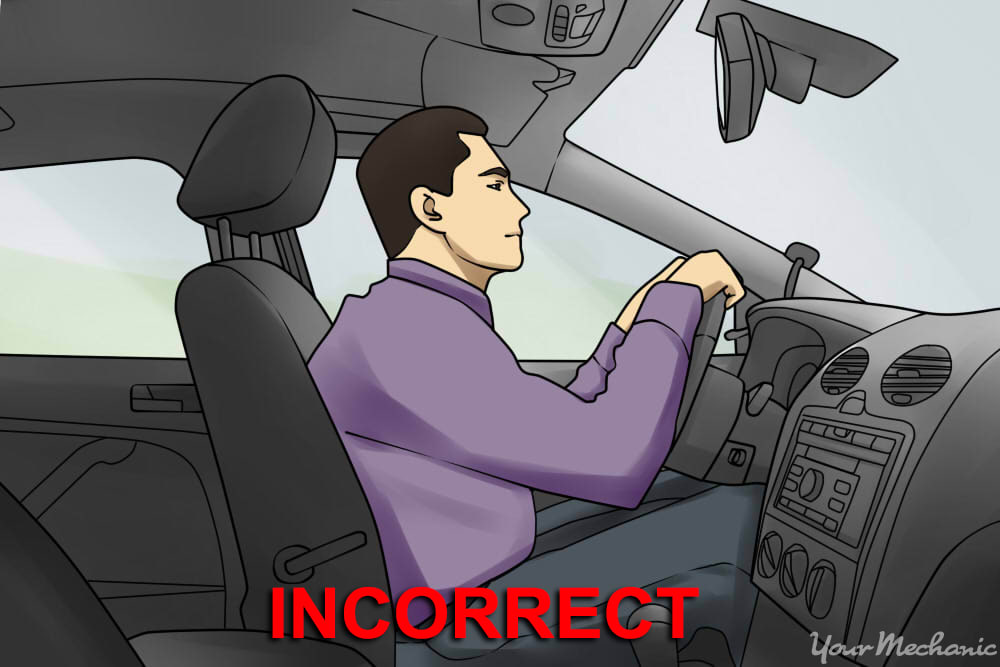
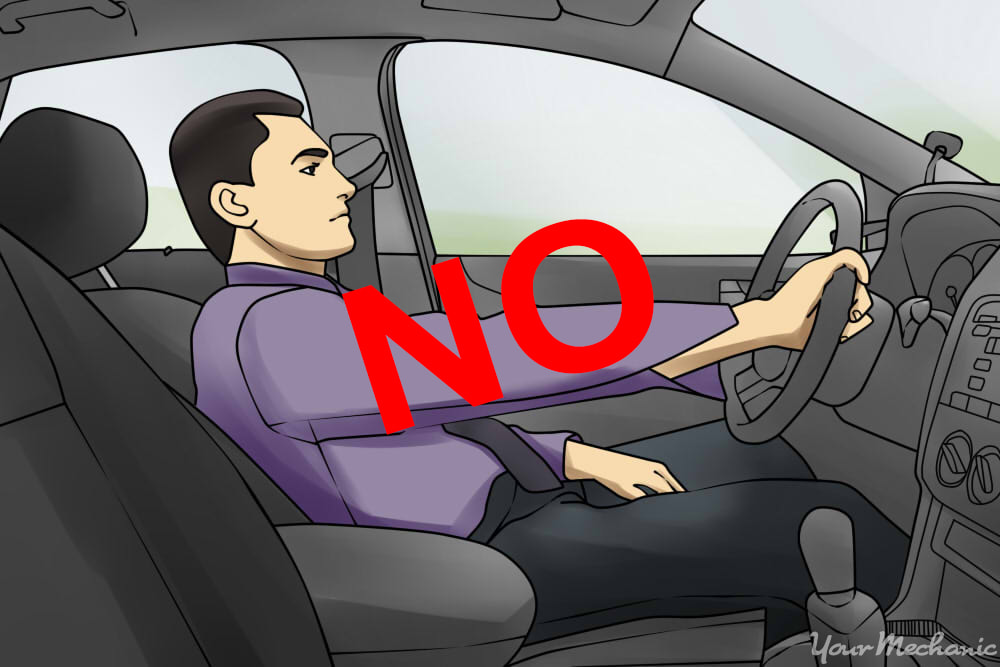
Step 3: Ensure that your arms are in the right position. If your arms are fully extended and locked, you are sitting too far from the steering wheel. Adjust the driver’s seat forward.
If your elbows create less than a 60 degree angle, you are sitting too close. Adjust your seat further back.
Your arms should not be locked but be slightly bent. When you relax your body and sit comfortably,there should be no discomfort or fatigue to grip the steering wheel.
Part 2 of 5: Reclining your seat back properly
When you sit in the driver’s seat, you should sit tall without being uncomfortable. It can take some practice.
The tendency is to have the seat reclined too far. Your driving position requires that you pay full attention to the road, and so you should be as upright as possible.
Step 1: Position the seat fully upright. Adjust the driver’s seat to its fully upright position and sit in it.
This position may not be comfortable but this is where the seat adjustments need to start.
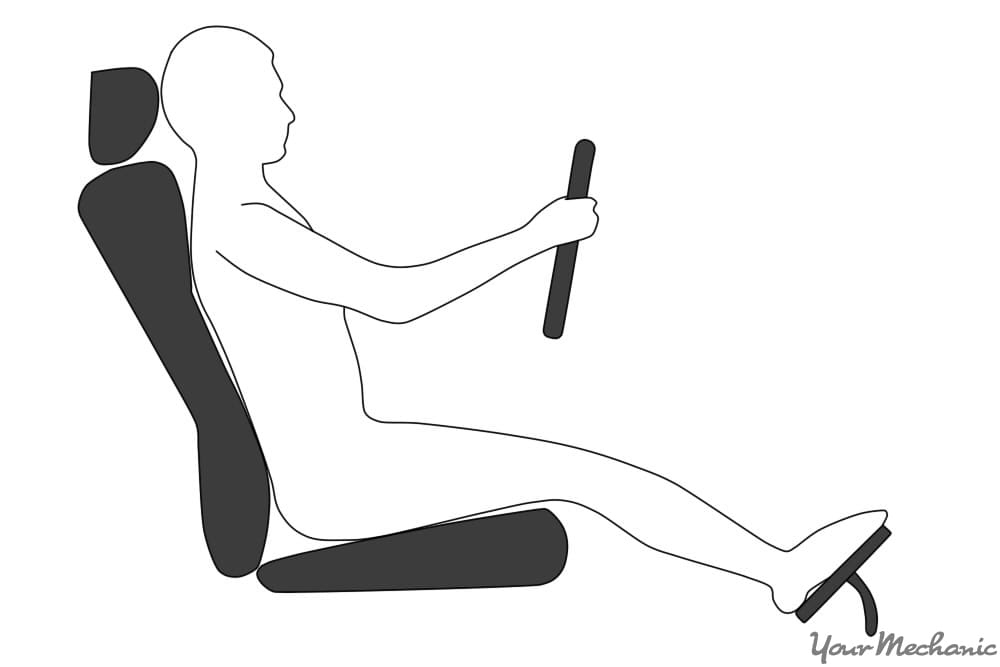
Step 2: Recline the seat. Slowly recline the seat until the pressure eases from your lower back. This is the angle at which your seat should recline.
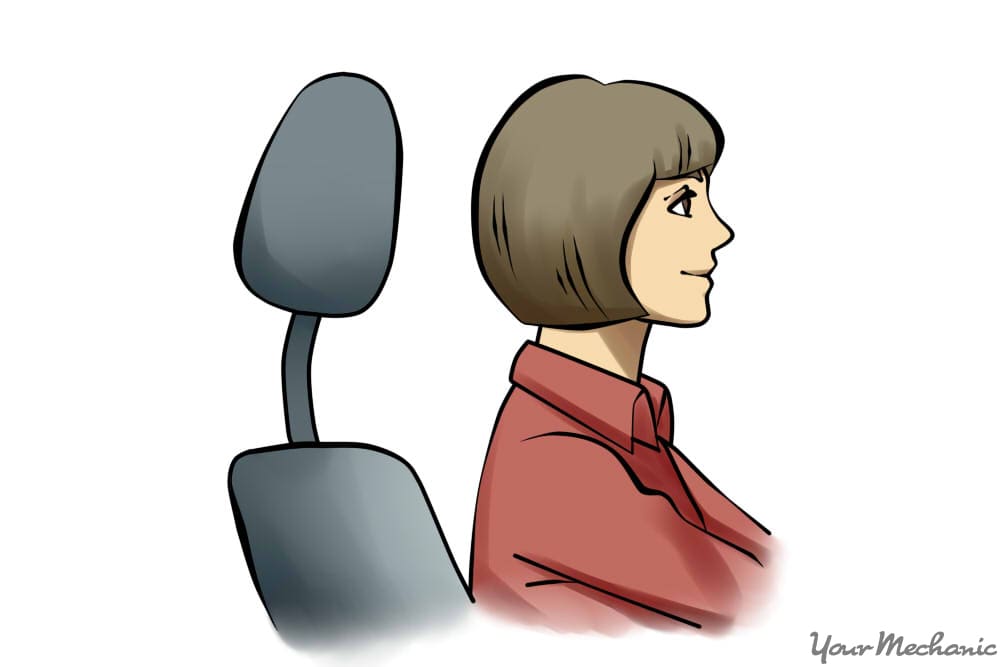
When you lay your head back, the headrest should be 1-2 inches behind your head.
With your head against the headrest and your eyes open, you should have a clear field of vision of the road.
Step 3: Adjust as needed. If you are having difficulty seeing through the windshield with your head against the headrest, lean your seat further forward.
If you are sitting upright with proper support behind your back and head, your body will not fatigue as quickly when you are driving.
Part 3 of 5: Adjusting the seat height
Not all vehicles have a driver’s seat height adjustment, but if yours does, it can help you achieve a comfortable seating position. Adjusting the height will make sure you can see through the windshield properly and also relieves pressure on the back of your thighs when done correctly.
Step 1: Lower the seat all the way. Lower your seat to the bottom of its travel while you are sitting in it.
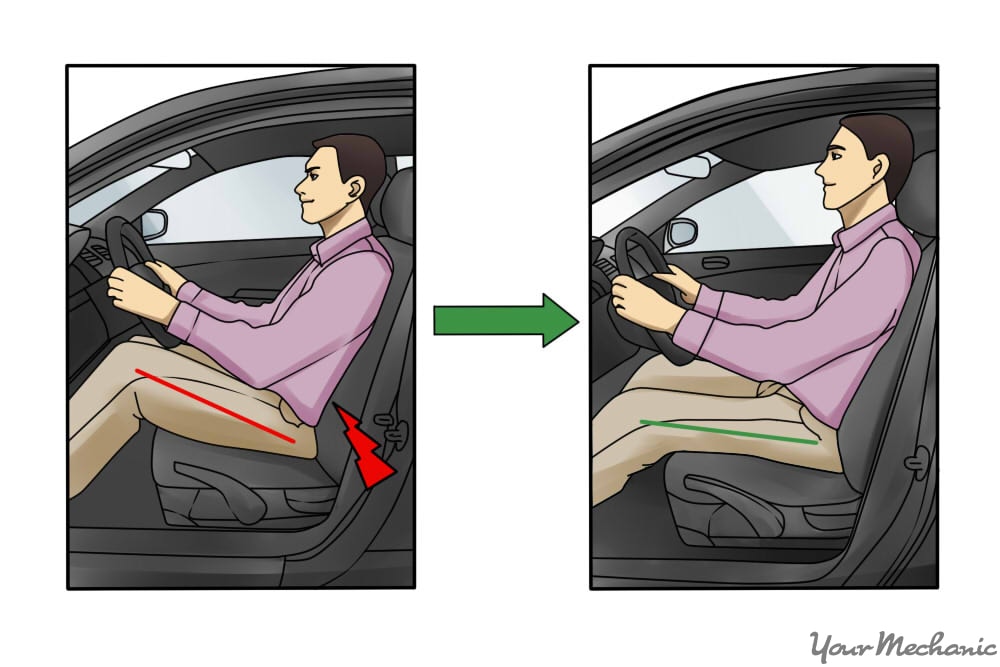
Step 2: Slowly raise the seat until just right. Begin to raise the seat, bit by bit, until the front edge of the seat contacts the back of your thighs lightly.
If your seat is too low, your legs and lower back are propping you up, creating pressure points that cause pain.
If your seat is too high, blood flow is restricted in your lower legs from the pressure on your thighs. Your legs could fall asleep, swell, or be difficult to maneuver between the gas and brake pedal.
Part 4 of 5: Adjusting the lumbar support
Only some vehicles have lumbar support adjustments, mainly higher trim lines and luxury cars. Still, having this aspect of your seat adjusted properly will relieve back stress from sitting in your car.
If your car is equipped with a lumbar support control, proceed to Step 1. If your car does not have a lumbar support control, skip ahead to Step 5 to see how you can support this area yourself.
Step 1: Retract the lumbar support fully. Some are mechanically operated with a knob and others are an inflatable bladder inside the seat. In either case, take support away altogether.
Step 2: Sit in the seat. It will feel like your back is collapsing into a slouched position just above your hips.
Step 3: Inflate the lumbar support until you make contact. Extend the lumbar support a little bit at a time. When you feel the lumbar support contact your back, pause for 15 to 30 seconds to adjust to the feel.
Step 4: Inflate the lumbar support until comfortable. Inflate the lumbar support a little further, pausing after each slight adjustment.
Stop adjusting when your back no longer feels like it begins to slouch after a pause.
If you’re car contains a lumbar support adjustment feature, you are done with this part and can skip to the beginning of Part 5.
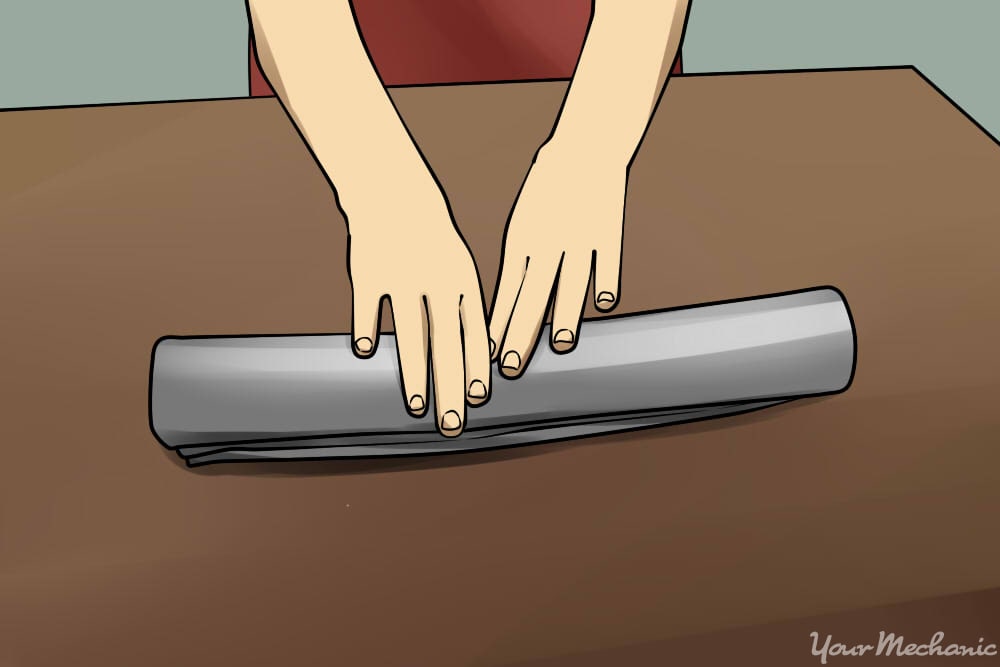
Step 5: Make your own lumbar support. If your vehicle does not have a lumbar support adjustment, you can create your own with a hand towel.
Fold or roll the towel widthwise. It should now be its full length but only a few inches in width, and approximately 1-1.5 inches thick.
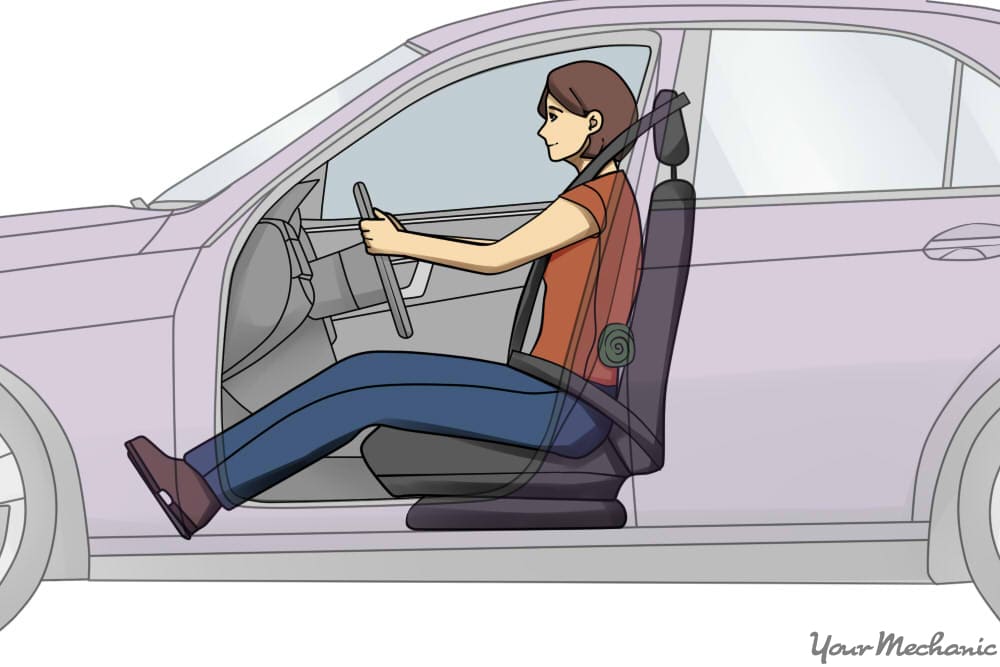
Step 6: Position yourself and the towel. Sit in the driver’s seat and lean forward and slip the towel behind your back.
Slide it down so it is positioned just above your hip bones. Lean back against the towel.
If it feels like there is too much support or too little support, adjust the towel roll until it feels supportive but not overly so.
Part 5 of 5: Adjusting the headrest position
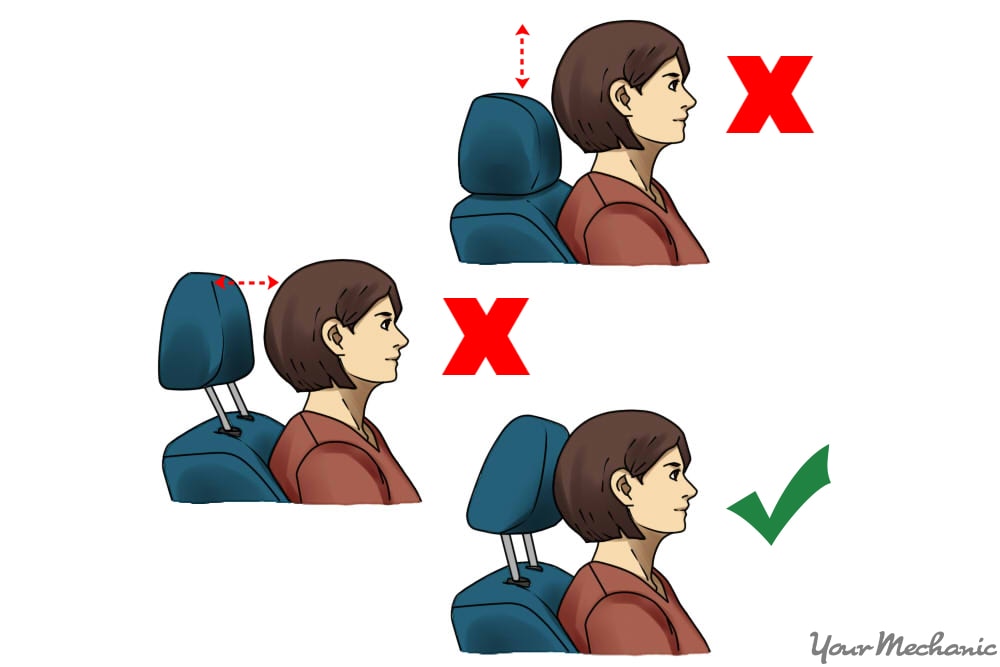
The headrest isn’t installed for your comfort. Rather, it is a safety device that prevents whiplash if you are rear-ended in a collision. If positioned improperly, it can be annoyingly close to your head or too far away to provide the necessary protection in an accident. Proper positioning is important.
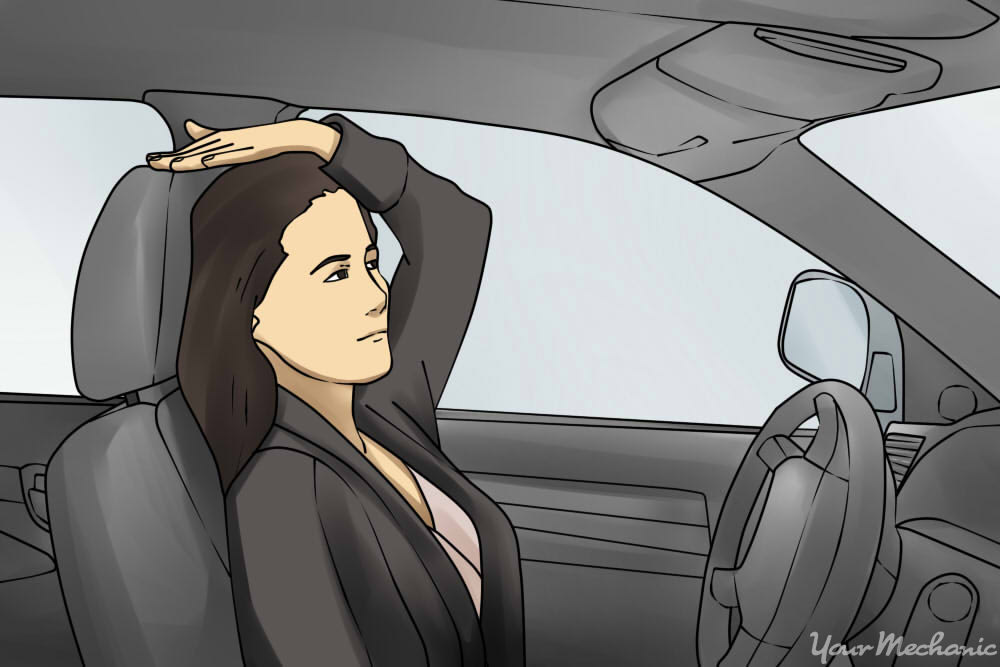
Step 1: Check the distance from your head to your headrest. Sit normally in your driver’s seat. With your hand, check the distance between the back of your head and the front of the headrest.
It should be roughly one inch from the back of your head. It is helpful to have a friend check the headrest adjustment for you if at all possible.
Step 2: Adjust the headrest tilt if possible. This will be a matter of grasping the headrest and pulling it forward or backward if this adjustment is an option.
Step 3: Adjust the headrest vertically. Sitting normally in the seat again, check, or have your friend check, the headrest height. The top of the headrest should be no lower than your eye level.
These are the proper adjustments for sitting in a car’s seat, particularly the driver’s seat. The passenger seat is unlikely to have the same array of adjustments as the driver’s seat, and the rear seats likely won’t have any adjustments aside from headrest adjustments.
At first, the seating position may feel awkward when it is adjusted correctly. Allow yourself several short trips to get the feel of the positioning. Make adjustments as needed if you find you have pain or discomfort. After a few short trips, your new seat position will begin to feel natural and comfortable.


