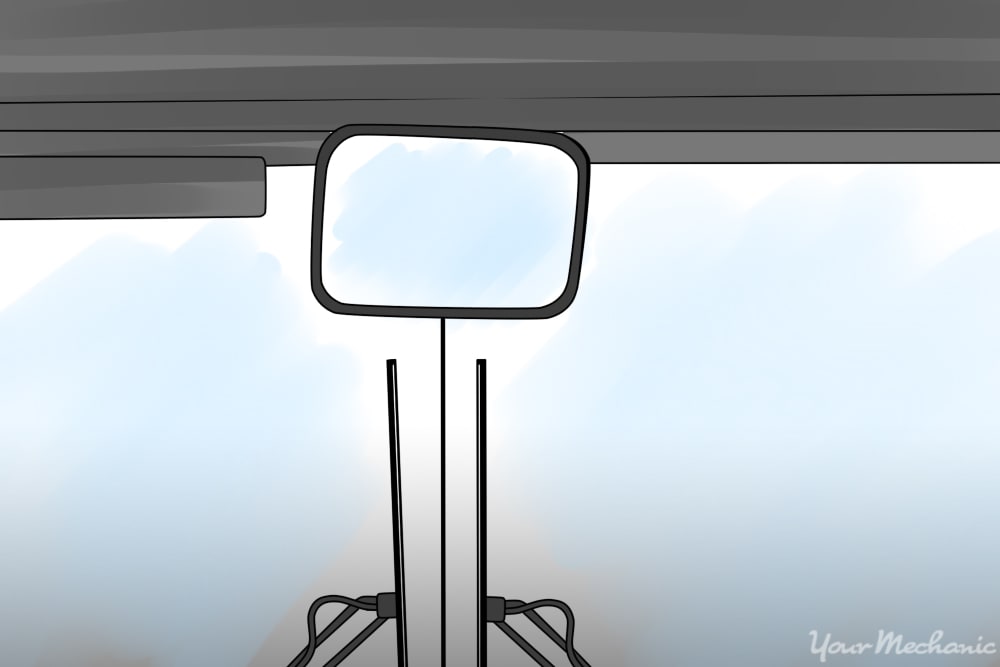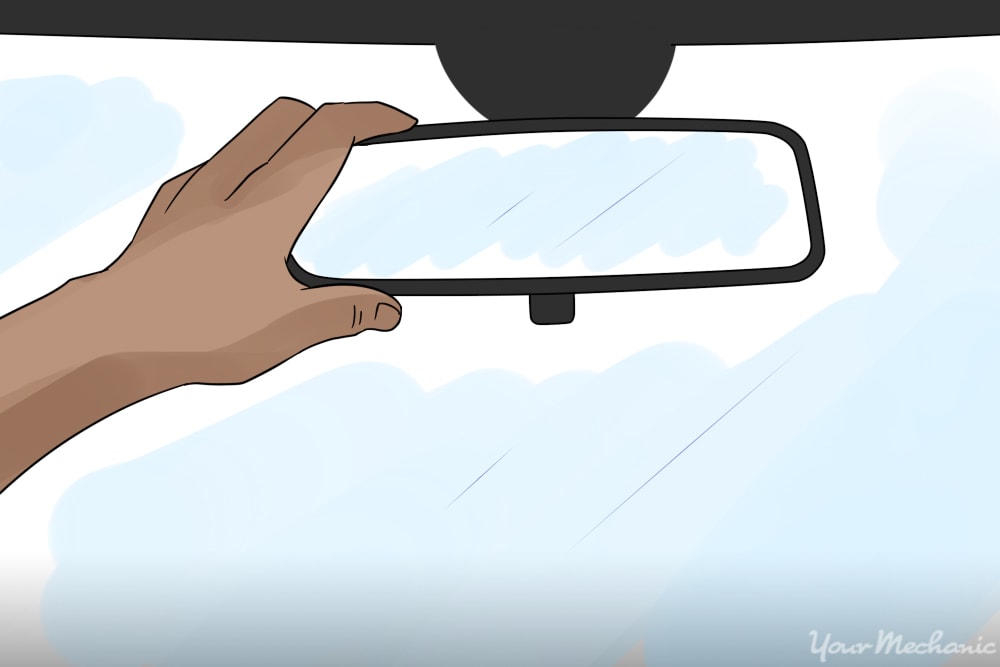

A rearview mirror was originally designed for the driver to use in order determine if a lane shift was safe. If the driver sees the front end of the other vehicle and both headlights, then it is safe to move over. Most people who have kids tend to use the rear view mirror for watching them. Kids like to horse around in the back seats and the rear view mirror is a good way to keep an eye on them; however, this can be a distraction to the driver.
Rearview mirrors come in a standard size, but there are multiple designs that can dazzle up a vehicle. These types include: standard DOT, wide DOT, wide with deflector DOT, custom symbol cut, custom cab fit (fits all the way across the cab), wide bus DOT, and electric DOT.
Pick up trucks are equipped with rear view mirrors as well. When a pickup truck is used like a passenger vehicle then the mirror spots vehicles behind them. On the other hand, when the pick up truck has a large trailer behind it or a cargo in the bed, the rear view mirror is usable.
The mirrors that are rated DOT (Department of Transportation) are certified for vehicle use at all times and are installed by the manufacturer for safety. Other rear view mirrors that are not DOT certified can interfere with the driver's vision and jeopardize their judgement. Electric DOT rear view mirrors are adjustable by a switch or knob. Also, the mirrors may be equipped with a clock, radio tuning buttons, and temperature.
If a rear view mirror does not stay on the windshield, this is dangerous for vehicle operation. Also, rear view mirrors that are cracked interfere with the driver's view when looking at cars or objects behind the vehicle. Rear view mirrors that have a glare deflector lose their strength and make the mirror move up and down during vehicle operation. This not only is a distraction to the driver, but also reflects the sunlight or other lights into other driver’s view.
The mirror may also be bad if the dimming function does not work, the mirror is discolored, or even if the mirror is completely missing.
Note: Driving with a missing rear view mirror or a cracked rear view mirror is a safety risk and is illegal.
Note: When replacing a mirror on a vehicle, it is recommended to install a mirror from the manufacture.
Part 1 of 3: Verifying the door mirror condition
Step 1: Locate the rear view mirror that is broken or cracked. Visually look at the rear view mirror for any exterior damage.
For electronically adjusting mirrors, gently tilt up, down, left, and right on the mirror glass to see if there is any binding of the mechanism within the mirror.
On other mirrors, feel the glass to see if it is loose and can move around or if the housing moves around.
Step 2: On electronic rear view mirrors, locate the mirror adjusting switch. Move the selector or push on the buttons and verify the electronics work on the mirror mechanics.
Step 3: Determine if buttons work. For the mirrors with the clock, radio, or temperature, check the buttons to see if they function correctly.
Part 2 of 3: Replacing a rearview mirror
Materials Needed
- Allen wrench set
- Clear silicone
- Crosstip screwdriver
- Disposable gloves
- Electrical cleaner
- Flat tip screwdriver
- Permanent marker
- Ratchet with metric and standard sockets
- Torque bit set
- Wheel chocks
Step 1: Park your vehicle on a flat, hard surface.
Step 2: Place wheel chocks around tires. Engage the parking brake to the lock the rear tires from moving.
Step 3: Install a nine volt battery saver into your cigarette lighter. This keeps your computer live and keep your setting current in the vehicle.
If you do not have a nine volt battery saver, that is okay.
Step 4: Disconnect the battery. Open the vehicle’s hood to disconnect your battery.
Take the ground cable off of the battery’s negative post disabling the power to the vehicle.
On standard DOT, wide DOT, wide with deflector DOT, and custom design mirrors:
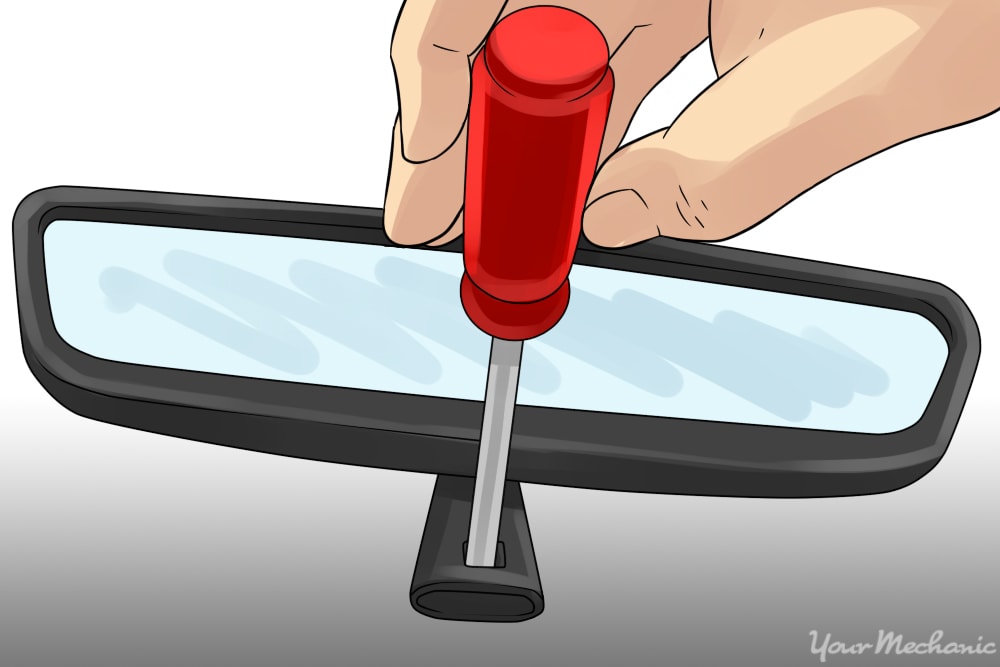
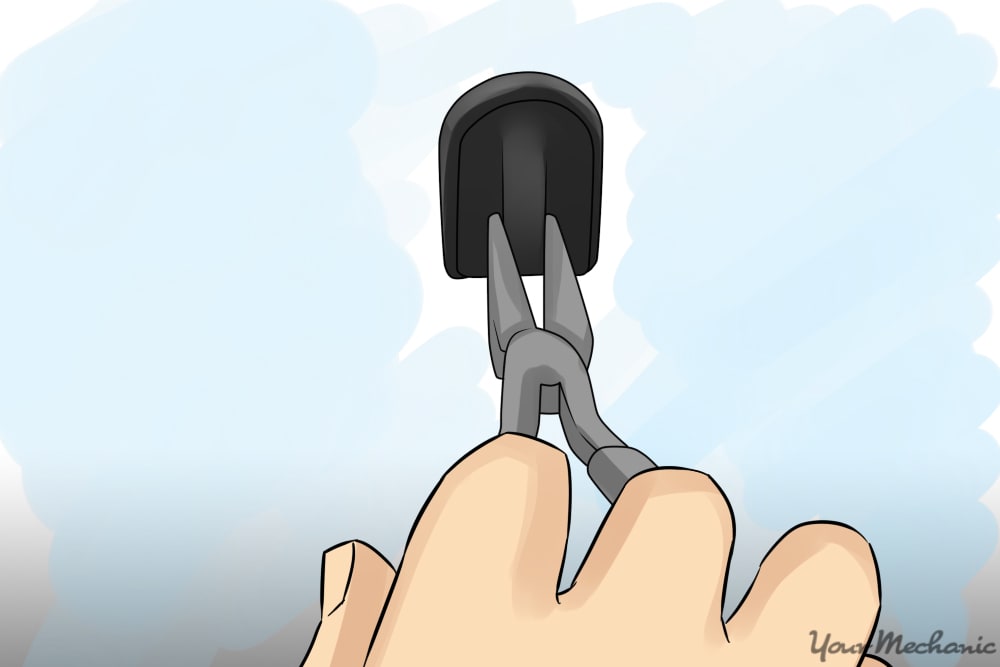
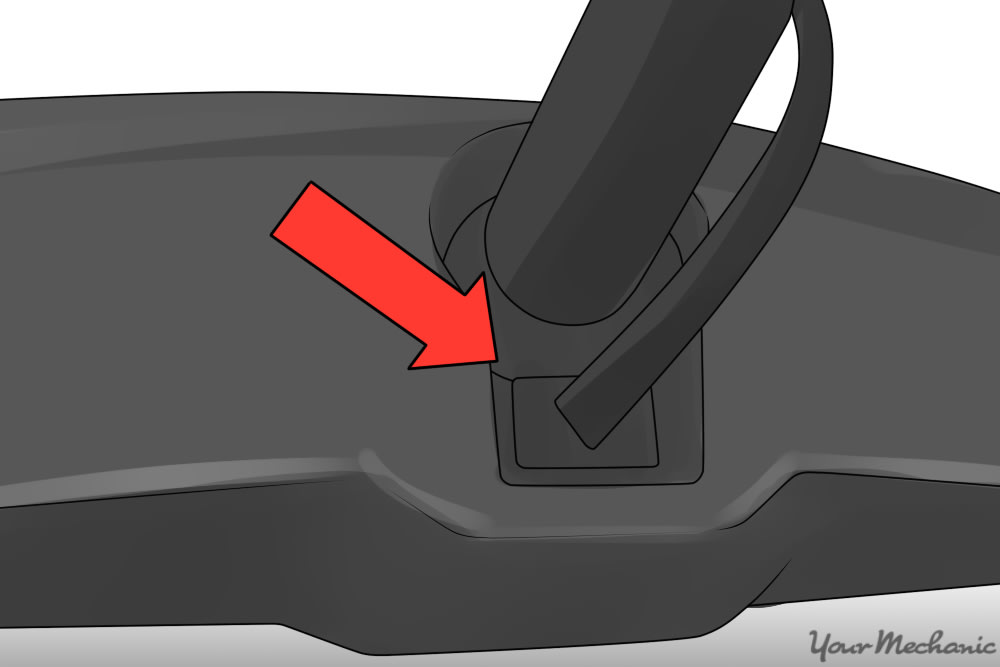
Step 5: Unscrew the mounting screw. Unscrew it from the base of the mirror attaching to the windshield.
Take the screw out of the mirror housing.
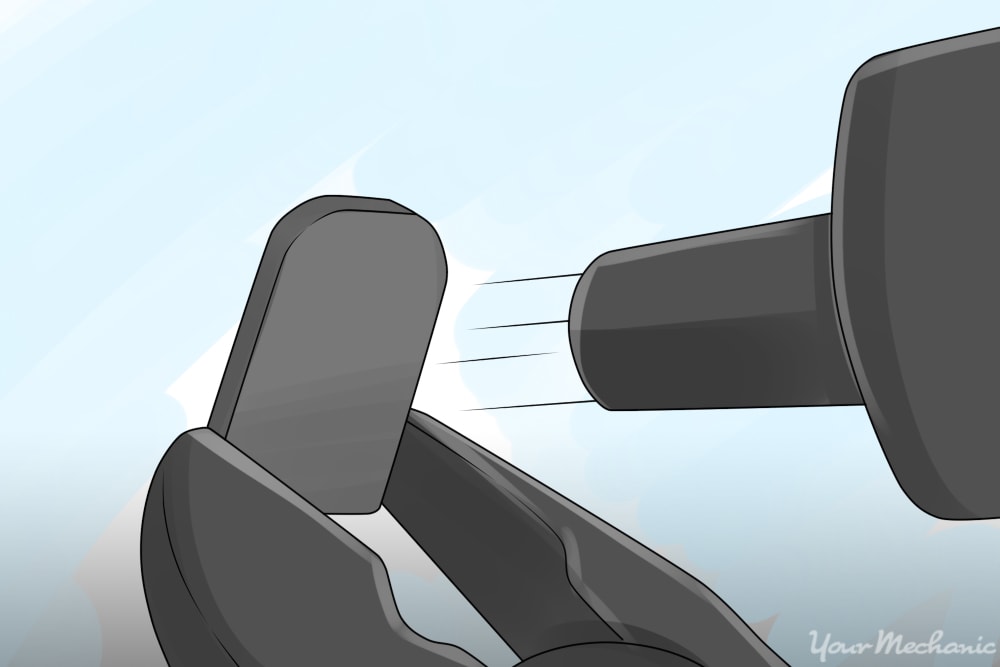
Step 6: Lift the mirror up off of the mounting plate.
On electric DOT mirrors:
Step 7: Unscrew the mounting screws. Unscrew these from the base of the mirror attaching to the windshield.
Take the screws out of the mirror housing.
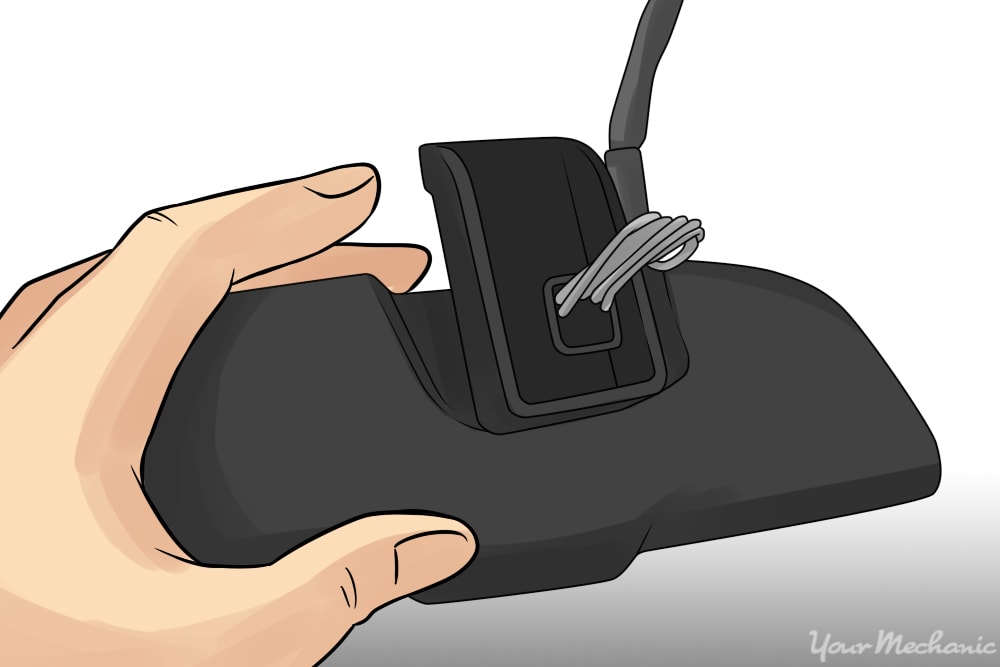
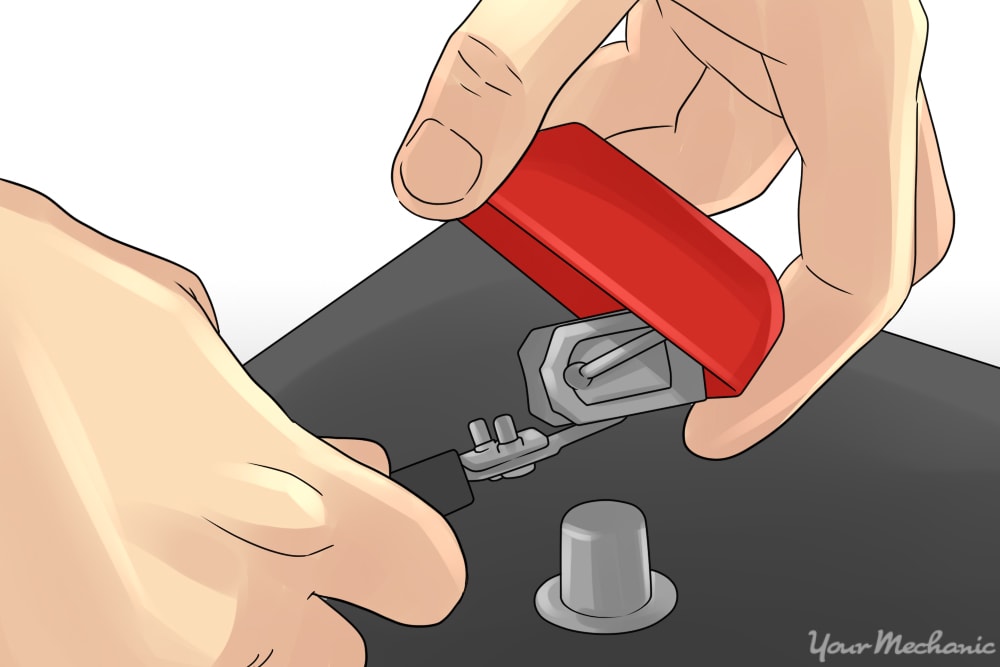
Step 8: Remove the harness plug from the mirror. Use electrical cleaner to clean the harness and remove any moisture or debris.
Step 9: Use a blow dryer or heat gun to heat up the mounting plate. When the mounting plate is warm to the touch, move it back and forth.
After a few times of moving, the mounting plate will come off.
Step 10: Mark the original location of the mirror. Before removing all of the adhesive, use a grease pencil or permanent marker to mark the original location of the mirror.
Make the mark on the outside of the glass so you do not remove it when cleaning off the adhesive.
Step 11: Use a razor scraper to remove the remaining glue from the glass. Place the edge of the blade on the glass, and continue scraping until the surface is smooth again.
Leave the mounting plate attached inside the bracket on the mirror, and use the scraper to remove any remaining adhesive.
Step 12: Remove any dust. Wet a lint-free cloth with isopropyl alcohol, and wipe the inside of the glass to remove any dust remaining after scraping the adhesive.
Allow the alcohol to evaporate completely before proceeding to attach a mirror to the glass.
- Note: You will need to apply isopropyl alcohol to the mounting plate if you plan on reusing the plate.
On a custom cab fit and bus DOT:
Step 13: Unscrew the mounting screws. Unscrew these from the base of the mirror attaching to the cab.
Take the screws out of the mirror housing.
Step 14: Remove the mirror. Remove the gaskets if there are any.
Step 15: Get your adhesive from the rearview-mirror adhesive kit. Apply the adhesive to the back of the mounting plate.
Place the mounting plate on the area of the glass where you marked it.
Step 16: Press gently on the mounting plate to seat the glue. This heats up the glue and removes all air from it for drying.
On standard DOT, wide DOT, wide with deflector DOT, and custom design mirrors:
Step 17: Place the mirror onto the mounting plate. Slide the mirror into place where it fits firmly and does not move.
Step 18: Install the mounting screw into the base of the mirror with clear silicone. Tighten the screw hand tight.
- Note: The clear silicone on the mirror mounting screw will keep the screw from backing out, but will make it easy to remove the next time you need to change the mirror.
On electric DOT mirrors:
Step 19: Place the mirror onto the mounting plate. Slide the mirror into place where it fits firmly and does not move.
Step 20: Install the harness onto the mirror plug. Be sure that the lock clicks into place.
Step 21: Install the mounting screw into the base of the mirror with clear silicone. Tighten the screw hand tight.
On custom cab fit and bus DOT mirrors:
Step 22: Install the mirror and gaskets if any onto the cab. Screw in the mounting screws with clear silicone into the base of the mirror attaching it to the cab.
Step 23: Tighten the mounting screws hand tight. Remove the mirror and remove the gaskets if there are any.
Step 24: Reconnect the ground cable back onto the battery’s negative post. Remove the nine volt battery saver from the cigarette lighter.
- Note: If you did not have a nine volt battery saver, you will have to reset all of the Settings in your vehicle, like your radio, electric seats, and electric mirrors.
Step 25: Tighten the battery clamp. Ensure that the connection is good.
Part 3 of 3: Testing the rear view mirror
For standard DOT, wide DOT, wide with deflector DOT, and custom design mirrors:
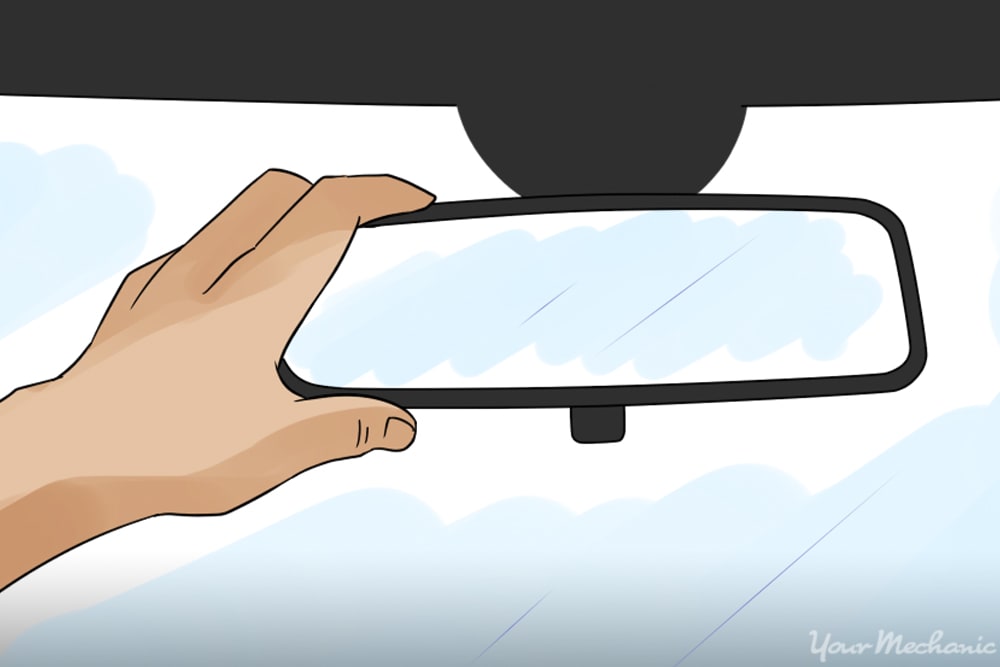
Step 1: Move the mirror up, down, left, and right to check for proper movement. Check the mirror glass to insure that it is tight and clean.
For electric DOT mirrors:
Step 2: Operate the adjusting switch to move the mirror up, down, left, and right. Check the glass to insure it is fastened securely to the motor in the mirror housing.
Make sure that the mirror glass is clean.
If your rear view mirror will not operate after installing the new mirror, then there may be further diagnosis of the rear view mirror assembly needed or a possible electrical component failure within the rear view mirror circuit. If the problem persists, have one of YourMechanic’s certified technicians perform a replacement.


