Drum brakes are a very common braking option used on many vehicles today. While disc brakes have become the standard for use on the front and rear axles of many vehicles, drum brakes are still very commonly used. However, they are usually found on the rear axle of a vehicle, and usually also function as the parking brake for the vehicle.
While both disc and drum brakes are commonly found across all types of vehicle platforms, and are both safe and reliable braking options, they do differ significantly in design and operation. Drum brakes use friction-lined brake shoes inside of a drum, as opposed to brake pads over a disc brake rotor. This design allows them to have a longer service life, as well as a lower cost of manufacturing than found with disc brakes - in exchange for the straight-ahead braking power and heat dissipation of a disc brake system. This is why most vehicles with drum brakes will usually have disc brakes in the front and drums in the rear, as most of a vehicle’s braking force is exerted onto the front wheels during braking.
While drum brakes do have a completely different layout and mode of operation than disc brakes do, they are usually no more difficult to service, and often require only a basic set of hand tools and a drum brake adjustment tool to get the job done. In this step-by-step guide, we will go over how to service a typical drum brake system, including how to disassemble and replace the drums, shoes, and hardware, as well as how to properly adjust the drag of the brake shoes inside of the drum.
Part 1 of 4: Prepare the vehicle
Materials Needed
- Aerosol brake cleaner
- Brake shoes
- Digital micrometer
- Drum brakes
- Drum brake adjustment tool
- Dust mask
- Jack
- Jack stands
- Needle nose pliers
- Oil drain pan
- Ratchet and socket assortment
- Safety glasses
- Tire chocks (or blocks of wood)
- Drum brake tool kit
- Free repair manuals
- Protective gloves
- Safety glasses
Step 1: Loosen the lug nuts of the vehicle. Before raising the vehicle, loosen the lug nuts of both rear wheels.
It will be much easier to loosen them with the weight of the entire vehicle on the wheels.
Remove any wheel hubcaps or center wheel covers that may be covering the lug nuts.
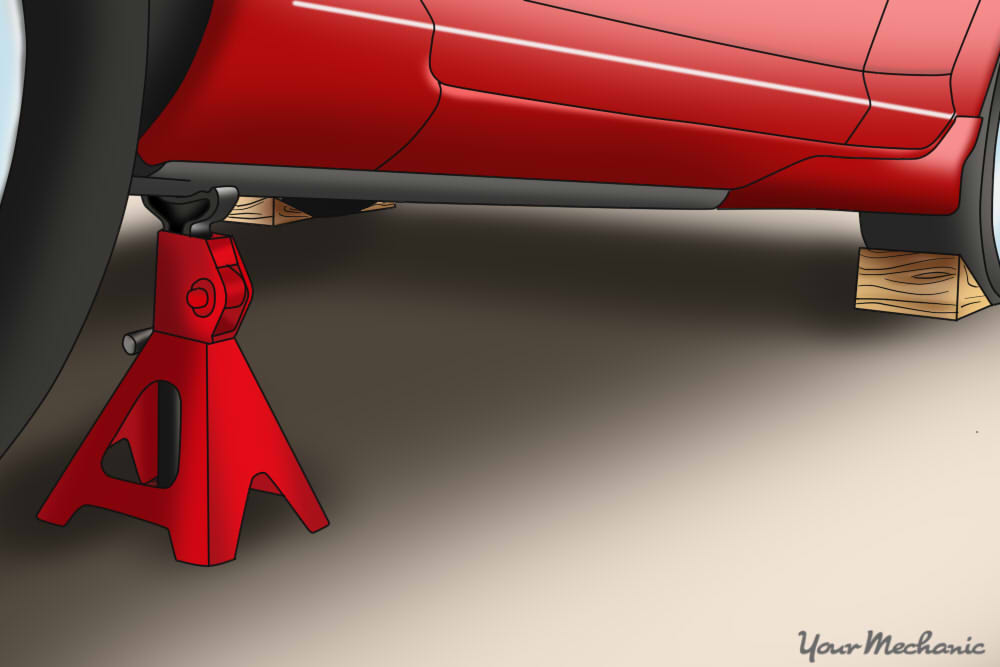
Step 2: Secure the vehicle on jack stands. Once the lug nuts are loosened, raise the rear of the vehicle and secure it on jack stands.
Since you will be working on the rear of the vehicle, the parking brake cannot be used to secure the vehicle. Thus, it becomes very important to secure the front wheels, using tire chocks or wood blocks, to prevent the vehicle from rolling.
Once the wood blocks are in place, slowly lower the vehicle onto the jack stands.
Part 2 of 4: Remove the brake shoes

Step 1: Remove the wheel. This will expose the brake drum.
- Warning: When servicing drum brakes, brake dust can be released into the air and can become a potential health hazard. Working in a well-ventilated area and using a dust mask will help prevent accidental inhalation of any hazardous brake dust.
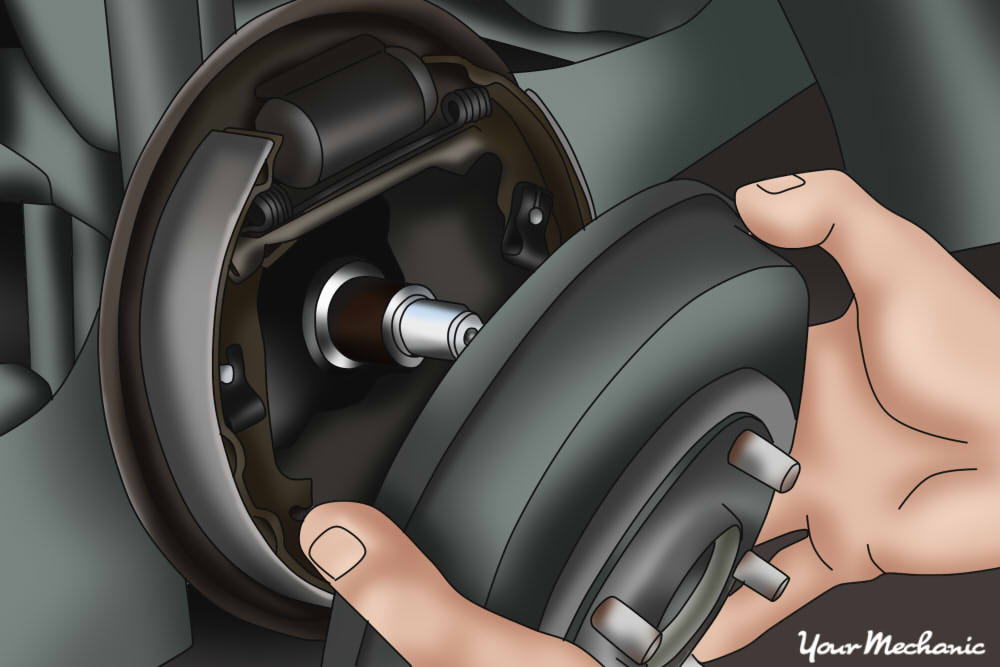
Step 2: Remove the brake drum. The brake drum can usually be removed by moving it back and forth, while pulling it away from the hub.
If the brake drum doesn’t move or appears to be stuck, use a bit more force and make sure that the parking brake is disengaged - it will lock the brake drums in place if it is set.
Some vehicles will also use screws to hold the drums in. If this is the case, simply remove them before attempting to remove the drum. Make sure to use the correct screwdriver so that there is no damage to the screw head during removal.
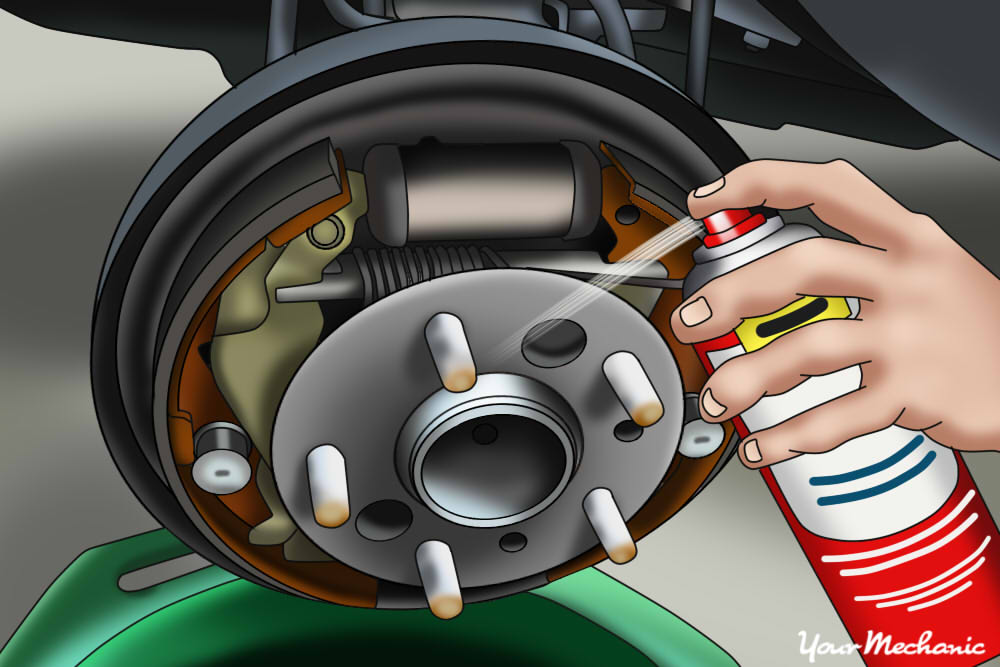
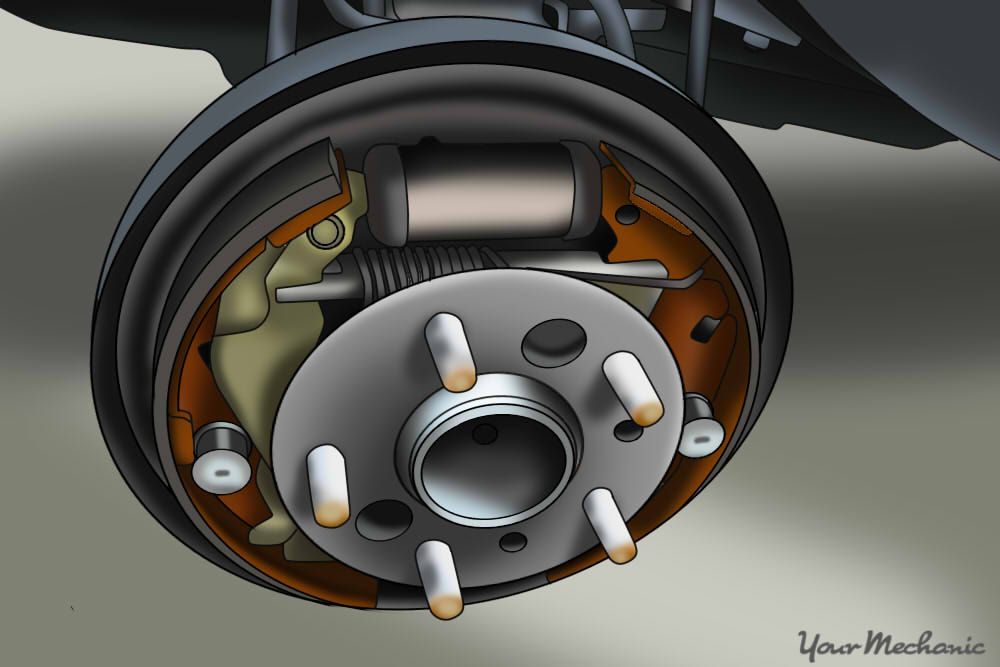
Step 3: Clean the drum brake assembly. Once the drum is removed, you should be able to see the inner workings of the drum brake assembly: the shoes, springs, and wheel cylinder.
Before proceeding with disassembly, place the oil drain pan underneath the drum brake assembly, and then thoroughly spray the entire assembly with brake cleaner.
Liberally spray down any areas that are especially dirty, or places where brake dust has built up.
Excessive brake dust inside of the drum can cause problems like noise, vibration, and uneven wear.
- Tip: It would also be a good recommendation to take a picture of the drum brake assembly at this time, to have a quick visual reference of what it should look like during reassembly.

Step 4: Inspect the brakes. Before you dig into replacing your brake shoes, you’ll want to measure and inspect the brake components.
Brake shoes - You can measure the old shoes with a digital micrometer set to read in inches. If they have a thickness of anything less than 1/16th of an inch, the brake shoes should be replaced.
Brake drums - Inspect the drum for scoring, cracking, or grooving.
Brake fluid leaks - While you’re inspecting the shoes and drums, you’ll also want to check the wheel cylinders. If they are leaking brake fluid then they should be replaced.
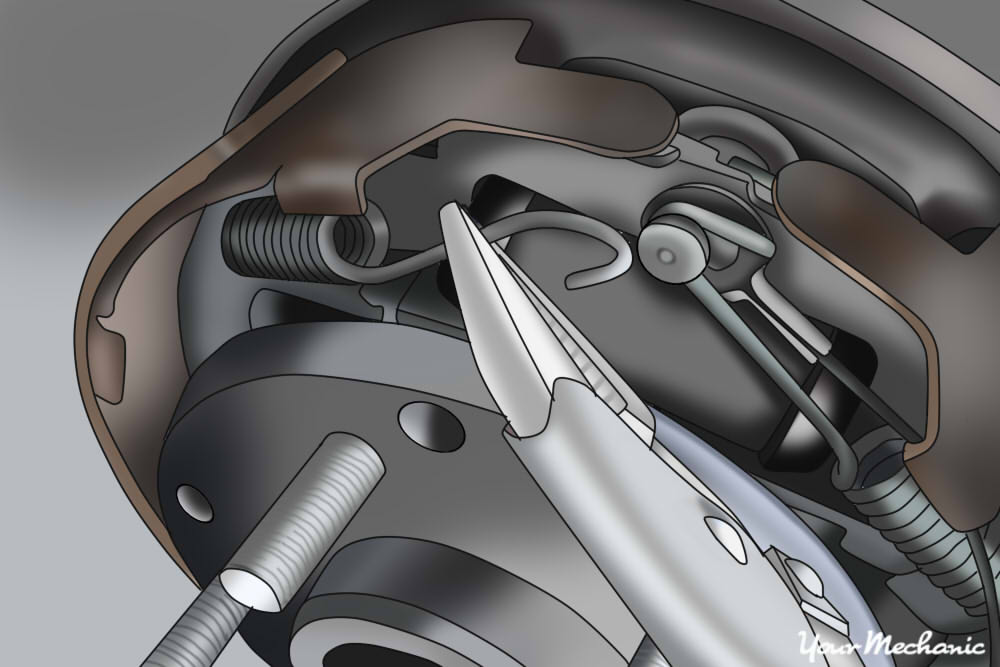
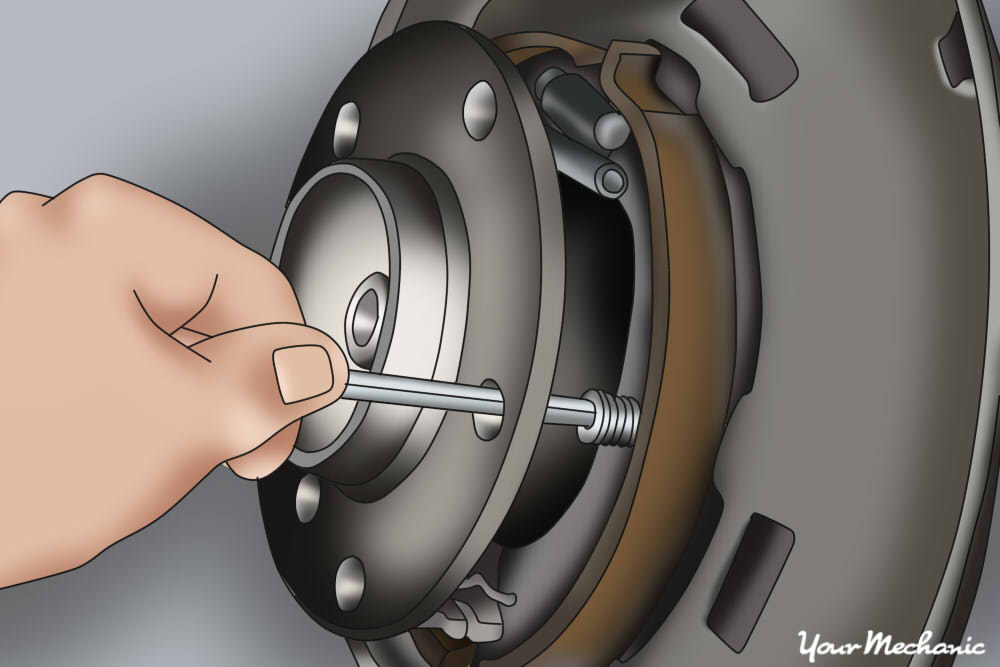
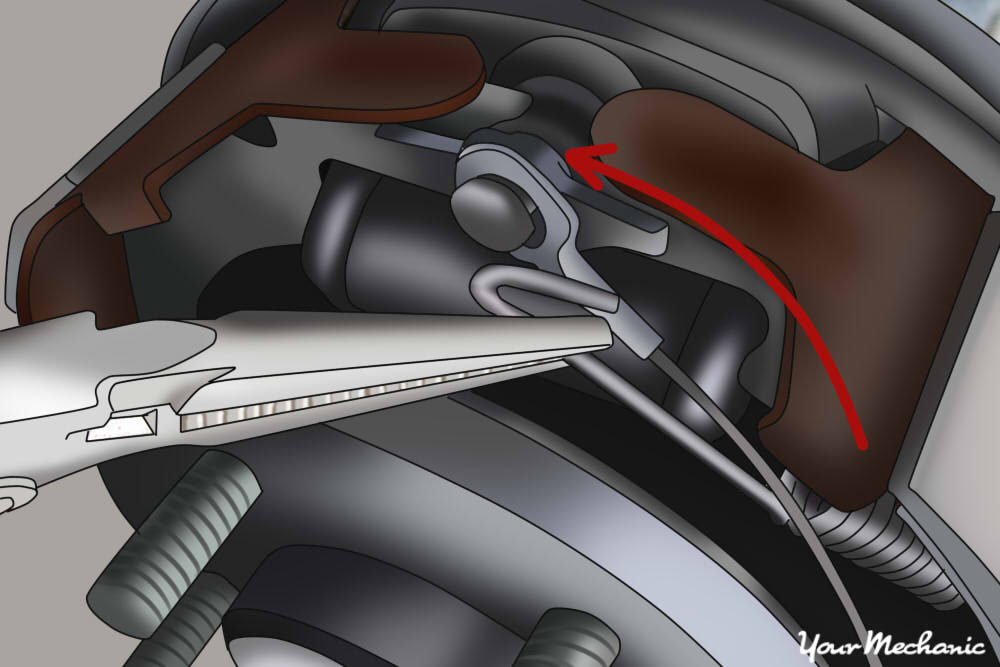
Step 5: Disassemble the brake drum assembly. Remove the brake shoe retaining springs by pulling them free using needle nose pliers.
Many vehicles will use multiple sets of springs to tension the brake shoes. It is often easiest to remove the topmost spring first, which will loosen the overall tension and make the lower springs easier to remove.

Step 6: Remove the brake drum shoes. The drum brake shoes are tensioned with springs, but often times secured in place with pins and washers.
Remove any pins and washers by pulling them free using the needle nose pliers. Once all of the pins have been removed, pull the drum shoes free.
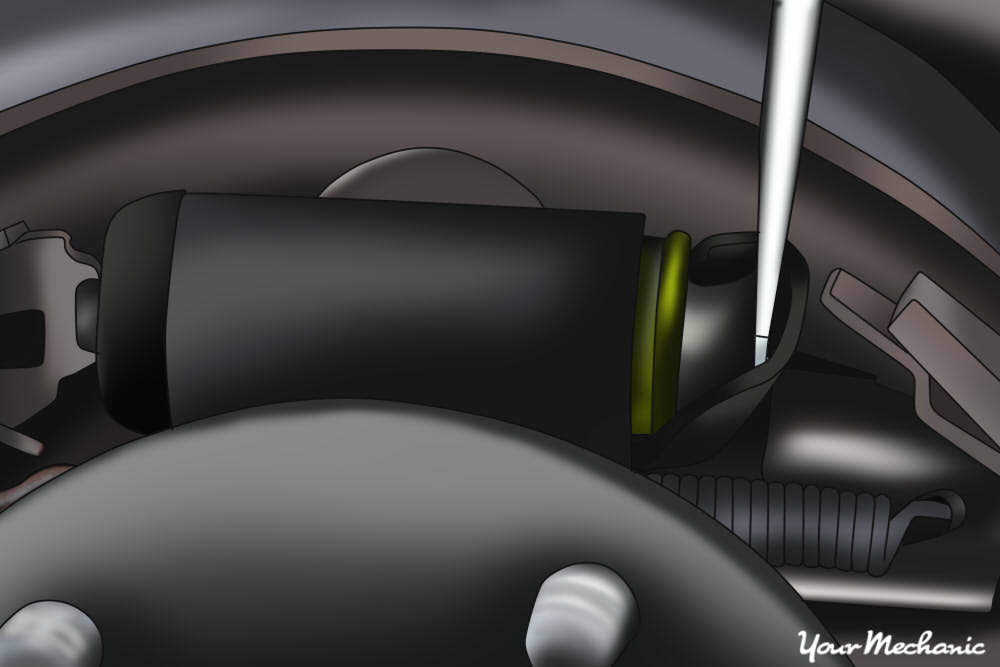
Step 7: Look for any leaks. With the drum shoes and springs removed, locate and closely inspect the wheel cylinder for any signs of leakage.
Leakage at the wheel cylinder would indicate a leakage of brake fluid, and a compromise to the efficiency and safety of your vehicle’s braking system.
If any leakage or damage to the wheel cylinders is found, it is recommended to replace the brake wheel cylinders as soon as possible.
Once the wheel cylinder has been closely inspected and verified to be okay, proceed to reassembly.
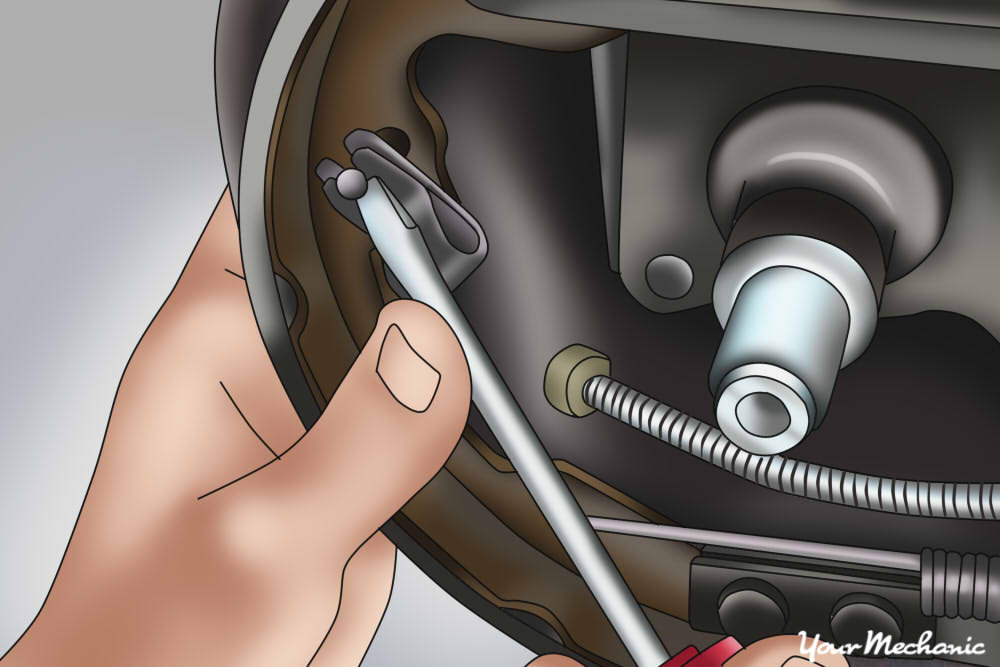
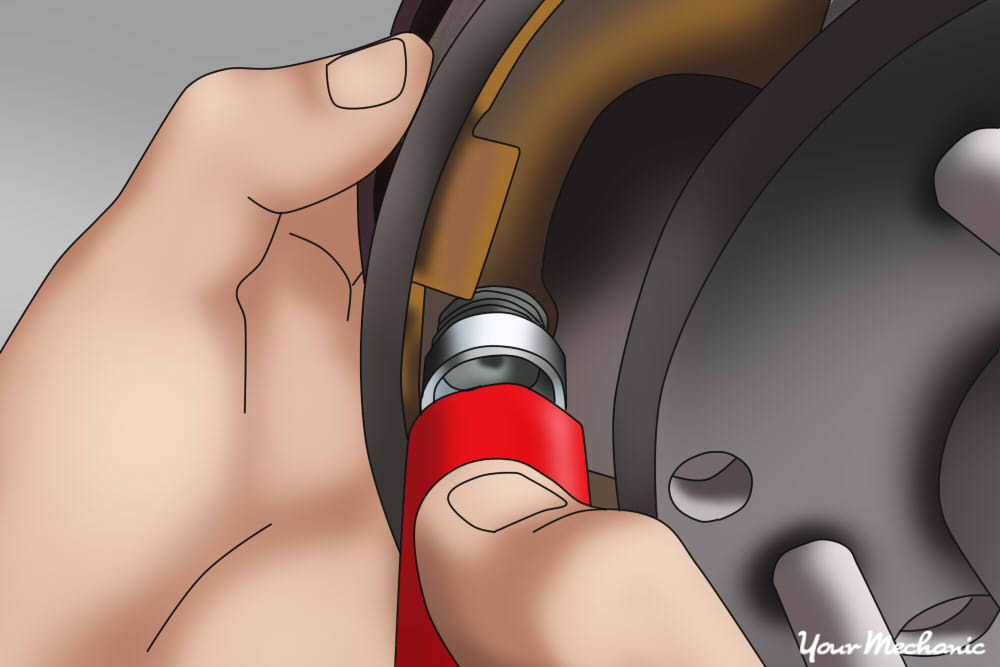
Step 8: Remove the parking brake cable retainer clip. Remove the parking brake cable retainer clip by prying it up with a flathead screwdriver or twisting it with a pair of pliers.
- Note: Some replacement shoes comes with a new clip and some don’t. Be careful removing the clip if your shoes don’t come with a new one - you will need to reuse the clip when you install the replacement shoes.
Part 3 of 4: Install the brake shoes and drums
Step 1: Clean and lubricate the backing plate. Clean the backing plate with brake cleaner.
Then, apply disc brake lubricant to the the bosses, anchor of the pin, and parking brake actuating lever pivot surface.
Step 2: Install the parking brake lever and retaining clip. Slide the pin through the new shoe and reinstall the parking brake retaining clip.
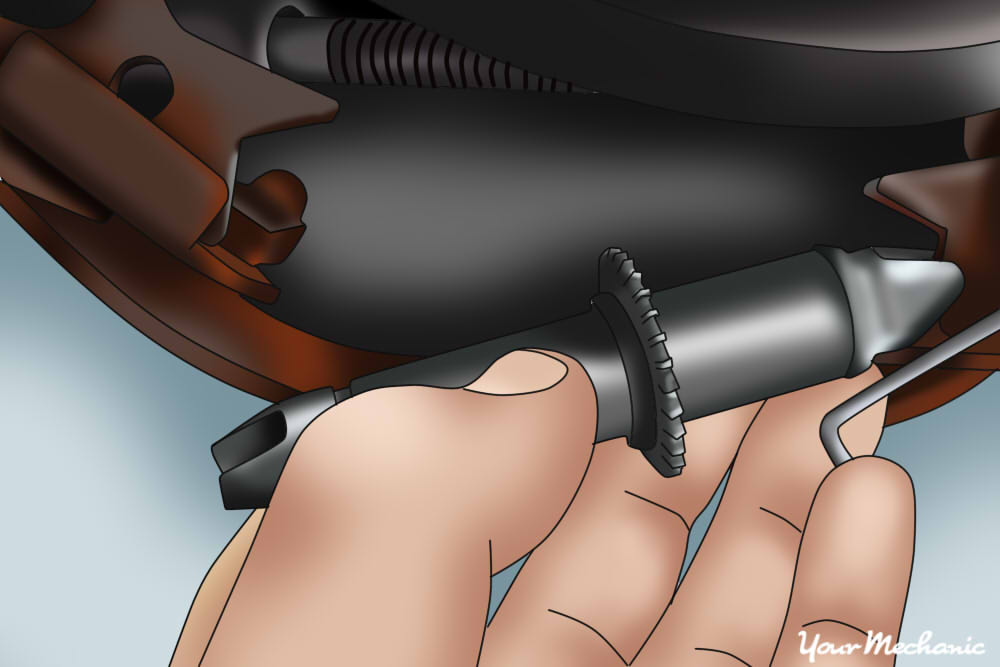
Step 3: Install the adjusting screw assembly and adjusting screw spring. After putting the parking brake lever and retaining clip, install the adjusting screw assembly and spring.
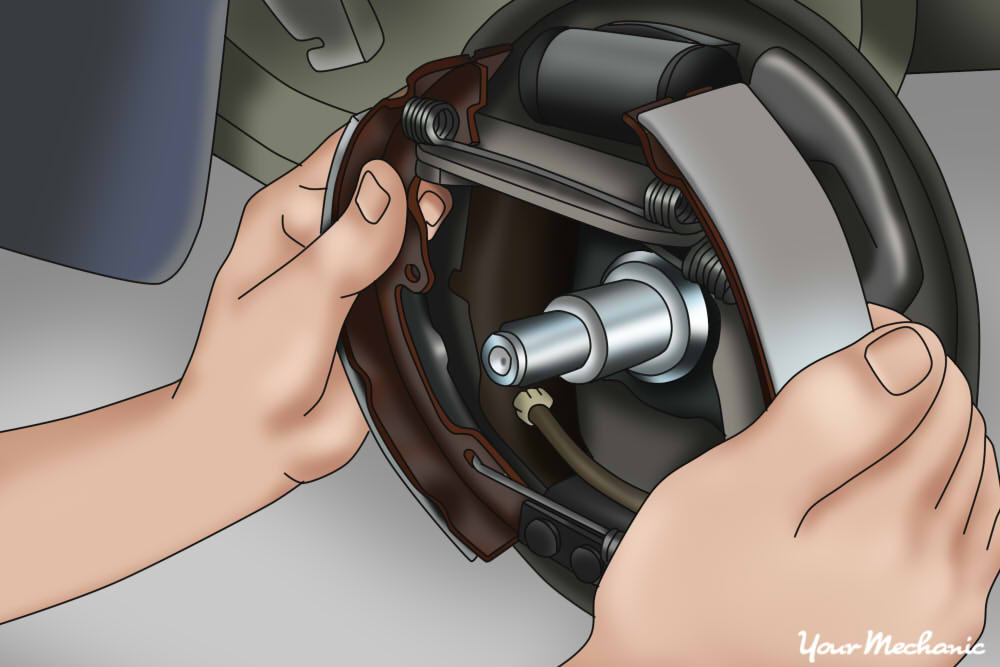
Step 4: Secure the new brake shoes onto the hub. Begin reassembly by reinstalling the new brake shoes onto the hub, and securing them into place with the new pins and washers that should be included in your hardware kit.
Many hardware kits will also include a new adjuster component that is often secured to the bottom of the brake shoes; replace this component as well if it is included in the kit.
Step 5: Reinstall the tensioning springs. With the brake shoe secured in place, reinstall the tensioning springs in the reverse order that you removed them, from bottom to top.
The entire interior drum brake assembly should be completely reassembled at this point.
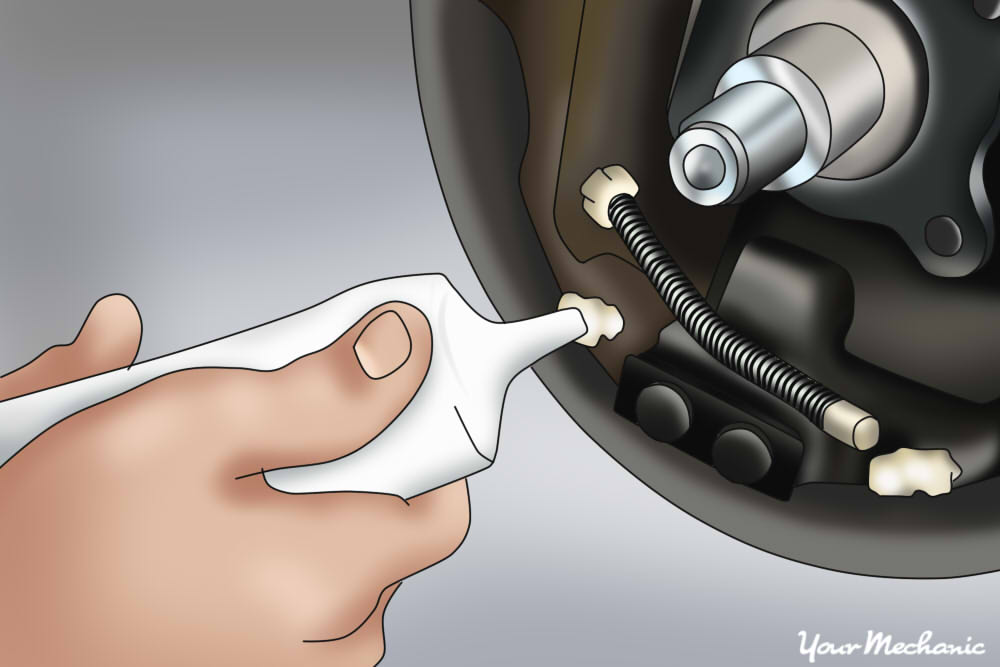
Step 6: Install the hold down pins and springs. You should now install the hold down pins and springs of the brake drum assembly.
Step 7: Install the return springs. Install the return springs by attaching the spring to its proper location on the brake.
Step 8: Adjust the brakes so the brake shoes expand. Adjust the brakes using a screwdriver or dedicated brake spoon.
You will want to expand the shoes until the drum can just barely be turned by hand.
Then, back off the adjusting screw 12 notches. If the shoes are still dragging, back off the adjusting screw a couple more notches.
Set the wrench to the desired reading and turn it until it clicks. Torque specifications can be found in the repair manual for your vehicle.
Part 4 of 4: Install the brake drums and replace the wheel
Step 1: Prepare the new drum brake. Many drums will become coated in a thin oily film to prevent them from rusting during shipping and storage.
If that is the case, be sure to liberally spray the drums with brake cleaner to remove any of the film that may be present before installing them.

Step 2: Install the drum brake over the brake shoes. Once the drum is clean and ready to install, slip it over the brake shoes and install it onto the hub.
If there is any difficulty sliding the drum on, it may be possible that the brake shoes need to be adjusted so that the drum can fit correctly.
Adjust the brake shoes by turning the adjuster, or by using the adjuster tool, one increment at a time until the drum slides over the brake shoes and onto the hub properly without excessive resistance.
Step 3: Make final adjustments to the brake drum. At this point the drums should be fully reassembled, and will just require a final adjustment.
A final adjustment is very important. Loosely adjusted shoes will not work correctly and may even result in problems with the parking brake, while excessively tight shoes will cause excessive drag that can overheat and damage the drums and shoes.
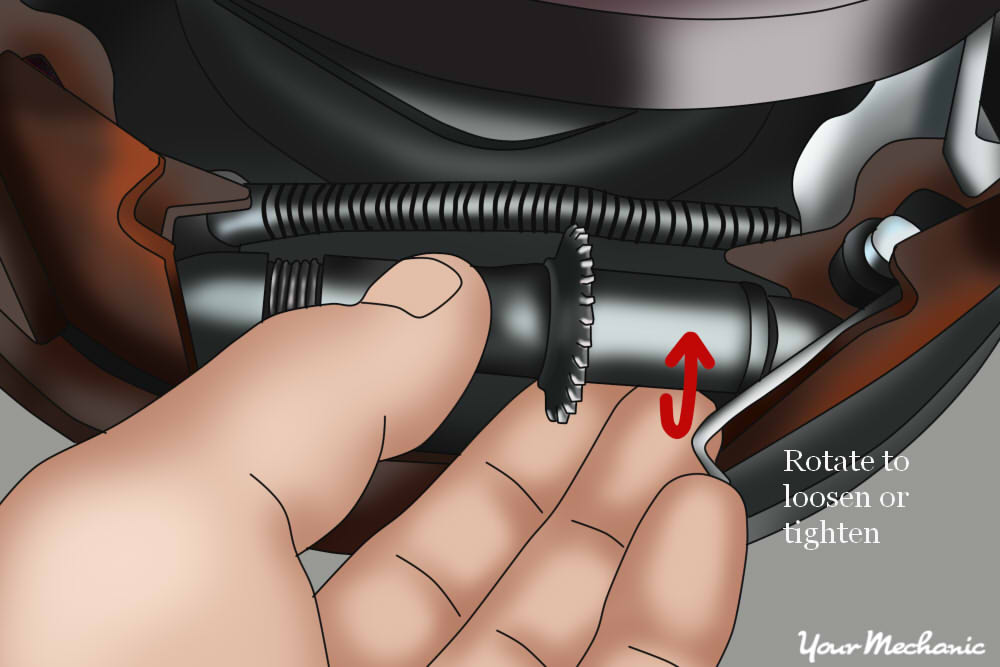
Locate the adjuster access port, which is usually on the inside of the hub. This port grants access to the brake adjuster.
- Note: Some vehicles will require you to turn the drum a certain way to gain access to the port, while others will not have a port at all, requiring you to remove the drum every single time you make an adjustment.
Use the drum brake adjusting tool to turn the adjuster and loosen or tighten the shoes. You may also need to use a flathead screwdriver to turn the adjuster if a brake adjuster tool is not handy.
Carefully adjust the tension in small increments, until there is minimal to zero drag on the inside of the drum when you turn it by hand.

Step 4: Install the wheel and tire. Put the wheel and tire back on the vehicle and tighten the lug nuts until they are snug - but don’t tighten them all the way.
Step 5: Remove the jack stands. Jack up the vehicle in the same location as before. Remove the jack stands and then lower the jack slowly until the car is on the ground.
Step 6: Remove the wheel chocks.
Step 7: Torque the wheel lug nuts to specification. Use a torque wrench and refer to your owner’s manual for the correct specification.
Step 8: Replace the brake shoe and drums of the other rear wheel. Follow the previous steps to replace the brake drum on the other rear wheel.
Once the final adjustment has been made, put the wheel back on, and tighten the lug nuts.
Step 9: Test your brakes. Pump the brakes using your brake pedal to redistribute hydraulic pressure into the system. Also check to make sure that the parking brake is operating correctly and does not feel excessively loose.
At this point, you can test drive the vehicle on the road to make sure that the brakes are operating normally. If the brake pedal feels loose or too hard to push, you should stop and make adjustments or have the brakes inspected and repaired by a mechanic.
All things considered, servicing your drum brakes is a relatively straightforward affair, and is not much more complicated to perform than most disc brake services. Best of all, servicing them yourself can be a great way to save on expenses. If you prefer to have a professional perform this task for you, YourMechanic offers expert brake shoe replacement and brake drum replacement at affordable prices.
