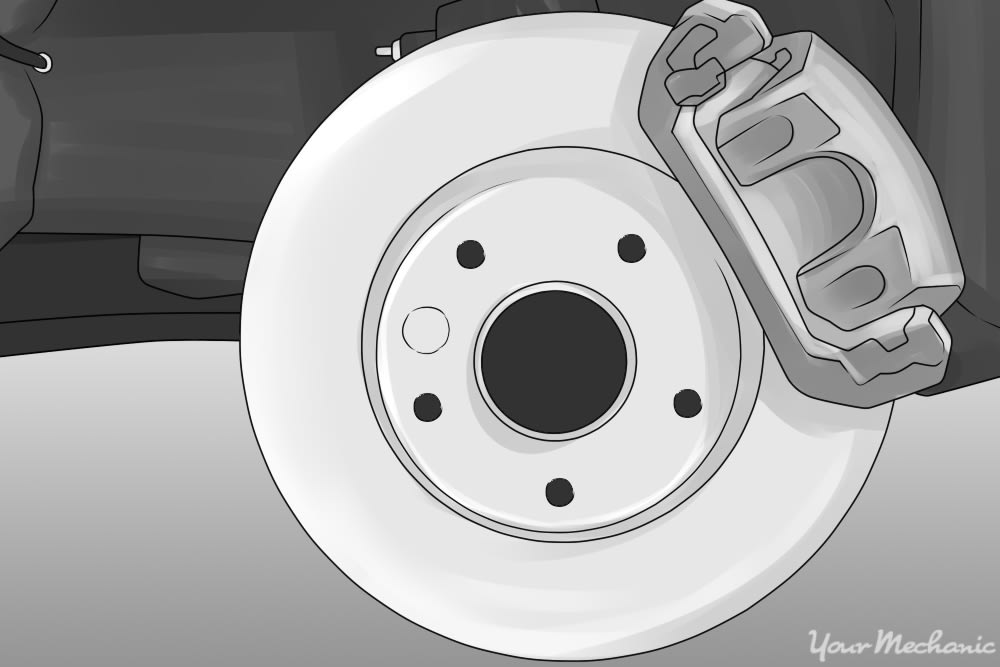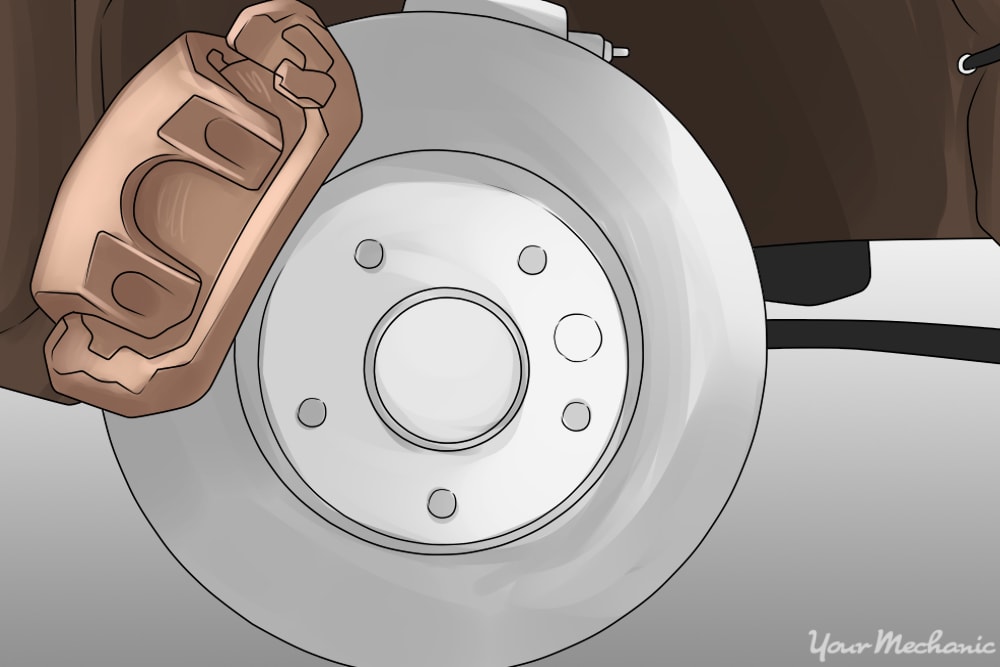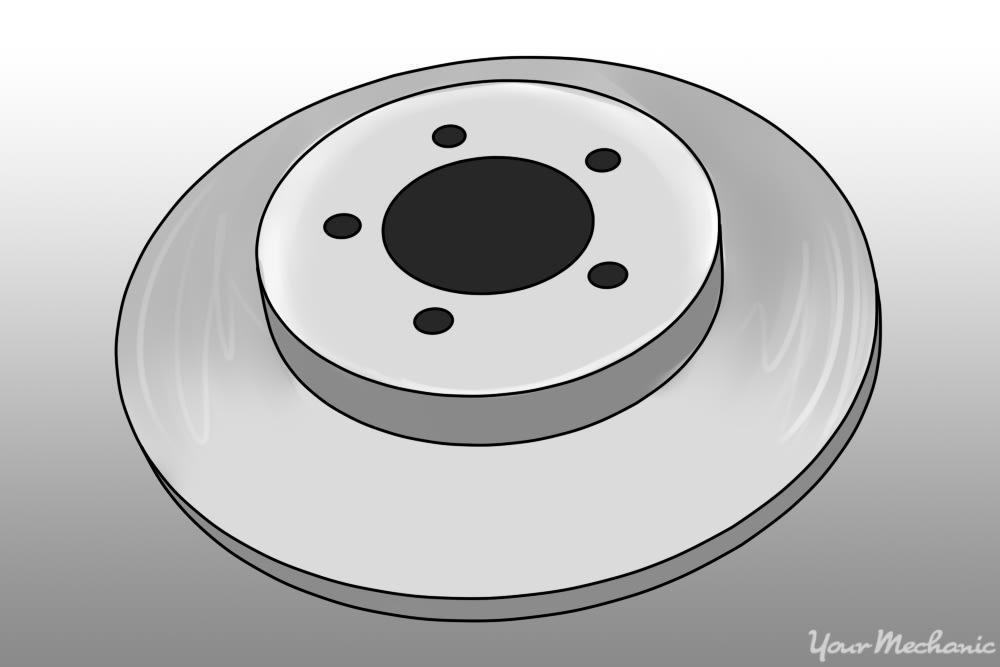

A brake rotor is one of the key components to helping bring your car to a stop. The brake pads squeeze together against the rotor, which spins with the wheel, to apply friction and stop the rotation of the wheel.
Over time, the metal rotor wears out and becomes thinner. As this happens, the rotor will heat up faster - which increases the chances of the rotor warping and making the pedal pulsate when applying the brakes. It is important that your rotors get replaced when they get too thin, otherwise you will compromise your vehicle’s ability to decelerate.
You should also replace your rotors if there are any heat spots, typically blue in color. When the metal overheats, it becomes tempered and harder than the rest of the metal on the rotor. This spot won’t wear down as quickly, and soon your rotor will have a bulge that will grind against your pads, making a grinding sound when you try to stop.
Part 1 of 2: Removing your old rotor
Materials Needed
- Brake cleaner
- Brake piston compressor
- Bungee cord
- Floor jack
- Jack stands
- Ratchet
- Socket set
- Thread locker
Torque wrench
Note: You’ll need a few different sizes of sockets which will vary between different types of cars. The caliper slider pin bolts and mounting bolts tend to be around 14mm or ⅝”. The most common lug nut sizes are 19 or 20mm for metric or ¾” and 13/16” for older domestic vehicles.
Step 1: Lift the vehicle off the ground. On a solid, level surface, use your jack and lift the car so the wheel you are working on is not touching the ground.
Block off any wheels still on the ground so that the car doesn’t move while you are working.
- Tip: If you are using a breaker bar, be sure to loosen the lug nuts before lifting the car up. Otherwise, you will just turn the wheel trying to loosen them in the air.
Step 2: Remove the wheel. This will expose the caliper and rotor so you can work.
- Tip: Keep track of your lug nuts! Stick them in a tray so that they can’t roll away from you. If your car has hubcaps, you can flip them over and use them as a tray.
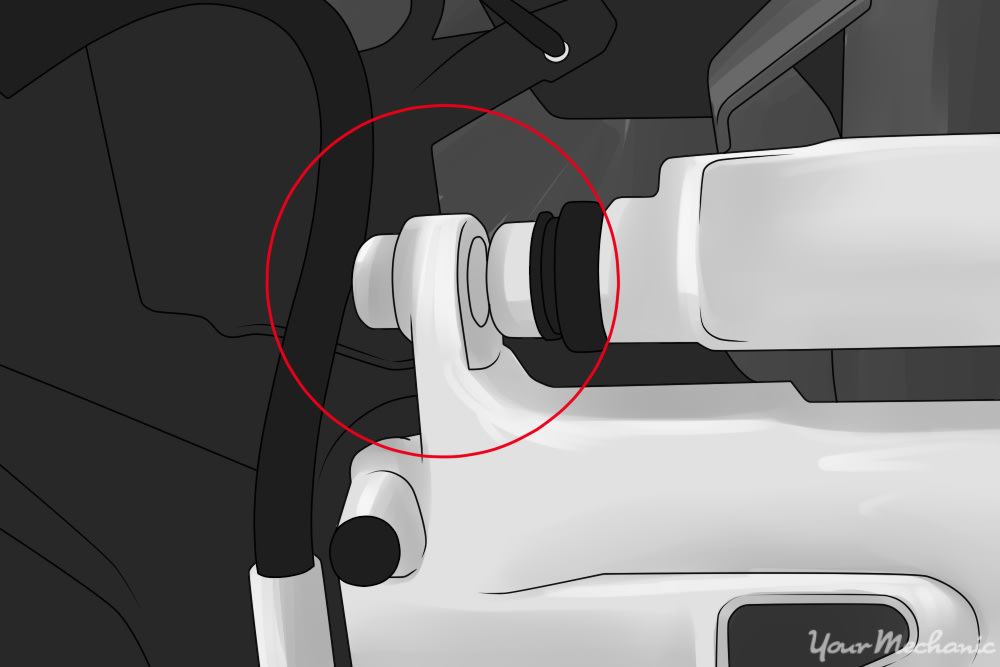
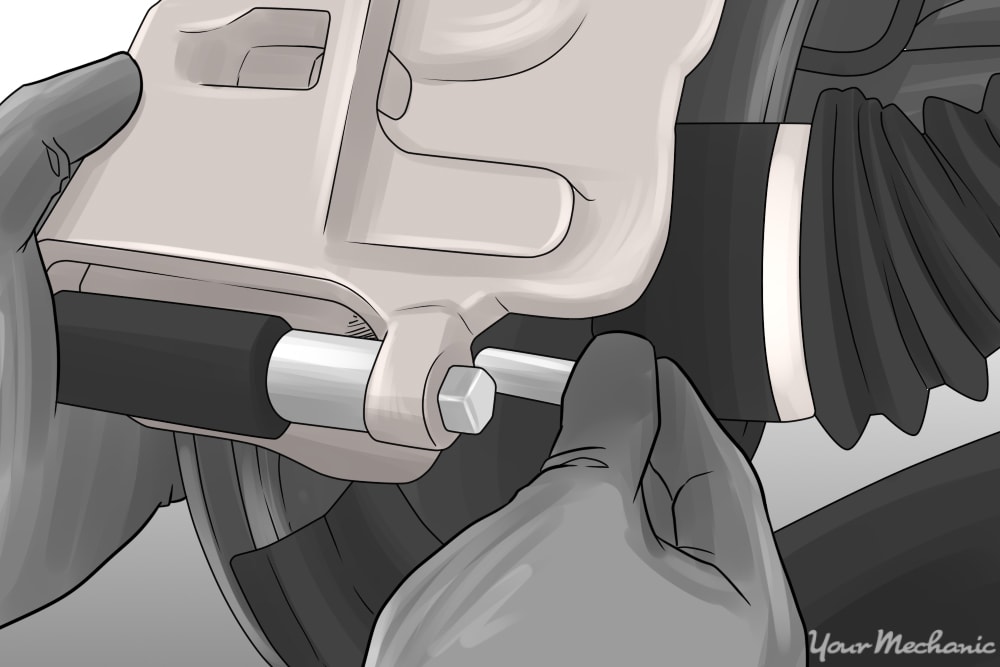
Step 3: Remove the top slider pin bolt. This will allow you to open up the caliper to remove the brake pads.
If you don’t remove them now, they will most likely fall out when taking the whole caliper assembly off.
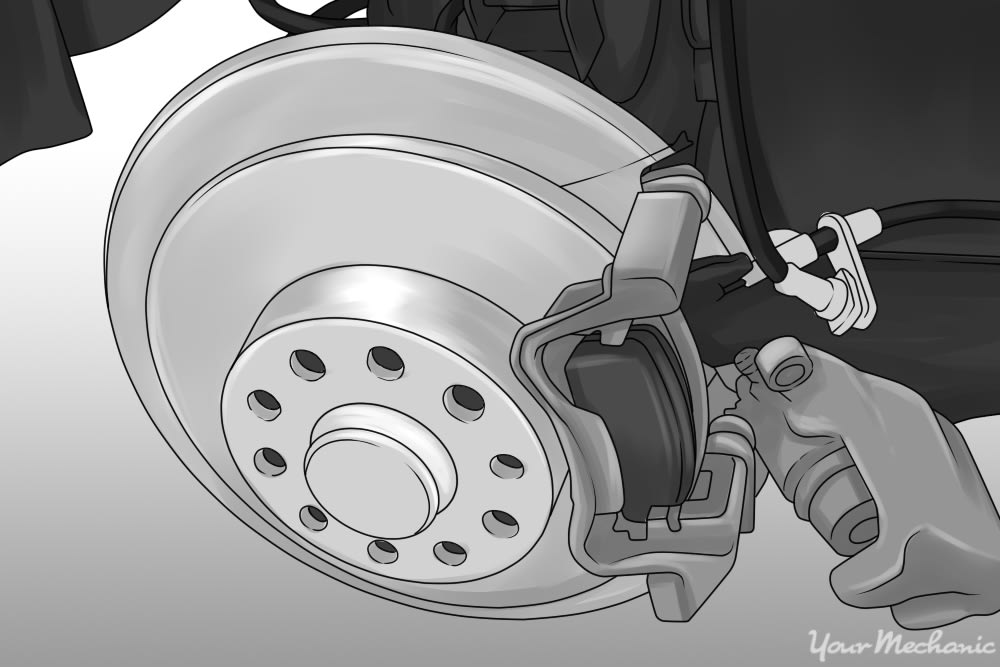
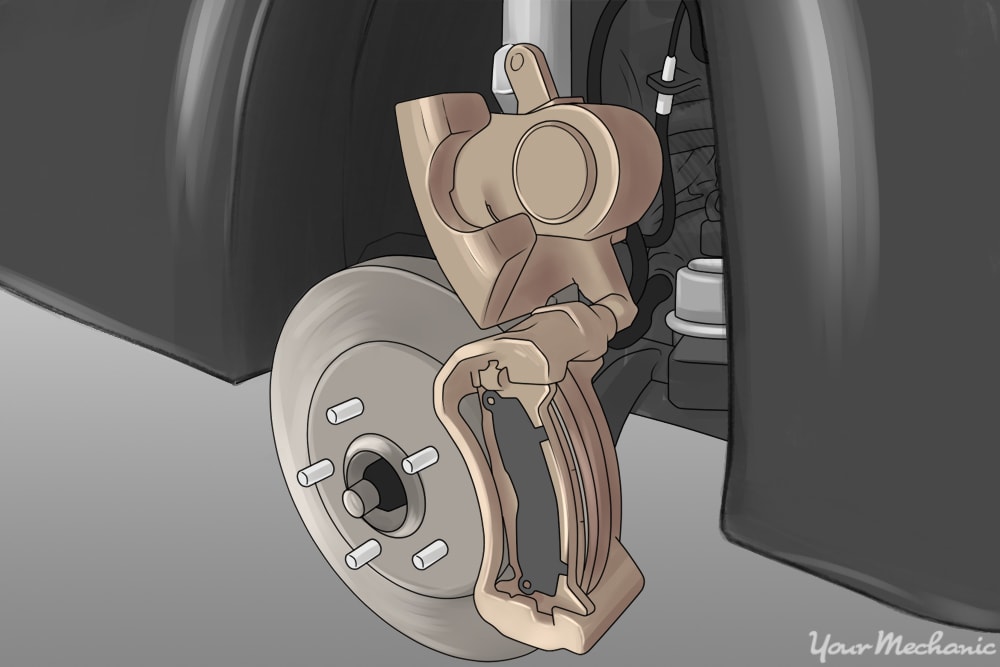
Step 4: Twist open the caliper housing and remove the brake pads. Similar to a clam shell, the housing will be able to rotate up and open, allowing you to then remove the pads.
-
Tip: Use a flathead screwdriver or small pry bar to help open up the caliper if there is resistance.
Step 5: Close the caliper. With the pads removed, close the caliper and hand tighten the slider bolt to keep the pieces together.
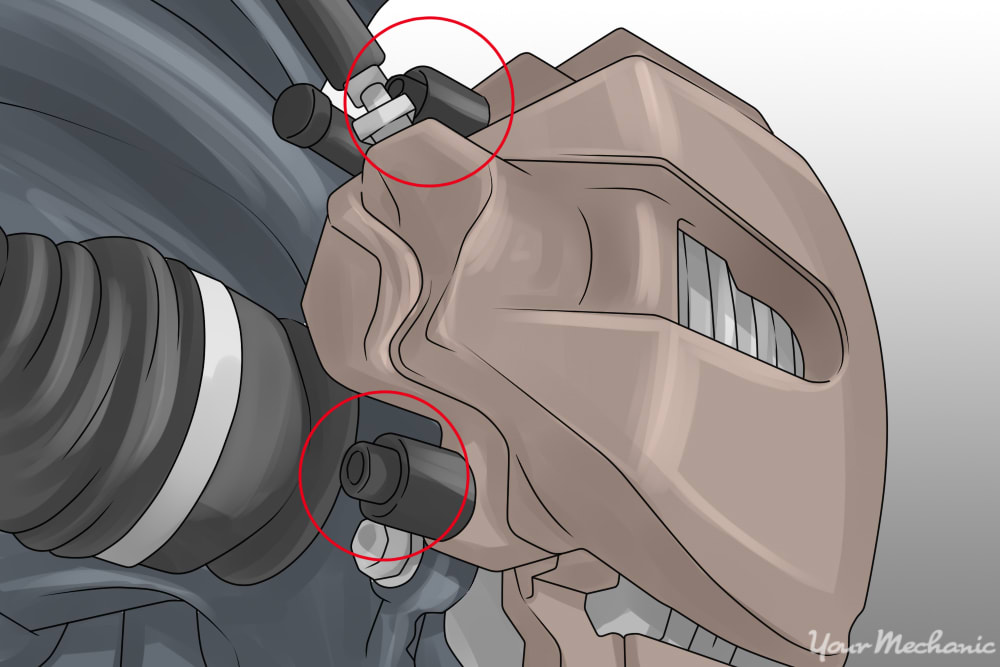
Step 6: Remove one of the caliper mounting bracket bolts. These will be closer to the center of the wheel on the backside of the wheel hub. Unscrew one of them and set it aside.
- Tip: It is common for the manufacturer to use thread locker on these bolts to prevent them from loosening. Use a breaker bar to help get these undone.
Step 7: Get a firm grip on the caliper. Before you remove the second bolt, make sure you have a hand supporting the weight of the caliper, as it will fall off.
Calipers tend to be heavy, so be prepared for the weight. If it were to fall, the weight of the caliper pulling on the brake lines could cause significant damage.
- Tip: Get yourself as close as possible when supporting the caliper. The farther away you are, the harder it will be hold the weight of the caliper.
Step 8: Remove second caliper mounting bracket bolt. With one hand under the caliper supporting it, use your other hand to undo the bolt and remove the caliper.
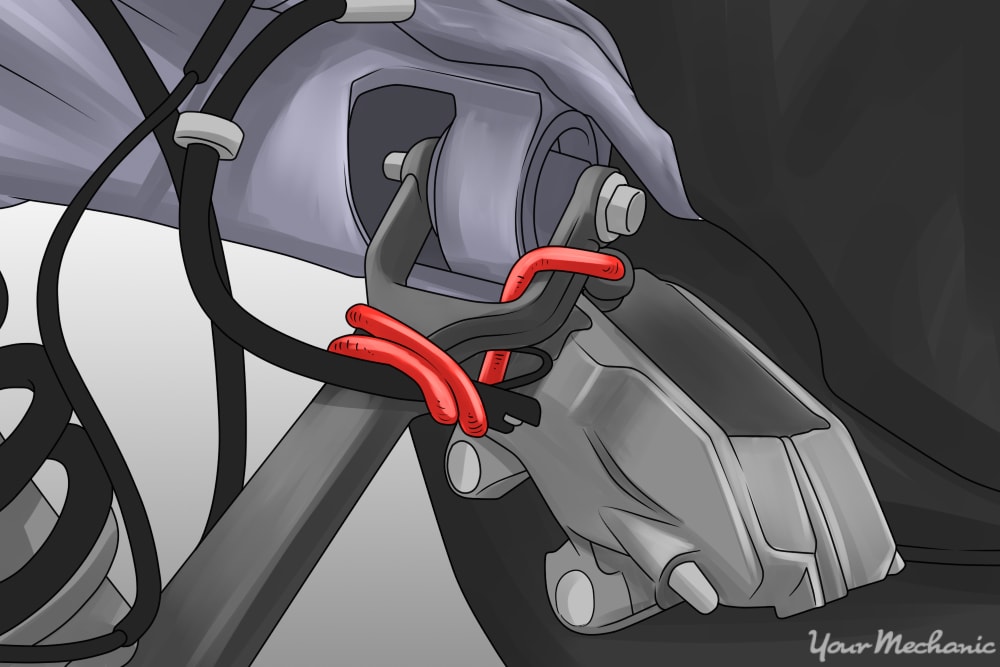
Step 9: Tie down the caliper so it is not dangling. As mentioned before, you don’t want the weight of the caliper pulling on the brake lines. Find a sturdy piece of the suspension and tie the caliper to it with the bungee cord. Wrap the cord multiple times to make sure it won’t fall.
- Tip: If you don’t have a bungee cord or rope, you can set the caliper on a sturdy box. Make sure there is some slack in the lines to avoid too much tension on them.
Step 10: Remove the old rotor. There are a few different ways the rotors can be secured, so this step will vary depending on the make and model of the car.
Most brake rotors should just slide off the wheel studs, or they may have screws that need to be undone.
There are types of vehicles that require you to disassemble the wheel bearing assembly. This varies between models as well, so make sure to look up the correct way to do this. You may need to use a new cotter pin and pack the bearing with some grease, so make sure you have these items if necessary.
- Tip: It is possible for moisture to get behind the rotor and rust the rotor to the wheel assembly. If the rotor doesn’t come off readily, place a wood block on the rotor and tap with a hammer. This will dislodge the rust and the rotor should come off. If this is the case, you should clean off the rust that is still on the wheel assembly so this doesn’t happen again with your new rotor.
Part 2 of 2: Installing your new rotors
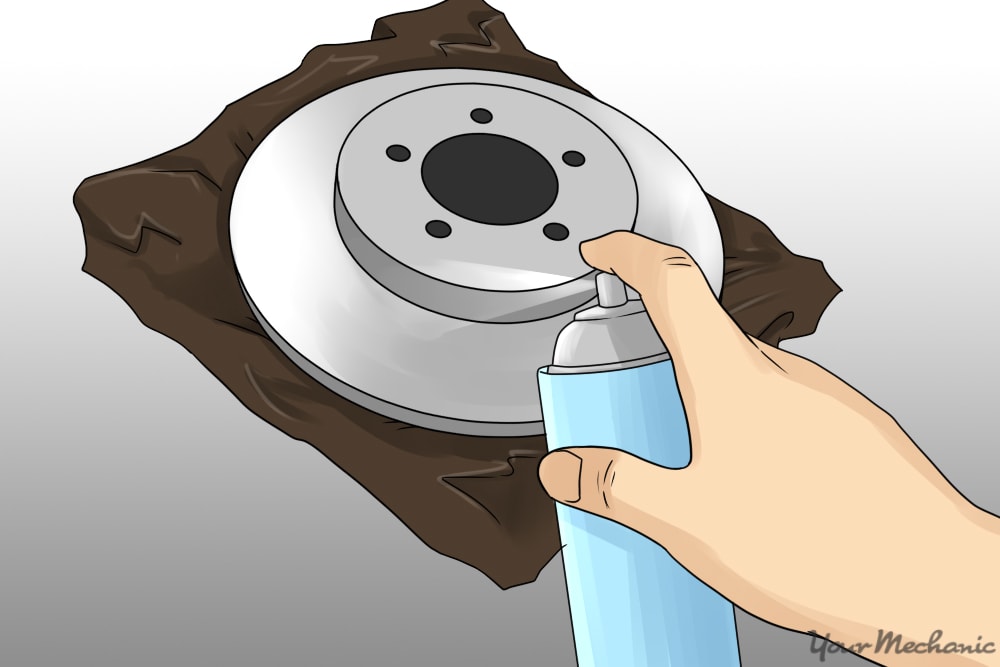
Step 1: Clean the new rotors of shipping grease. Manufacturers of rotors tend to put a thin layer of grease on the rotors before shipping them out to prevent rust buildup.
This layer should be cleaned off before you install the rotors onto the car. Spray the rotor with brake cleaner and wipe it with a clean rag. Make sure to spray both sides.
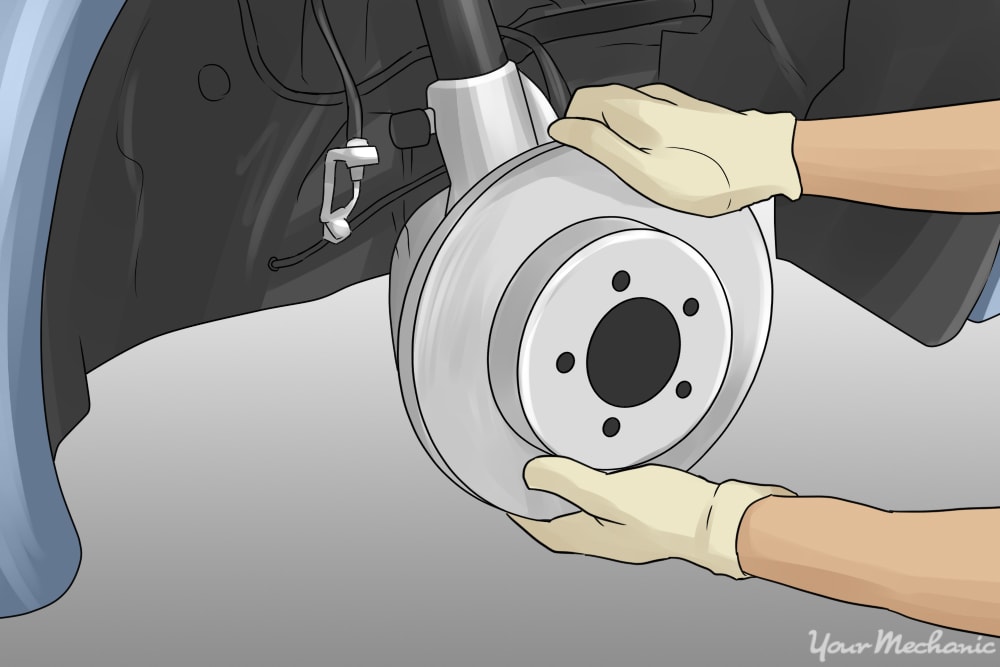
Step 2: Install the new rotor. If you had to disassemble the wheel bearing, make sure you put it back together correctly and that it is packed full of grease.
Step 3: Clean the mounting bolts. Before you put the bolts back in, clean them and apply new thread locker.
Spray the bolts with some brake cleaner and use a wire brush to clean the threads thoroughly. Make sure they are completely dry before applying the thread locker.
- Note: Only use thread locker if it was used before.
Step 4: Open the caliper up again. Like before, remove the top slider bolt and twist open the caliper.
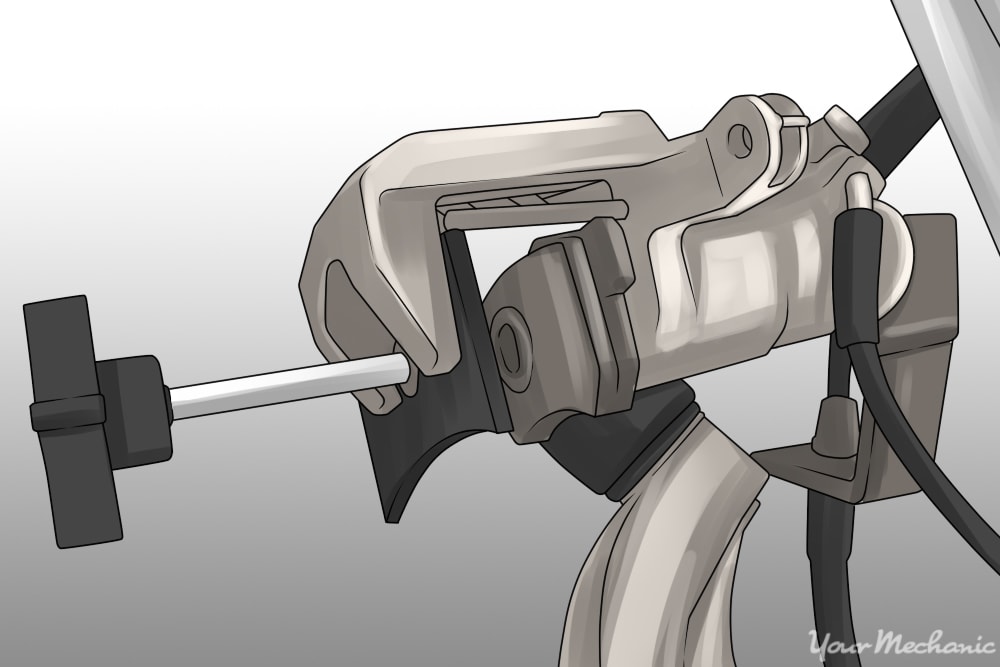
Step 5: Compress the brake pistons. As the pads and rotors wear out, the piston inside the caliper will slowly start to slide out of the housing. You need to push the piston back inside the housing so that the caliper will fit over the new components.
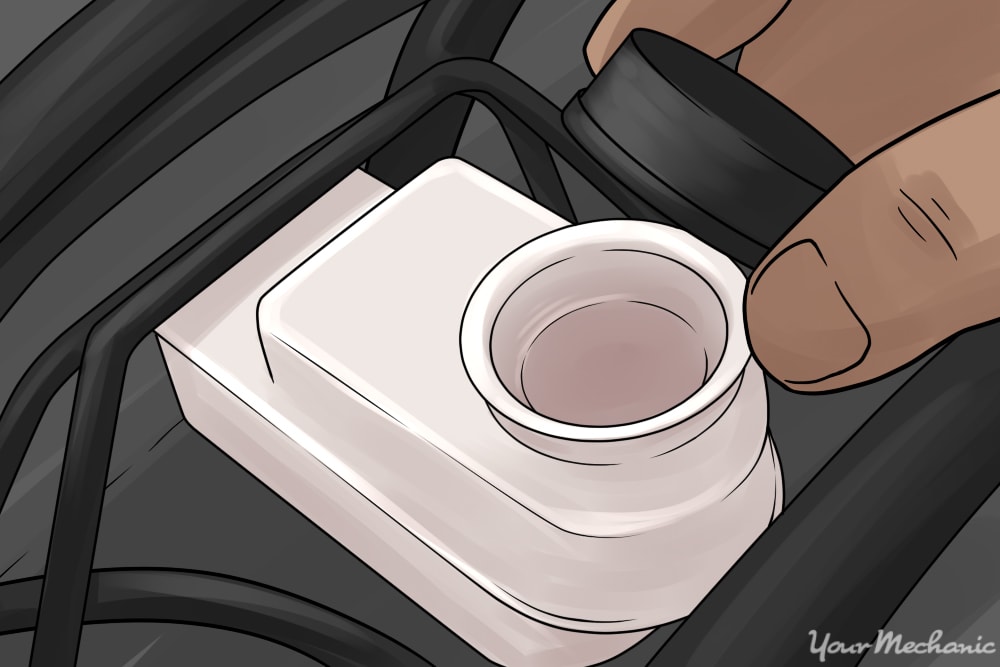
Twist open the top of the master cylinder under the hood to release some of the pressure in the brake lines. This will make it easier to compress the pistons. Leave the cap on top of the reservoir so that dust can’t get inside.
You don’t want to put pressure directly on the piston, as this could scratch it. Put a piece of wood between the clamp and the piston to help spread the pressure to the whole piston. If you are replacing the brake pads, you can use the old ones for this. Don’t use pads that you are about to install onto the vehicle - the pressure could damage them.
The caliper piston should be flush with the housing.
Tip: If the caliper has multiple pistons, compressing each one individually will make your life easier. If you don’t have access to a brake compressor, you can use a C-clamp instead.
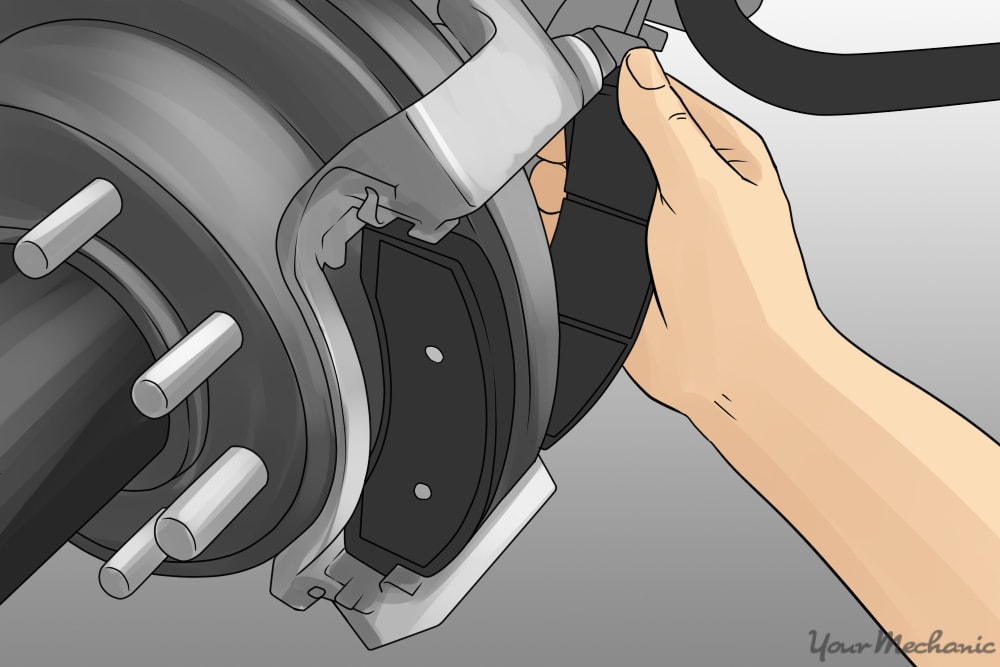
Step 6: Install the brake pads. It is highly recommended that you get new brake pads if you are replacing the rotors.
Cuts and grooves from the old rotor can transfer to the brake pads, which would then transfer to your brand new rotors if the pads were to be reused. You want the surface to be smooth, so using new parts will help ensure the life of the rotor.
Step 7: Close the caliper over the new rotor and pads. With the pistons compressed, the caliper should just slide right over.
If there is resistance, most likely the piston needs to be compressed some more. Tighten down the slider pin bolt to the correct torque specification.
- Note: Torque specifications can be found online or in a repair guide for the vehicle.
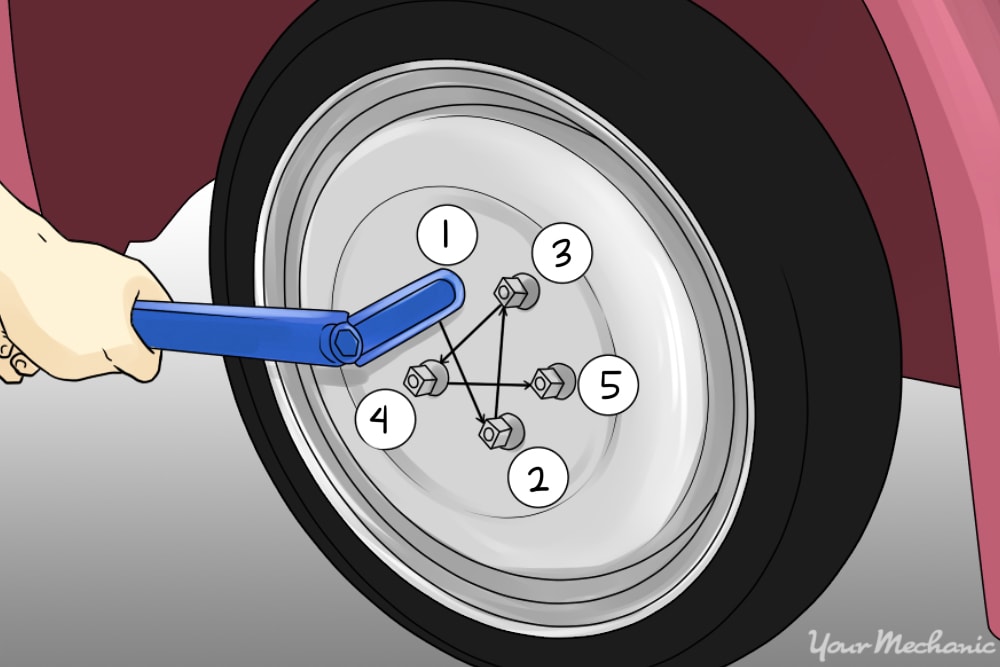
Step 8: Put the wheel back on. Tighten the lug nuts in the correct order and to the correct torque specification.
- Note: Lug nut torque specifications can be found online or in a repair guide for the vehicle.
Step 9: Lower the car back down and check the brake fluid. Tighten down the top to the master cylinder if you haven’t already done so.
Step 10: Repeat Steps 1 through 9 to each rotor that you are replacing. When you have finished replacing your rotors, you will need to test drive the vehicle.
Step 11: Test drive your vehicle. Use an empty parking lot or similar low-risk area to test your brakes at first.
Before trying the brakes at speed on the road, coast with your foot off of the gas pedal and try to stop the car. Listen for any abnormal sounds. If everything seems okay, you can test them by going onto an empty side street.
With new rotors, and hopefully new brake pads as well, you can rest assured that your vehicle will be able to come to a stop. Doing work by yourself at home will always save you money, especially for this job where you don’t need expensive special tools. If you are having any issues replacing your rotors, our certified technicians here at YourMechanic will be able to assist you in changing them out.


