
A wheel hub assembly is a vital part on a vehicle, particularly in regards to how the vehicle feels while driving and how it handles. These assemblies are exactly the same as a normal wheel bearing and hub, except they can be changed out by just removing a few bolts. This makes it a maintenance item, which means it is much easier to replace when the time comes. When the wheel hub assembly is failing, you will notice a screeching sound coming from the wheel and loose steering.
Part 1 of 1: Replacing the wheel hub assembly
Materials Needed
- ⅜ drive ratchet
- ⅜ drive socket set - metric and standard
- ⅜ or ½ drive torque wrench
- ½ Inch drive breaker bar
- ½ Inch drive wheel socket set
- ½ Inch drive metric and standard socket set
- Allen set metric and standard sockets
- Axle nut socket set
- Brass hammer
- Combination wrench set, metric and standard
- Disposable gloves
- Flashlight
- Floor jack and jack stands
- Pry bar
Step 1: Prepare your work area. Make sure the vehicle is on a level, safe surface, and you have set the parking brake.
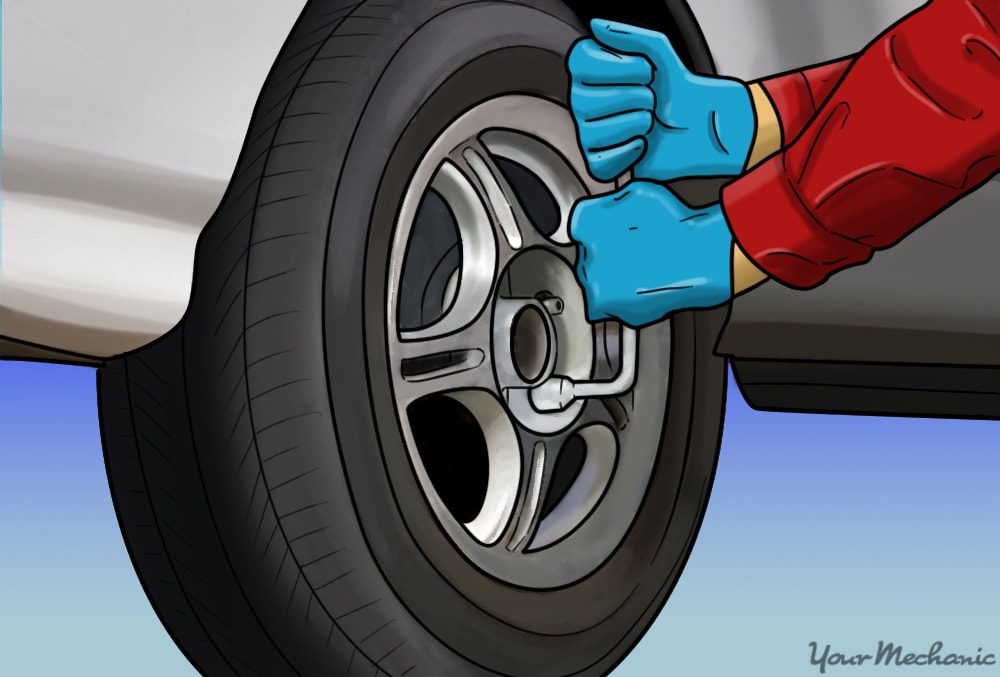
Step 2: Loosen the lug nuts. Use a ½ inch drive breaker bar and a lug nut socket set to loosen all the lug nuts and axle nuts (if applicable) before you jack the vehicle up in the air.
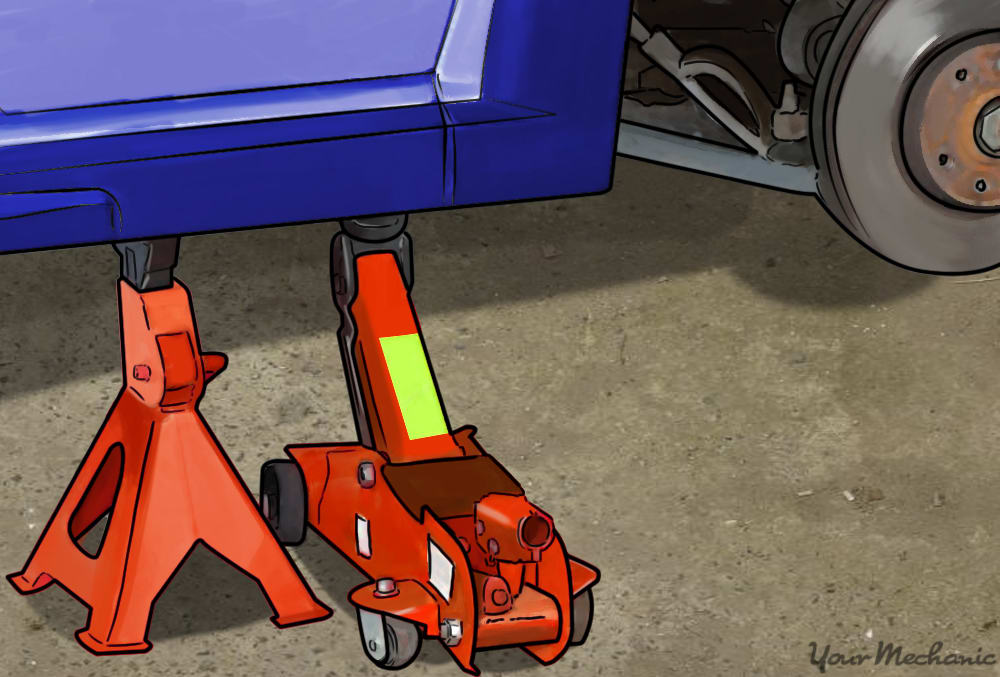
Step 3: Jack the vehicle up and use jack stands. Jack your vehicle up and put it on jack stands. Place the wheels off to the side, away from the work area.
Be sure to jack the vehicle up in the correct location; usually on the sides underneath there are pinch welds you can use to jack from. Then make sure you place the stands on the body or frame and lower it down onto the stands.
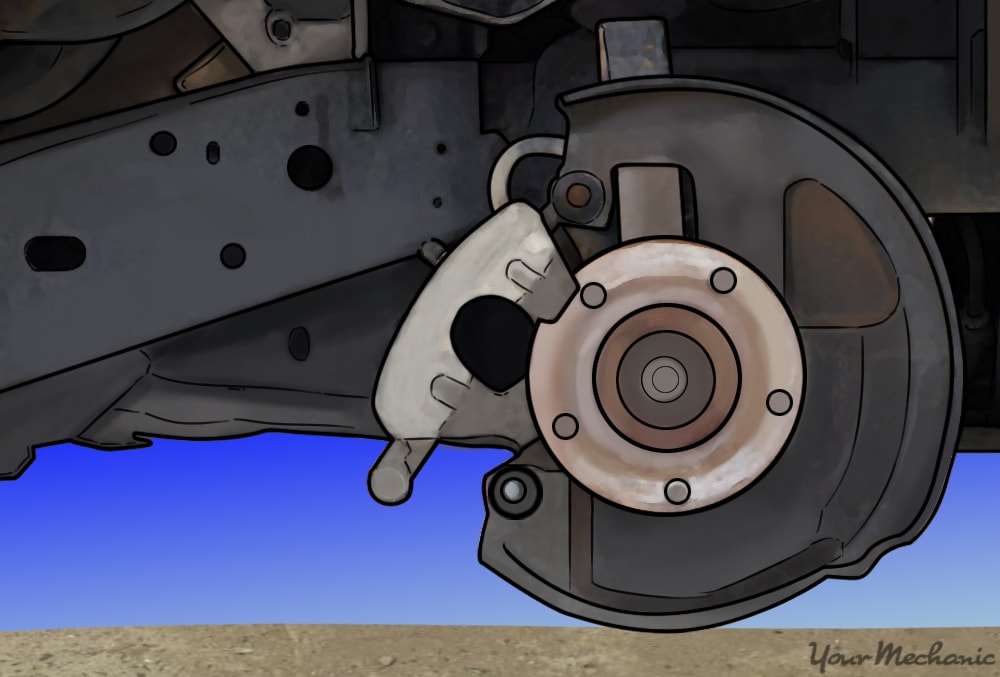
Step 4: Remove the old wheel hub assembly. Remove the axle nut if there is one on the vehicle. Then start disassembling the brakes by removing the caliper bolts and the bracket bolts.
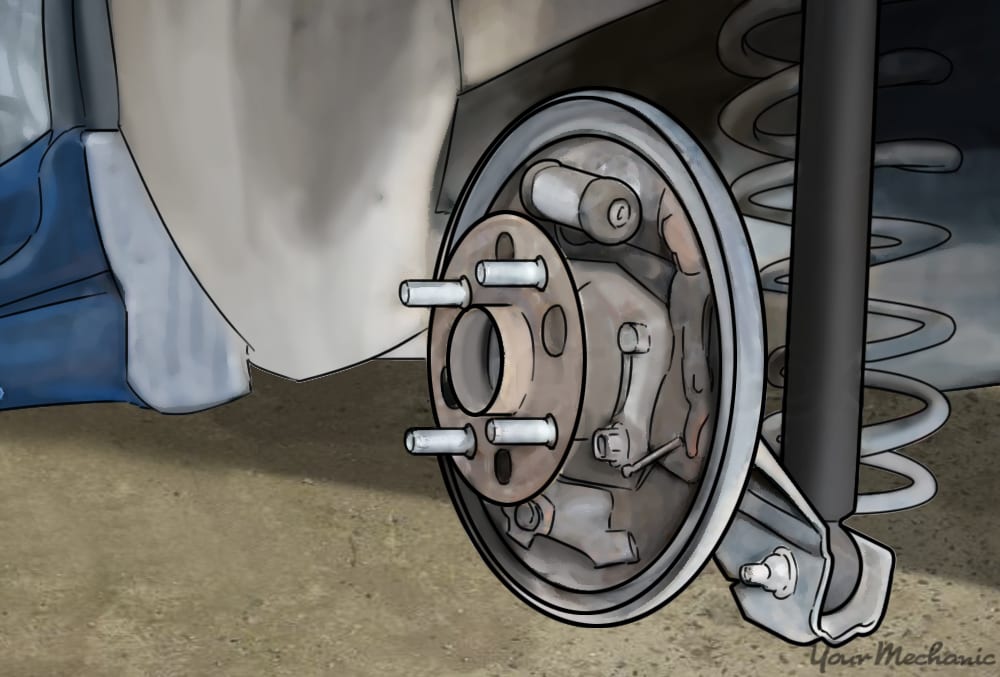
Next, remove the rotor. If the vehicle has anti-lock brakes, disconnect any wiring harness plugs. Loosen all the bolts that hold the wheel hub assembly onto the knuckle. Once that is done, you should be able to remove the wheel hub assembly as a unit.
Step 5: Install the new wheel hub assembly and brake parts. Work in the reverse order of the way you removed everything. Start by bolting the new wheel hub assembly to the knuckle and connecting the ABS sensor connector if there was one.
Next, torque the bolts to specs, which can be found online or in the vehicle’s service manual. Install the rotor back onto the hub and start reassembling the brakes. Install the brake bracket back to the knuckle, Torque it, then install the pads and the caliper back onto the bracket and reinstall the axle nut (if applicable).
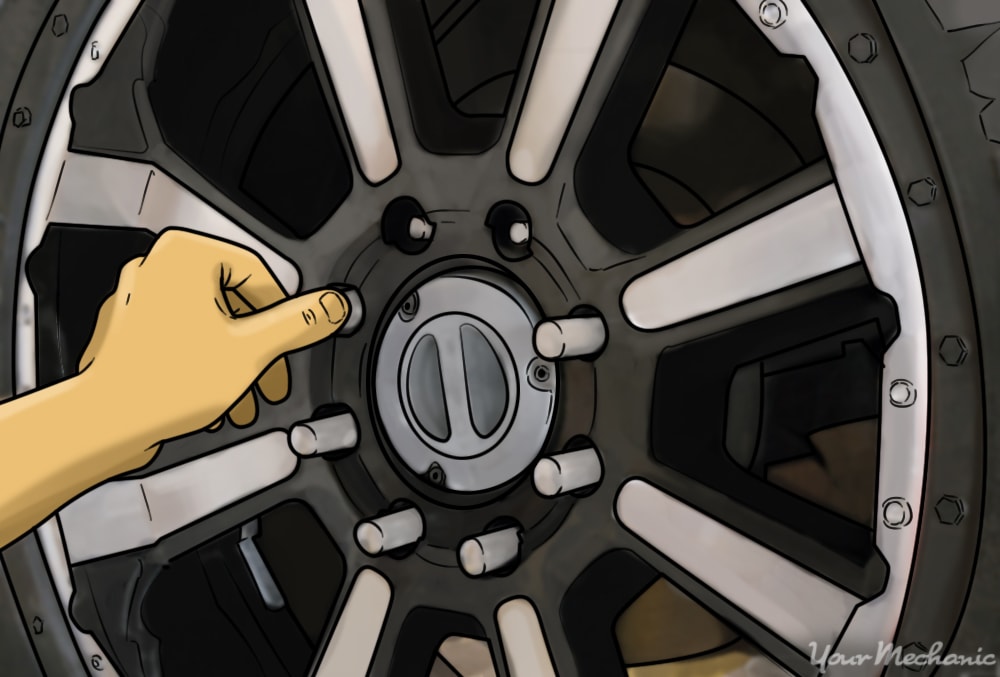
Step 6: Reinstall the wheels. Place the wheels back onto the hubs using the lug nuts. Snug them all down with a ratchet and socket.
Step 7: Jack the vehicle back off of the jack stands. Grab the jack, place it in the correct spot under the vehicle, and jack the car up until you can remove the jack stands. Then you can lower the vehicle back onto the ground.
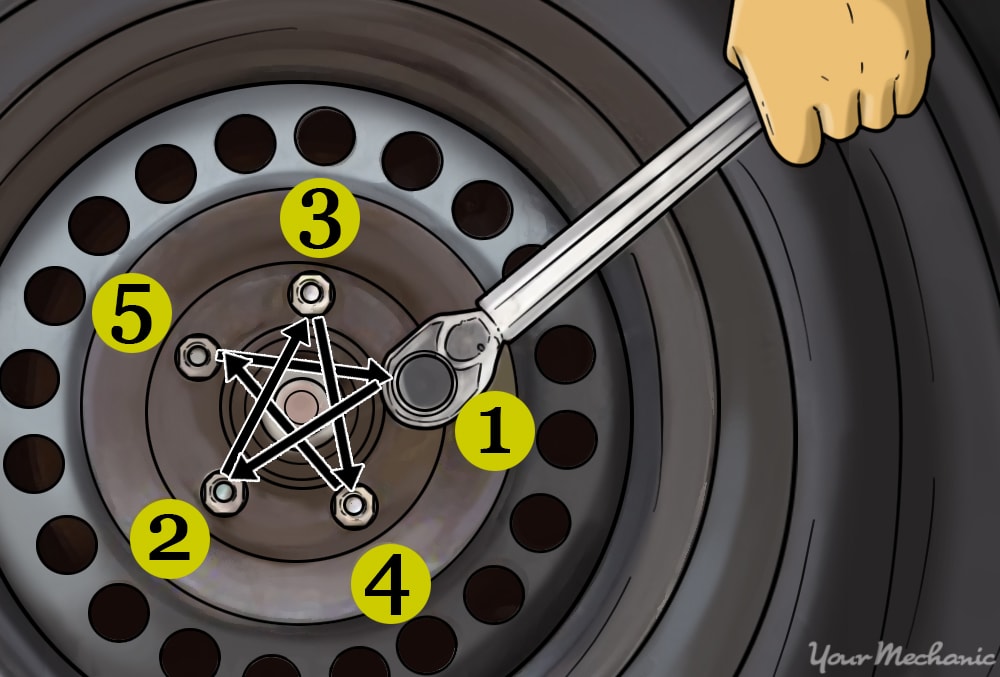
Step 8: Torque the wheels. Most cars use a torque from 80 ft lbs to 100 ft lbs. SUVs and trucks usually use anywhere from 90 ft lbs to 120 ft lbs. Use a ½ inch torque wrench and torque the lug nuts to the proper specification.
Step 9: Test drive the vehicle. Since you had the brakes apart, make sure you pump the brake pedal a few times so the pads can reseat to the rotor. When test driving, make sure that you no longer have any noise coming from the hub bearing. If you do not hear anything then you can consider this job done.
This job can be accomplished with the right tools and knowledge, but there are quite a few parts and bolts to be removed and put back together. If you’d rather leave it to a professional, YourMechanic can complete a wheel hub assembly replacement at the time and place of your choice.


