
Automotive wheel bearings are a very important component on a vehicle. They are responsible for allowing the vehicle’s wheels to roll on the ground with as little friction as possible. They hold the entire weight of the vehicle and are subject to the harsh conditions of the road, as well as exertion from the torque of the engine.
When they fail, they will begin to make a howling noise, which will progress into a grinding, and when completely failed may seize, rendering the vehicle undriveable. In this step by step guide we will go over how to replace a wheel bearing and hub on a 2002 - 2010 Ford Explorer.
Part 1 of 1: Replacing the hub bearing
Materials Needed
- Axle nut socket set
- Basic set of hand tools
- Chisel
- Hammer
- Jack and jack stands
- Long handle breaker bar
- Mechanic’s wire
- Pry bar
- Wheel hub puller
- Penetrating oil
- Torque wrench
- Wood blocks
Step 1: Loosen the nuts. Loosen the lug nuts from the wheel which the bearing is going to be replaced.
Step 2: Raise and secure the vehicle. Raise the vehicle and secure it on jack stands, and then remove the wheel.
Place blocks of wood underneath the front and rear of the wheel diagonally opposed from the one you will be working on.
Step 3: Remove the caliper and its bolts. Once the wheel is removed, proceed to remove the caliper bolts, and then remove the caliper.
If the caliper is still tight once the bolts are removed, wedge a flathead screwdriver between the pad and the caliper and gently pry until the caliper can come loose.
Once the caliper is free, secure it somewhere on the vehicle, out of the way, using mechanic’s wire. Also take this time to disconnect the parking brake cables.
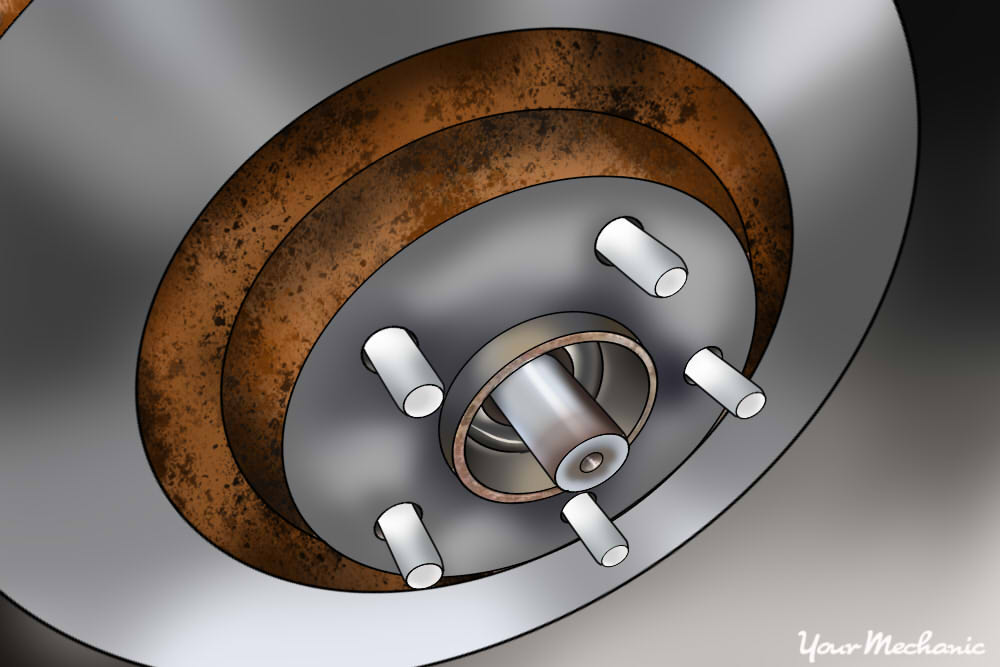
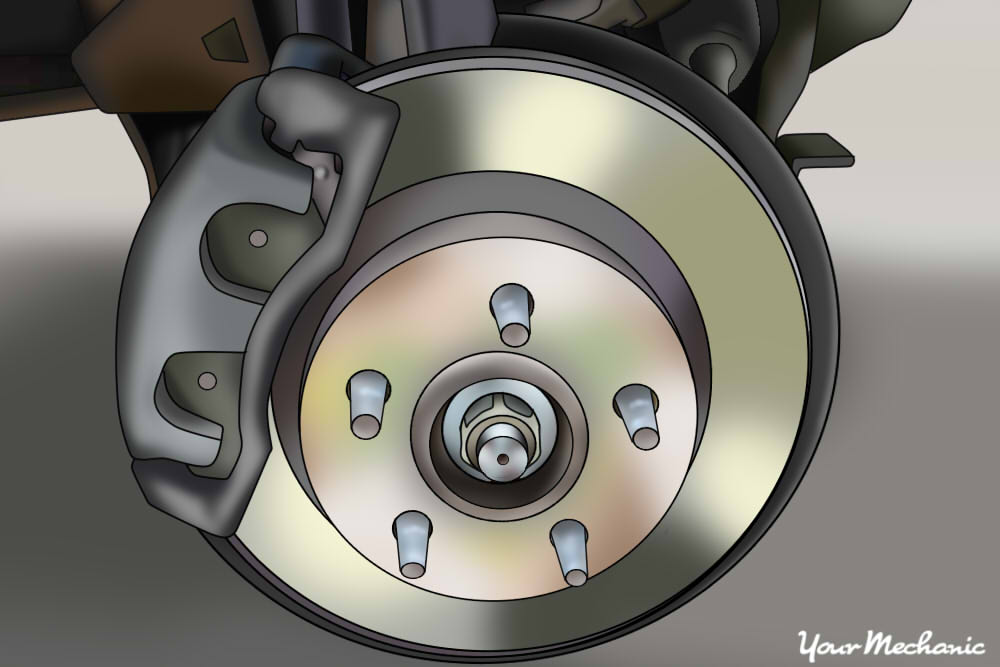
Step 4: Remove the rotor. Once the caliper is removed, remove the rotor to expose the hub.
If the rotor appears to be stuck, make sure that the parking brake is disengaged, or try striking the rotor hub face with a hammer until it breaks free.
Step 5: Remove the axle nut. Remove the axle nut using your long handle breaker bar and the appropriate axle nut socket.
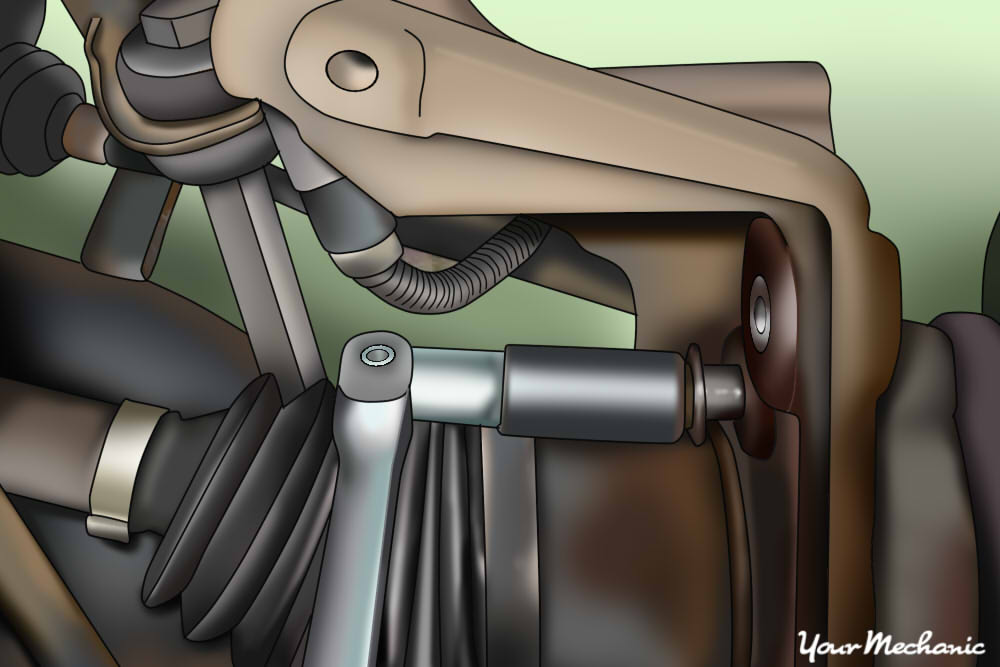
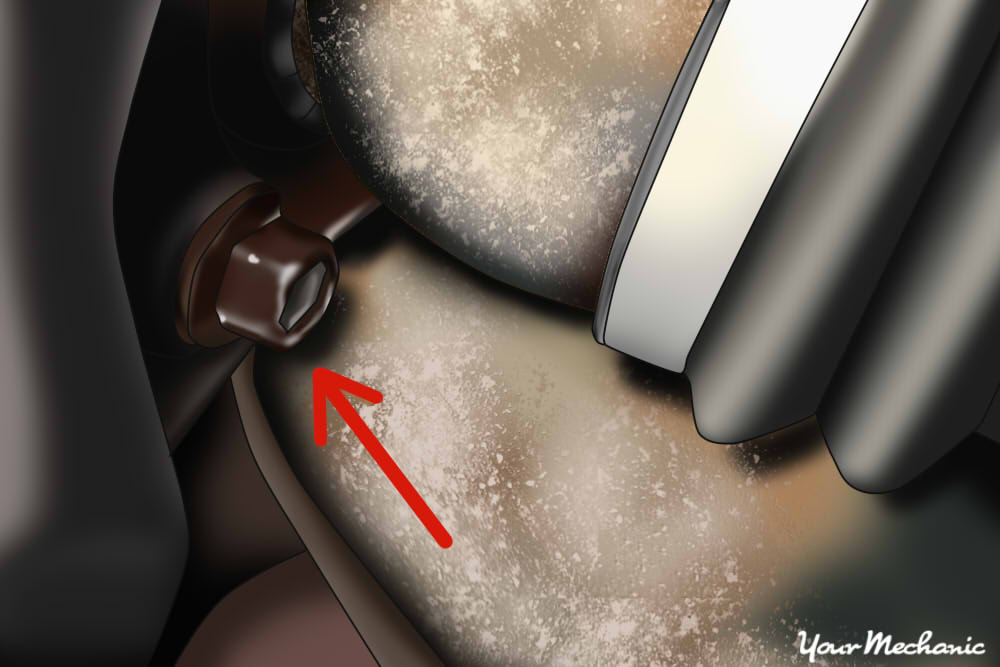
Step 6: Remove the upper control arm. Remove the two pinch bolts that secure the upper control arm and the toe link ball joint ends to the spindle.
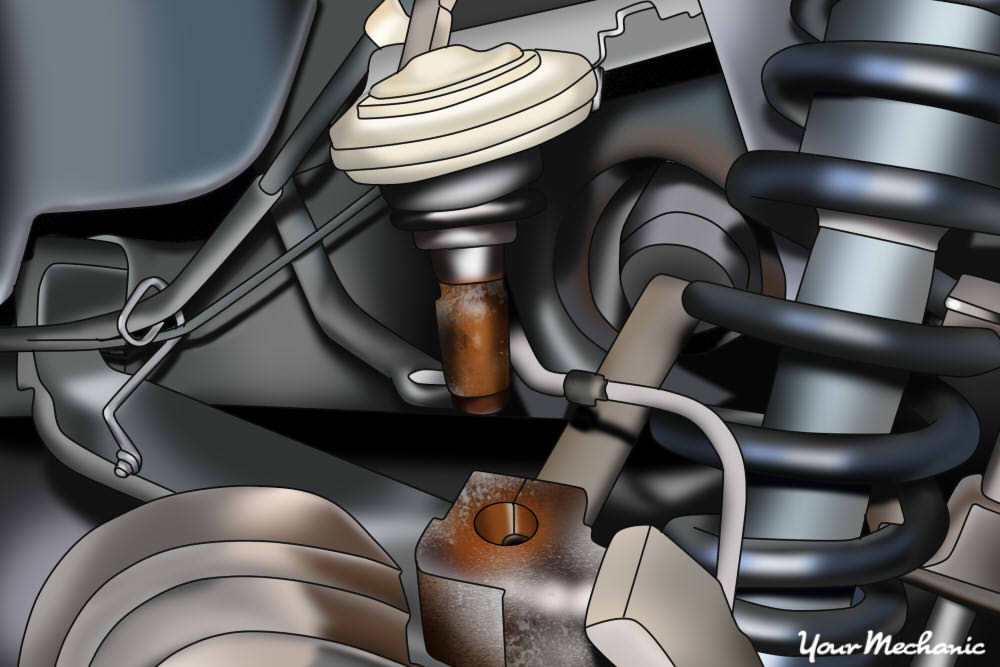
Step 7: Separate the control arm and toe link ball joints. They should be separated from the pinch brackets on the spindle.
Spray them liberally with penetrating fluid, as they will probably be rusted, and then use the pry bar to pry them loose. If they will not separate, wedge the chisel in-between the pinch brackets and pry them apart until the joint loosens.
Step 8: Remove the lower control arm bolt. Once both joints are separated, remove the lower control arm bolt from the spindle.
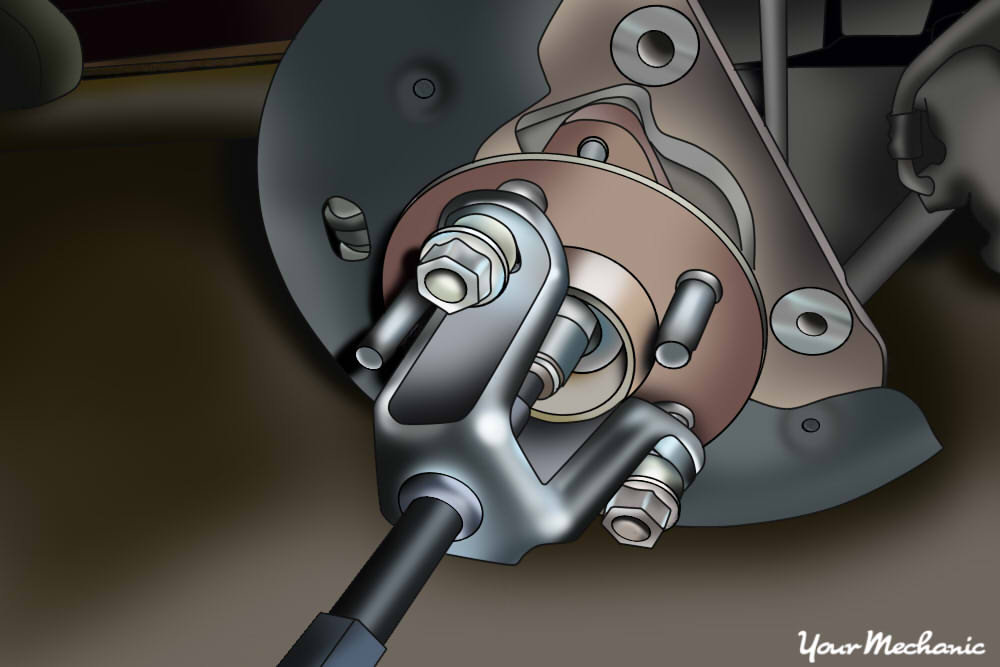
Step 9: Pull the hub from the vehicle. The spindle should now be completely unbolted from the vehicle and ready to remove using the wheel hub puller.
Install the wheel hub puller using a few lug nuts, and then tighten the puller center bolt until the hub is pulled free.
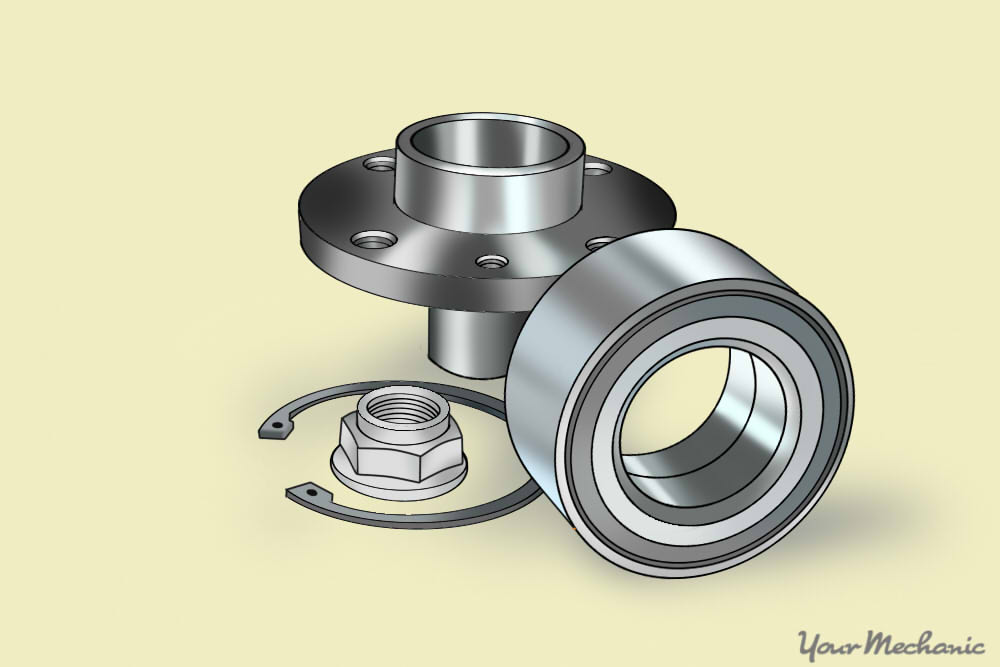
Step 10: Install new hub components. At this point the spindle should be removed and ready for the new parts.
As the hub and bearing are pressed into the spindle a shop press will be required to remove the old bearing and hub, and install the new components. If a shop press is not available, you can a have professional do this for you.
Step 11: Reinstall hub on vehicle. Once the new components have been installed into the hub, reinstall it onto the vehicle in the reverse of the removal procedure.
Torque the axle nut to the manufacturer's specified value and then reinstall the wheel on the vehicle.
In most cases replacing a rear hub bearing on a Ford Explorer is a straightforward task, however there can be instances where it may become difficult, such as when the ball joints are rusted to the spindle or when the axle nut is extremely tight and difficult to remove. In these instances, it may be a good idea to contact a professional technician, such as one from YourMechanic, to replace your wheel hub assembly to ensure that the job is completed properly.


