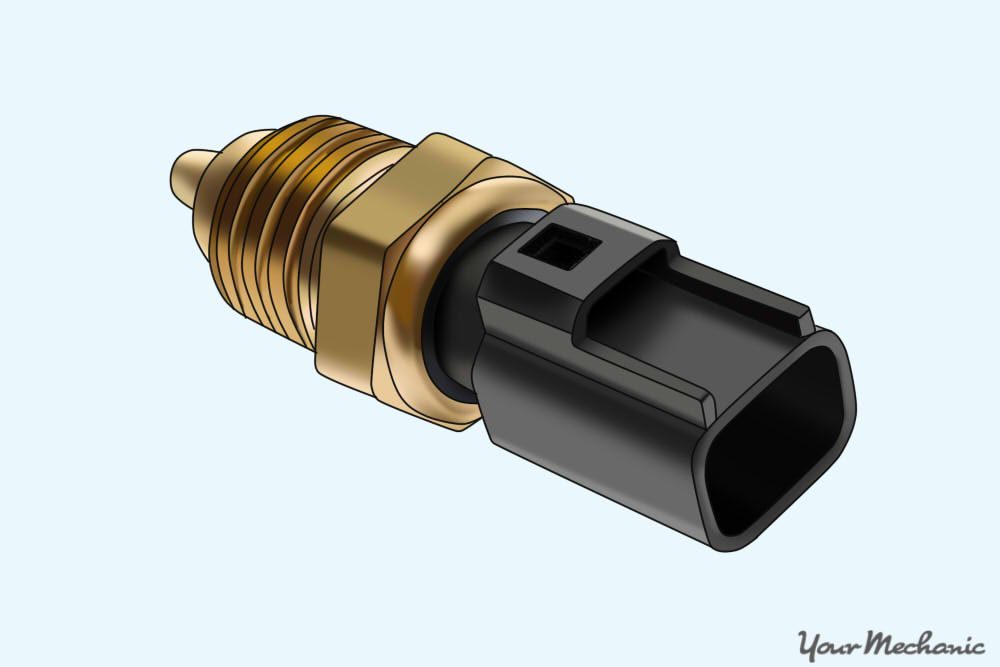
The coolant temperature sensor in your vehicle’s cylinder head plays a key role in the engine’s operation. It sends a signal to the electronic control unit (ECU) that provides information on the coolant temperature and supplies a signal to the temperature gauge in the dashboard.
Coolant temperature sensor failures are usually accompanied by engine running issues such as sluggish acceleration, hard starting when hot or cold, and the Check Engine or Service Engine Soon Light coming on in possible overheating conditions. If the Check Engine Light is on, diagnosis is usually straightforward by connecting a scan tool to the onboard diagnostic port and reading the fault code.
Part 1 of 1: Replacing the temperature sensor
Materials Needed
- Engine coolant (as needed)
- New replacement coolant temperature sensor
- On-board diagnostic system (scan tool)
- Open end wrench or socket to fit the sensor
- Pocket screwdriver
Step 1: Be sure the engine is cool. Locate the main pressure cap for the cooling system and open it enough to relieve any pressure in the cooling system, then reinstall the cap so it seals properly.
Step 2. Locate the coolant temperature sensor. Many engines have multiple sensors that look similar to each other, so an investment in either a paper version or an online subscription for your vehicle’s repair manual will pay dividends in a generally faster repair and reduce guesswork by guiding you to the exact part and location.
ALLDATA is a good online source that has most manufacturer’s repair manuals.
See the connector images below. The tab to lift to release the connector is at the top, toward the back of the connector on the left, the nub that it engages is at the top front of the one on the right.
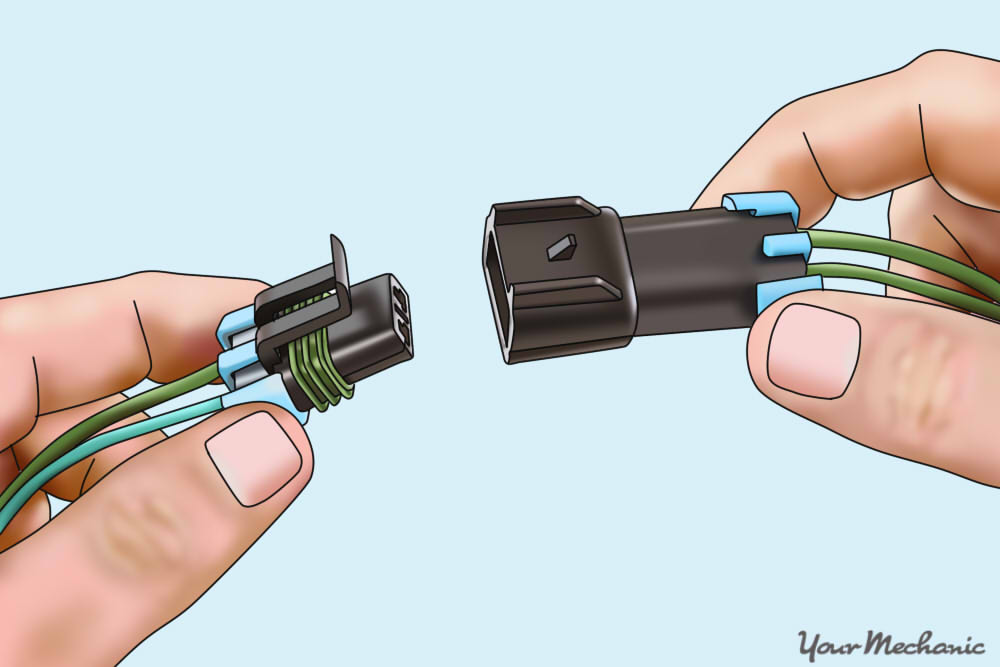
Step 3. Disconnect the electrical connector. The connector may plug into the sensor itself, or there may be “pigtail” wires leading from the sensor with the connector on the end of the wires. These connectors have a locking tab so that the connection remains secure. Using the pocket screwdriver (if needed), pry up the tab enough to clear the locking nub on the mating side, then separate the connection.
- Tip: If you’re working on an older vehicle, be aware that the plastic on the connector may have become brittle from heat and the tab may break off, so use just enough pressure to raise the tab enough to release the connector.
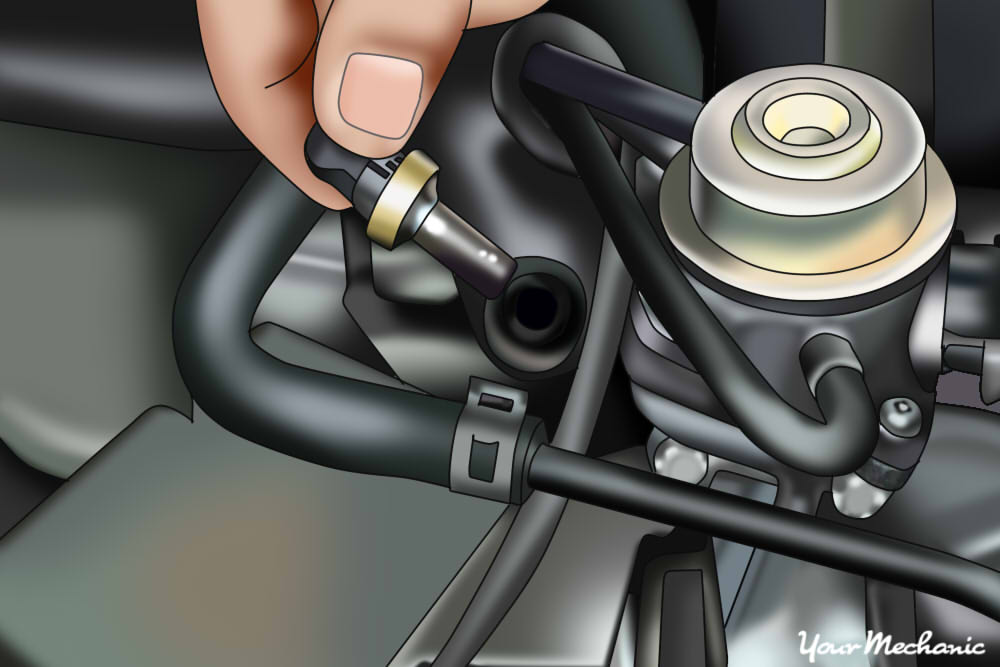
Step 4. Unscrew the temperature sensor with an appropriately sized wrench or socket. Be aware that there may be coolant loss from the opening of the cylinder head when the sensor is removed, so be ready to screw in the new sensor to try to keep this at a minimum.
If equipped, use a new seal, usually a copper or aluminum washer, with the new sensor.
Step 5. Snug down the new sensor. Use the wrench and tighten just enough to ensure a good seal to the cylinder head.
- Warning: Do not use excessive force when tightening the sensor! Too much pressure can result in a broken sensor which can be difficult to remove, or the threads in the cylinder head being stripped, which may require a new cylinder head, a very expensive repair.
Step 6. Reconnect the wiring. Make sure the wires are clear and will remain clear of any moving parts like the engine drive belt or pulleys, or any high heat items like an exhaust manifold.
Step 7. Verify that the engine coolant is at the correct level. Clear any OBD fault codes with the scan tool that haven’t corrected themselves now that there’s a proper signal from the temperature sensor.
Get a quote for a service: If you’re not quite comfortable diagnosing and changing your own coolant temperature sensor, a professional mechanic, such as from YourMechanic, will be happy to do it for you at your home or office.