How to Replace a Brake Light Bulb

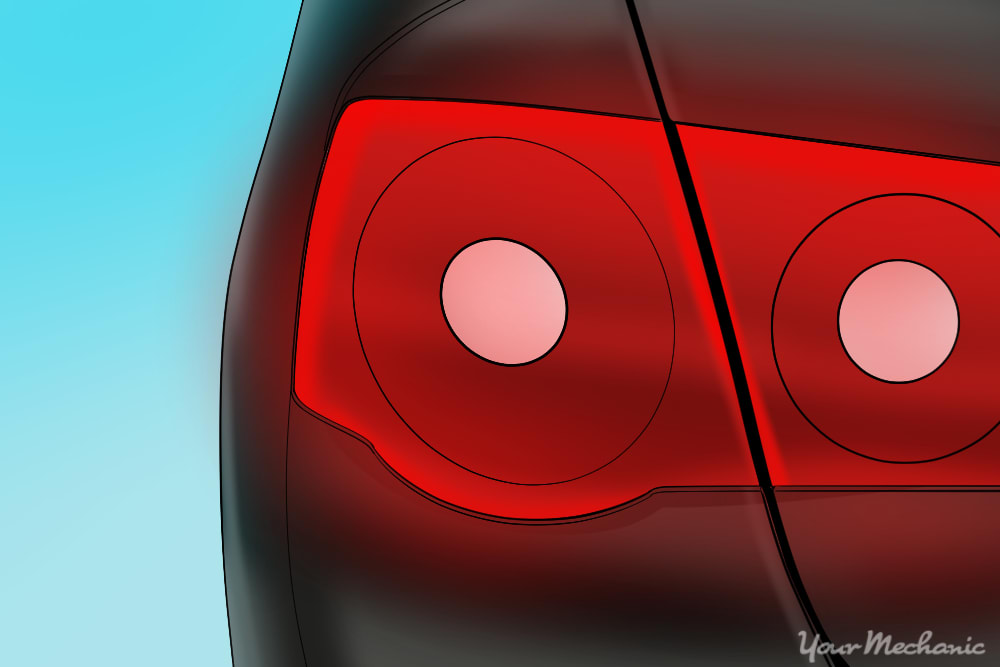
When brake light bulbs burn out, it is seriously inconvenient. It is always a good idea to have somebody check your brake lights, and most of the time there isn't that extra somebody to help you out. The easiest way to check your brake lights without an extra leg laying around would be to set a brick or something heavy enough on the brake pedal to trigger the brake lights to come on. If the brake light is slow to come on, is dimmer than usual, or the Brake Warning Light comes on, then your brake light bulb may be failing.

Part 1 of 1: Replacing a brake light bulb

Materials Needed

easy access to brake light socket

Step 1: Easy access bulb replacement. Some manufacturers have made it easier to replace bulbs in cars and SUV’s by allowing access through the inside of the vehicle.

If your vehicle has this type you can skip steps 2 through 4. If you have easy access, you may need to easily open the flap or panel over the inside of the brake light lens. By accessing the inside of the brake light lens you will see the brake light bulb socket.

mounting bolt covers being removed withe a screwdriver

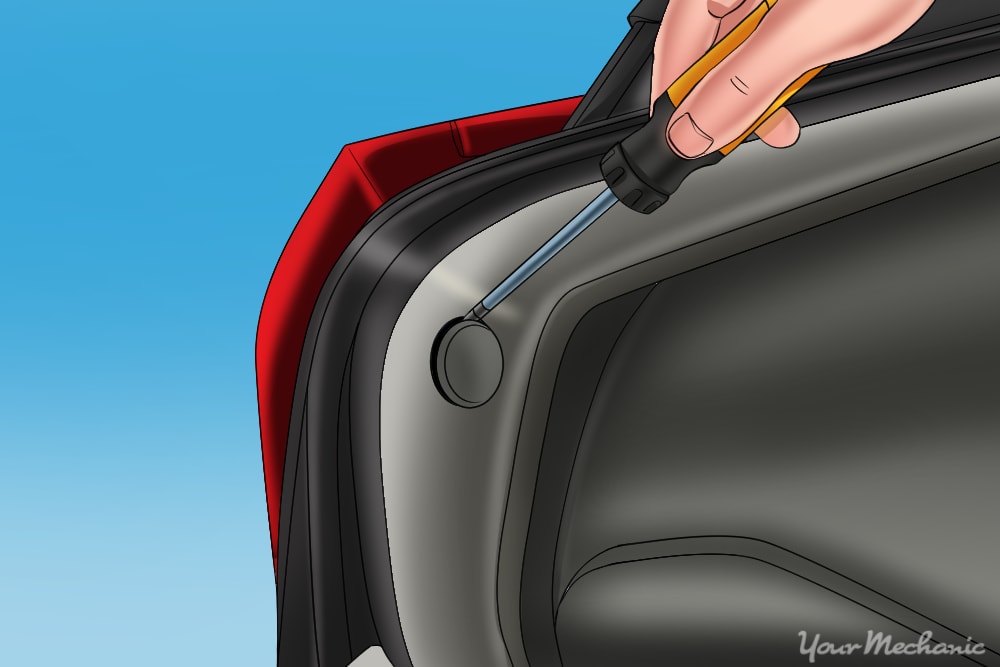
Step 2: Locate the mounting bolts. When locating the mounting bolts on your lens assembly, many are obvious but some are covered by cosmetic covers that easily pop off.

removing the mounting bolts with ratchet

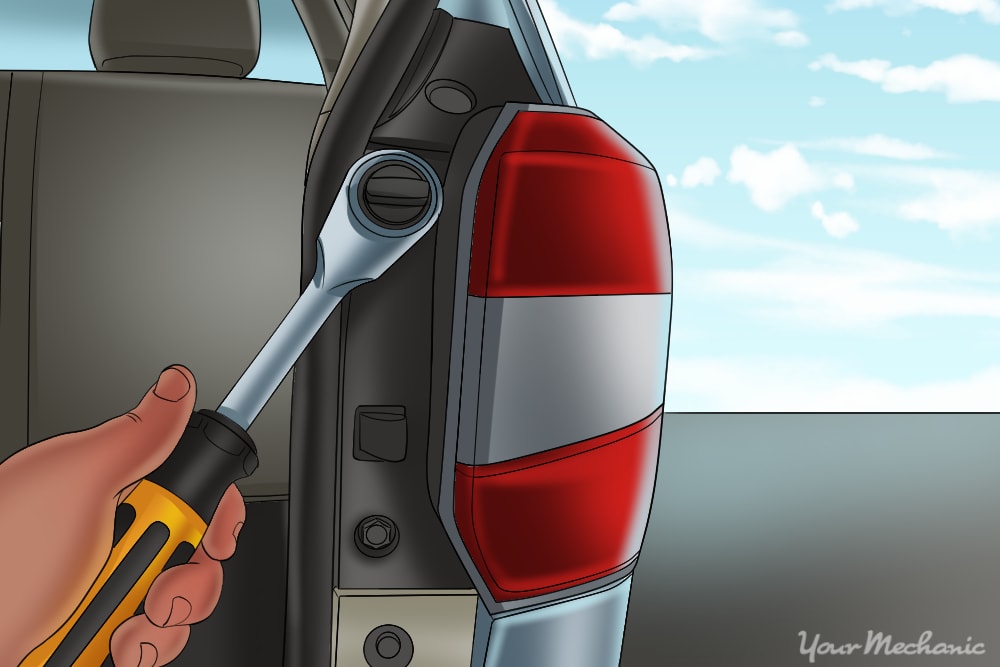
Step 3: Remove the mounting bolts. Once you have found the mounting bolts, remove and set the bolts aside.

removing the tail light lens

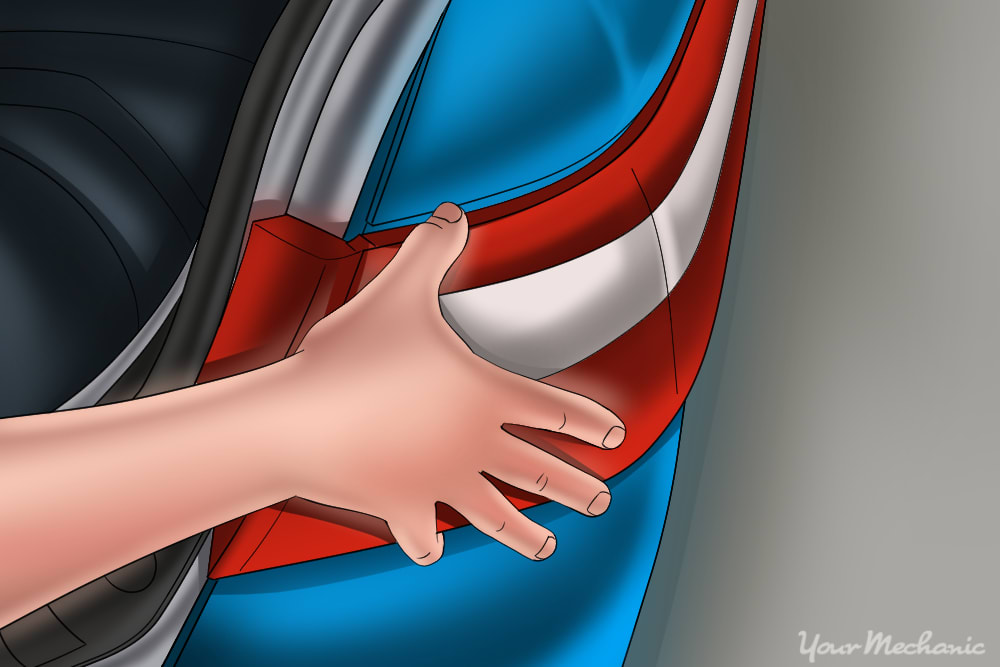
Step 4: Remove the tail light lens. Most tail light assemblies come right off.

If it gives some resistance, pay attention to the direction the tail light lens is installed and pull straight out.

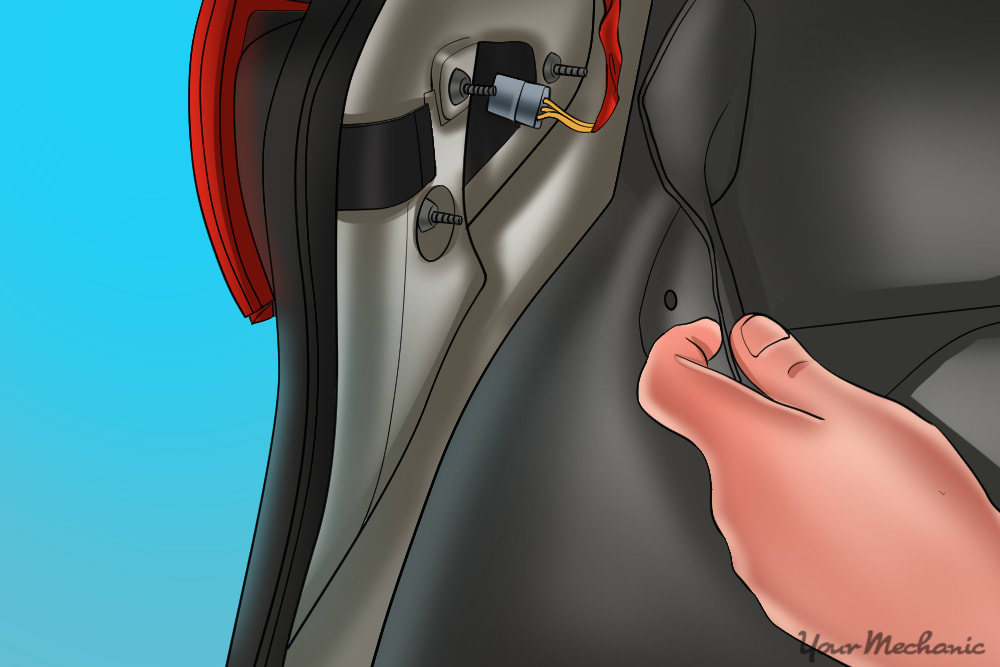
Step 5: Locate the burnt bulb. Once the tail light assembly is removed, locate the brake light bulb socket.

If you are unsure which socket is for the brake light, either have somebody depress the brake pedal or turn on your hazards.

removing the burnt brake light bulb

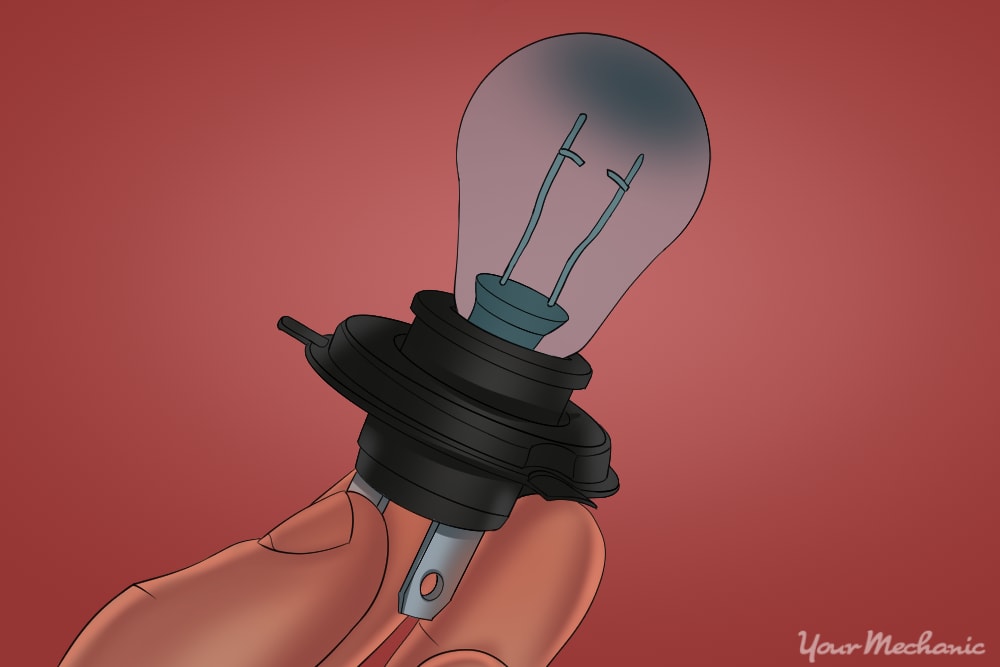
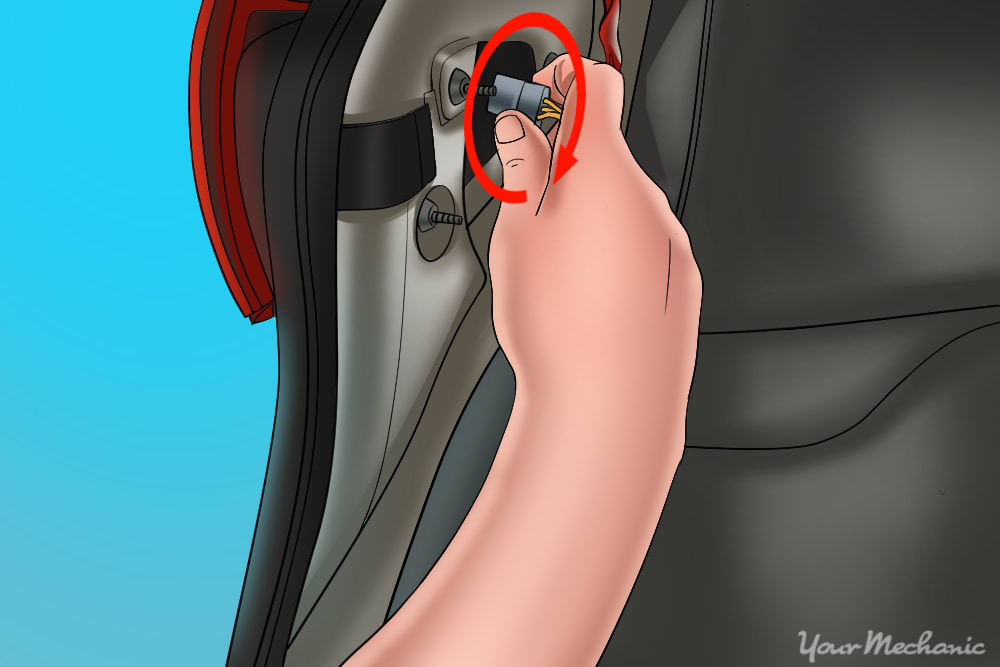
Step 6: Removing the brake light bulb. The bulb socket has a release tab; turn counterclockwise to remove.

To remove the brake light bulb make sure the lights are off and the bulb is cool to the touch. Pull the brake light bulb out of the socket.

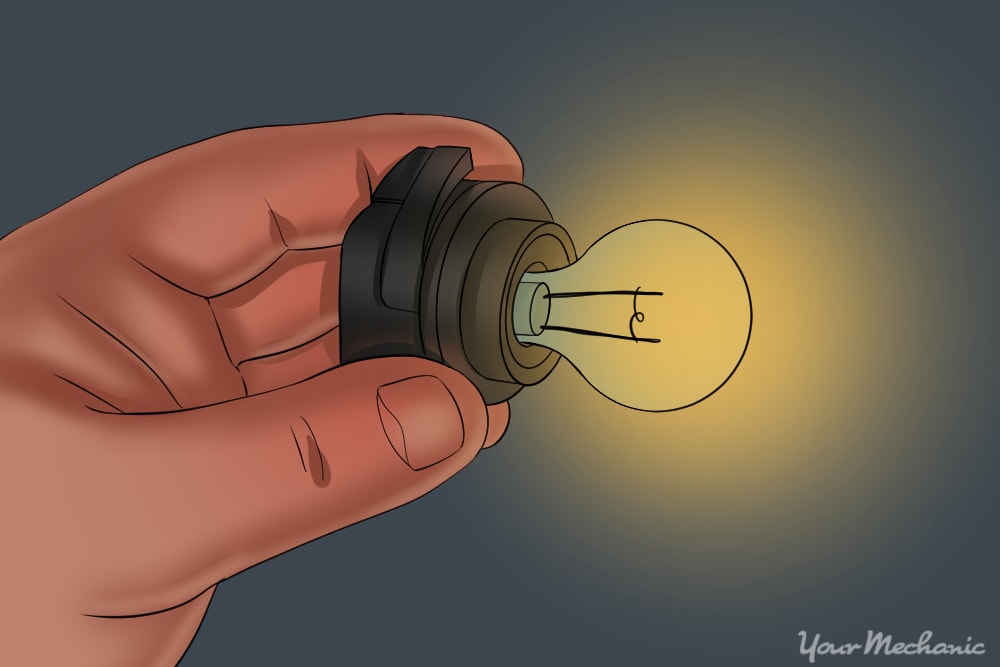
Step 7: Identifying the correct light bulb. After the brake light bulb is removed, take a look at the numbers on the bulb and match them to the new bulb.

applying dielectric grease to brake light socket

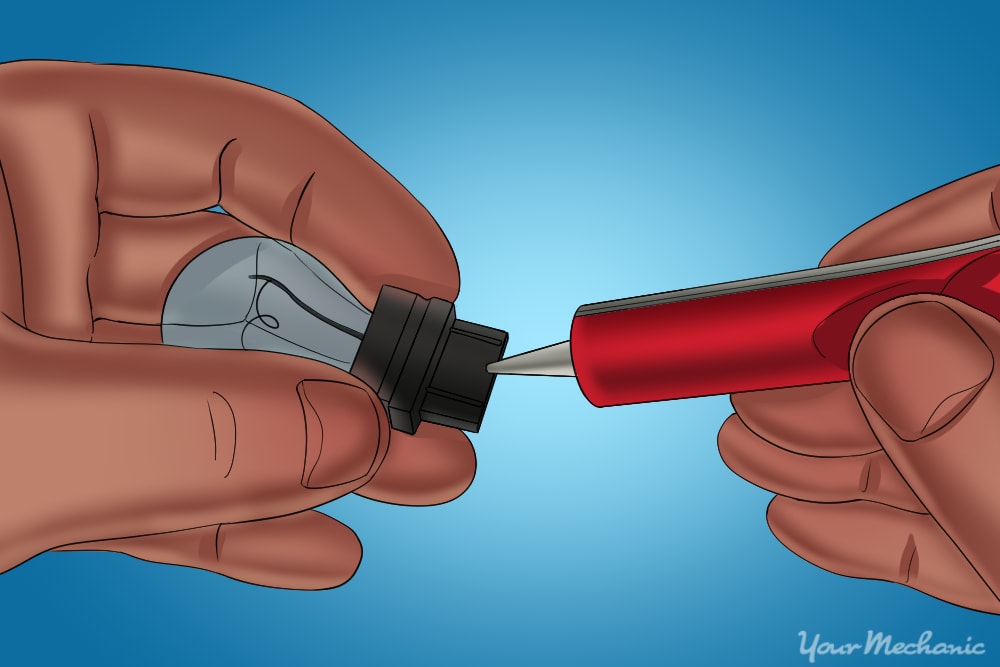
Step 8: Apply dielectric grease. Apply dielectric grease to the brake light bulb socket.

A pea sized amount is enough to apply to the socket.

installing the new brake light bulb

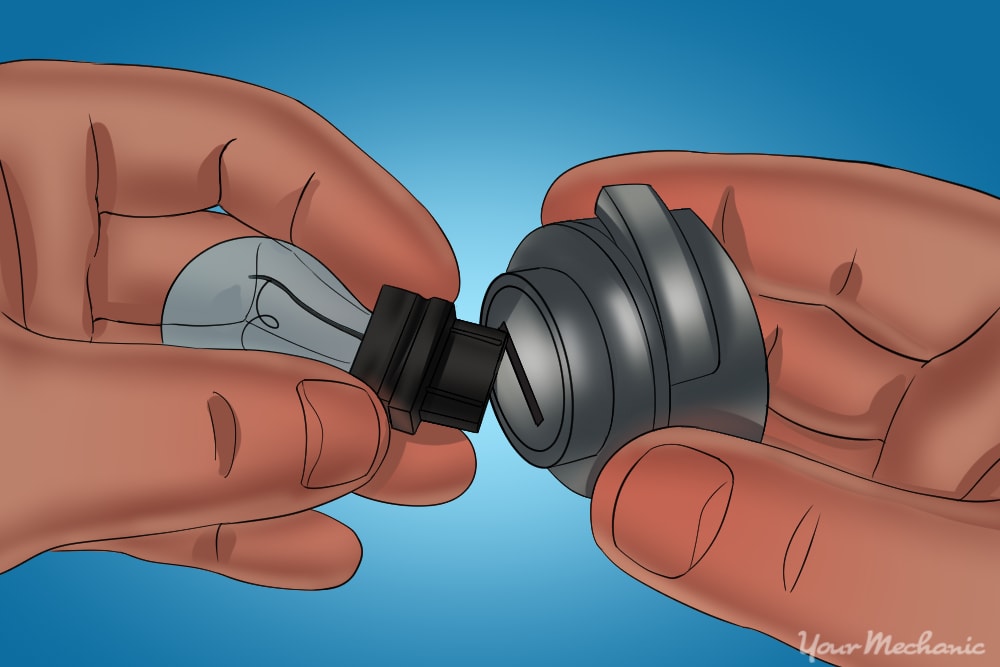
Step 9: Install the bulb. Take the new bulb and install it into the brake light socket.

turning the light socket clockwise to lock

Step 10: Mount brake light socket. Mount the brake light socket, match the tabs on the socket and the tail light lens, and, once inserted, turn clockwise to lock.

testing the brake light bulb before mounting

Step 11: Test the brake light function. Before mounting the brake light lense, test the brake light function.

Step 12: Install the tail light. Line up the tail light and slide into position; line up the mounting holes, and start the mounting bolts.

Step 13: Tighten the mounting bolts. Mounting bolts are tightened hand tight.

Brake light bulb are very important for the driver, passengers, and surrounding traffic. Making sure your headlights, running lights, brake lights, hazards, and turn signals are operating is a safety essential. If replacing a brake light bulb is something you would rather leave to a professional, have one of YourMechanic’s certified technicians perform the replacement.


Next Step

Schedule Lights (Headlamps/beams/brakes) Inspection

The most popular service booked by readers of this article is Lights (Headlamps/beams/brakes) Inspection. Once the problem has been diagnosed, you will be provided with an upfront quote for the recommended fix and receive $20.00 off as a credit towards the repair. YourMechanic’s technicians bring the dealership to you by performing this job at your home or office 7-days a week between 7AM-9PM. We currently cover over 2,000 cities and have 100k+ 5-star reviews... LEARN MORE

SEE PRICING & SCHEDULING

The statements expressed above are only for informational purposes and should be independently verified. Please see our terms of service for more details

Recent Lights (Headlamps/beams/brakes) Inspection reviews

Excellent Rating

(199)

Rating Summary
186
4
2
3
4
186
4
2
3
4

Jeremy

21 years of experience
802 reviews
Jeremy
21 years of experience
Chevrolet Camaro V8-6.2L - Lights (Headlamps/beams/brakes) - Lake Worth, Florida
Easy to talk to and understand. Quick thinker re diagnostics and accommodating with regards to part replacement ordering. Great guy to work with.
Hyundai Elantra - Lights (Headlamps/beams/brakes) - Boynton Beach, Florida
Jeremy arrived 3 hours after phoning for service on a Sunday. He quickly and expertly diagnosed and repaired the issue. He also gave the engine a quick inspection assuring no other issues were obvious.

Matthew

34 years of experience
1438 reviews
Matthew
34 years of experience
Saab 9-3 L4-2.0L Turbo - Lights (Headlamps/beams/brakes) Inspection - Norfolk, Virginia
Fantastic service. He was extremely knowledgeable and quick. I can tell that this guy knows his stuff.
Chevrolet Aveo - Lights (Headlamps/beams/brakes) - Newport News, Virginia
Matt is always thorough and very helpful. I trust him workinv on my car and will call on his service again and again.

Jean

16 years of experience
157 reviews
Jean
16 years of experience
Chrysler PT Cruiser L4-2.4L - Lights (Headlamps/beams/brakes) Inspection - Clearwater, Florida
Jean was great. He explained everything in detail and what I should do if it happens again with my break light.

Ben

42 years of experience
1589 reviews
Ben
42 years of experience
Hyundai Elantra L4-2.0L - Lights (Headlamps/beams/brakes) - Houston, Texas
Very friendly and professional. Would love to have him every time I need service done! Excellent service!

Need Help With Your Car?

Our certified mobile mechanics make house calls in over 2,000 U.S. cities. Fast, free online quotes for your car repair.

GET A QUOTE

Related articles

How to Replace Your Brake Light Switch
The brake lights of your car are controlled by switches connected to the brake pedal underneath the steering wheel. These switches are...
How to Use Your Car Lights to Stay Safe and Legal
Following Following the rules of the road, including using your vehicle's various lights in appropriate situations, makes driving safer for you, your passengers, and other drivers. In addition to the headlights, vehicles come equipped with turn signals (https://www.yourmechanic.com/article/3-essential-things-to-know-about-your-car-s-turn-signal), brake lights...
What Does the Bulb Failure (Exterior Light Fault, License Plate Bulb, Brake Light Bulb) Warning Light Mean?
The bulb failure light turns on when any exterior light on your car isn't working. It's important to fix this so others can see your car's position.

Related questions

Brake light out
Many vehicles typically have 3 brake lights on the rear. One of the left, the right, and a high mounted center light. If all brake lights were out, you may consider a fuse or electrical switch. With one light out,...
Brake light illuminated on the dash
Hello. The brake fluid level switch is probably getting stuck in the master cylinder causing the light to stay on. There could also be a leak (https://www.yourmechanic.com/services/brake-fluid-is-leaking-inspection) in the brake system which would cause the light to stay on. What...
why is battery and brake light on?
Hello, thank you for writing in. The battery light and brake light often illuminate together when your alternator has failed. You can verify this easily by scanning for diagnostic codes. These are codes that pertain to the warning lights, and...

How can we help?

Our service team is available 7 days a week, Monday - Friday from 6 AM to 5 PM PST, Saturday - Sunday 7 AM - 4 PM PST.

1 (855) 347-2779 · hi@yourmechanic.com