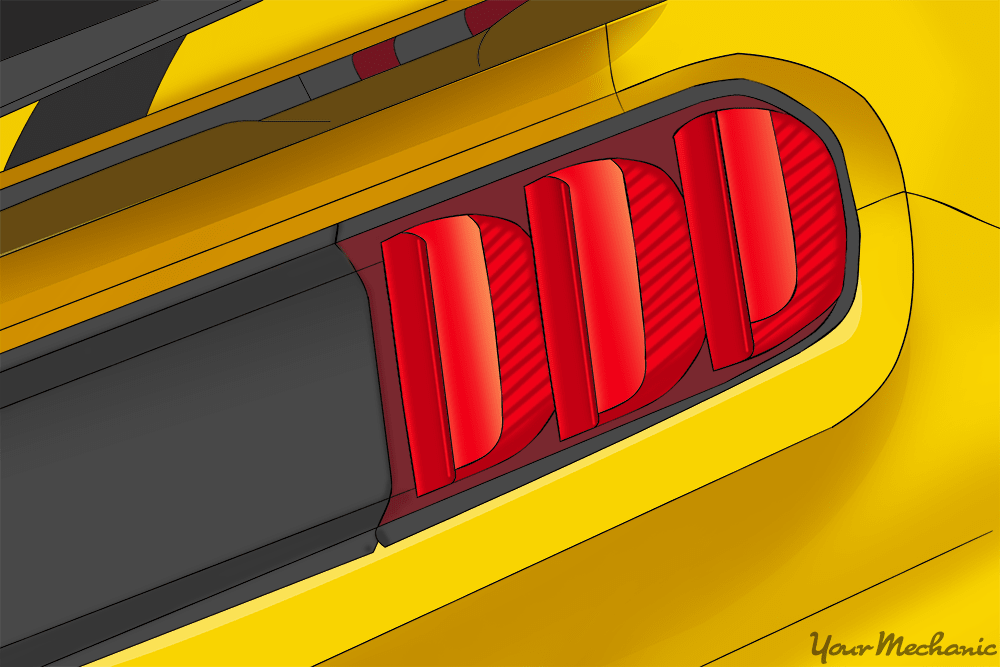
The brake lights of your car are controlled by switches connected to the brake pedal underneath the steering wheel. These switches are very small and tend to wear out or fail after extended use. Faulty switches in turn prevent your car’s brake lights from working properly.
Without functioning brake lights you will easily get rear ended as the drivers behind you will not know when you are slowing down. You may also find yourself getting ticketed and having to pay fines. Driving with faulty brake lights leaves you liable for any damages incurred as you are responsible for ensuring your lights are working properly before driving on a public road.
You will need to understand the functioning of a brake light so that you can effectively diagnose any problems.
Part 1 of 4: Understand how brake lights work
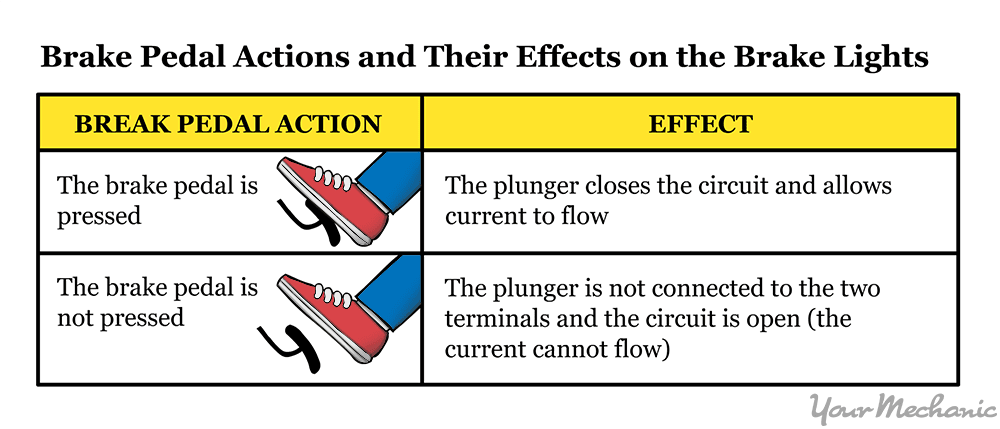
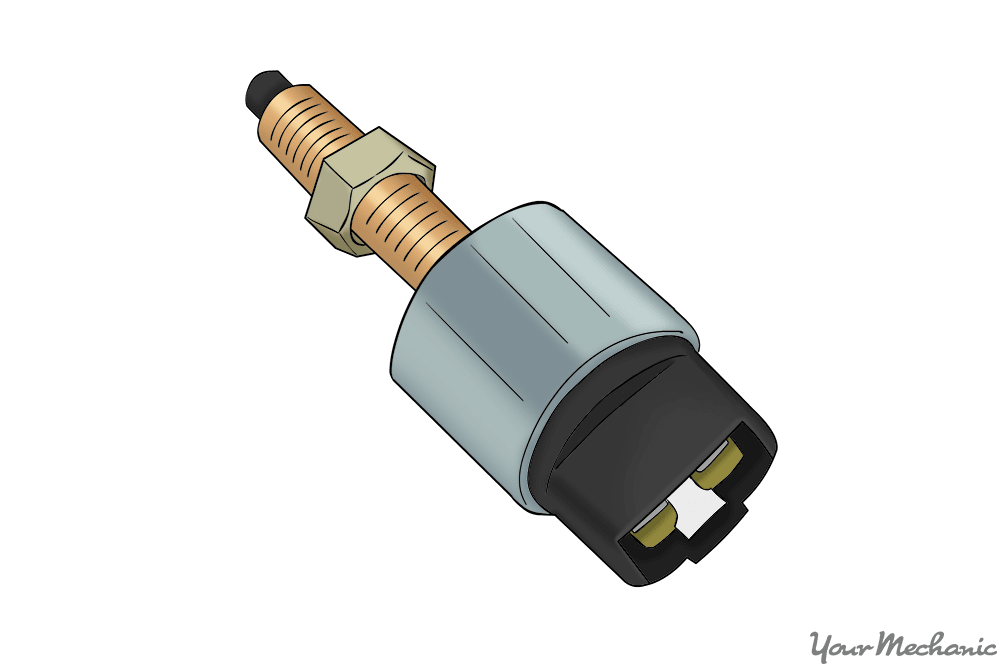
All electrical components need a power connection and a ground connection to allow current to flow from the battery to the load, in this case, a light bulb. The brake switch does exactly this action when you press on the brake pedal.
A connector or plunger moves with the brake pedal and bridges the gap between both sides of the circuit allowing power to flow and light up the brake lights.
While diagnosing brake light issues, keep in mind that the brake switch controls all three lights. If all the lights are not working, it may be due to a faulty brake switch.
The most common symptom of a brake switch issue is no illumination when stepping on the brakes. It is also possible for the reverse of this to happen, where the plunger breaks in such a way that the terminals are permanently connected and the lights are always on.
Certain types of switches can be adjusted and over time may become misaligned. This could lead to an intermittent issue where the switch is correctly aligned at certain times and will get dislodged or stop working at others.
Part 2 of 3: Remove the brake switch
Materials Needed
- Flashlight
- Needle nose pliers
Wrenches - size 10mm to 14mm and 5/16” to ⅜”
Note: Some of these tools may not be necessary depending on how the switch is secured so before you go and buy any tools, use a flashlight and take a look at the switch. Certain switches may have two nuts that lock the sensor at a certain distance from the lever and others just twist out of a socket so the wrenches may not be necessary. There are many links and components in this area so the pliers are useful for unplugging the connector in a tight spot.
Tip: This is an awkward place to work in, so place a towel or cushion on the ground to help you stay comfortable throughout this job.
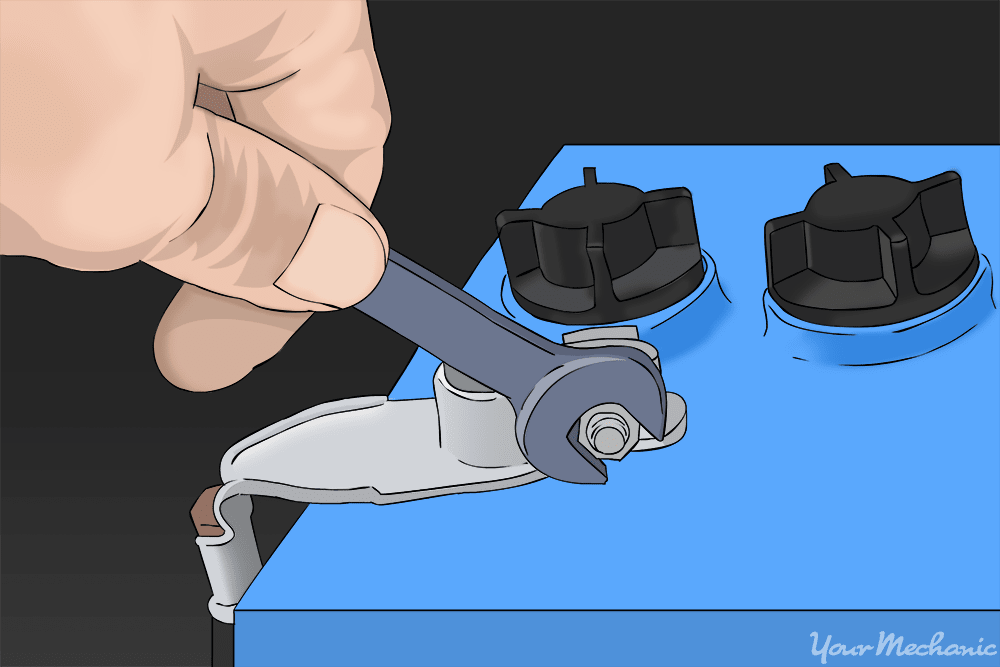
Step 1: Disconnect the battery. While we are not doing any serious electrical work with this job, it’s better to be safe and remove the power so there is no chance of an electrical short while you are working with the connector switch.
Remove the negative cable from the battery to stop current flowing through the car.
Loosen the bolt that holds the cable onto the terminal, remove the cable, and tuck it somewhere so that it does not make contact with the negative side.
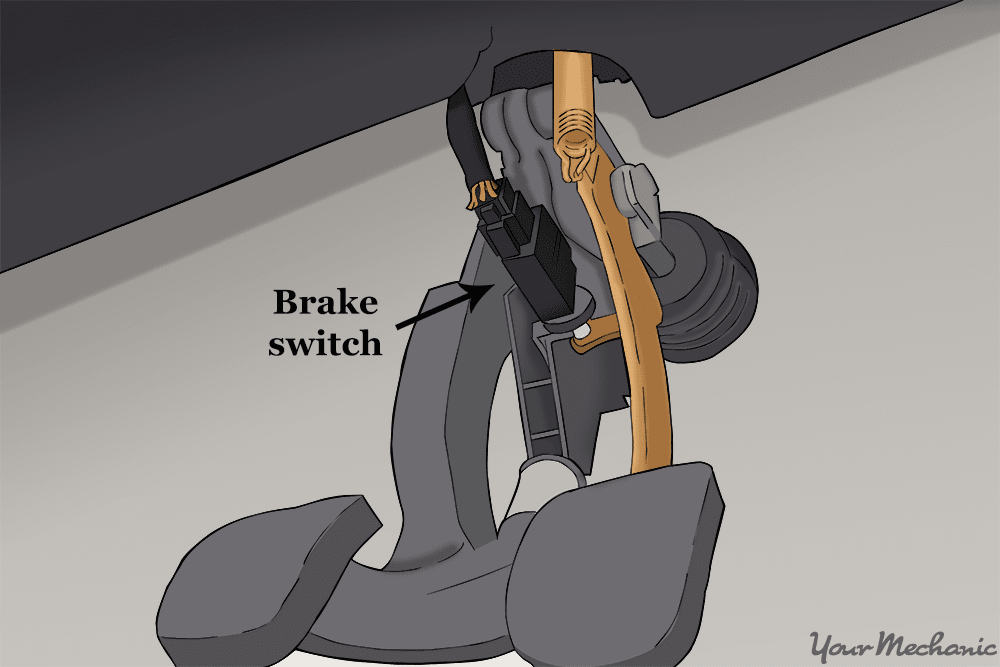
Step 2: Find the switch. To get to the switch, take a look right above brake pedal. The switch is typically a small plastic box with 2 or 3 wires coming from it. It will make contact with the brake lever towards the top.
Note: You may have to remove a plastic panel before you can access this area.
Tip: You can sit on your knees or lay down on your back with your head right under the pedals. Typically the second method works better as you have more visibility.
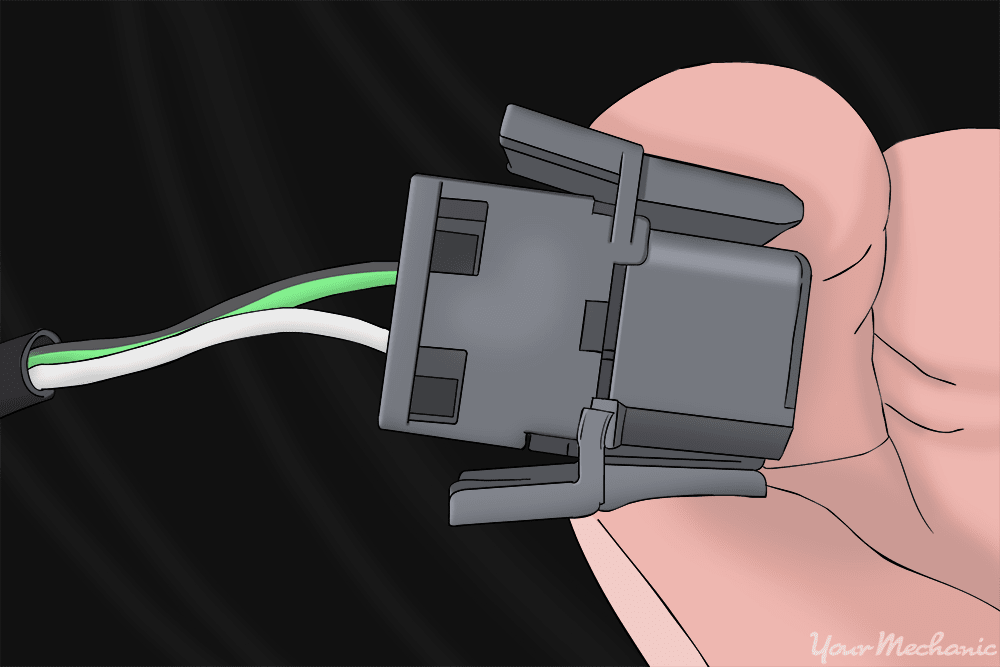
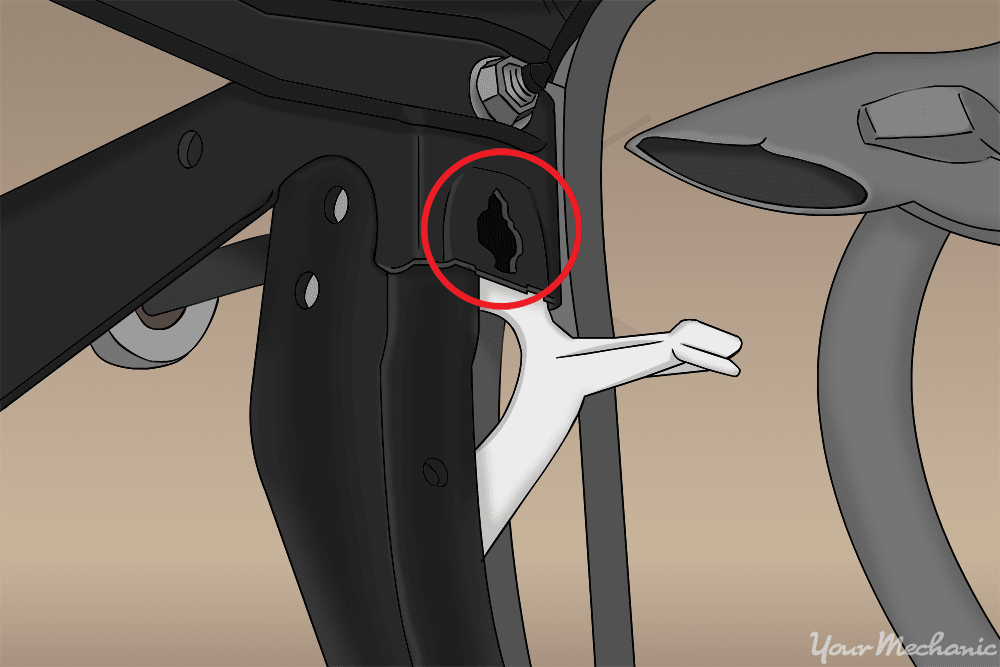
Step 3: Remove the wiring connector from the switch. There may be one or two plastic tabs that you must press for the connector to come out.
If there is resistance, wiggle the connector back and forth slightly while pulling the connector.
- Tip: You shouldn’t have to use too much force and if you are having to pull hard, make sure you are fully pressing the tabs down.
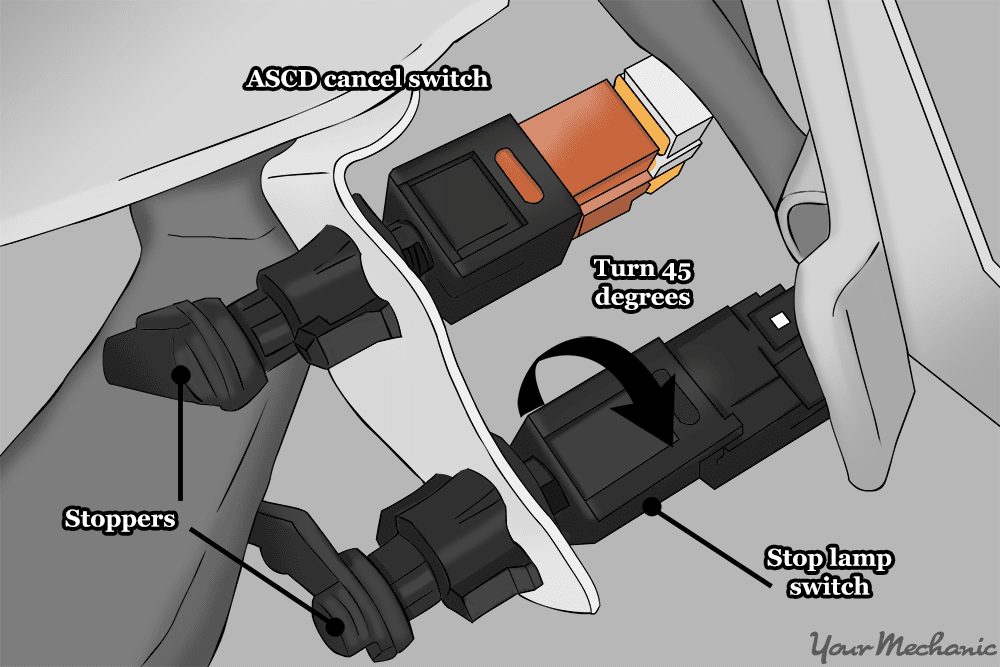
Step 4a: Remove a newer style switch. To remove a newer style of switch, you have to rotate it in the counterclockwise direction and remove it from the socket. You will not need to use too much force to do this.

Step 4b: Remove an older style switch. With the older style of switches, you will need to use a wrench to remove one of the nuts. Loosen and remove the nut furthest from the switch and pull or unscrew the switch out of the bracket.
- Tip: Inspect the new and old switches to make sure they are identical. Before installing the new switch, I would recommend testing the old one to make sure that it is indeed faulty.
Part 3 of 4: Install a new switch (New Style)
The newer style of brake switch does not need any set up or preparation before installation.
Step 1: Align the switch and the socket holes. Take note of the socket holes where the switch is supposed to go and note their positions.
Line up the holes with the notches on the switch and insert the switch.
Step 2: Lock the switch. Rotate the switch in the clockwise direction to lock it in place.
- Note: While installing the switch you may have to press down on the brake pedal in order to insert it all the way.
Step 3: Reconnect the battery. Now that the new switch is installed, reconnect the wiring harness and negative cable on the battery.
Press down on the brake pedal and see if the lights illuminate.
- Note: On the newer style switch, you will not need to adjust anything and the lights should work after installation. If the lights do not work even after adjustment, a certified technician would be able to inspect the switch and diagnose the problem.
Part 4 of 4: Install a new switch (Old Style)
Step 1: Save the nuts. You may have to reuse the nuts from the old switch so be sure to save them for the new installation.
Step 2: Screw one of the nuts onto the switch. Try and set the nut to the same distance as the old switch. Install the new switch into the bracket and screw the second nut onto the other side. Tighten them down to prevent any movement.
Warning: Don’t use too much force when tightening the nuts down as you don’t want to strip them.
Note: If the sensor is installed at the incorrect setting, the pedal will not be able to open and close the circuit properly.
Step 3: Reconnect the battery. After the new switch is installed, reconnect the wiring harness and negative cable to the battery.
Press down on the brake pedal and see if the lights illuminate.
- Tip: With an older style switch, you may have to adjust the position of the sensor for the lights to work properly.
With a little time and patience, you should have your new switch installed and your brake lights should be working. Replacing this switch yourself will save you a good amount of money as the labor is much more expensive than the parts for this job. However, if you experience any issues, get a certified technician, such as one from YourMechanic to install the new brake light switch for you.