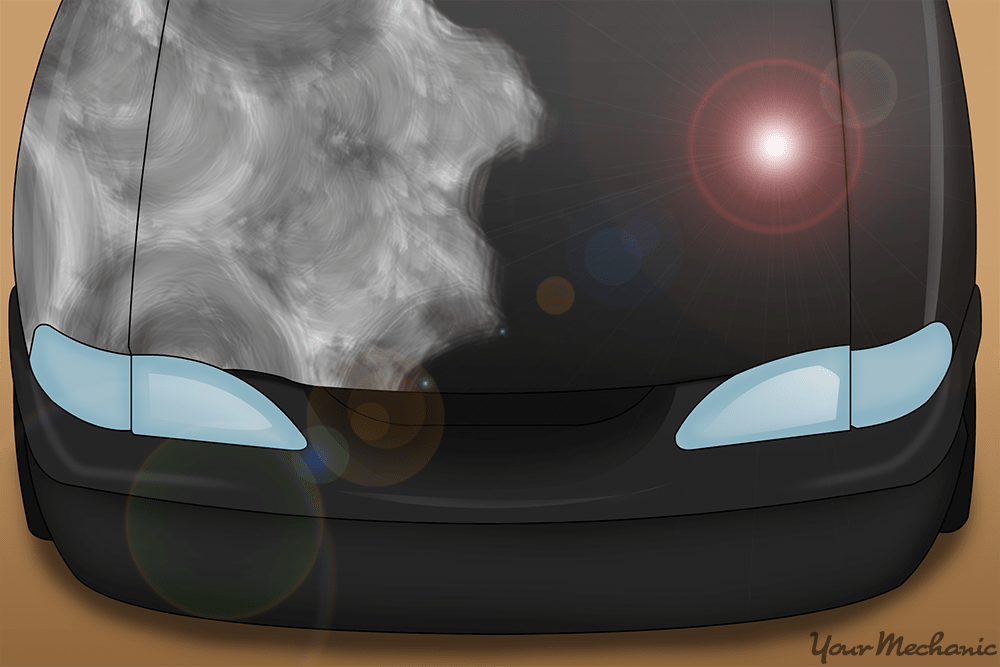

Whenever you wax your car, you expect the end result to be a clean, bright finish that protects your paint. Even though applying wax to your car’s finish is a pretty straightforward process, it can turn out poorly if you do not follow the right waxing method.
The most commonly faced problem while waxing your car is a streaky finish. This can be caused by many factors, including:
- Applying wax over a dirty paint job
- Covering missing sections of paint with wax
- Spreading the wax too thinly over the paint
With the right waxing procedure, you can correct a streaky wax finish without having to do any major repairs and with just a few supplies.
Part 1 of 3: Washing your car
The first step is to remove any dirt or contaminants on your car. If you attempt to remove the wax finish or re-apply wax on a dirty car, you can easily make the problem worse.
Materials Needed
- Bucket
- Car wash soap
- Microfiber cloths or chamois
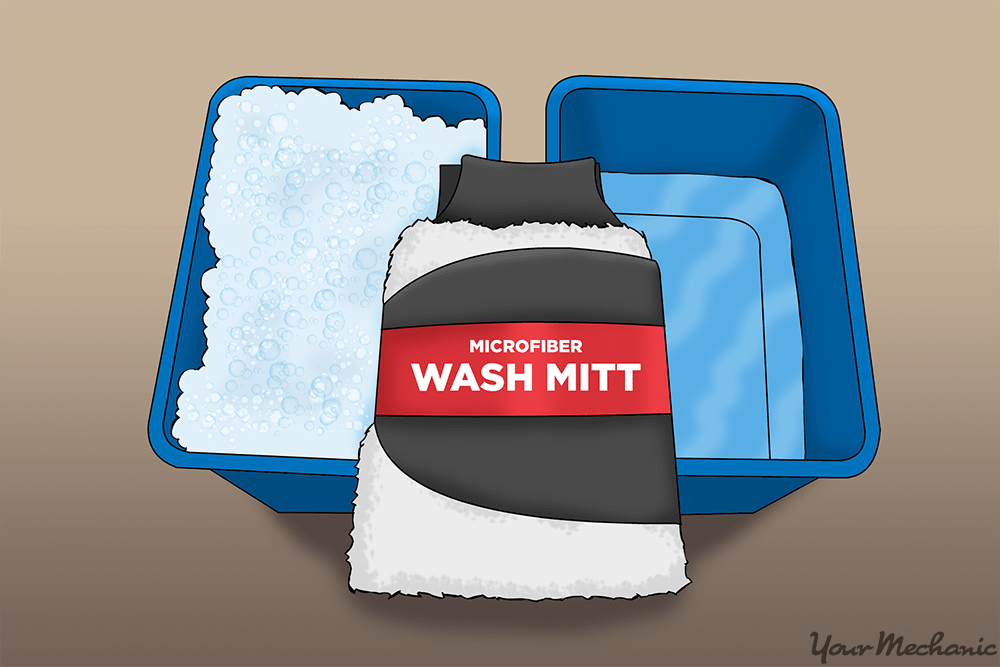
- Wash mitt
- Water
Step 1: Make a washing solution. Follow the instructions on the soap container and mix water and car wash soap together in a bucket.
Soak the wash mitt in your soapy water solution.
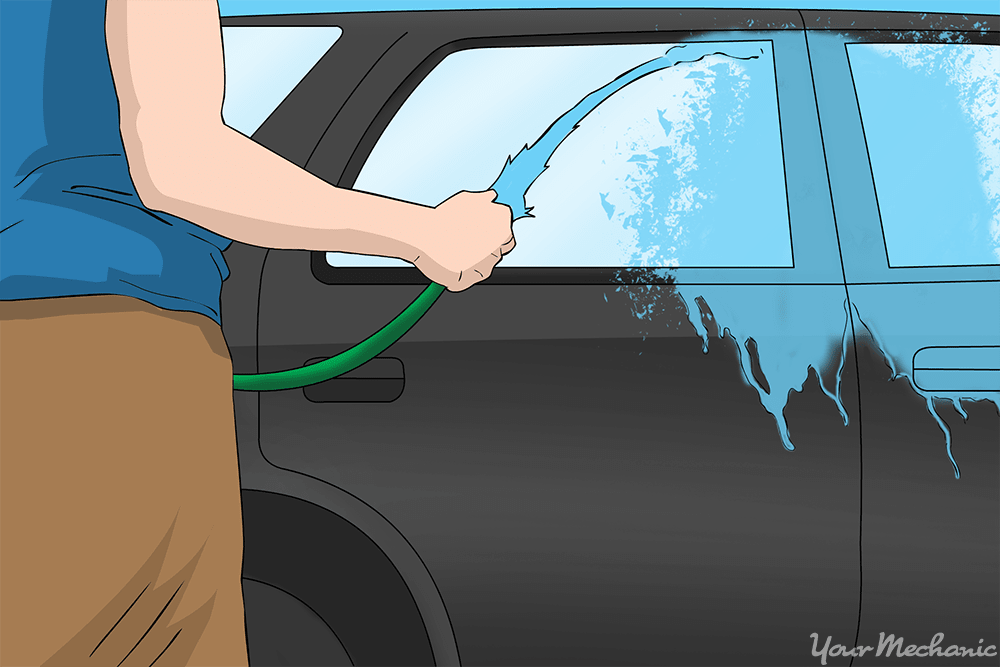
Step 2: Rinse your car with clean water. Use clean water to remove as much loose dirt as you can from the exterior of your car.
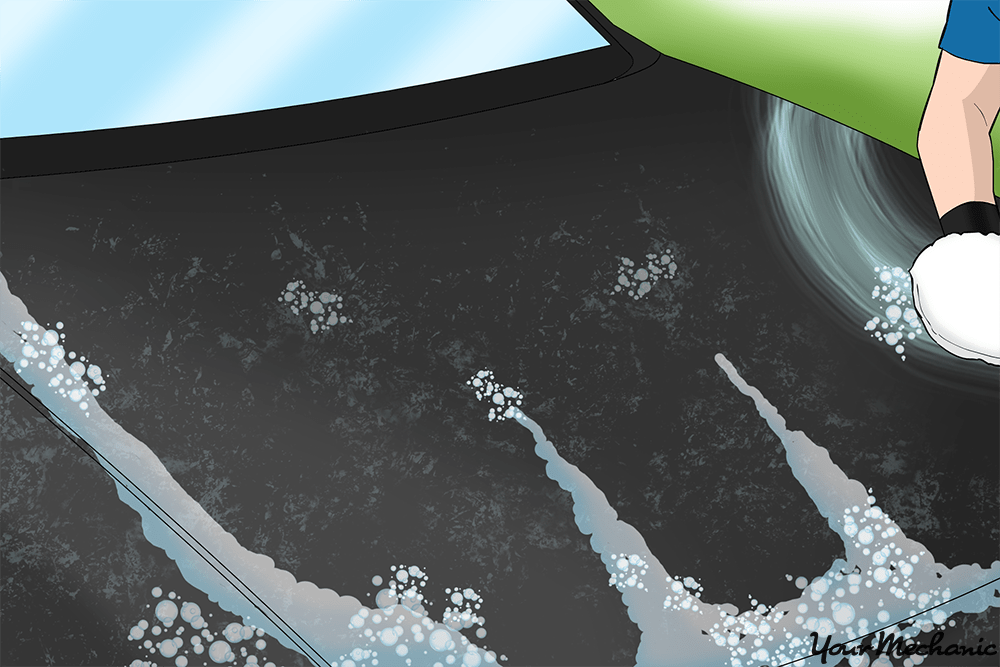
Step 3: Soap up your car. Start at the top of your car and soap your car’s paint with the wash mitt. Work your way down and wash each panel completely before moving onto the next one.
- Tip: Rinse your wash mitt in the soapy water frequently to remove any dirt from its fibers.
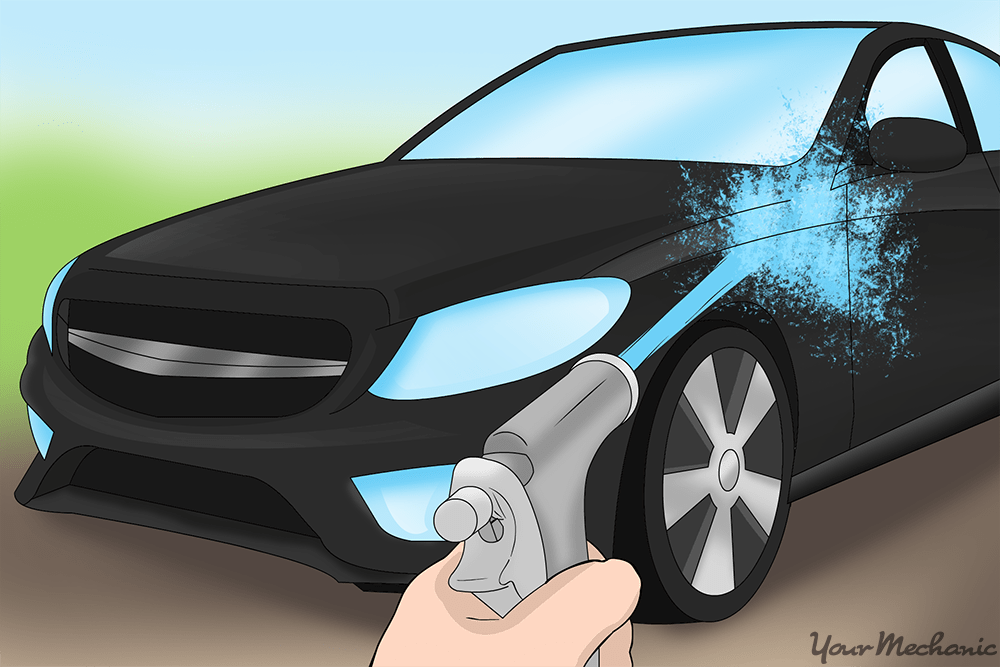
Step 4: Rinse your car. Rinse your car thoroughly with clean water, until your car is free from suds.
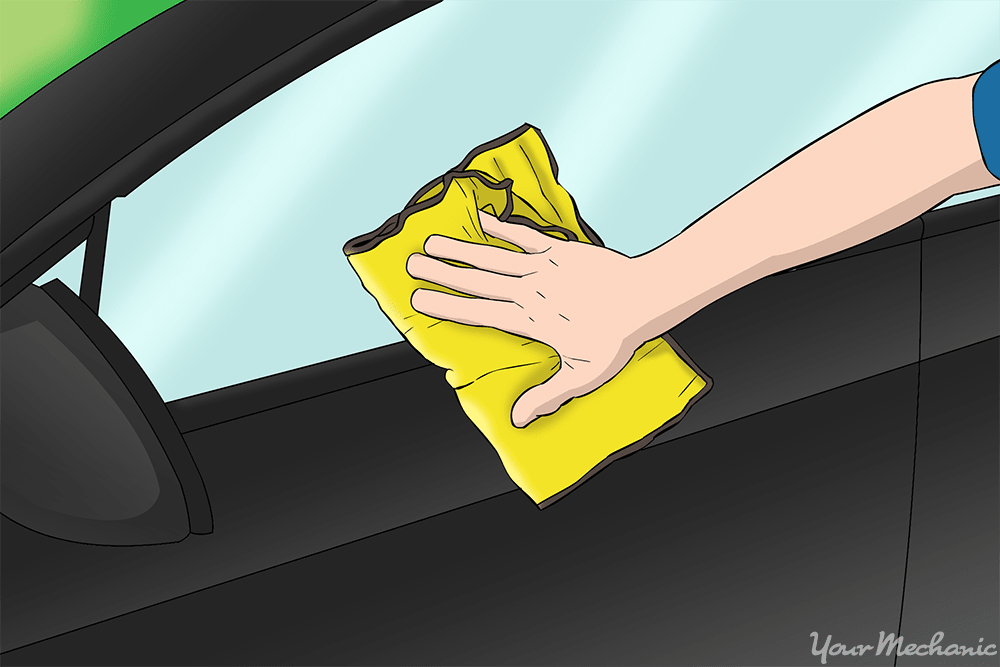
Step 5: Start drying your car. Dry your car’s exterior with a microfiber cloth or chamois.
Wipe the exterior, wringing the cloth out frequently so that it can absorb as much water as possible from the paint.
Step 6: Dry your car completely. Use another clean, dry microfiber cloth to do a final wipe of your car’s paint, picking up the last bits of water.
Part 2 of 3: Removing the streaky wax from your paint
One of the best ways to remove a streaky wax job on your car is to use a very mildly-abrasive cleaner wax. Not only does it remove the old wax, it adds a protective finish to your car as well.
Materials Needed
- Applicator pad
- Cleaner wax
- Microfiber cloth
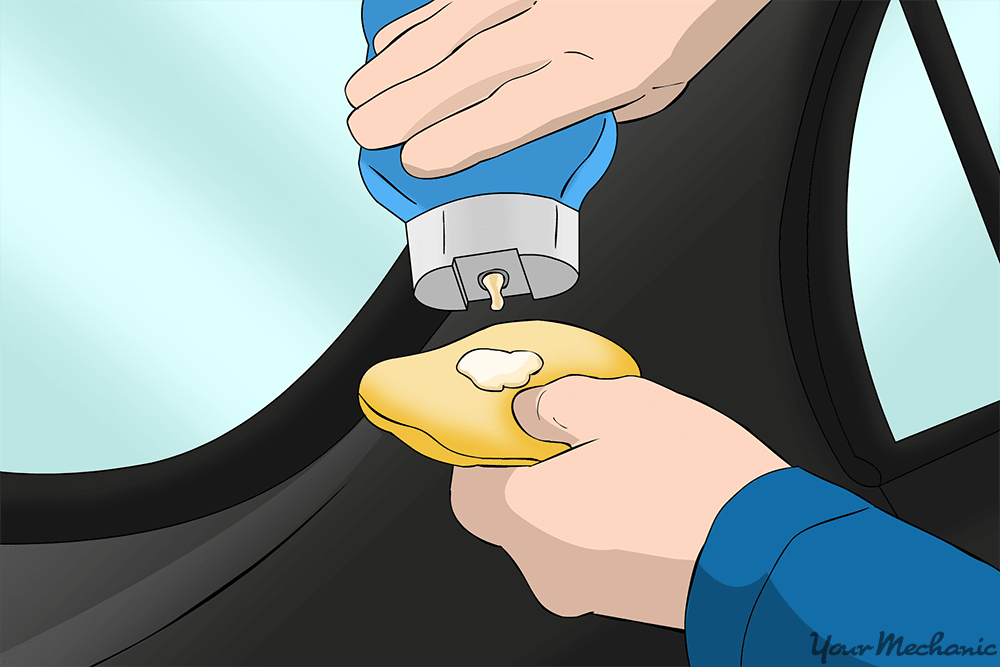
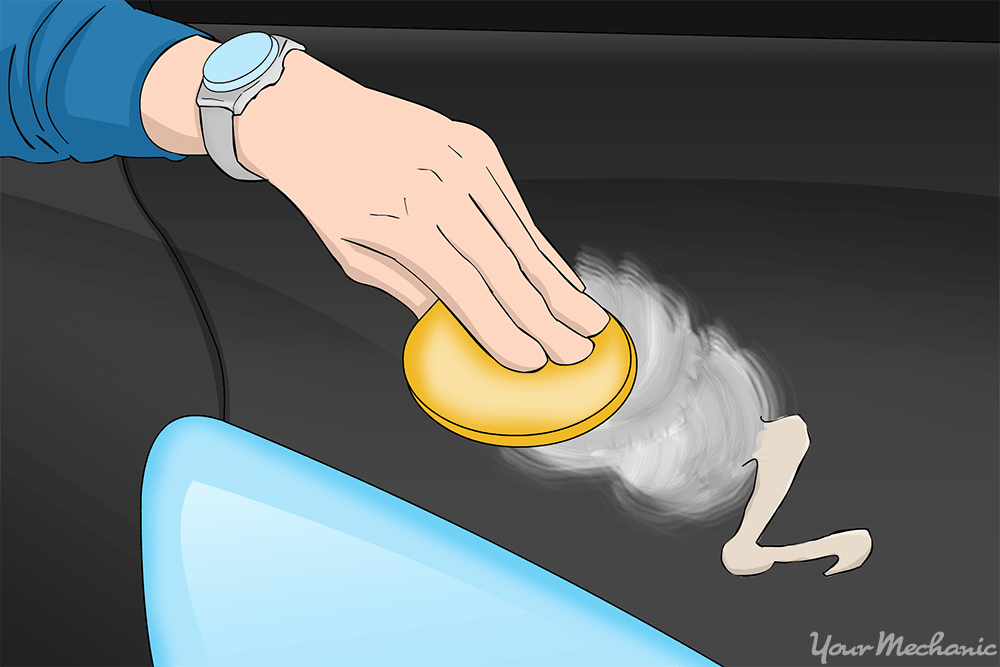
Step 1: Apply the cleaner wax to your car. Apply a line of cleaner directly onto the exterior panel you are working on or onto your applicator pad.
Use enough wax for a liberal coat over the whole panel.
- Warning: Try not to get the wax cleaner on raw or unpainted plastic parts as it can permanently stain the plastic.
Step 2: Spread the cleaner wax. Use a foam applicator pad to spread the cleaner wax in small circles over the whole panel. Use moderate pressure to lightly buff the previous wax off your car’s paint.
- Tip: Work quickly so the cleaner wax doesn’t dry before you finish the panel. Get all the way to the edges in order to maintain a uniform finish.
If you need more cleaner wax, apply more to the panel.
Step 3: Repeat the process. Perform the same steps on the rest of the panels on your car. Try to uniformly apply the cleaner wax over your car’s whole paint job.
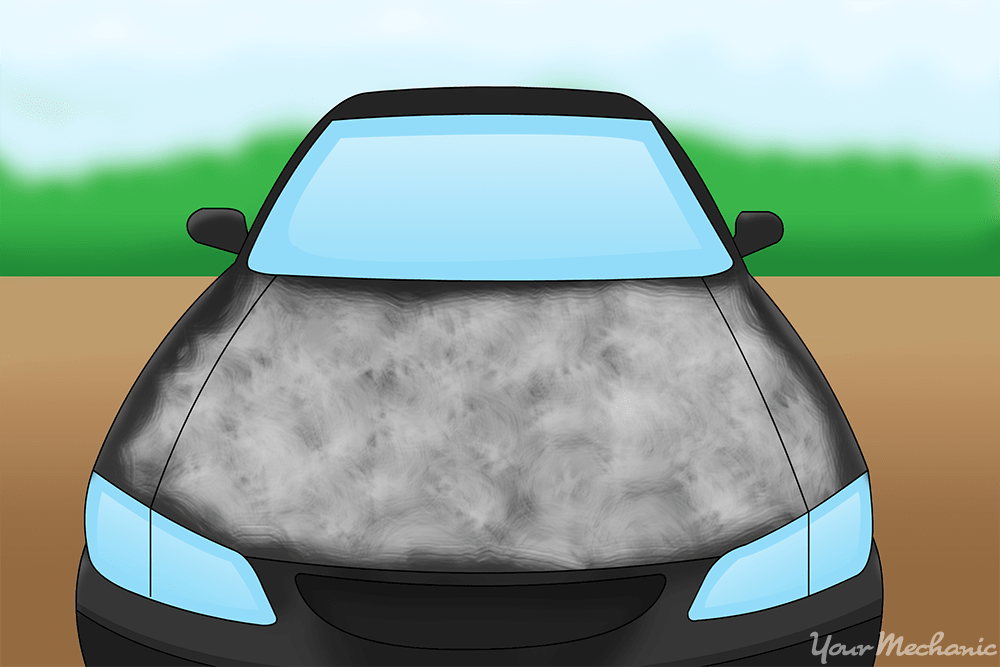
Step 4: Let the cleaner wax dry completely. Test its dryness with a swipe test.
Run your fingertip over the cleaner wax. If it smears, let it dry another 5-10 minutes. If it comes off clean as a powdery substance, it’s ready to remove.
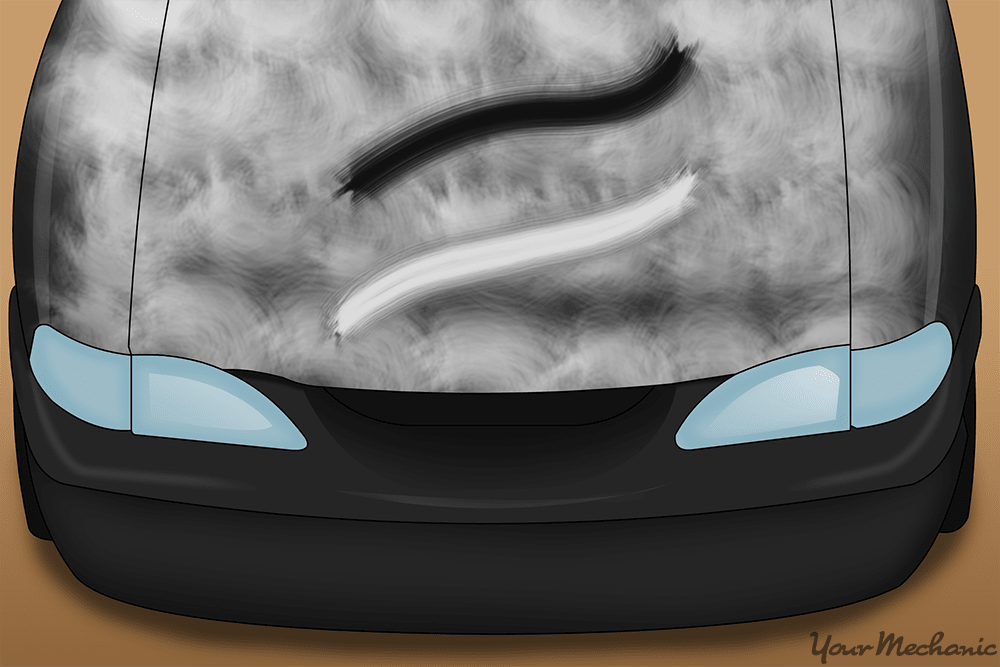
Step 5: Wipe off the cleaner wax. Using a dry microfiber cloth, wipe the cleaner wax off your car’s paint using large circular motions. Wipe every panel until your car’s paint no longer has any cleaner wax on it.
- Note: Using linear motions can contribute to a streaky finish.
Step 6: Evaluate your car’s exterior finish. Check your car’s exterior to see if the streakiness has been removed. If you still see streaks, apply the cleaner wax again.
Part 3 of 3: Waxing your car to remove streaks
If your wax is streaky because you didn’t apply it thickly enough or there were spots you missed, you can often just apply another coat of wax to your car.
- Tip: Always wax your car completely. If you wax just one panel or one spot, it will be noticeable.
Materials Needed
- Applicator pad
- Car wax
- Microfiber cloth
Step 1: Apply wax to your car. Start with a clean car. Apply wax to your car’s paint, one panel at a time, using an applicator pad.
Apply the wax liberally to blend the previous streaky finish.
- Tip: Use the same type and brand of wax that you used previously.
Wipe the wax onto your paint in small circular motions, making sure to overlap the circles.
Completely wax each panel before moving onto the next, wiping all the way to the edges and letting the wax fully dry after applying it.
- Tip: Try to apply the wax as uniformly as possible from panel to panel.
Step 2: Let the wax dry completely. When the wax is dry, it will come off as a powder when you swipe it with your finger.
Step 3: Remove the dried wax. Wipe the dried wax off of your car with a clean, dry microfiber cloth.
Use wide circular motions to wipe each panel clean.
Step 4: Check the finish of your wax job. If it is still a little streaky, you can apply another coat of wax.
Though there are many factors that cause a streaky wax finish, the solution is usually to wax the surface again, regardless of the cause. If you don’t prep your car properly before waxing it, you will likely end up with dirt trapped in the wax, giving it a streaked appearance.


