
You typically hear people talking about gearing or gear ratios when speaking about muscle cars. Gear ratios can be changed in many vehicles, which can result in a change in the way that your vehicle drives. The gear ratio is determined by the final drive gears that are installed in your vehicle. If you plan on doing any upgrades on your car or truck, knowing how to determine what the gear ratio is can help you to make an educated decision when making changes to your drivetrain.
Part 1 of 5: Understanding gear ratios
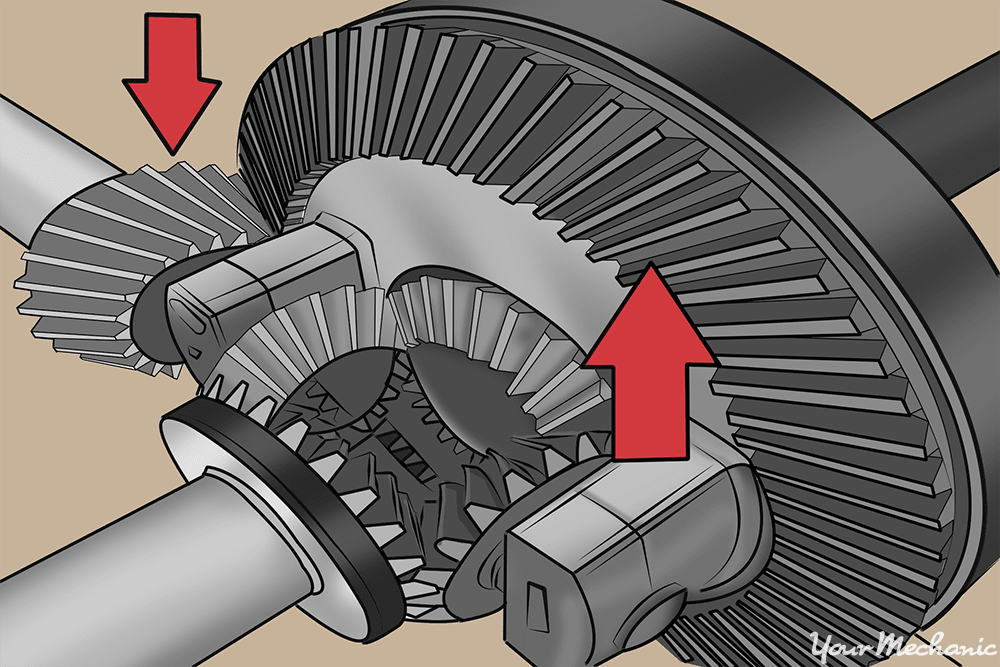
When talking about gear ratios, it is important to know that all vehicles have a gear ratio designed into the drivetrain of the vehicle. This ratio cannot be changed on most front wheel drive vehicles, but can be changed on many rear wheel drive vehicles. The gear ratio is the difference in the size of the pinion gear, or input gear, and the ring gear, or output gear. An example of this would be a gear ratio of 2:1. This would mean that the input gear would have two revolutions and the output would have one revolution. This results in a multiplication of torque, or the turning force at the wheels. This can affect the vehicle in many different ways:
A higher gear ratio can give your vehicle better acceleration.
A lower gear ratio can affect fuel mileage by decreasing engine RPM at highway speeds.
Gear ratios can be changed to compensate for changes in tire size.
Part 2 of 5: Preparation and lifting the vehicle
There are several ways to determine the gear ratio on your vehicle. It is important to have all of the correct materials and safety equipment prior to checking the vehicle.
Materials Needed
- Chalk or paint pen
- Differential cover gasket
- Differential oil (manufacturer recommended)
- Hydraulic floor jack
- Jack stands
- Oil catch pan
- Ratchet w/sockets
- Torque wrench
- Wheel chocks
There are two different ways to determine your gear ratio. One of the methods will tell you the exact gear ratio and the other will give you an approximation. In both instances, you will prepare the vehicle the same way.
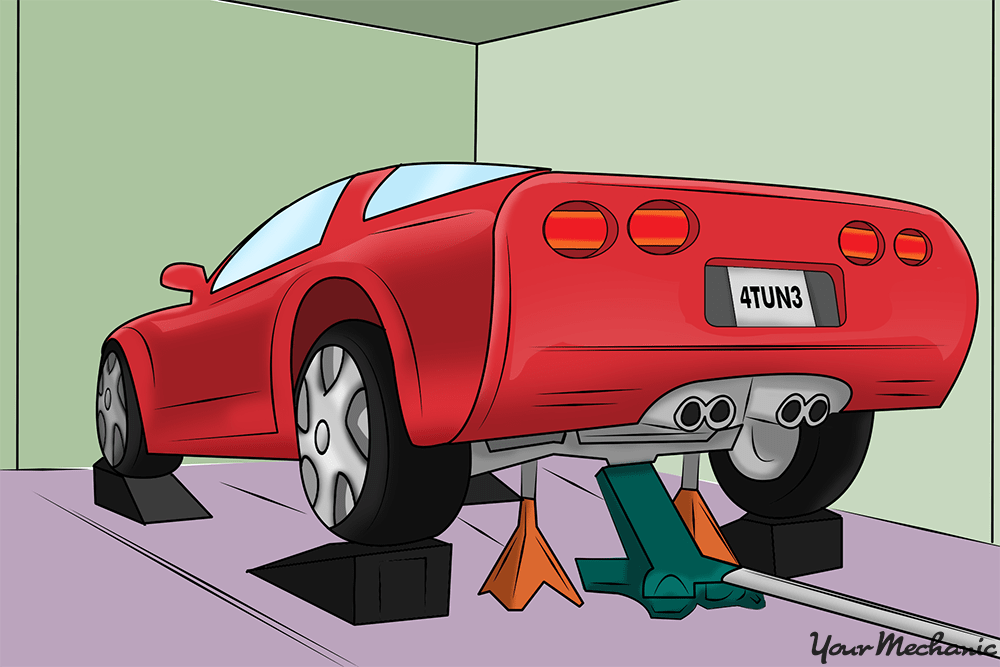
Step 1: Park the vehicle on a flat, hard, level surface.
Step 2: Place your wheel chocks around the front tires of the vehicle.
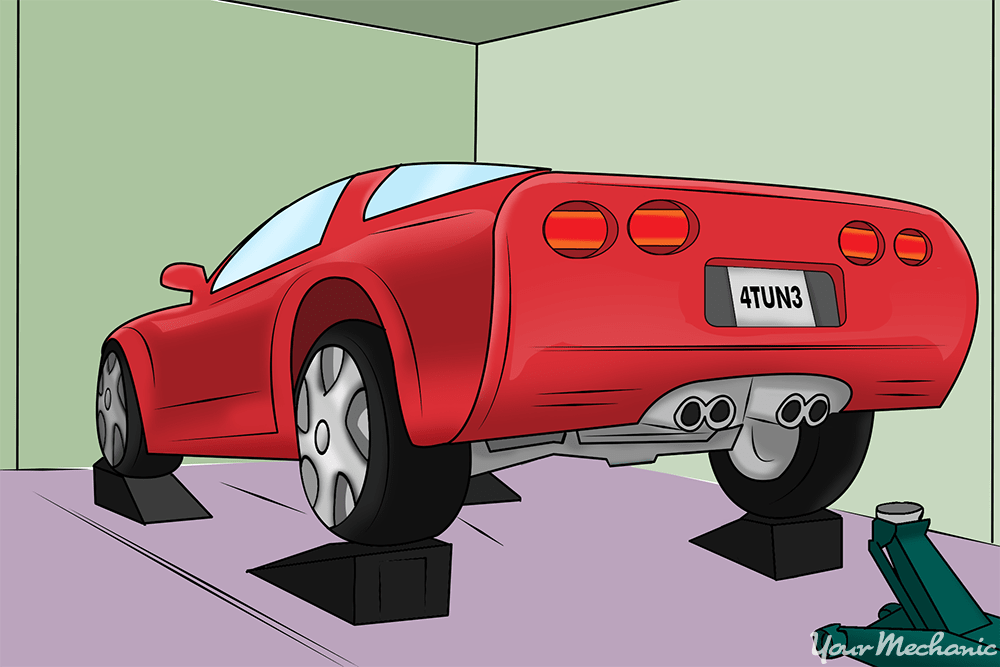
Step 3: Using the floor jack, lift the vehicle at the manufacturer's recommended lifting points. Raise the car until the back tires are off the ground.
Step 4: Place the jack stands under the jacking points. Then lower the vehicle onto them.
Step 5: Put the vehicle into neutral so that you can spin the driveshaft by hand.
Part 3 of 5: Determining an approximation of your car’s gear ratio
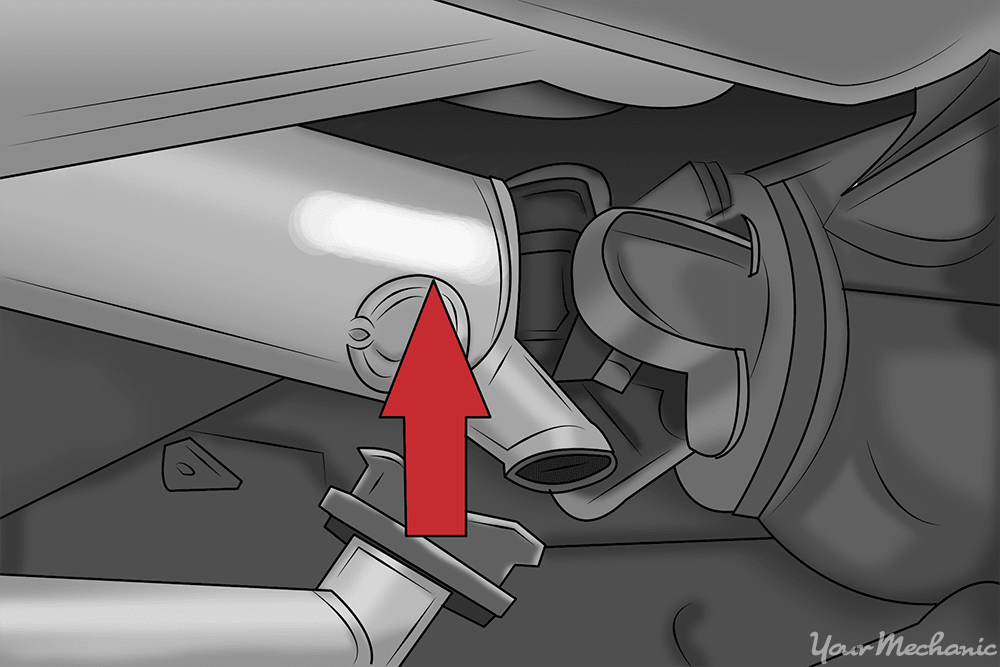
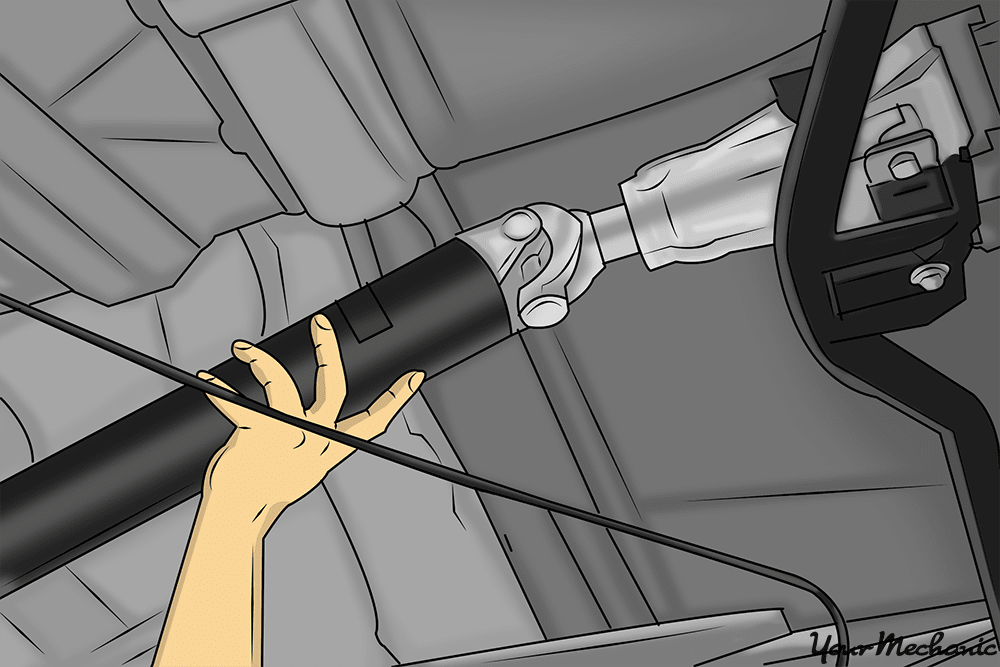
- Tip: You need to position yourself so that you can grasp the driveshaft and see the inside of the rear tires at the same time.
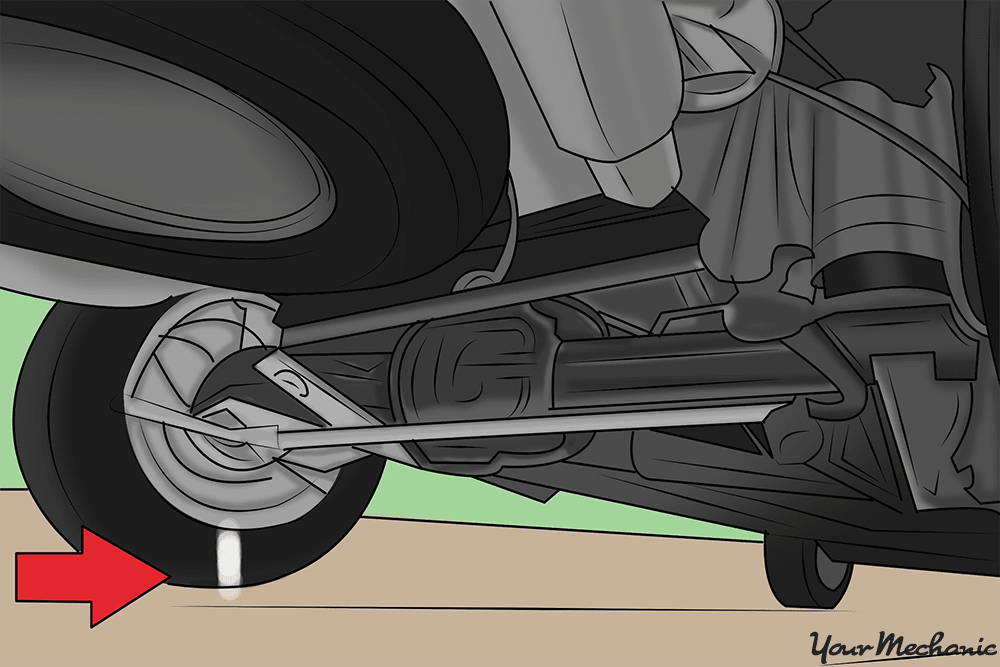
Step 1: Place a visible mark on the driveshaft near the differential housing. Use the chalk or paint pen. Also place a mark on the back of one of the rear tires.
- Tip: You need to be able to watch both marks during this inspection.
Step 2: Spin the driveshaft by hand. While spinning the driveshaft, count the revolutions by watching the markings, as well as counting the revolutions of the tire at the same time.
Step 3: Continue spinning the driveshaft. Keep counting the rotation of the marks you have made, until you feel like you have a good record of each rotation.
Step 4: Divide the number of revolutions of the driveshaft by the revolutions of the tire. This will give you your approximate gear ratio.
- Example: If the driveshaft was rotated 12 times and the tire rotated four times, then that is a gear ratio of 3:1. If the driveshaft was rotated 12.5 times and the tire rotated four times, then that would be 3.125:1.
Part 4 of 5: Determining a more accurate gear ratio
This is the most accurate method of determining your gear ratio. Most gear ratios are not exact numbers, making the spinning method less accurate.
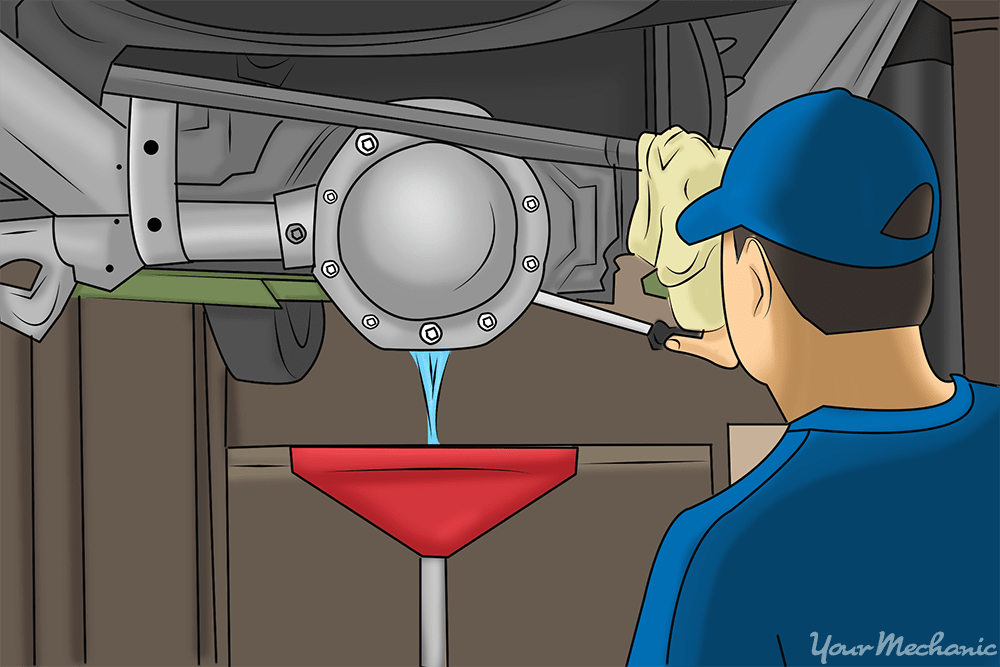
Step 1: Place the oil catch pan under the rear differential cover.
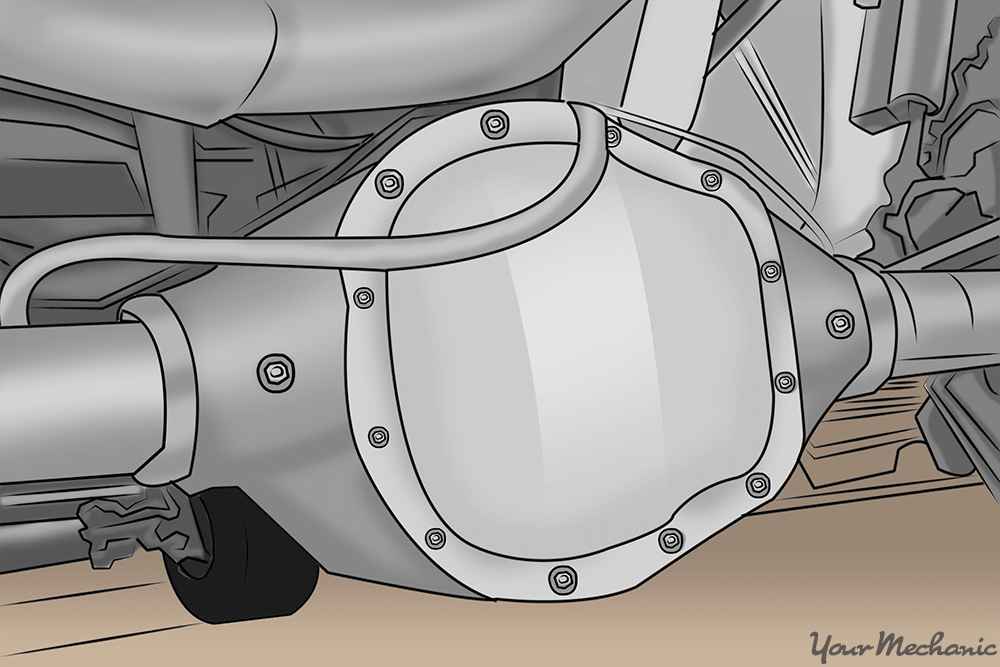
Step 2: Remove the bolts that hold the rear differential cover on. Use the appropriate socket and ratchet.
Step 3: Remove the rear cover and allow the oil to drain.
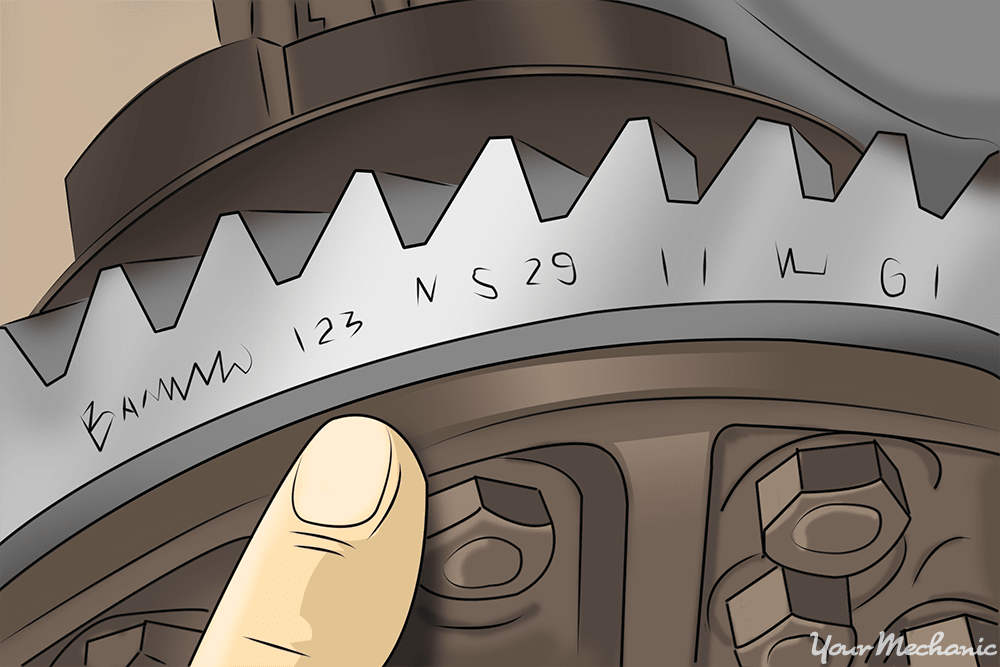
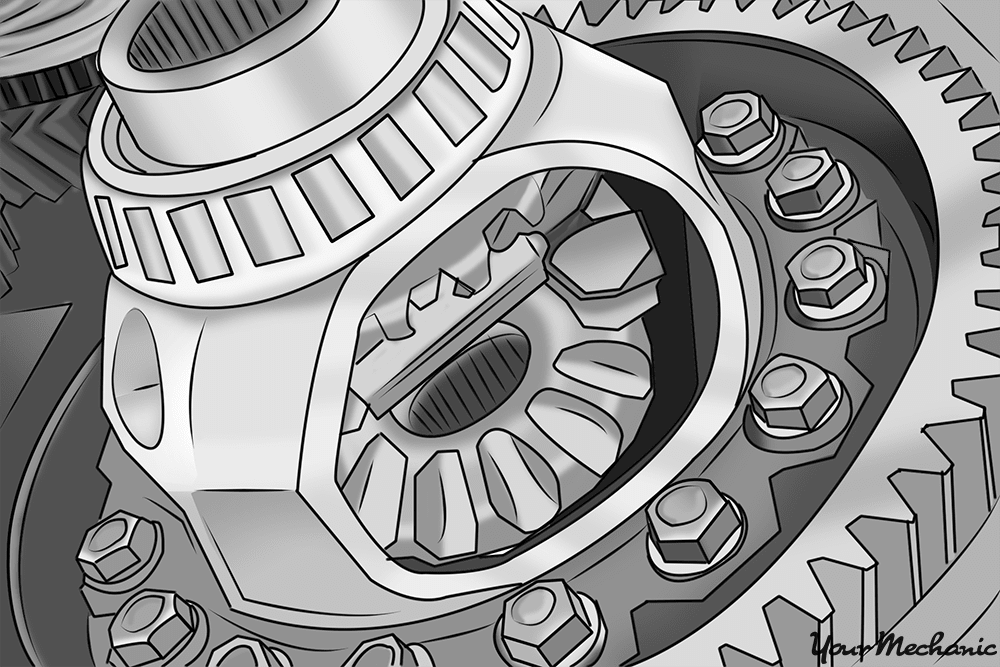
Step 4: Find the numbers on the ring gear. Spin the ring gear by hand until you locate the numbers stamped onto the ring gear. These numbers indicate your gear ratio.
Step 5: Clean the cover mounting gasket on the cover and the housing.
Step 6: Install the differential cover using the new gasket.
Step 7: Tighten the differential cover bolts down using the torque wrench. You will need a service manual in order to know the correct tightening specifications.
Step 8: Fill the differential oil to the correct fluid level. See the manufacturer’s specifications for the correct level.
Part 5 of 5: Complete the process
Step 1: Place the vehicle in park and apply the parking brake.
Step 2: Lift the rear of the vehicle with the floor jack and remove the jack stands.
Step 3: Lower the vehicle to the ground and remove the wheel chocks.
When making modifications or upgrades to your vehicle, knowing the gear ratio can help you to make a knowledgeable decision. Changes can be made to your ratio depending on the type of improvement that you are looking to make. Keep in mind that on some computer-controlled vehicles, the new gear ratio must be programmed into the vehicle’s module to ensure that the speedometer and shift points of the transmission are correct. If you are uncomfortable with any parts of this process, you can have a certified mechanic from YourMechanic come and remove the differential cover and get the gear ratio for you.


