What is a Drive Cycle?
If you’re a newer mechanic or becoming more educated about diagnosing emissions systems via the OBD-II diagnosis system, you may have heard of the phrase “drive cycle.” A drive cycle is used to test whether repairs to emissions-related components were successfully recognized by the powertrain control module or PCM. The examination itself involves a test drive unique to each vehicle manufacturer. When it is followed as directed, it will help reset the sensors and monitoring equipment inside the PCM and help the mechanic determine if the repairs were completed correctly.
How Long Does a Drive Cycle Take?
While it would be nice and convenient for the drive cycle to be consistent and easy to follow, in truth it is unique for every manufacturer. In most cases, a correct drive cycle will take no longer than 15 minutes to complete, but this can vary depending on manufacturer or car model. Any responsible mechanic understands that the best resource for locating the exact drive cycle instructions for the vehicle they are servicing is the service and repair manual or software program.
As such, the drive cycle instructions we’ve placed below are 5 GENERAL STEPS and should NOT be considered exact steps to follow. Always refer to your vehicle service manual or a professional mechanic who has access to the exact drive cycle instructions — and follow them to ensure accuracy.
How to Complete a Drive Cycle
Step 1: Finish Repairs and Clear Fault Codes
The first step to completing a drive cycle is the step that many inexperienced mechanics tend to forget — but it’s the most important. After completing any emissions-related service, you need to clear all OBD-II diagnosis fault codes by using a professional digital scanner. This needs to be completed prior to beginning the actual drive cycle test.
Step 2: Preparing the Vehicle
The next step is to prepare the vehicle for an efficient drive cycle test. There are a few general items that need to be completed in order for the drive cycle test to be effective:
- Make sure the fuel level is between 30 and 70 percent. If you have completed repairs to emissions systems, especially the EVAP canister or other fuel tank components, the PCM will require a specific amount of fuel/vapor to ensure accurate measurements.
- Ensure your battery and alternator are in good shape. Jump-starting a vehicle can be a death sentence for the PCM. It can also negatively impact the drive cycle test.
- Let the vehicle sit for more than 8 hours. The first step of the drive cycle is a cold start. In order for the test to begin, the engine temperature needs to match the outside ambient temperature. It’s also important to keep the vehicle in a temperature-controlled area.
- Double check the keys and doors. Before you leave the vehicle for the evening, make sure you have all doors closed and no keys inserted into the ignition or locks.
Step 3: Complete the Cold Start
The third step to a drive cycle is completing a cold start. The cold start is just that: an opportunity to start the engine when it’s truly cold. To complete a successful cold start, follow your specific manufacturer’s steps, as each one is unique.
Posted below are a few general steps that most drive cycle tests require:
- Start the vehicle in Park or Neutral
- Let the vehicle idle for a few minutes
- Turn on heater, headlights, and front/rear defroster to maximum settings
- Let vehicle heat up to recommended operating temperature
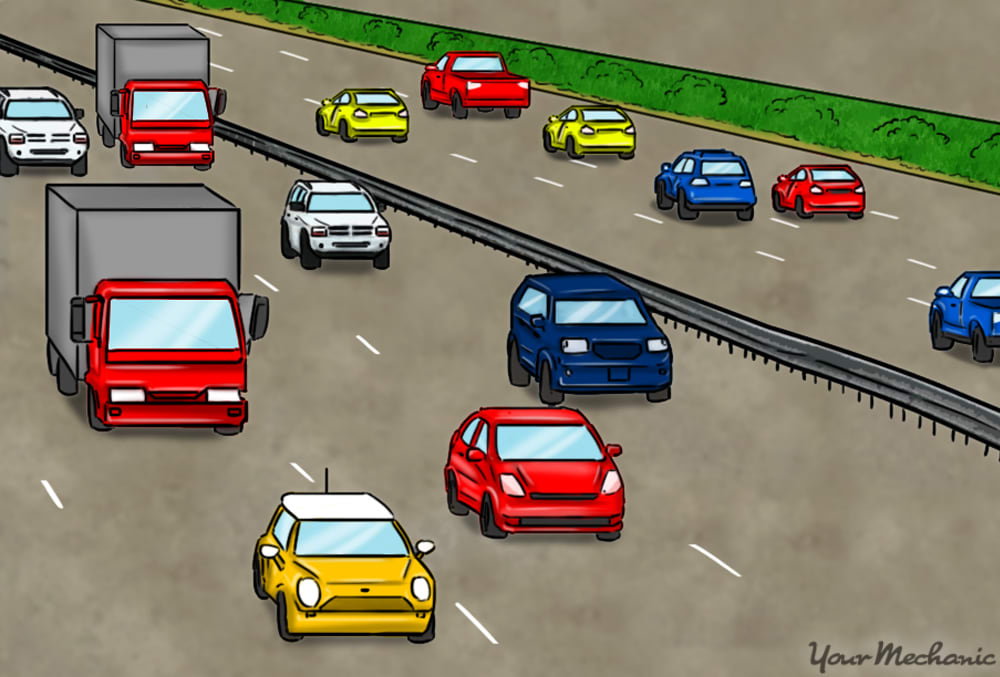
Step 4: Start the Road Test
The next step for completing a drive cycle is to start the road test. The road test of a typical drive cycle involves a highway and two road driving sessions. The first phase will be a short city driving test. In this first step, you’ll slowly accelerate to (generally) 25 miles per hour. Anytime you stop the vehicle — for stop signs, traffic, or other reasons — come to a complete stop before proceeding.
The second step involves a short highway test. Here you’ll want to slowly accelerate to the recommended speed (again, that recommended by your manufacturer) and hold that steady speed for five miles or more. The most important part of the highway test is slowing down. Most manufacturers recommend simply removing your foot from the accelerator, without pressing the brake pedal, until you decelerate to at least 20 mph — then you can slowly press the brake pedal. The third road test is a return to city driving, where you repeat what you drove in the first city road test. Once the road test has been completed, pull into a parking spot, let the engine idle for a few minutes, and then shut off the engine.
Step 5: Complete the Final Scan for Error Codes
The last step of the general drive cycle test is to complete a final OBD-II scan for trouble codes. This is something that will verify that the drive cycle test has been completed successfully. Sometimes a drive cycle test will discover other hidden emission problems that did not register initially.
The most important step to complete is following the exact instructions as recommended by your vehicle manufacturer. While the information above is accurate in general, it is not a proven method for all years, makes, and models. When in doubt, always refer to the advice from a professional mechanic.