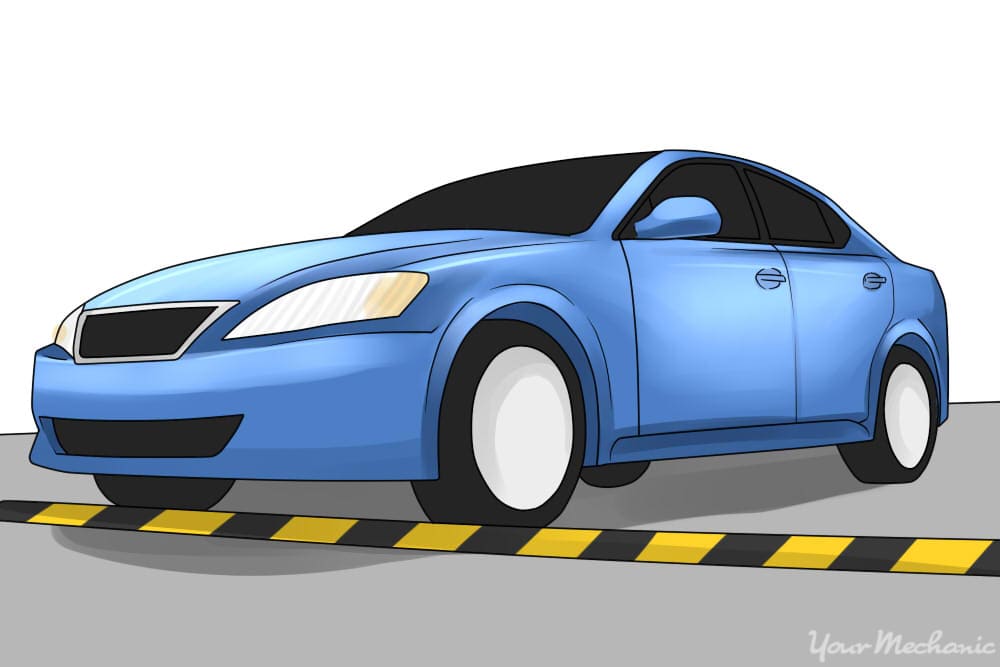
If you drive over bumps and hear a clunking sound, there is a good possibility that something important is wrong with your car. Frequently, the suspension system is at fault when you hear a clunk sound.
Clunking noises that happen when you drive your car over bumps could be from the following:
- Worn or damaged struts
- Worn or damaged leaf spring shackles
- Worn or damaged control arms
- Damaged or broken ball joints
- Damaged or broken shock absorbers
- Loose or damaged body mounts
When it comes to diagnosing a clunking noise when driving over bumps, a road test is required to determine the sound. Before you take the vehicle on a road test, you need to walk around the vehicle to ensure that there is nothing falling off the vehicle. Look underneath to see if any parts to the vehicle has broken off. If something is broken on the vehicle that is safety related, you will need to address the item first before conducting a road test. Also, be sure to check the tire pressure. This keeps the vehicle from overheating the tires and allows you to do a correct test.
Part 1 of 7: Diagnosing worn or damaged struts

Step 1: Push down on the front and rear of the vehicle. This will check to see if the strut shocks are performing correctly. When the strut housing becomes dented, the strut shock will pop in and out of the strut tube.
Step 2: Start the engine. Turn the wheels from lock to lock going from right to left. This will check to see if the bearing plates will make a clicking or popping noise while the vehicle is stationary.
Step 3: Drive the vehicle around the block. Make turns where you can turn the steering wheel all the way in a direction. Listen for any clicking or popping sounds.
The struts are designed to turn with the wheels as the struts have a mounting surface for the wheel hub. While checking the struts for sounds, feel the steering wheel for any movement as if the mounting bolts to the wheel hubs could be loose making the wheels move in and out of alignment.
Step 4: Drive the vehicle over bumps or potholes. This checks the condition of the strut shaft and if there are any broken internal parts or dented shell.
- Note: If you see oil present on the housing of the strut, you should consider replacing the strut with a new or rebuilt strut.
Preparing the vehicle to check the struts
Materials Needed
- Flashlight
- Jack (2 ton or bigger)
- Jack stands
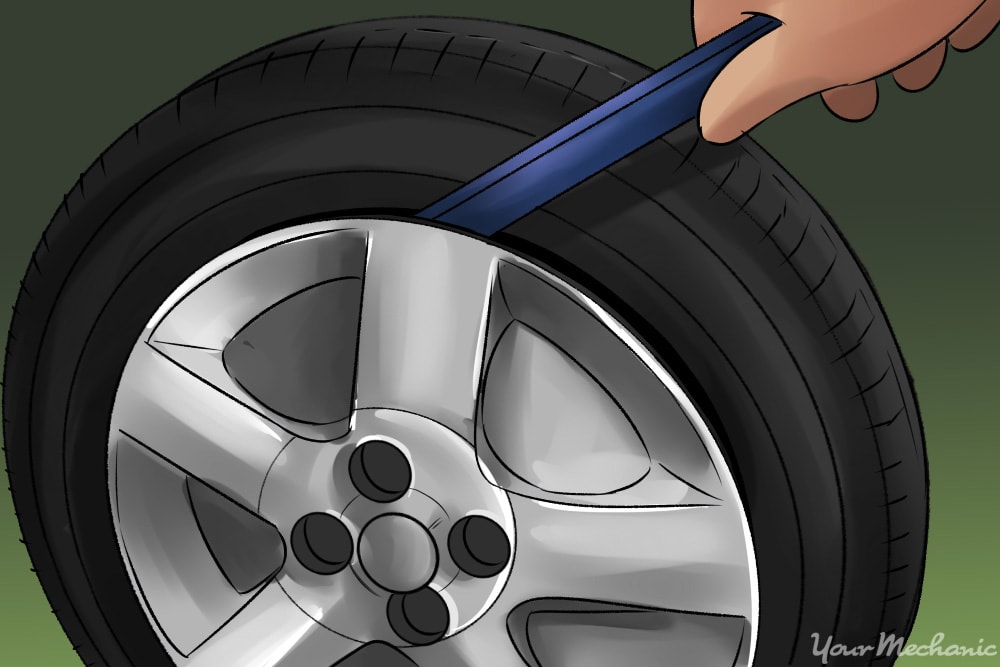
- Long pry bar
- Wheel chocks
Step 1: Park your vehicle on a flat, hard surface. Make sure that the transmission is in park (for automatics) or in 1st gear (for manuals).
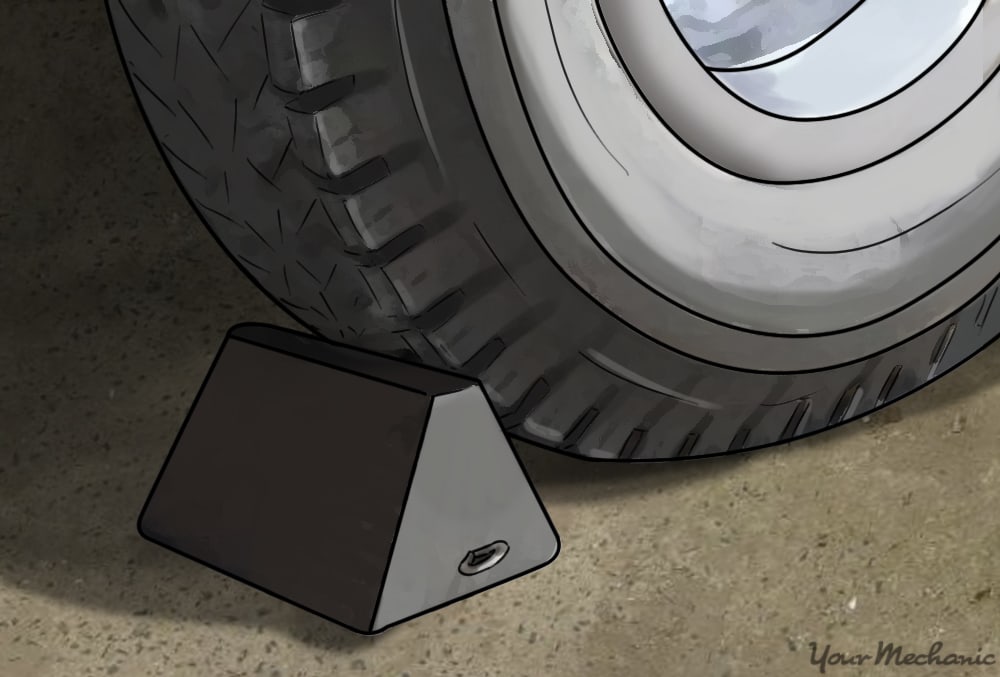
Step 2: Place wheel chocks around the rear tires that will be remaining on the ground. Engage the parking brake to the lock the rear tires from moving.
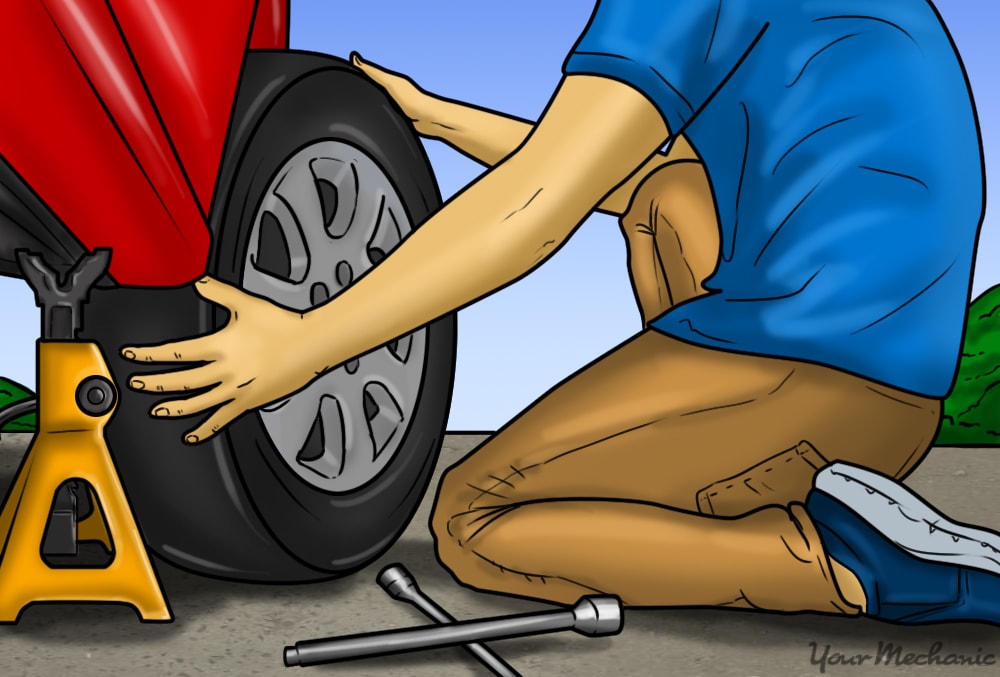
Step 3: Raise the vehicle. Using a floor jack that is recommended for the weight of the vehicle, lift under the vehicle at its specified jacking points until the wheels are completely off the ground.
Step 4: Place the jack stands. The jack stands should go under the jacking point locations. Then lower the vehicle onto the jack stands. For most modern cars, the jacking points for jack stands will be on the pinch weld just under the doors along the bottom of the car.
Checking the condition of the struts
Step 1: Grab a flashlight and look at the struts. See if the housing to the struts are dented or leaking oil. Look at the bearing plate to see if there it is separating. Check the mounting bolts to the hub and ensure that they are tight using a wrench.
Step 2: Grab a long pry bar. Pry up on the tires and check for any movement. Be sure to see where the movement is coming from. The wheels can move around if the ball joint is worn, if the mounting hub bolts are loose, or if the hub bearing is worn or loose.
Step 3: Open the hood to the engine compartment. Locate the mounting studs and nuts to the bearing plate. Check to see if the bolts are tight using a wrench.
Lowering the vehicle after performing the diagnosis
Step 1: collect all tools and your creeper and place them out of the way.
Step 2: Raise the vehicle. Using a floor jack that is recommended for the weight of the vehicle, lift under the vehicle at its specified jacking points until the wheels are completely off the ground.
Step 3: Remove the jack stands and keep them far away from the vehicle.
Step 4: Lower the vehicle to where all four wheels are on the ground. Pull out the jack and put it aside.
Step 5: Remove the wheel chocks from the rear wheels and put the aside.
If the problem of the vehicle is needing attention now, you will need to perform a repair of the worn or damaged struts.
Part 2 of 7: Diagnosing worn or damaged leaf spring shackles
Leaf spring shackles tend to wear out on vehicles over time during normal road conditions. Most vehicles are driven on other areas rather than just on roads. Leaf springs are located on trucks, vans, trailers, and any type of off road vehicle. Due to the effort of going off-road, vehicles with leaf springs tend to break or bend causing a clunking sound. Usually the shackle on one end of a leaf spring bends or breaks creating a binding sound, which is a loud clunk.
Vehicles with massive suspension lifts are in danger of leaf spring shackles failing. There are lots of suspension parts involved with vehicles that are lifted and require more attention than a standard suspension system.
Materials Needed
- Flashlight
Step 1: Grab a flashlight and visually check the suspension of the vehicle. Look for any damaged or leaf spring shackles.
- Note: If you see any broken suspension parts, you will need to have it repaired prior to test driving the vehicle. This would result is a safety matter that needs to be addressed.
Step 2: Drive the vehicle around the block. Listen for any clunking sounds.
Step 3: Drive the vehicle over bumps or potholes. This checks the condition of the suspension as the tires and suspension moves around.
Step 4: Step on the brakes hard and accelerate hard from a stop. This will check for any horizontal movement within the suspension system. A loose leaf spring shackle bushing may not transmit noise when in normal operation, but can move around during a hard stop and fast take off.
- Note: If your vehicle has been in an accident before, the leaf spring mounting brackets could be set back on the frame to fix an alignment issue. The set back can result in problems with the suspension coming loose or deteriorating the bushing faster than normal.
Preparing the vehicle to check the leaf spring shackles
Materials Needed
- Flashlight
- Jack (2 ton or bigger)
- Jack stands
- Long pry bar
- Wheel chocks
Step 1: Park your vehicle on a flat, hard surface. Make sure that the transmission is in park (for automatics) or in 1st gear (for manuals).
Step 2: Place wheel chocks around the rear tires that will be remaining on the ground. Engage the parking brake to the lock the rear tires from moving.
Step 3: Raise the vehicle. Using a floor jack that is recommended for the weight of the vehicle, lift under the vehicle at its specified jacking points until the wheels are completely off the ground.
Step 4: Place the jack stands. The jack stands should go under the jacking point locations. Then lower the vehicle onto the jack stands. For most modern cars, the jacking points for jack stands will be on the pinch weld just under the doors along the bottom of the car.
Checking the condition of the leaf spring shackles
Step 1: Grab a flashlight and look at the suspension system. See if the parts are damaged, bent, or loose. Check the mounting bolts to the knuckle and ensure that they are tight using a wrench.
Step 2: Grab a long pry bar. Pry up on the tires and check for any movement. Be sure to see where the movement is coming from. The wheels can move around if the ball joint is worn, if the mounting knuckle bolts are loose, or if the hub bearing is worn or loose.
Step 3: Locate the leaf spring shackles Check the mounting bolts to the leaf spring shackles. Check to see if the bolts are tight using a wrench. Look to see if the leaf spring shackles are bent or broken.
Lowering the vehicle after performing the diagnosis
Step 1: Collect all tools and your creeper and place them out of the way.
Step 2: Raise the vehicle. Using a floor jack that is recommended for the weight of the vehicle, lift under the vehicle at its specified jacking points until the wheels are completely off the ground.
Step 3: Remove the jack stands and keep them far away from the vehicle.
Step 4: Lower the vehicle to where all four wheels are on the ground. Pull out the jack and put it aside.
Part 3 of 7: Diagnosing worn or damaged control arms
Control arms tend to wear out on vehicles over time during normal road conditions. Most vehicles are driven on other areas rather than just on roads. Most operators tend to think that cars are like trucks and can take off-road adventures with no problems. This results in wearing out the suspension parts more frequently.
Materials Needed
- Flashlight
Step 1: Grab a flashlight and visually check the control arms of the vehicle. Look for any damaged or broken control arms or related suspension parts.
- Note: If you see any broken suspension parts, you will need to have it repaired prior to test driving the vehicle. This would result is a safety matter that needs to be addressed.
Step 2: Drive the vehicle around the block. Listen for any clunking noises.
Step 3: Drive the vehicle over bumps or potholes. This checks the condition of the suspension as the tires and suspension moves around.
Step 4: Step on the brakes hard and accelerate hard from a stop. This will check for any horizontal movement within the suspension system. A loose control arm bushing may not transmit noise when in normal operation, but can move around during a hard stop and fast take off.
- Note: If your vehicle has been in an accident before, the control arms could be set back on the frame to fix an alignment issue. The set back can result in problems with the control arms coming loose or deteriorating the bushing faster than normal.
Preparing the vehicle to check the control arms
Materials Needed
- Flashlight
- Jack (2 ton or bigger)
- Jack stands
- Long pry bar
- Wheel chocks
Step 1: Park your vehicle on a flat, hard surface. Make sure that the transmission is in park (for automatics) or in 1st gear (for manuals).
Step 2: Place wheel chocks around the rear tires that will be remaining on the ground. Engage the parking brake to the lock the rear tires from moving.
Step 3: Raise the vehicle. Using a floor jack that is recommended for the weight of the vehicle, lift under the vehicle at its specified jacking points until the wheels are completely off the ground.
Step 4: Place the jack stands. The jack stands should go under the jacking point locations. Then lower the vehicle onto the jack stands. For most modern cars, the jacking points for jack stands will be on the pinch weld just under the doors along the bottom of the car.
Checking the condition of the control arms
Step 1: Grab a flashlight and look at the control arms. See if the parts are damaged, bent, or loose. Check the mounting bolts to the knuckle and ensure that they are tight using a wrench.
Step 2: Grab a long pry bar. Pry up on the tires and check for any movement. Be sure to see where the movement is coming from. The wheels can move around if the ball joint is worn, if the mounting knuckle bolts are loose, or if the hub bearing is worn or loose.
Step 3: Open the hood to the engine compartment. Locate the mounting bolts to the suspension arms. Check to see if the bolts are tight using a wrench. Look for the control arm bushings. Check to see if the bushing is cracked, broken, or missing.
Lowering the vehicle after performing the diagnosis
Step 1: Collect all tools and your creeper and place them out of the way.
Step 2: Raise the vehicle. Using a floor jack that is recommended for the weight of the vehicle, lift under the vehicle at its specified jacking points until the wheels are completely off the ground.
Step 3: Remove the jack stands and keep them far away from the vehicle.
Step 4: Lower the vehicle to where all four wheels are on the ground. Pull out the jack and put it aside.
Have a mechanic replace your worn or damaged control arms if necessary.
Part 4 of 7: Diagnosing damaged or broken ball joints
Ball joints tend to wear out on vehicles over time during normal road conditions. Most vehicles are driven on other areas rather than just on roads where there is a lot of dust. Most operators tend to think that cars are like trucks and can take off-road adventures with no problems. This results in wearing out the suspension parts more frequently.
Materials Needed
- Flashlight
Step 1: Grab a flashlight and visually check the ball joints and suspension of the vehicle. Look for any damaged or broken ball joints.
- Note: If you see any broken suspension parts, you will need to have it repaired prior to test driving the vehicle. This would result is a safety matter that needs to be addressed.
Step 2: Drive the vehicle around the block. Listen for any clunking noises that come from underneath the vehicle.
Step 3: Drive the vehicle over bumps or potholes. This checks the condition of the suspension as the tires and suspension moves around.
Step 4: Step on the brakes hard and accelerate hard from a stop. This will check for any horizontal movement within the suspension system. A loose suspension bushing may not transmit noise when in normal operation, but can move around during a hard stop and fast take off.
- Note: If your vehicle has been in an accident before, the suspension could be set back on the frame to fix an alignment issue. The set back can result in problems with the suspension coming loose or deteriorating the bushing faster than normal.
Preparing the vehicle to check the suspension
Materials Needed
- Flashlight
- Jack (2 ton or bigger)
- Jack stands
- Long pry bar
- Very large pair of channel lock pliers
- Wheel chocks
Step 1: Park your vehicle on a flat, hard surface. Make sure that the transmission is in park (for automatics) or in first gear (for manuals).
Step 2: Place wheel chocks around the rear tires that will be remaining on the ground. Engage the parking brake to the lock the rear tires from moving.
Step 3: Raise the vehicle. Using a floor jack that is recommended for the weight of the vehicle, lift under the vehicle at its specified jacking points until the wheels are completely off the ground.
Step 4: Place the jack stands. The jack stands should go under the jacking point locations. Then lower the vehicle onto the jack stands. For most modern cars, the jacking points for jack stands will be on the pinch weld just under the doors along the bottom of the car.
Checking the condition of the ball joints
Step 1: Grab a flashlight and look at the ball joints. See if the parts are damaged, bent, or loose. Check the mounting bolts to the knuckle and ensure that they are tight using a wrench.
Step 2: Grab a long pry bar. Pry up on the tires and check for any movement. Be sure to see where the movement is coming from. The wheels can move around if the ball joint is worn, if the mounting knuckle bolts are loose, or if the hub bearing is worn or loose.
Step 3: Locate the ball joints. Check to see if the castle nut and cotter pin are present on the ball joints. Grab a very large pair of channel lock pliers and squeeze the ball joint. This checks for any movement within the ball joints.
Lowering the vehicle after performing the diagnosis
Step 1: Collect all tools and your creeper and place them out of the way.
Step 2: Raise the vehicle. Using a floor jack that is recommended for the weight of the vehicle, lift under the vehicle at its specified jacking points until the wheels are completely off the ground.
Step 3: Remove the jack stands and keep them far away from the vehicle.
Step 4: Lower the vehicle to where all four wheels are on the ground. Pull out the jack and put it aside.
If the problem of the vehicle needs attention, have a mechanic replace the damaged or broken ball joints.
Part 5 of 7: Diagnosing damaged or broken shock absorbers
Materials needed
- Flashlight
Step 1: Grab a flashlight and visually check the shock absorbers. Look for any abnormal damage to the shock absorber.
Step 2: Drive the vehicle around the block. Listen for any clunking sounds. The tires are designed to make contact with the road at all times as the shock absorbers force the tires down.
Step 4: Drive the vehicle over bumps or potholes. This checks the condition of the rebound response within the tires and shocks to the vehicle. the shocks are designed to stop or slow down coil osculations as the coil spring is jounced.
Preparing the vehicle to check the tires
Materials Needed
- Flashlight
- Jack (2 ton or bigger)
- Jack stands
- Wheel chocks
Step 1: Park your vehicle on a flat, hard surface. Make sure that the transmission is in park (for automatics) or in 1st gear (for manuals).
Step 2: Place wheel chocks around the rear tires that will be remaining on the ground. Engage the parking brake to the lock the rear tires from moving.
Step 3: Raise the vehicle. Using a floor jack that is recommended for the weight of the vehicle, lift under the vehicle at its specified jacking points until the wheels are completely off the ground.
Step 4: Place the jack stands. The jack stands should go under the jacking point locations. Then lower the vehicle onto the jack stands. For most modern cars, the jacking points for jack stands will be on the pinch weld just under the doors along the bottom of the car.
Checking the condition of the shock absorbers
Step 1: Grab your flashlight and visually check the shock absorbers. Look at the shell to the shock absorber for any damage or dents. Plus, look at the mounting brackets to the shock absorber for any missing bolts or broken eyes.
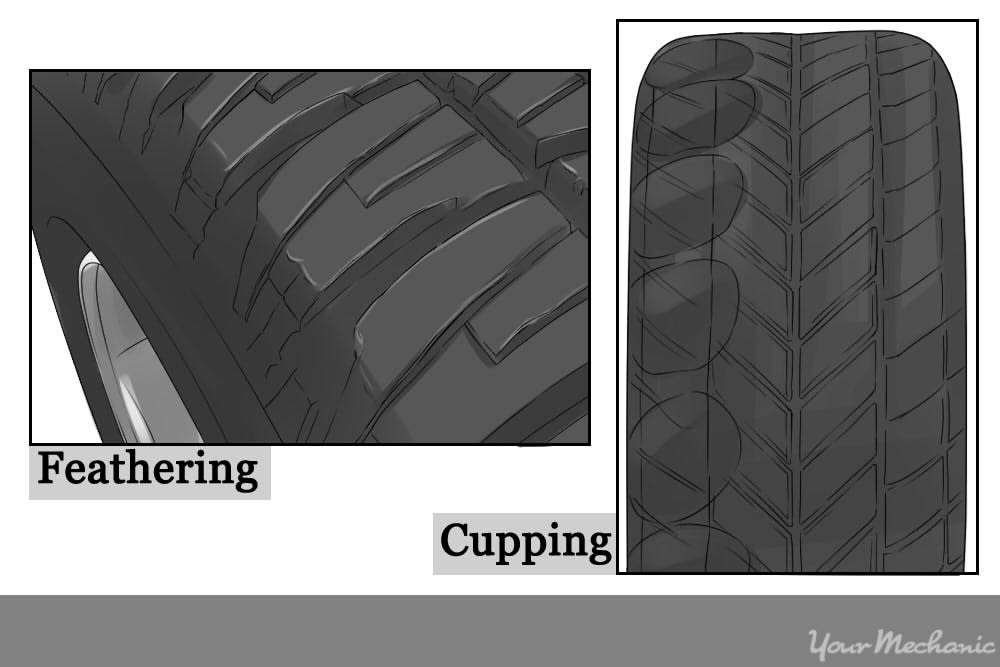
Step 2: Look at the tires check for any cupping of the tread. This will indicate that the shock absorbers are not function correctly.
- Note: If the tires are cupping on the tread, then the shock absorbers are worn out and not keeping the tires from bouncing during coil oscillations. You would need to replace the tires when you service the shock absorbers.
Lowering the vehicle after performing the diagnosis
Step 1: Collect all tools and your creeper and place them out of the way.
Step 2: Raise the vehicle. Using a floor jack that is recommended for the weight of the vehicle, lift under the vehicle at its specified jacking points until the wheels are completely off the ground.
Step 3: Remove the jack stands and keep them far away from the vehicle.
Step 4: Lower the vehicle to where all four wheels are on the ground. Pull out the jack and put it aside.
Step 5: Remove the wheel chocks from the rear wheels and put the aside.
Damaged or broken shock absorbers should be replaced by a professional mechanic.
Part 6 of 7: Diagnosing loose or damaged body mounts
Body mounts are designed to hold the body to the vehicles fame and prevent vibrations from transferring into the cab compartment. Most vehicles have upwards of eight body mounts from the front to the rear of the vehicle. Body mounts can come loose over time or the bushing can deteriorate and break off. Clunking sounds that permit when body mounts are missing or damage is from the body hitting the frame. Usually a vibration or jolt will be felt in the cab along with the sound.
Materials Needed
- Flashlight
Step 1: Grab a flashlight and visually check the body mounts of the vehicle. Look for any damaged or body mounts.
- Note: If you see any broken suspension parts, you will need to have it repaired prior to test driving the vehicle. This would result is a safety matter that needs to be addressed.
Step 2: Drive the vehicle around the block. Listen for any clunking sounds.
Step 3: Drive the vehicle over bumps or potholes. This checks the condition of the body mounts as the body moves around on the frame.
- Note: If you have a unibody vehicle, then the sound will come from the sub-frames that hold up the engine and rear suspension.
Preparing the vehicle to check the leaf spring shackles
Materials needed to perform the job
- Flashlight
- Jack (2 ton or bigger)
- Jack stands
- Wheel chocks
Step 1: Park your vehicle on a flat, hard surface. Make sure that the transmission is in park (for automatics) or in first gear (for manuals).
Step 2: Place wheel chocks around the rear tires that will be remaining on the ground. Engage the parking brake to the lock the rear tires from moving.
Step 3: Raise the vehicle. Using a floor jack that is recommended for the weight of the vehicle, lift under the vehicle at its specified jacking points until the wheels are completely off the ground.
Step 4: Place the jack stands. The jack stands should go under the jacking point locations. Then lower the vehicle onto the jack stands. For most modern cars, the jacking points for jack stands will be on the pinch weld just under the doors along the bottom of the car.
Checking the condition of the body mounts
Step 1: Grab a flashlight and look at the body mounts. See if the parts are damaged, bent, or loose. Check the mounting bolts to the body mounts and ensure that they are tight using a wrench. Look at the bushings to the body mounts and check for any cracking or breaking of the rubber.
Lowering the vehicle after performing the diagnosis
Step 1: Collect all tools and your creeper and place them out of the way.
Step 2: Raise the vehicle. Using a floor jack that is recommended for the weight of the vehicle, lift under the vehicle at its specified jacking points until the wheels are completely off the ground.
Step 3: Remove the jack stands and keep them far away from the vehicle.
Step 4: Lower the vehicle to where all four wheels are on the ground. Pull out the jack and put it aside.
Fixing the clunking noises the permit when driving over bumps can help improve the drivability of the vehicle.