Most modern vehicles have anti-lock braking systems (ABS). This system consists of valves, a controller, and a speed sensor, all of which work together to make sure that you can brake safely.
The ABS speed sensor monitors the way in which the tires rotate and make sure that the ABS system is triggered if there is any difference or slippage between the wheels. If this sensor detects a difference, it sends a message to the controller telling it to engage the ABS and overrides your manual braking.
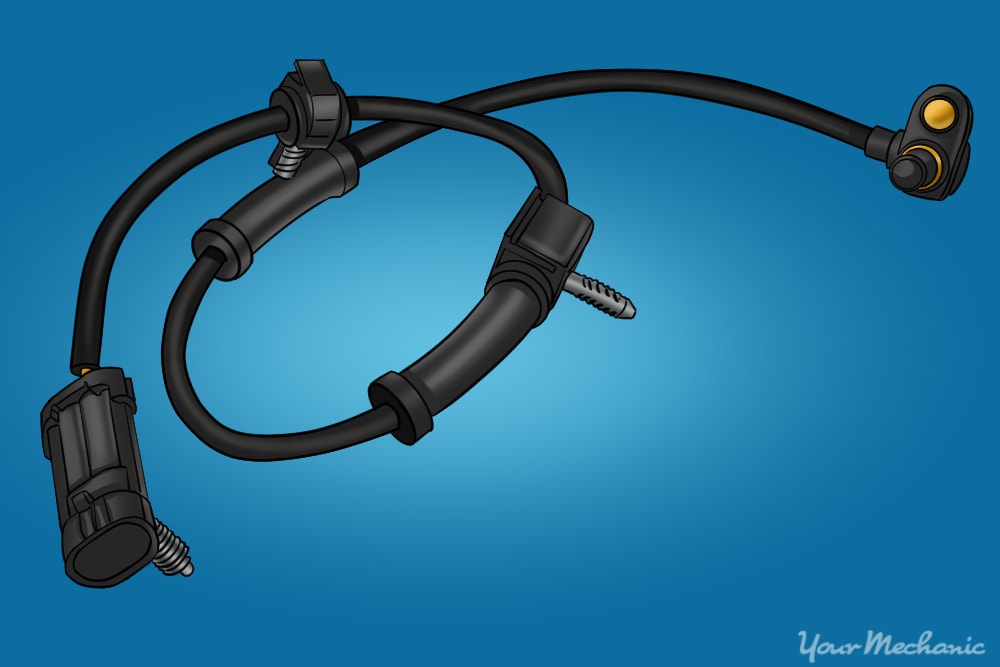
ABS speed sensors are most commonly mounted at the wheels on most modern vehicles. This is the most efficient spot to mount them. Some older vehicles, trucks with solid axles in particular, will have them mounted on the rear differential. The ABS speed sensor is just a magnetic sensor that induces a voltage as the tone ring slots or ridges pass through the magnetic field of the sensor. This sort of sensor is used for many different systems on a modern car. Anything that rotates can have a sensor of this type mounted to it so that the powertrain control module (PCM) can monitor its rotation.
If the ABS speed sensor fails or does not work properly, you can replace it on your own.
Part 1 of 5: Locate the correct ABS sensor
Materials Needed
- Brake cleaner
- Jack
- Jack stands
- Multimeter
- Ratchet
- Sand paper
- Spray penetrant
- Sil-Glyde
- Scan Tool
- Socket set
- Wrench set
Step 1: Determine which sensor has failed. Use the scan tool and read the code to determine which sensor has failed. If a code is not displayed, you will need to monitor the sensor data with a scanner while driving. If this is not possible, you will need to test each of the sensors, one at a time.
- Tip: It usually isn’t necessary to test each sensor. Usually, this is necessary for early pre-OBD II systems, but is not necessary for later model vehicles.
Step 2: Locate the sensor. Locating the sensor on the vehicle can be a challenge on some vehicles and you may have to refer to a specific repair manual for your vehicle. The most common locations for the ABS speed sensor are at a wheel or on an axle.
Step 3: Test each sensor to determine which one has failed. You can skip this step if the other methods were successful.
Refer to the specific repair manual for your vehicle to determine the specifications for the speed sensors on your car.
Part 2 of 5: Remove the speed sensor
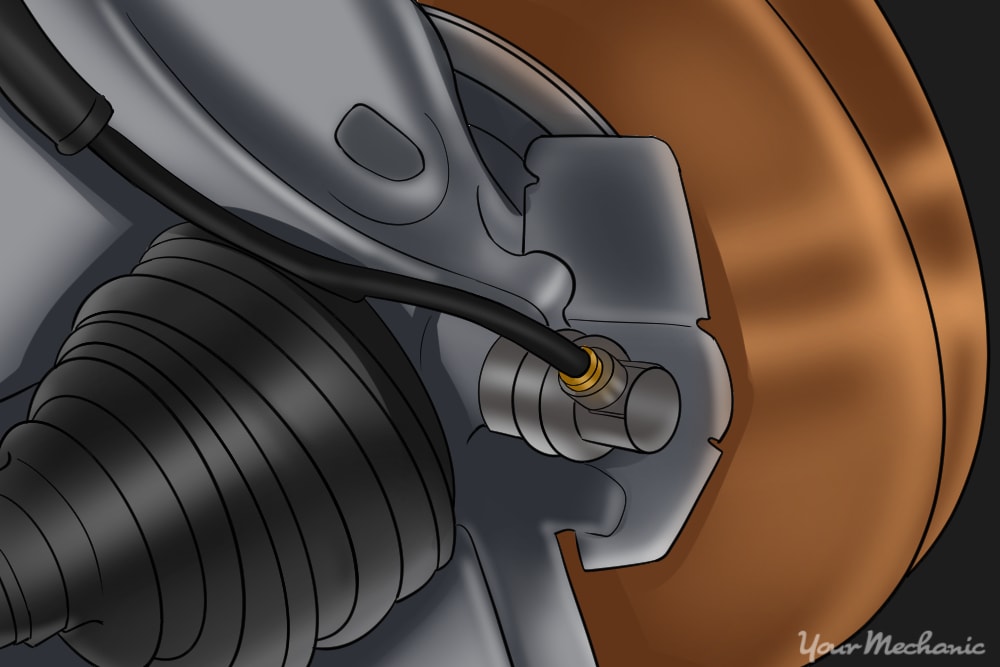
Step 1: Gain access to the sensor. Often, you will need to remove a wheel or bracket to access the sensor. This will vary depending on the vehicle and the sensor that you are replacing.
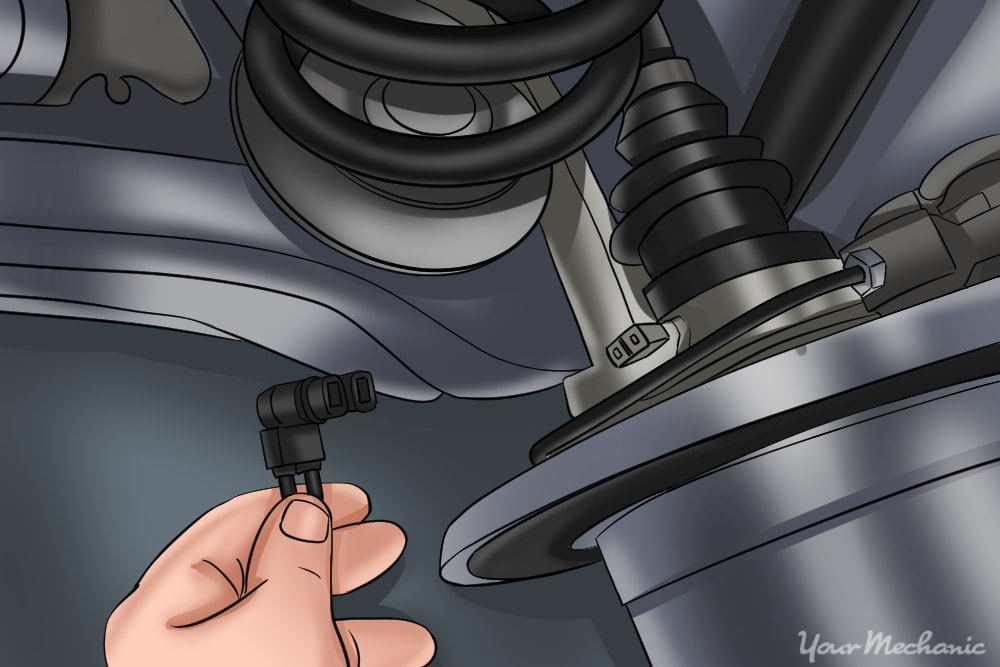
Step 2: Remove the sensor. Once you have accessed the sensor, disconnect the connector and remove the single bolt that secures the sensor.
- Tip: When removing the sensor from its mounting or housing, you may need to apply some spray penetrant. Once you have applied the penetrant, rotate the sensor to break it free. Be gentle and patient. Once it begins to rotate, slowly and firmly pull up on the sensor. Often, you can use a flat head screwdriver to help with the lifting.
Step 3: Take note of the sensor wire routing. Ensure you note down the correct sensor wire path as it is crucial that the sensor wire be routed correctly. Failing to do this will result in damage wiring and a failed repair.
Part 3 of 5: Clean the sensor mounting hole and tone ring
Step 1: Clean the sensor mounting hole. Before installing the sensor, be sure to use some sandpaper and brake cleaner to clean the sensor mounting hole.
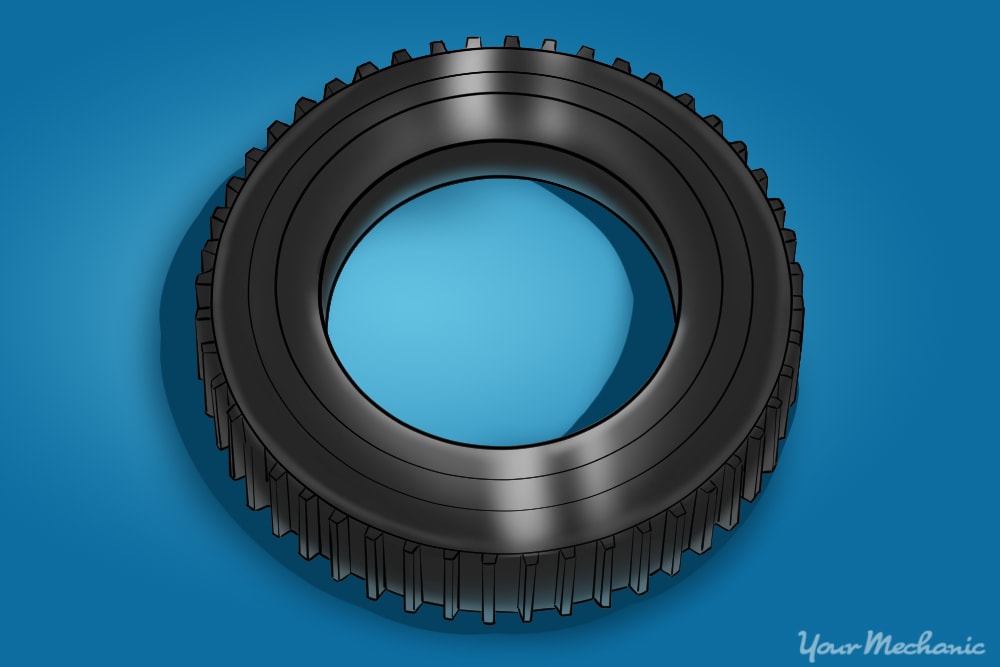
Step 2: Clean the tone ring of all fine metal. The ridges on the tone ring will often gather fine metal that is present in dirt. Be sure to remove all this fine metal.
Part 4 of 5: Install the sensor
Step 1: Prepare to install the sensor. Before installing the sensor, apply some Sil-Glyde to the sensor o-ring.
- Tip: The o-ring will most likely break and be difficult to install if some sort of grease isn’t applied to it. Sil-Glyde is recommended as the first choice, but other lubricants can be used. Just ensure that you use grease that is compatible with rubber. Some greases will damage rubber and if you use those, the rubber o-ring will expand and become unusable.
Step 2: Insert the sensor into its mounting hole. Be sure to insert the ABS speed sensor with a twisting action. If you have cleaned the mounting hole, it should slide in easily.
- Tip: Do not force the sensor if it isn’t sliding in easily. If the sensor does not install easily, compare the old ABS speed sensor with the new one to see what is wrong.
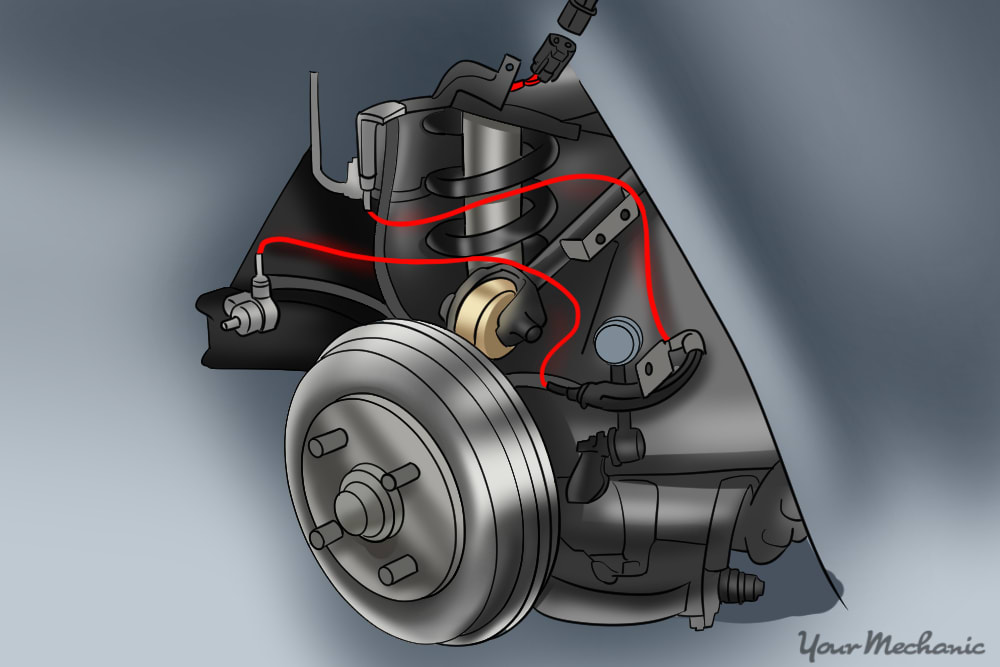
Step 3: Route the sensor wire along the correct path. Be sure the wire is secured along the correct path. If this isn’t done, damage to the wire will likely occur and you will need to start over with a new sensor.
Step 4: Connect the sensor connector to the vehicle connector. Be sure to listen for an audible click that indicates the connector is locked into place. If you don’t hear an audible click, attempt to disconnect the connector without releasing the lock mechanism. If you cannot pull it apart, it is secured correctly.
- Tip: Be sure to check the electrical connection inside the connector on both the vehicle side and sensor side. It is common for pins such as this to be pushed in when installing the connector. If you suspect this could be happening, you will need to disconnect the connector to inspect the small pins.
Part 5 of 5: Clear the code and test drive your vehicle
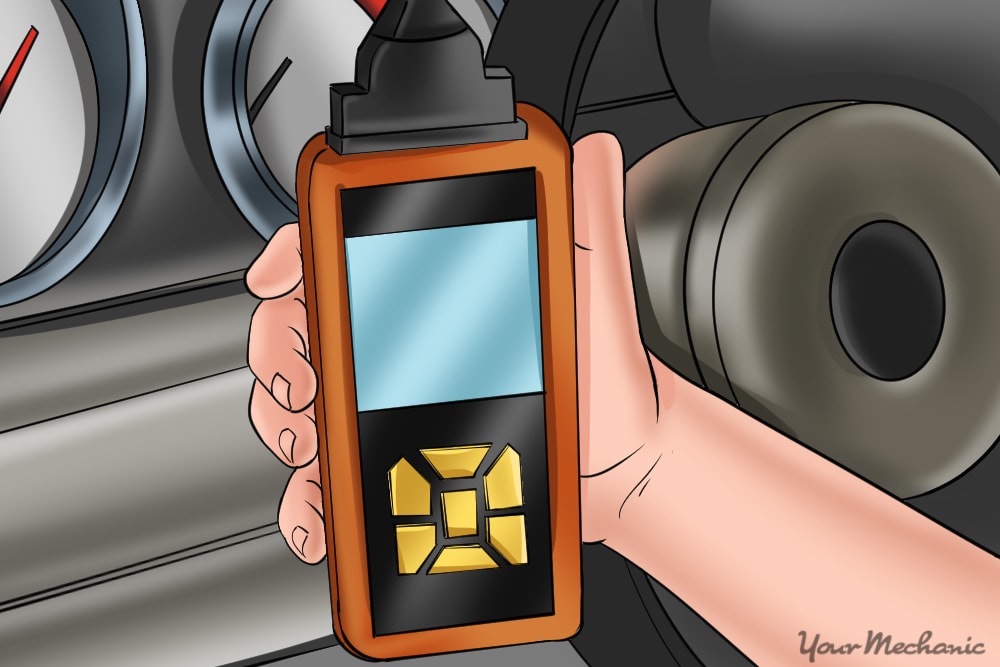
Step 1: Clear the code. Connect the scan tool and clear the code. Once the code is cleared, navigate to data for the sensor that you just replaced.
Step 2: Test drive the car. Take the car for a test drive at speeds above 35 miles per hour.
Monitor the data to make sure the sensor sends the right information to the powertrain control module (PCM).
Ensure that you are safe while driving and monitoring data. Ideally, it is best to ask a helper to watch the data for you.
It is very common to accidentally replace the wrong sensor, especially when you are working on a car with sensors on every wheel. To ensure that you replace the right sensor, use the multimeter to test the sensor that you suspect is faulty, before you remove it.
If you should need help in performing this process, get a certified technician from YourMechanic to replace the ABS speed sensor for you. Ask them to perform a detailed inspection if the ABS light is still on.
