How to Replace an Intake Air Temperature Sensor

The intake air temperature (IAT) sensor, otherwise known as the air charge temperature sensor, is used by the powertrain control module (PCM) to determine the temperature (and therefore the density) of air entering the engine. Typically, the PCM sends a 5-volt reference to the IAT sensor. The IAT sensor then varies its internal resistance according to air temperature and sends a return signal back to the PCM. The PCM then uses this formation to determine fuel injector control and other outputs.

A bad IAT sensor can cause all kinds of drivability problems including a rough idle, surging, stalling, and poor fuel economy. To replace this part, you can follow the step-by-step guide below.

Part 1 of 2: Removing the old intake air temperature sensor

In order to safely and efficiently replace your IAT sensor, you will need a couple of basic tools.

Materials Needed

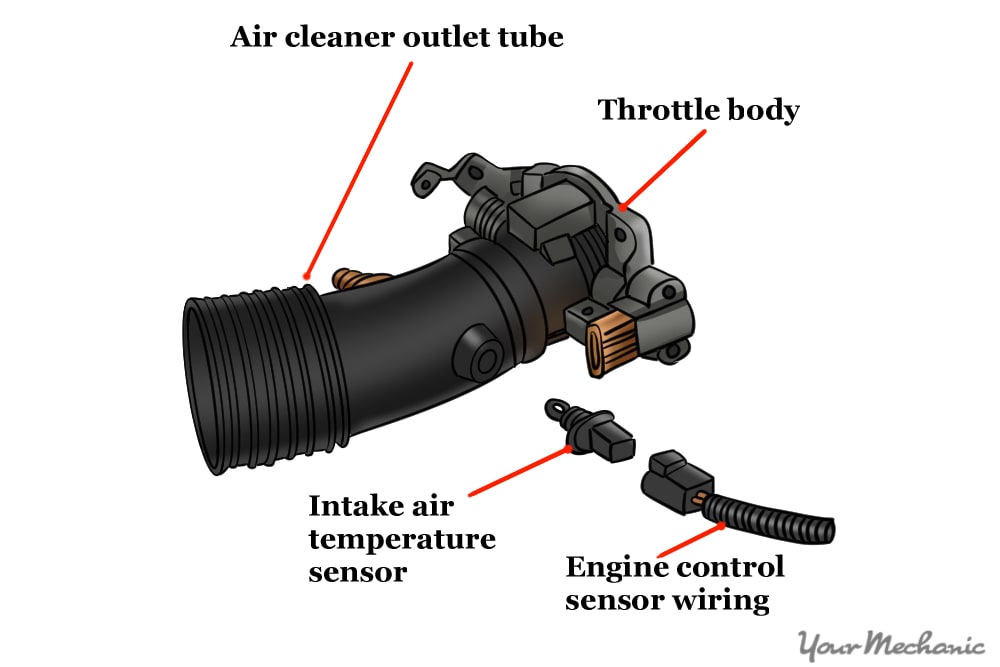
replacing an intake air temperature sensor diagram

Step 1: Locate the sensor. The IAT sensor is usually located in the air intake boot, but it may also be located in the air cleaner housing or intake manifold.

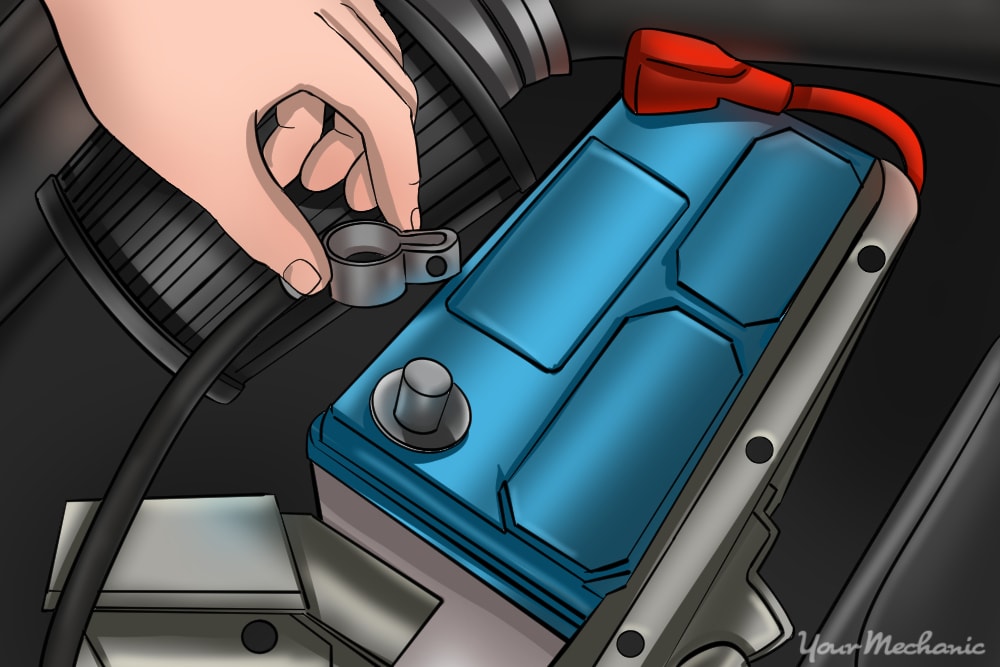
hand disconnecting the negative battery cable

Step 2: Disconnect the negative battery cable. Disconnect the negative battery cable and set it aside.

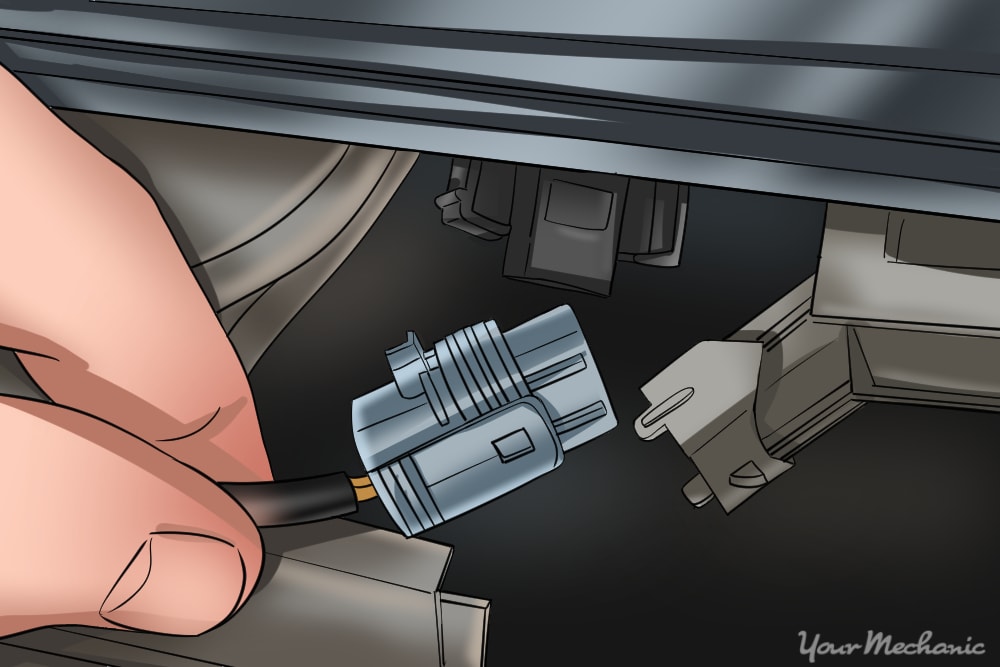
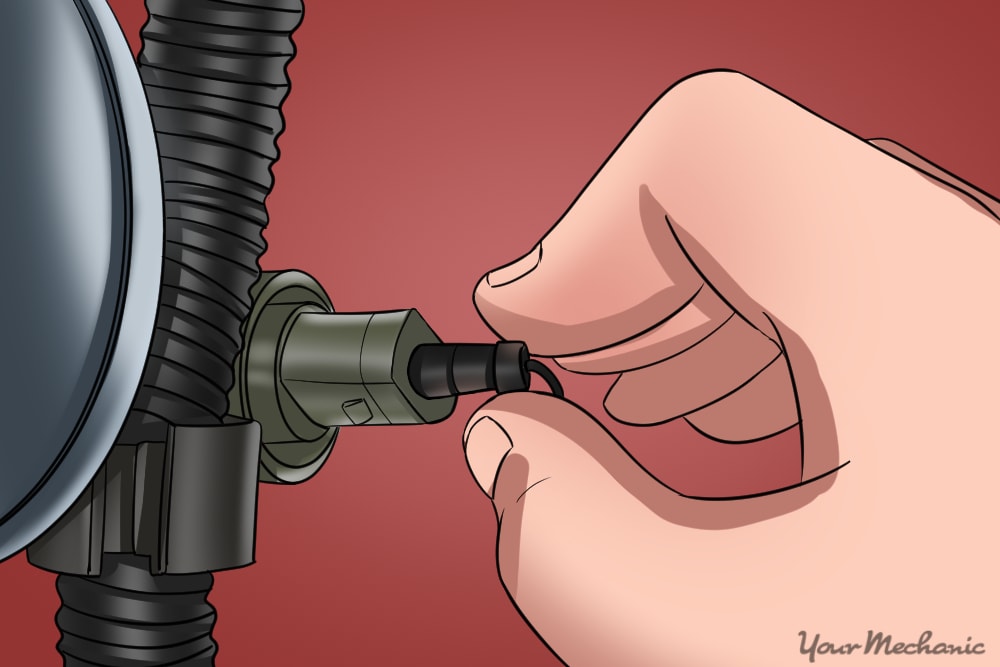
hand removing the electrical connector

Step 3: Remove the sensor’s electrical connector. Now that you know where the IAT sensor is located, you can remove its electrical connector.

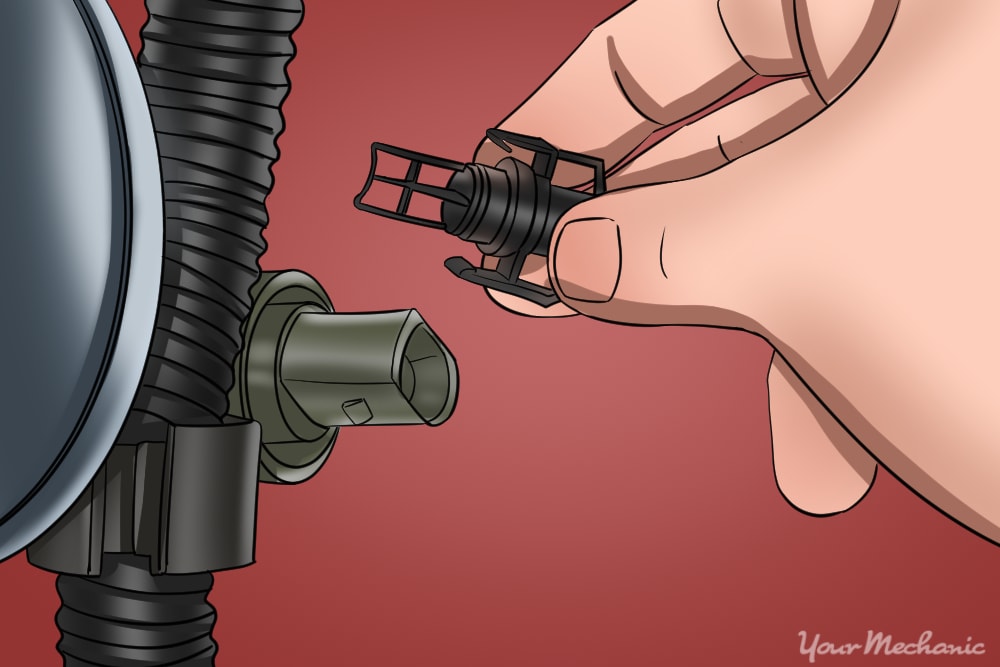
had removing the sensor

Step 4: Remove the sensor. Carefully remove the faulty sensor, keeping in mind that some sensors simply pull straight out while others must be unscrewed using a wrench.

Part 2 of 2: Installing the new intake air temperature sensor

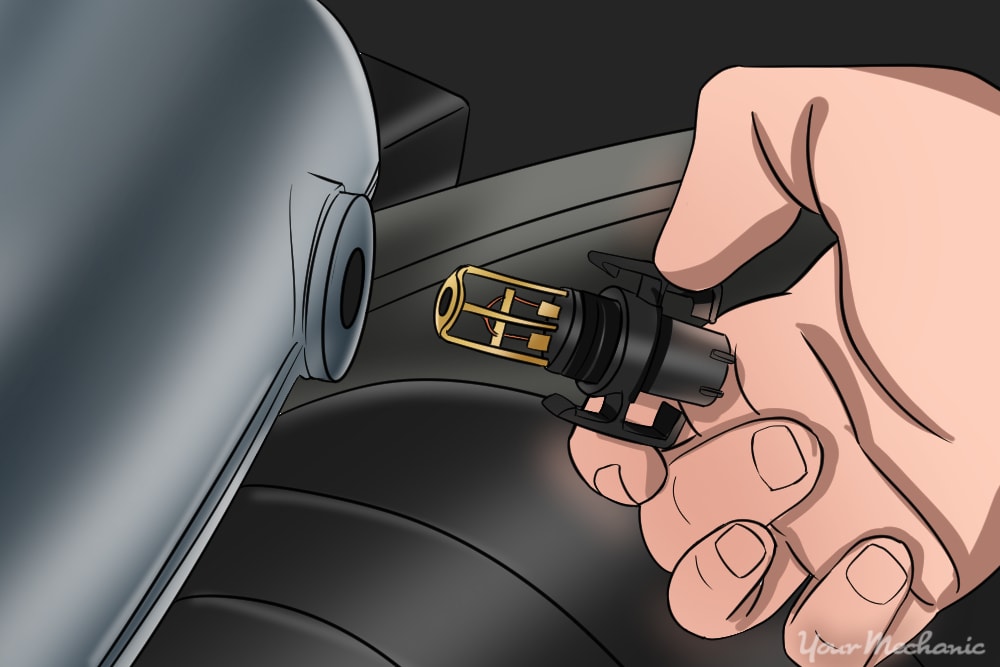
hand installing the new sensor

Step 1: Install the new sensor. Install the new sensor by pushing it straight in or screwing it in, depending on the design.

Step 2: Reinstall the electrical connector. To enable the new sensor, you must now reconnect the electrical connector.

Step 3: Reinstall the negative battery cable. As a final step, reinstall the negative battery cable.

As you can see, replacing an intake air temperature sensor is a pretty straightforward process that most can manage with very few materials. Of course, if you’d rather have someone else do the dirty work for you, the team of certified mechanics at YourMechanic offers professional intake air temperature sensor replacement.


Next Step

Schedule Air Charge Temperature Sensor Replacement

The most popular service booked by readers of this article is Air Charge Temperature Sensor Replacement. YourMechanic’s technicians bring the dealership to you by performing this job at your home or office 7-days a week between 7AM-9PM. We currently cover over 2,000 cities and have 100k+ 5-star reviews... LEARN MORE

SEE PRICING & SCHEDULING

The statements expressed above are only for informational purposes and should be independently verified. Please see our terms of service for more details

Recent Air Charge Temperature Sensor Replacement reviews

Excellent Rating

(7)

Rating Summary
6
1
0
0
0
6
1
0
0
0

Tien

24 years of experience
903 reviews
Tien
24 years of experience
Chrysler PT Cruiser L4-2.4L - 84,000 Miles Maintenance Service - San Lorenzo, California
Friendly and knowledgable
Toyota Sienna - Timing Belt - Oakland, California

Nicholas

11 years of experience
5 reviews
Nicholas
11 years of experience
Chrysler 200 L4-2.4L - Air Charge Temperature Sensor - Portsmouth, Virginia
Very respectfull and efficiant in his work.

David

15 years of experience
20 reviews
David
15 years of experience
Dodge Charger V8-5.7L - Air Charge Temperature Sensor - Summerville, South Carolina
Very professional and knowledgable. Great work!

William

35 years of experience
731 reviews
William
35 years of experience
Chevrolet Cruze L4-1.4L Turbo - Air Charge Temperature Sensor Replacement - Goodyear, Arizona
Absolutely the best mechanic in town. Trustworthy, efficient and reliable. Thank you

Need Help With Your Car?

Our certified mobile mechanics make house calls in over 2,000 U.S. cities. Fast, free online quotes for your car repair.

GET A QUOTE

Related articles

How to Replace an EVP Position Sensor
The EGR valve is monitored by a valve position sensor. This sensor helps your car's EGR system to run more efficiently and better control emissions.
P0337 OBD-II Trouble Code: Crankshaft Position Sensor A Circuit Low Input
P0337 means that the crankshaft is suffering because of low voltage. This could be due to sensor not being aligned properly or electrical problems.
How to Replace an Exhaust Gas Recirculation (EGR) Pressure Feedback Sensor
Exhaust gas recirculation (EGR) systems use a pressure feedback sensor to tell the powertrain control module (PCM) how much exhaust gas is flowing.

Related questions

Warning lights and PO344 Camshaft Position Sensor
This vehicle came with three different engines and they all have different directions to replace the sensors. The sensors also may have specialized removal and installation procedures that require special tools for the seals and sensors. The code P0344 is...
2005 Mercedes-Benz Sprinter 2500
The Check Engine light must be reset by a Scan/Clear tool that supports the Sprinter. The computer will not reset it on its own.
Need my 2004 Freestar camsfaft synchronizer replaced, cost?? 2004 Ford Freestar
Hi there - from your description, it is hard to tell whether you need the [camshaft position sensor](https://www.yourmechanic.com/article/how-long-does-a-camshaft-position-sensor-last, or the camshaft position actuator (sometimes called the variable valve timing actuator or solenoid (https://www.yourmechanic.com/services/variable-valve-timing-vvt-solenoid-replacement)). Please forward the problem codes (Pxxxx) for...

How can we help?

Our service team is available 7 days a week, Monday - Friday from 6 AM to 5 PM PST, Saturday - Sunday 7 AM - 4 PM PST.

1 (855) 347-2779 · hi@yourmechanic.com