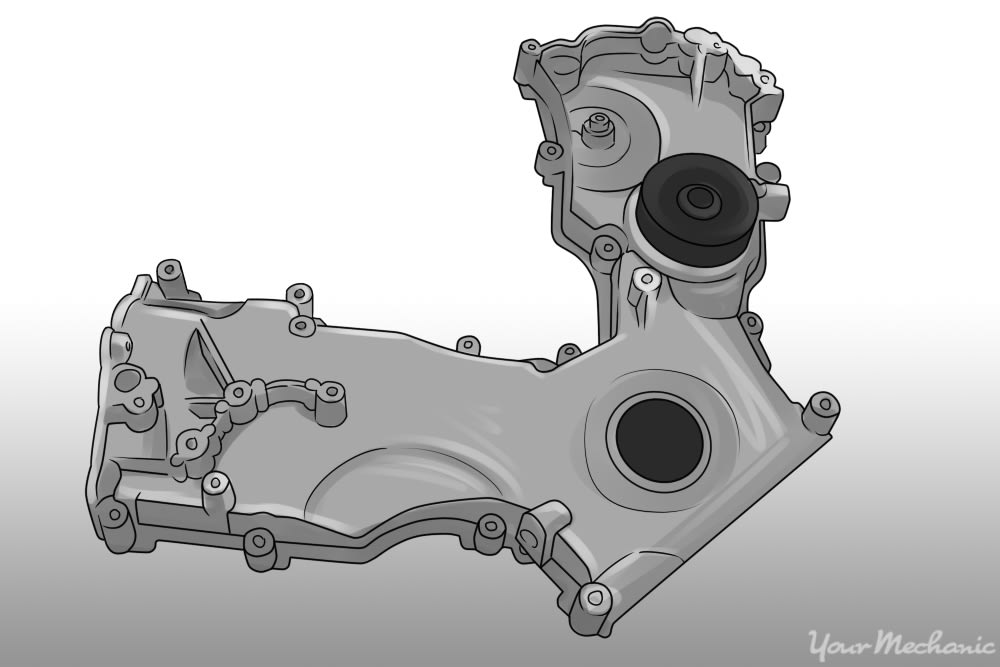
There’s not much that goes wrong with the timing cover itself. Its life is usually long and trouble free. If there is a failure, it’s generally caused by a failure of something nearby. If the chain or belt that it protects get too loose, if the water pump that is attached to it fails, or if somebody changes a part and doesn’t install the bolts correctly, you might find yourself replacing a timing cover.
Besides protecting the timing mechanism inside, the timing cover also has coolant and oil passages. If any of those areas leak, the timing cover will have to be removed. Most often the failure will be in the gaskets or seals on the timing cover, but occasionally, there may be a crack or chip that will necessitate replacement of the timing cover itself.
Materials Needed
- Belt tensioner tool
- Breaker bar
- Combination wrenches
- Crankshaft holding tool
- Dead blow hammer a
- Gear puller or harmonic balancer puller
- Impact wrench (air or electric)
- Jack and jack stands
- RTV silicone gasket sealer
- Safety glasses
- Screwdrivers (Phillips and flat head)
- Small pry bar
- Socket wrench set
- Torque wrench
- Workshop manual
Part 1 of 3: Accessing the timing cover
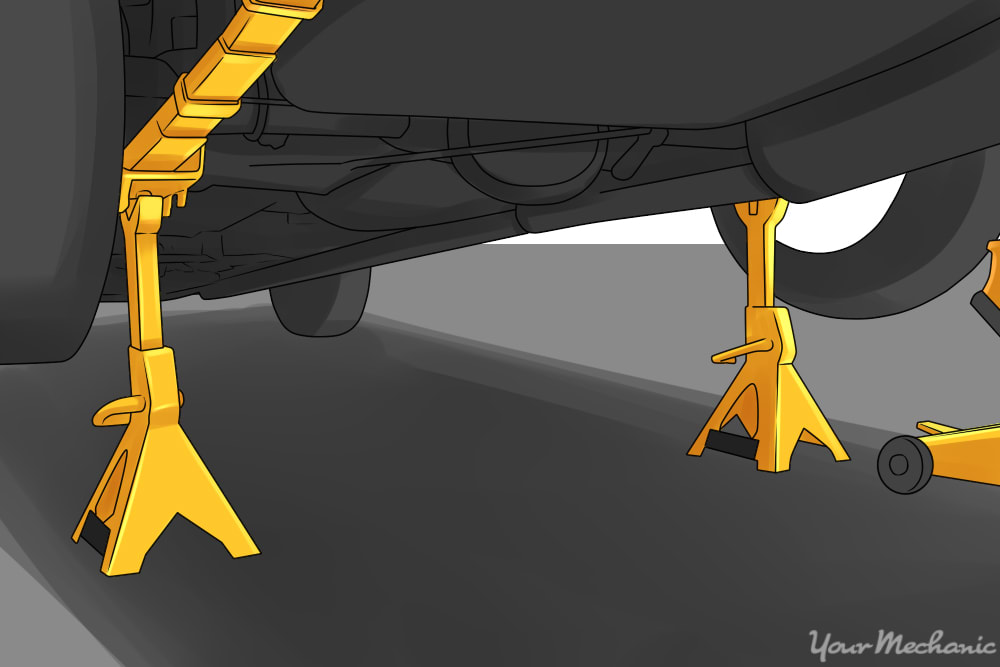
Step 1: Jack up the car. Make sure the car is in park, or in first gear if it is a manual. Set the brake and put wheel chocks under the rear wheels. Jack the front of the car and place it on good jack stands.

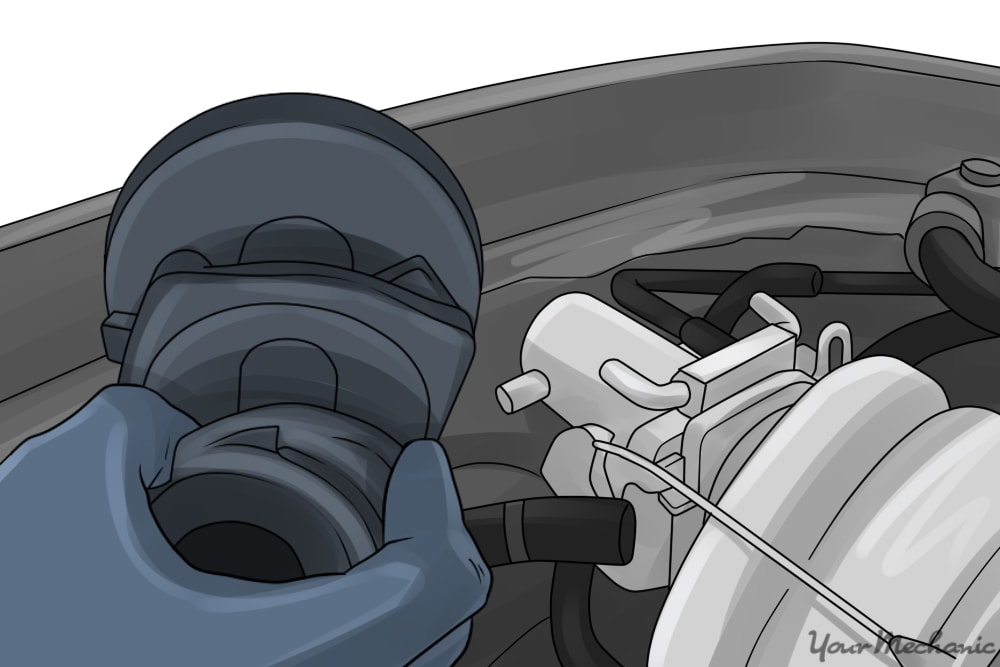
Step 2: Drain the coolant. If your car uses a timing belt, there may be no need to drain the coolant. But most cars run coolant through the timing cover, so it will have to be drained before the cover is removed.
Remove the radiator or coolant reservoir cap, locate the drains with your workshop manual and let the coolant out into your drain pan. If your car doesn’t have a drain, you may have to loosen a hose at a low spot on the engine.
Step 3: Remove the radiator. Not all cars require radiator removal. If yours is a front wheel drive car with a transverse (sideways) engine, it almost certainly does not. If your car is a front-engine rear-drive, however, the radiator probably has to come out. There are a few exceptions where there is enough room to work with the radiator in place.
Remove the hose clamps and disconnect the hoses. If your car has an automatic transmission, disconnect the oil cooler lines as well. Unbolt the mounts and remove the radiator.
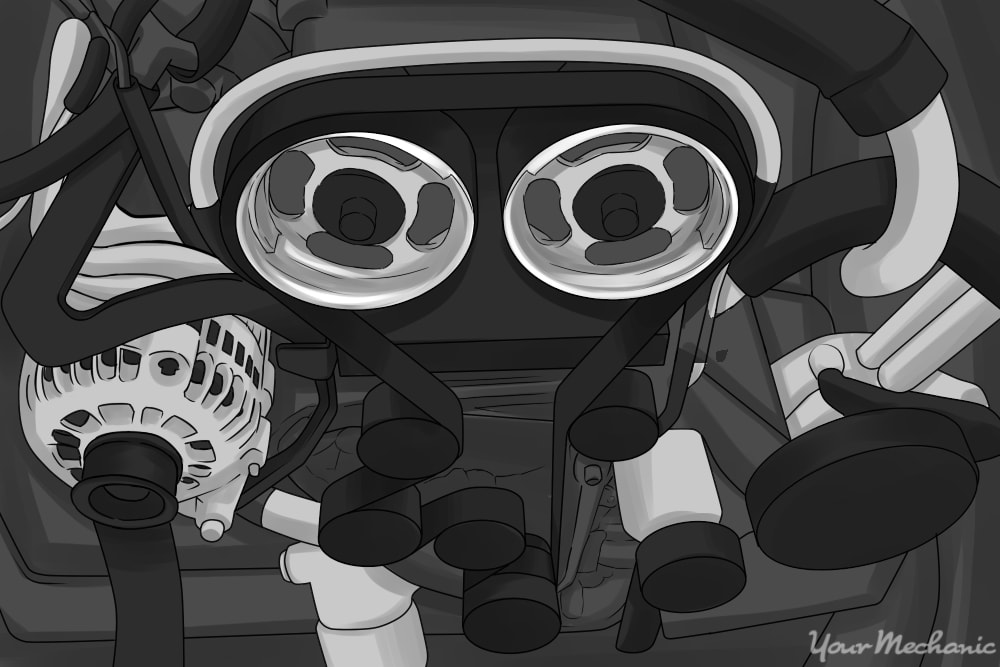
Step 4: Remove the drive belt(s). Your car will have one or more drive belts that have to come off. It may be a question of loosening the mount on an alternator or other accessory, or if it is a late model car, It will have a spring-loaded tensioner that you need to loosen.
These are often difficult to reach and having the appropriate belt tensioner tool will make all the difference. When the belt is loosened, it may still be necessary to turn the engine with a wrench while you “walk” the belt off of the pulley.
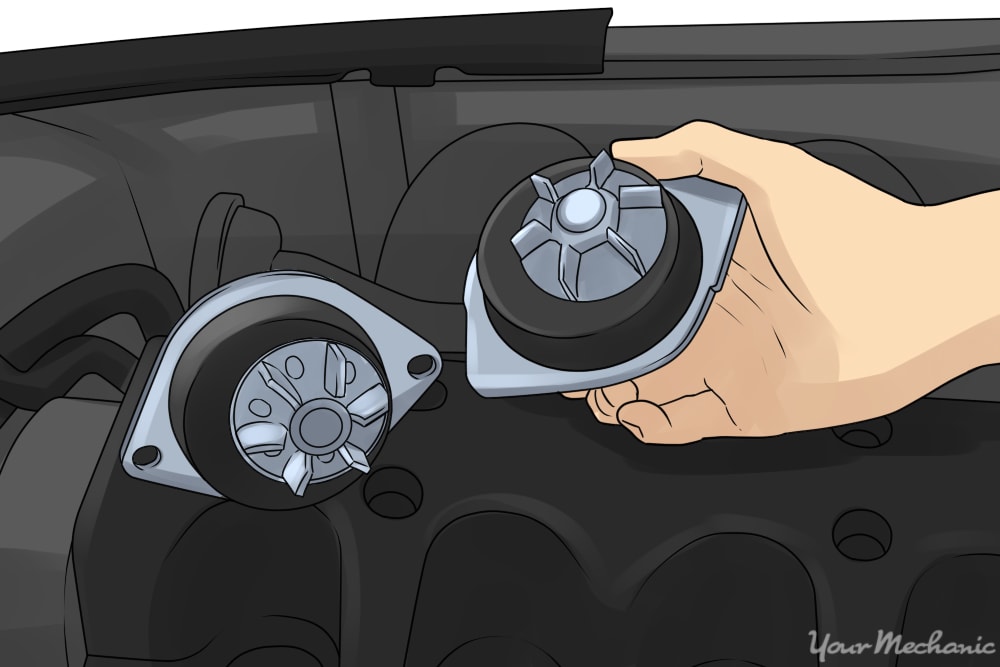
Step 5: Remove the water pump. On most timing chain cars and many timing belt cars, the water pump has to come off to get access to all of the bolts or to get enough clearance to get the cover off. Remove the bolts holding it down and gently pry it off.
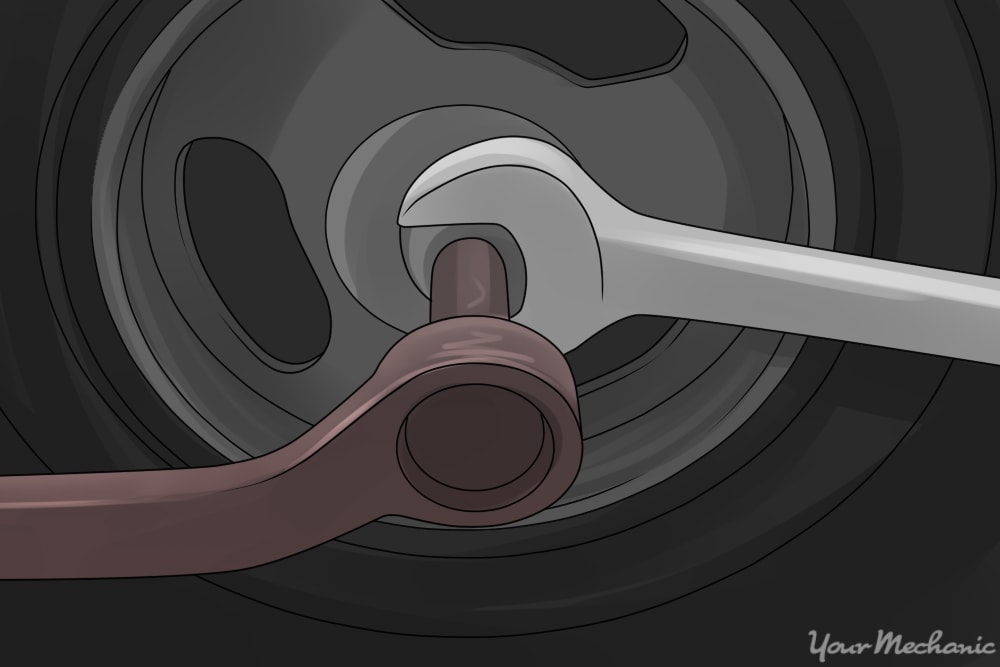
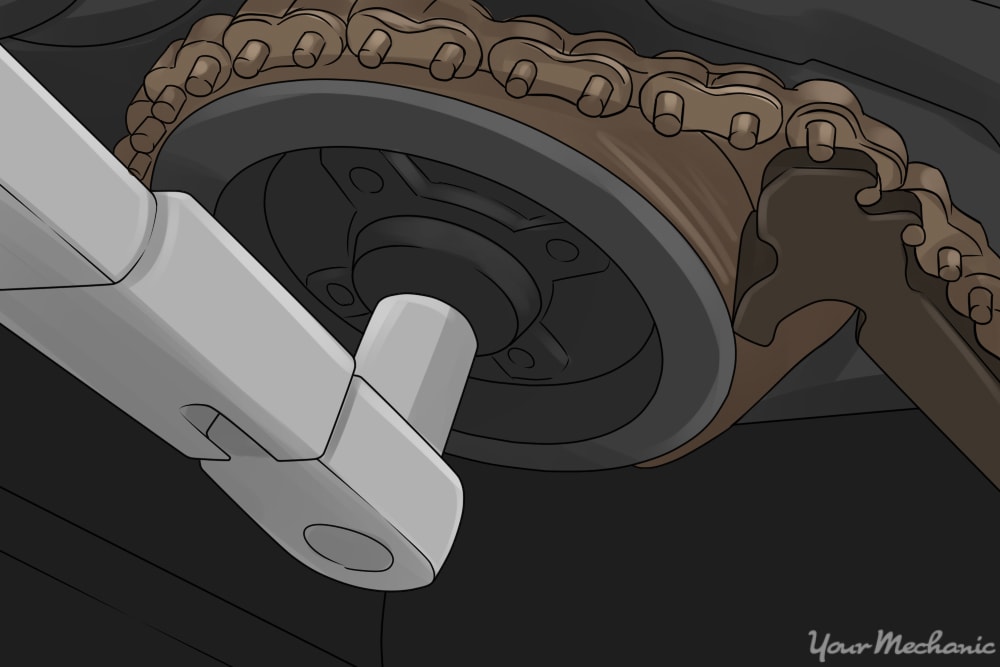
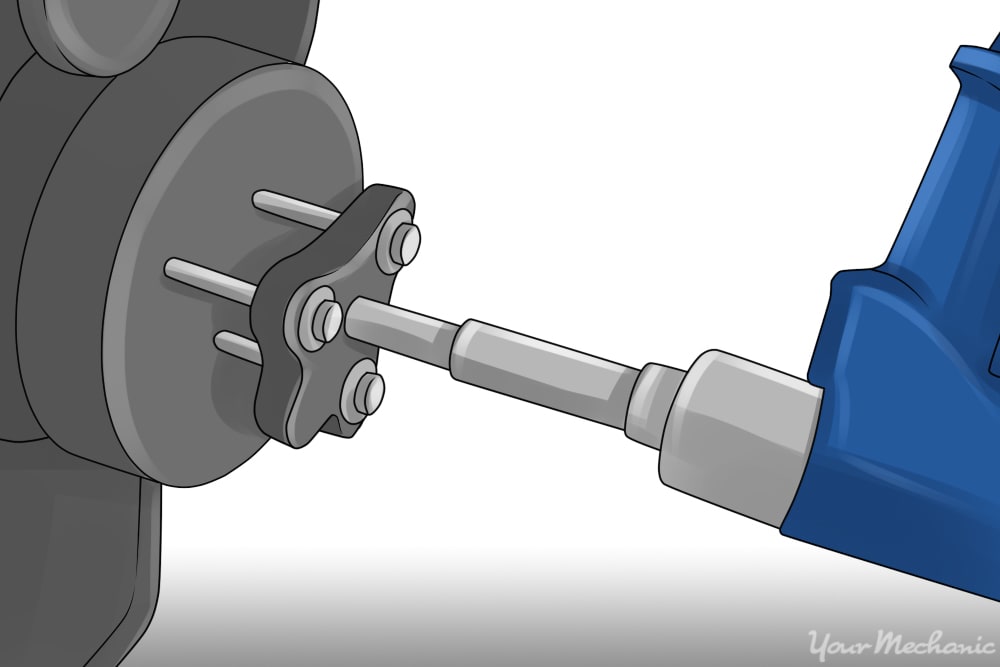
Step 6: Remove the drive pulley. On the front of the engine is a large pulley or harmonic balancer that comes through the timing cover. Getting the bolt off this pulley can be a challenge because the engine tries to turn while you attempt to loosen the bolt. You will need to use a crankshaft holding tool or an impact wrench to take this bolt out.
Once the center bolt is out, you should be able to pull the pulley off the crankshaft with little more than a few strikes on the side from a dead blow hammer. If it is stubborn, a gear puller or harmonic balancer puller will do the trick. Watch carefully for any loose keys that may slide out with it.
Step 7: Remove accessories. The power steering, air conditioning, and/or alternator all may have to be removed to gain complete access to the timing cover. In some cases, it might only be necessary to remove a pulley from the accessory.
Study the workshop manual and try to imagine pulling the cover six inches straight off of the car to see what might be in the way.
Part 2 of 3: Removing the timing cover
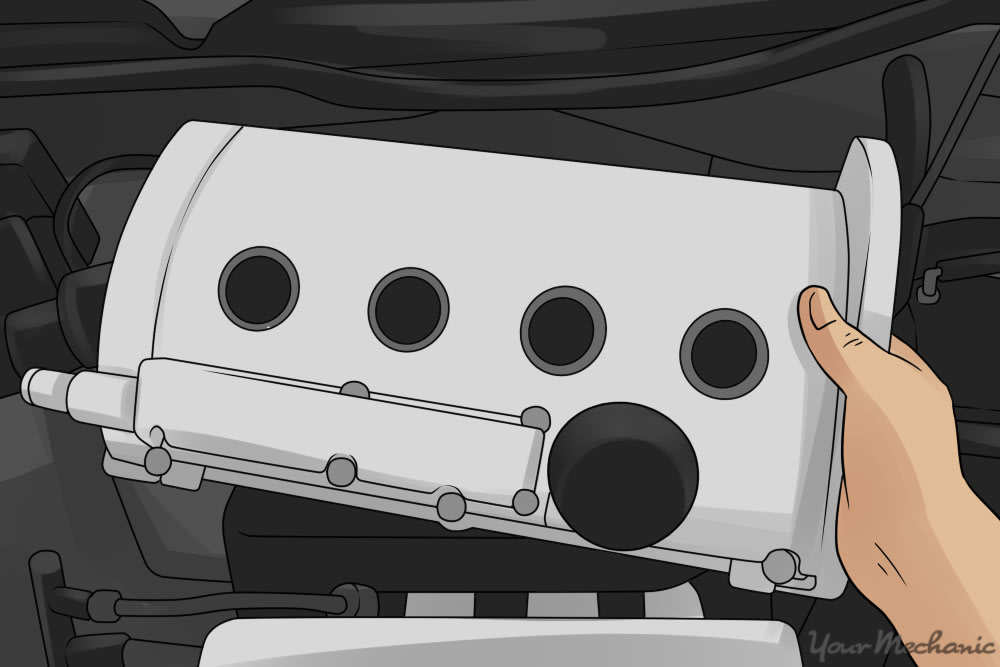
Step 1: Remove the valve cover. This is another operation that may not apply to all cars. If your car has an overhead camshaft, it will be necessary to take the valve cover off to access the upper part of the timing cover. If your car has the camshaft in the block, it will probably not be necessary.
Remove the crankcase vent hose and spark plug connections. Unbolt the cover and work it loose. A few strikes from the dead blow hammer may be necessary to get it started.
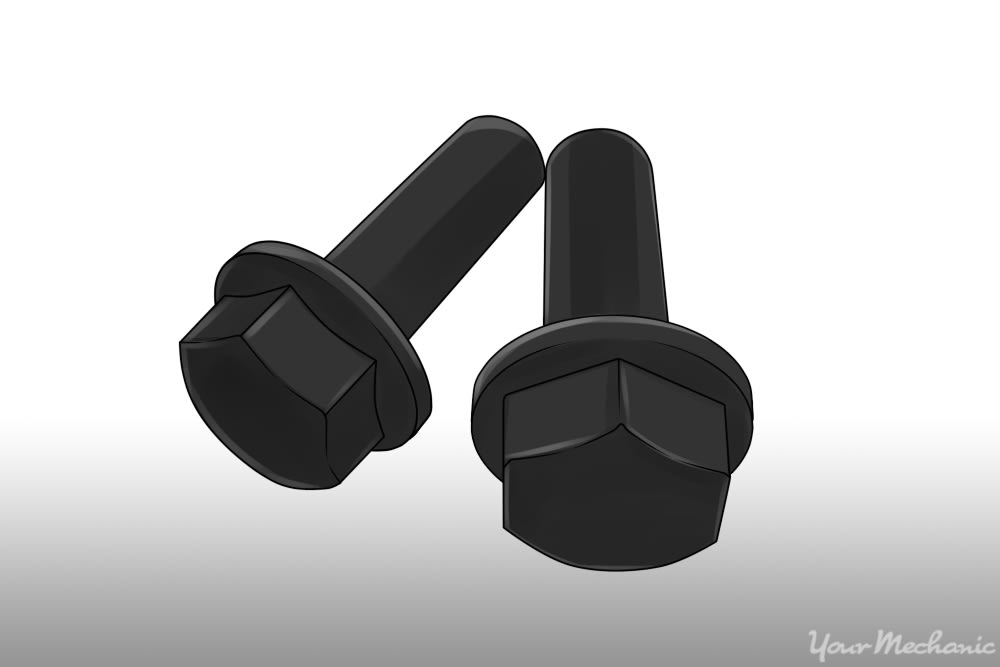
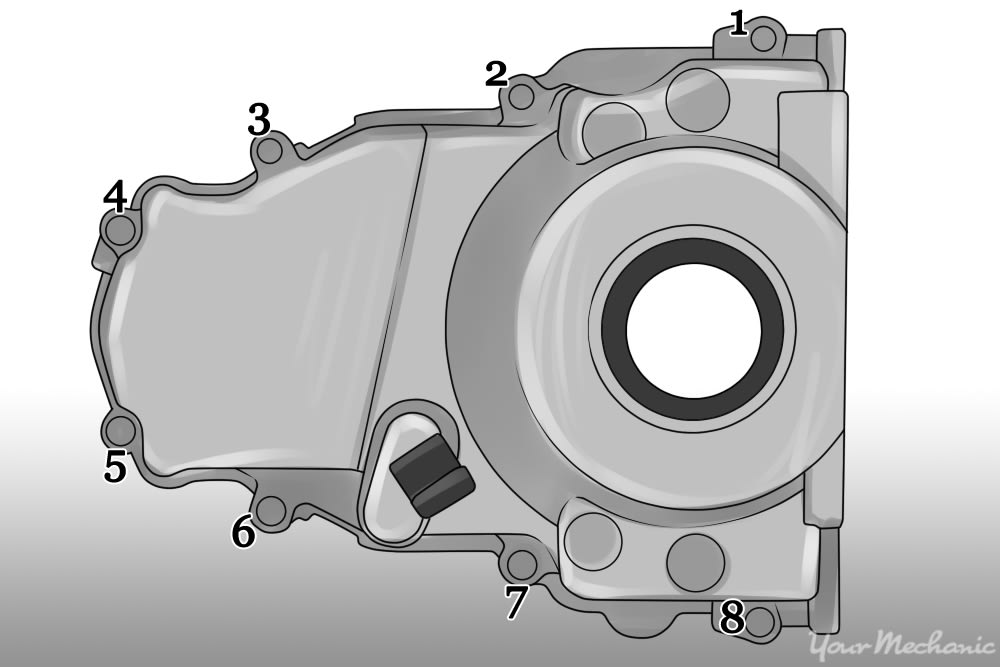
Step 2: Remove the timing cover bolts. Most timing covers have a variety of bolt sizes and lengths holding them on. It’s important to keep track of them. If you put a long bolt in a short hole and try to tighten it up, you can do serious damage, and some of the bolt lengths only differ by a few millimeters.
The best way to keep track of them is to draw a diagram of the timing cover on a piece of cardboard and push the bolts into the cardboard as you remove them.
Some engines will have a few bolts coming up through the oil sump and down through the cylinder head to the timing cover. Be sure not to overlook these.
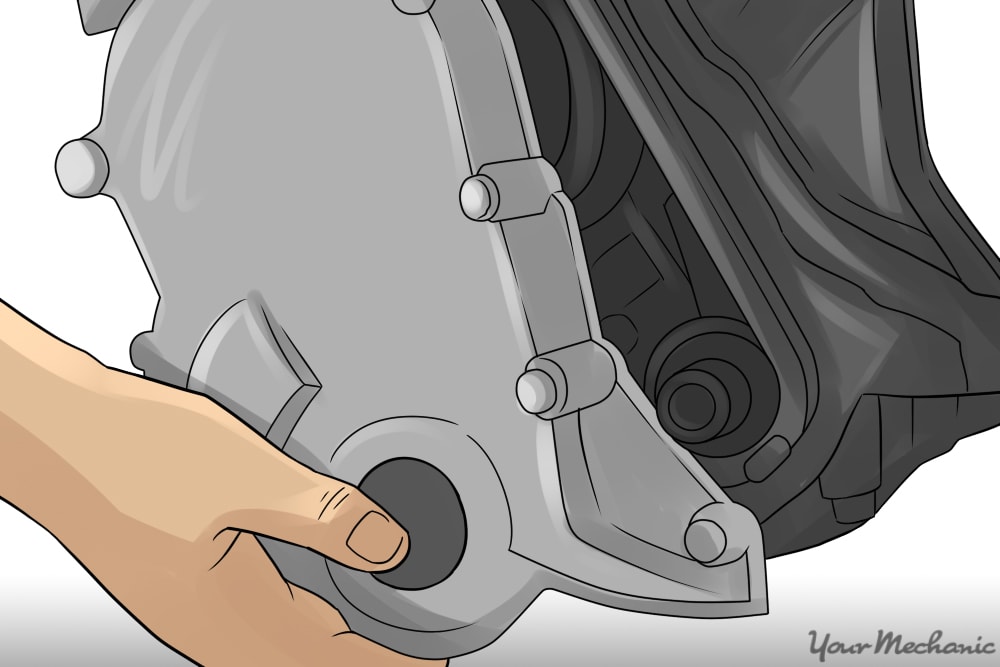
Step 3: Remove the timing cover. If your car has the cam in the block, use your small pry bar or a large screwdriver to gain purchase under the timing cover and work it off the block.
If your car has an overhead camshaft, there may be a portion of the timing cover that fits up under the cylinder head. Be very careful not to damage the head gasket at this point.
Some overhead cam engines have a two piece timing cover. There are a few more bolts, but this makes replacing the gasket easier. Remove the upper part of the timing cover before the lower part.
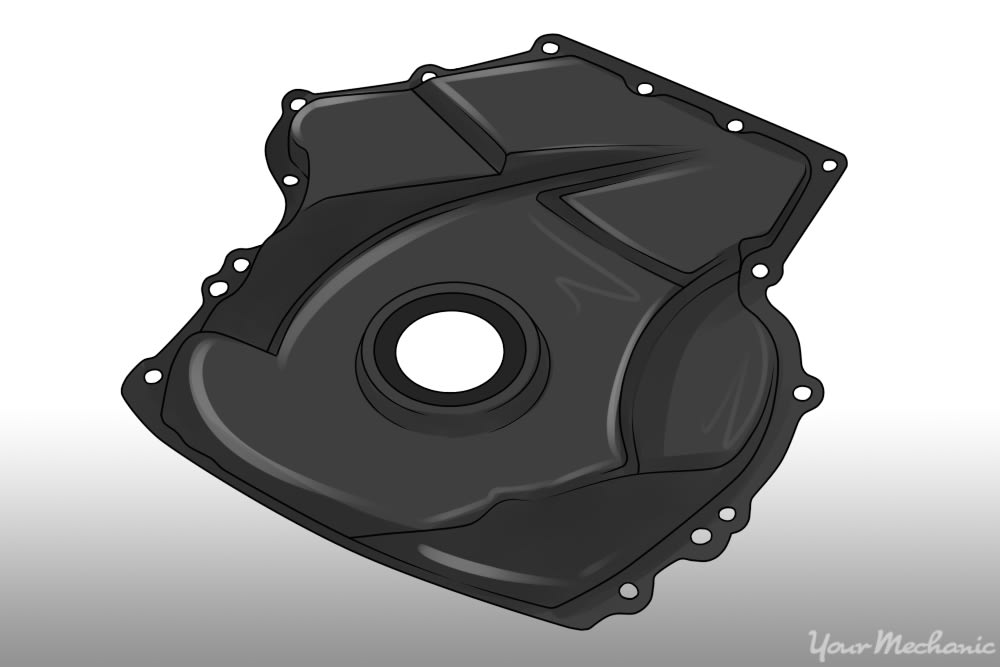
Step 4: Inspect the timing cover. Clean the timing cover thoroughly and check the timing cover for cracks or chips. Look carefully at the machined surface where the gaskets attach. If you’re trying to fix a leak, it may be solved simply by replacing the gaskets and seals.
Part 3 of 3: Installing the new timing cover
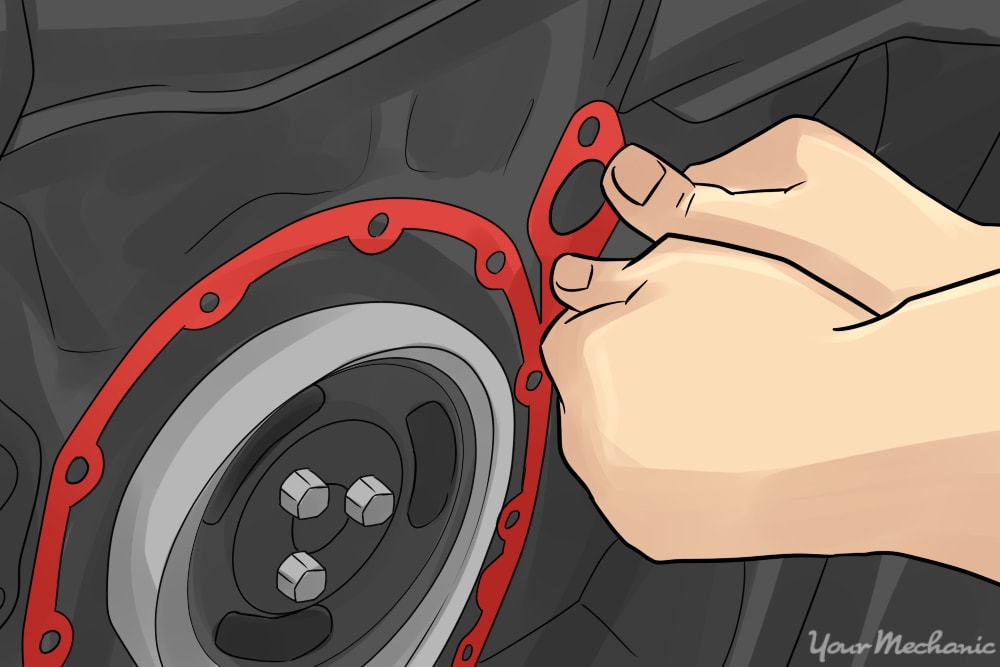
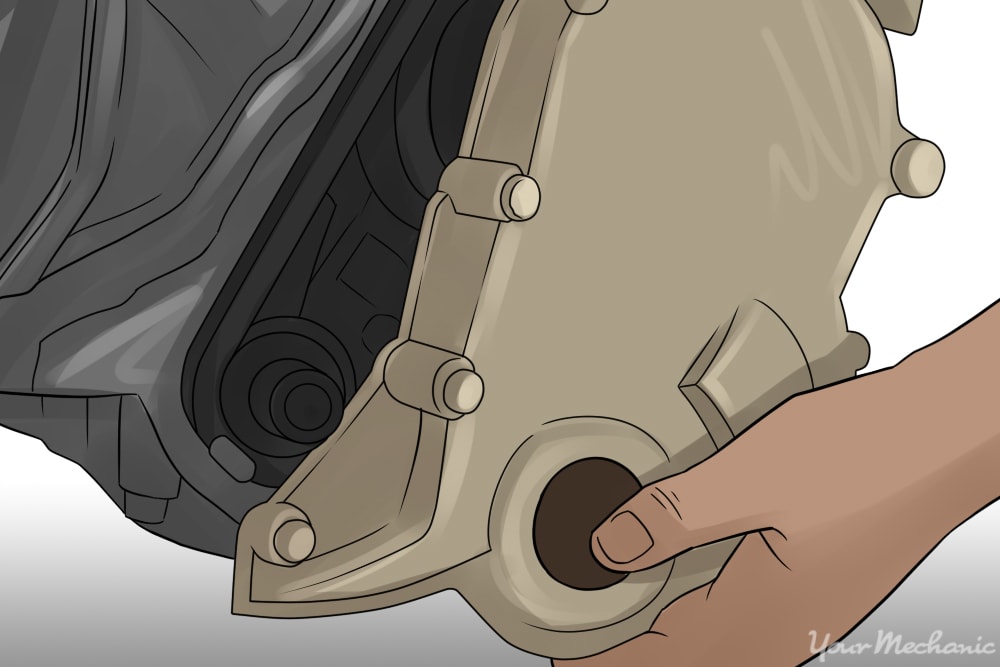
Step 1: Install the new gaskets and seals. Press the new seal into the timing cover and tap it with the dead blow hammer until it is flush with the surface of the cover. Apply RTV gasket sealer to the surface of the engine and timing cover where the gasket mounts and stick the gasket to the engine or the timing cover.
If there are dowel pins in the block or the timing cover, stick the gasket on the surface that has the dowel pins.
Step 2: Install the timing cover. Installing the cover on the engine can be the trickiest part of the job. The cover may have to slide across a pan gasket on the bottom or a head gasket at the top before it meets the surface of the engine.
A little dab of RTV sealer in the corners, where one gasket meets another, can be helpful for preventing leaks. Tap the cover in place with the dead blow hammer to be sure it is firmly seated.
Step 3: Install the bolts. Refer to your diagram and screw the bolts into their proper location. Don’t tighten them right away. When you tighten the bolts, work alternately across the cover so the entire surface of the cover tightens evenly.
Tighten any bolts that go through the head or the pan last. If the engine has an upper and lower cover, tighten the lower cover first.
Step 4: Install the front pulley or harmonic balancer. Install the pulley and tighten the bolt to the specification in the manual. This is very important because the consequences of having the bolt loosen up while driving can be serious.
Using a crankshaft holding tool and a torque wrench, follow the instructions in the manual. The torque value for the front bolt will be high, probably around 180 ft lbs.
Step 5: Reinstall the water pump, belts, and other accessories. If the water pump is old, it’s a good idea to replace it now. It’s relatively inexpensive and will eventually fail, so you can save yourself some trouble later.
Likewise, it’s good practice to install new belts at this time since you already have them all off. Use a little RTV sealer on the new water pump gasket when you put it on.

Step 6: Reinstall the radiator and fill the cooling system. If there is a coolant bleeder, open it up. If not, remove a heater hose at a high spot on the engine. If the coolant you drained out is more than two years old, you should replace it with fresh coolant.
Pour the coolant in through the reservoir. Keep pouring until coolant runs out of the bleeder or the hose that you disconnected. Close the bleeder and reconnect the hose.
Set the heater on high, and run the car until you feel heat coming out of the vents. Continue topping off the reservoir while the engine is warming up. When the car is fully warmed up and the coolant is at the correct level, install the pressure cap on the reservoir.
Check the engine for oil or coolant leaks, then take it off the jack stands and take it out for a drive. Check again for leaks after driving around for a few minutes.
If your car does not have an overhead camshaft, or has a camshaft driven by a timing belt, this job can be completed in a day or less. If your car has an overhead camshaft driven by a chain, this job will probably take you more than one day to complete. It can be a tough procedure with many possible complications that can make the job take even longer. If you think you’d rather spend your Saturday watching a ball game than bending over the hood of your car, YourMechanic can send a qualified professional to your home or business to replace the timing cover at your convenience.