When the temperature begins to fall, one of the most important components on your vehicle is the heater. On most vehicles, the heater is supplied with heat thanks to a unique monitoring system known as the coolant vacuum valve switch, also referred to as a thermostat vacuum switch.
Once a vehicle begins to warm up and coolant slowly builds up momentum and heat from the engine, it is not always flowing through the heater core. This operation occurs once the climate control knob is turned to defroster or heater mode. The climate controls are typically attached to a vacuum hose which is also connected to the coolant vacuum valve. Once the heater is activated by the driver, the coolant vacuum valve switch is activated and opened, allowing heated coolant to flow to the heater core, which increases the internal temperature of your vehicle's cab. This is the modern method used by most car, truck, and SUV manufacturers to supply heat to the heater core.
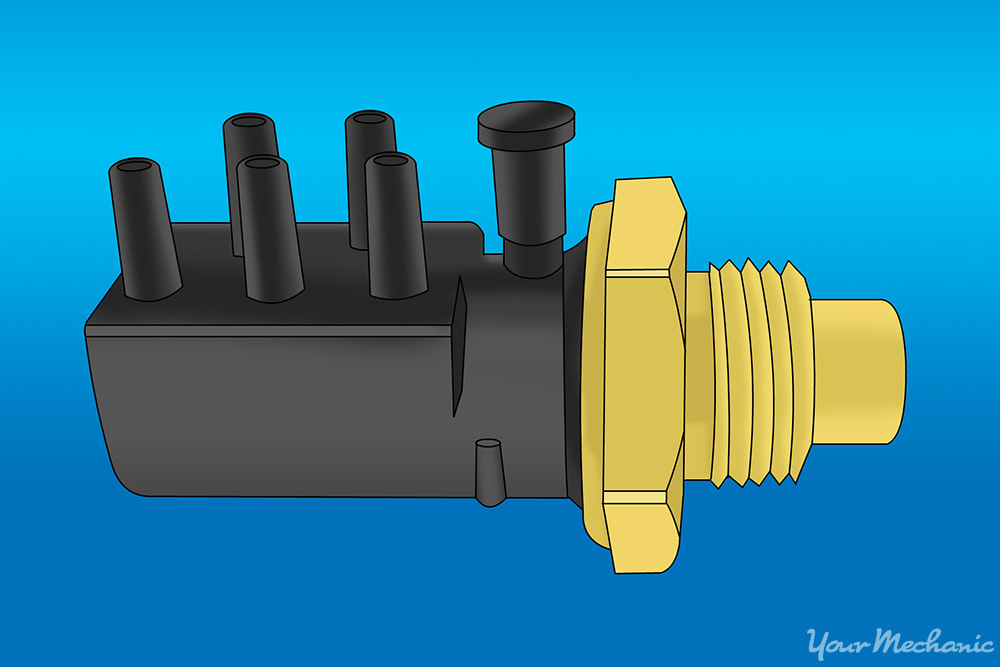
This component is typically located on top of the engine with one end screwing into the intake manifold, designed to monitor the temperature of the coolant. Occasionally the coolant vacuum valve switch can become damaged after being cracked or clogged with dirt, debris, or coagulated coolant. If this occurs, it might be necessary to replace this unit to ensure your vehicle's heater works properly.
When there is an issue with the coolant vacuum valve switch, a few warning signs or symptoms will rapidly appear. However, since this unit is also a critical component of the engine's vacuum system, the most common indicator of a problem is when the check engine light is illuminated or the vehicle won't start. If you're experiencing overheating issues or the heater in your vehicle is not working, it may also be contributed to the coolant vacuum valve switch or vacuum lines attached to this system.
A few of the other common symptoms that indicate a possible problem with your coolant vacuum valve include:
Low coolant levels: If this component is cracked or has broken, it might be leaking radiator coolant. However, since it's located on the top of the engine or screwed into the intake manifold, the leak may be very difficult to find. If you notice the coolant level is low and the heater is not working correctly, this is most likely due to a cracked coolant vacuum valve switch.
Cold air blowing through the heater vents: A broken heater is usually an instant giveaway that there is a problem with this component. If you turn the heater on and, after the engine has reached operating temperature, the vents are blowing cold air, it's most likely due to the fact that warm coolant is not circulating through the heater core. Check the coolant vacuum valve switch and any vacuum line connections before replacing the unit.
Coolant leaking under the vehicle or in the cab: This symptom is extremely rare, however it can occur, especially if the crack in the coolant vacuum valve switch is significant enough. If you notice that radiator coolant is leaking on the floorboard of your vehicle, make sure to replace this unit as soon as possible.
Warning: Not every vehicle has a coolant vacuum valve switch. In fact, this system is more common in post-2005 US and foreign cars, trucks, and SUVs. There are also several vehicles that have heater core bypass switches instead. Essentially, this part is the same thing, it’s just named differently based on the brand, make, and model of the vehicle. The location of this component is also unique to the vehicle's manufacturer, engine size, and design, as well as the type of fuel used in the vehicle. Note that the instructions listed below are general instructions for the location of most coolant vacuum valve switches, those on top of the engine and screwed into the intake manifold. Before you attempt to replace your own coolant vacuum valve switch or heater core bypass valve switch, make sure to consult with a certified mechanic and/or your vehicle's service guide.
Warning: A disruption in the vacuum flow may impact vehicle operation, so only complete this replacement if you are 100% confident in your knowledge of how this system functions. Ideally, the job of replacing a coolant vacuum valve switch is one that should be completed by a certified mechanic when possible. Anytime you work with an engine's vacuum system, it is vital to replace vacuum lines precisely where they were originally attached. Failure to do so may result in the engine not being able to start or a violation of CARB emission standards.
Note: This job will also require you to drain and refill your radiator with coolant. If you don't feel comfortable with draining and replacing the coolant, which can include priming the radiator and cooling system if needed, please do not attempt this replacement yourself. Contact one of the experienced and certified mechanics at YourMechanic and they'll be happy to assist you.
Part 1 of 3: Gathering materials and replacement parts
Materials Needed
- Colored tape and a pen
- Drain pan
- Jack
- Jack stands
- New coolant vacuum valve switch
- New vacuum lines
- Pliers
- Recommended replacement coolant
- Screwdriver set, standard and Philips head
- Shop rags
- Wrenches and sockets
Tip: Always use safety glasses and heat resistant gloves anytime you are working with the coolant system. Only complete this job after the engine has been shut off and has cooled for at least an hour.
Step 1: Locate the valve switch. The coolant vacuum valve switch is commonly found on top of the engine. In many cases, it will be screwed into the intake manifold near the rear of the engine.
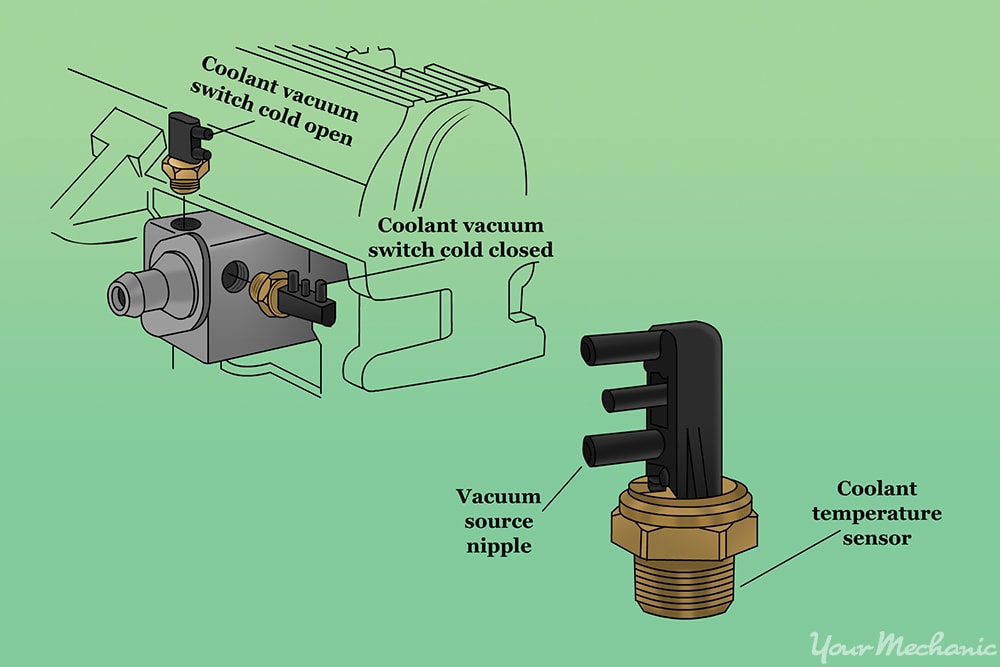
On some older engines, there may even be two coolant vacuum valve switches, located on the top or sides of the intake manifold.
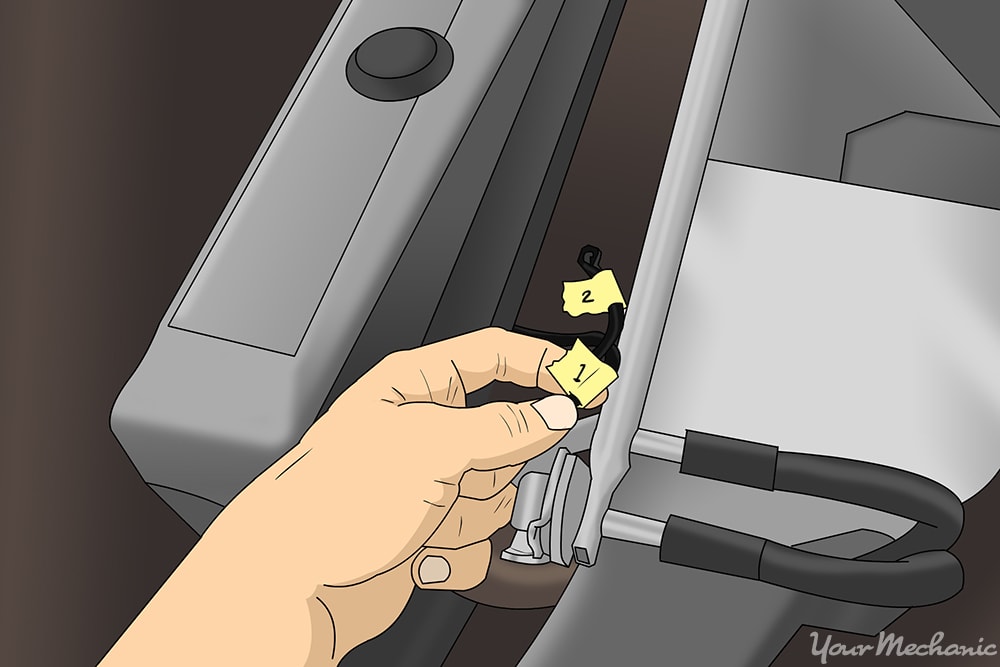
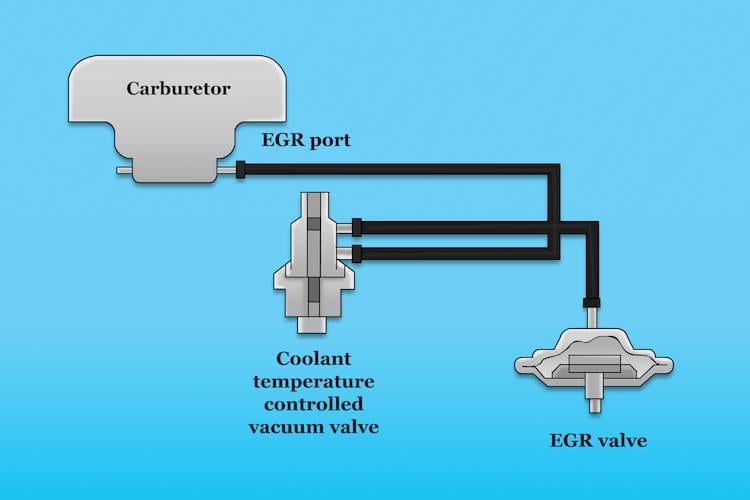
Step 2: Keep track of all the lines. The valve switch will be attached to vacuum lines running to the exhaust gas recirculation (EGR) valve and the EGR port. There might also be a vacuum line running behind the firewall that is attached to the heater control switches. Make sure you clearly mark each line with scotch or colored tape so so you know where to reattach later. You can label the lines 1, 2, 3, and so on, and place a piece of tape on the male ending of the new valve you're going to install.
Step 3: Position the vehicle. You'll need to drain the coolant from the radiator to complete this job, and in order to do so, you'll have to make sure the front end of your vehicle is elevated enough so you can easily complete this task. This means raising the vehicle. Anytime you jack up a vehicle or drive it onto ramps, you need to be on level ground. Always place wheel chocks behind the rear tires before completing this task.
Part 2 of 3: Replacing the coolant vacuum valve switch
After you have secured all of the right materials needed to complete this job, you need to begin the process of actually removing the coolant vacuum valve switch. Before you begin, make sure you have enough time to complete it all on the same day. Since you have vacuum lines involved, it's important that they are detached as little as possible to avoid damage or incorrect reinstallation.
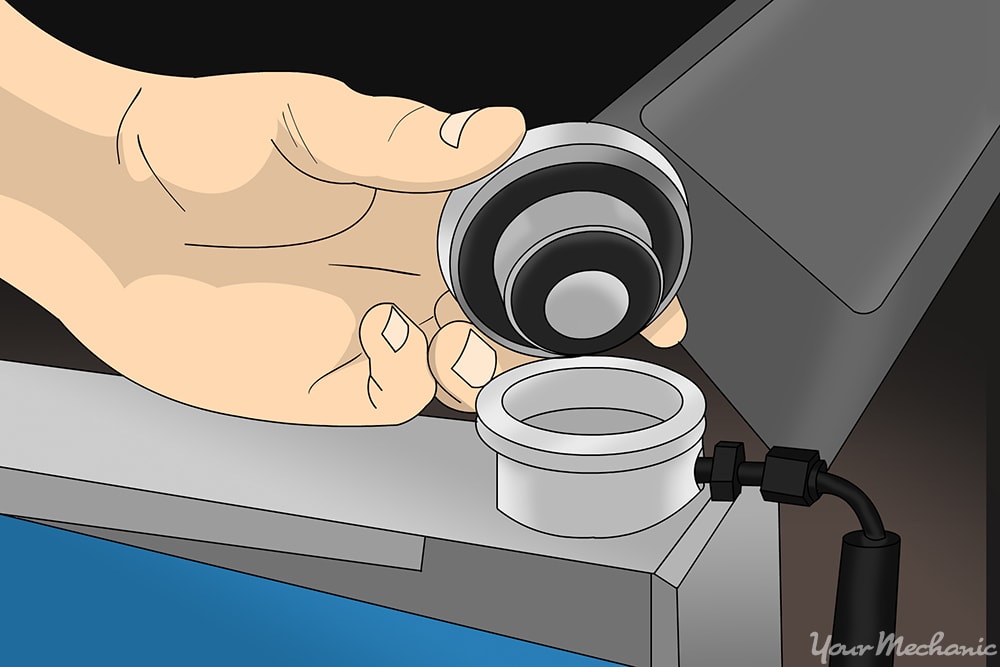
Step 1: Remove the radiator and coolant reservoir caps. Removing the radiator cap and coolant reservoir cap removes any vacuum pressure inside the coolant system, allowing you to drain the radiator fluid.
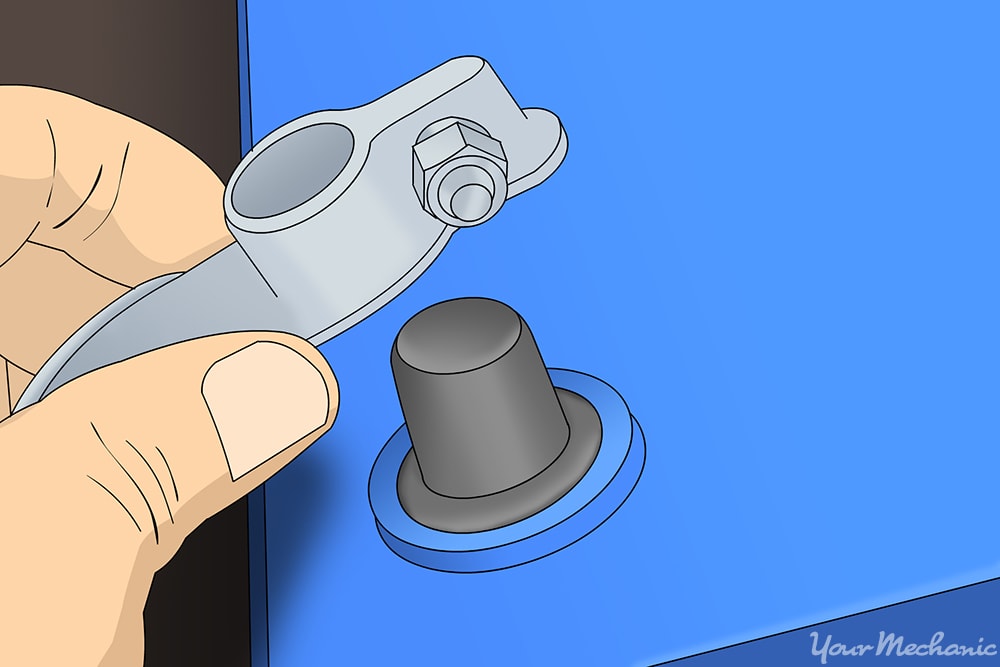
Step 2: Remove the battery cables. When replacing the coolant vacuum valve switch, you should always disconnect the battery cables. Remove the positive and negative terminals and set them aside until the job is complete.
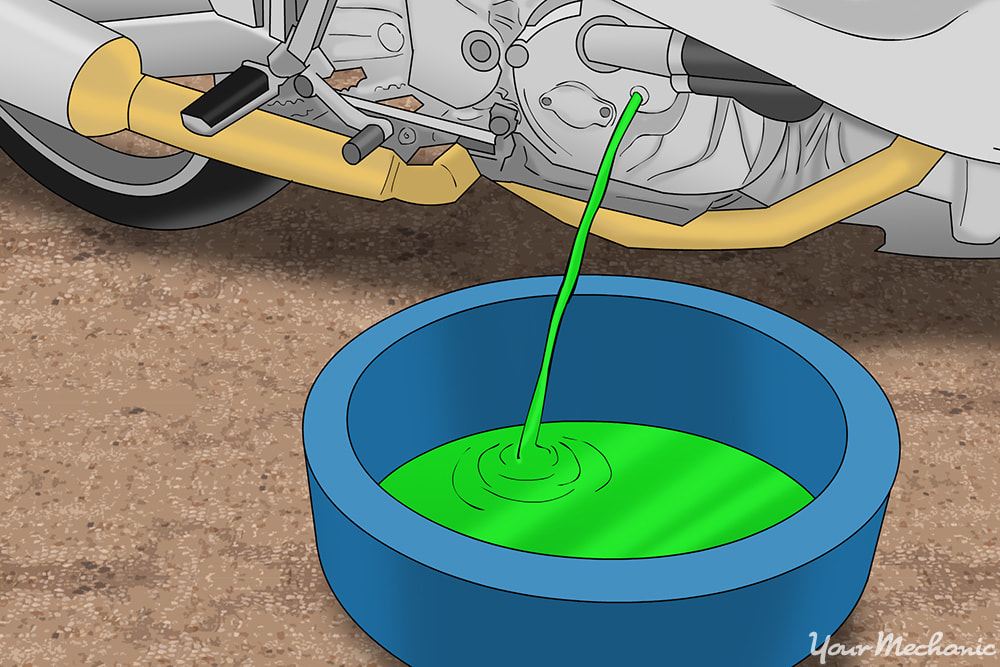
Step 3: Drain the radiator. It's recommended by most certified mechanics to drain the radiator completely anytime you work with the coolant system. Drain the radiator by loosening the petcock valve or the drain plug. Make sure you have a large enough container in place to collect the coolant.
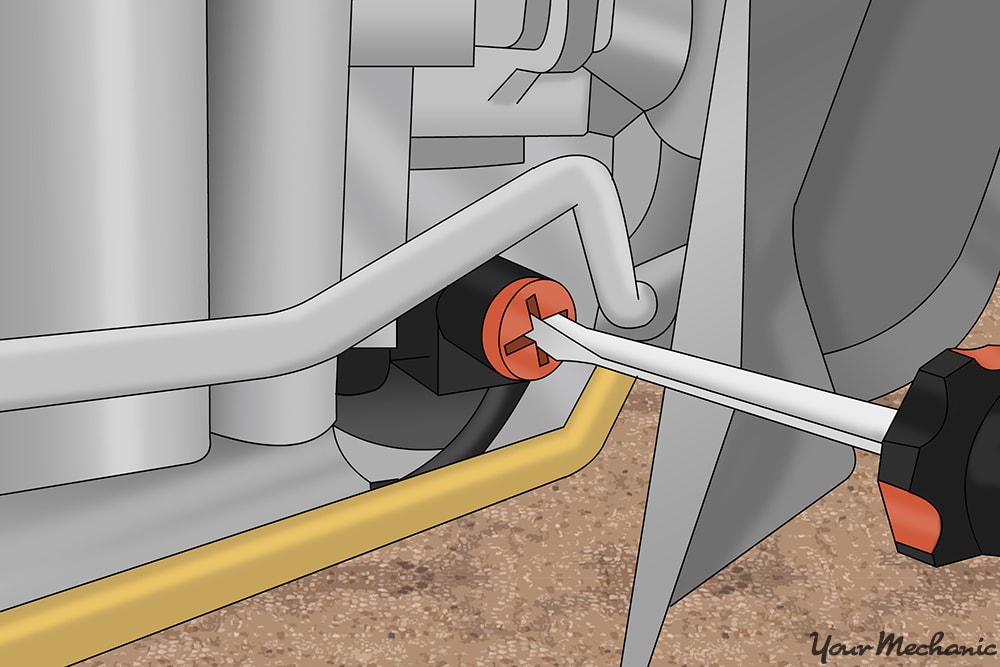
Step 4: Remove the vacuum lines from the coolant vacuum valve switch. Make sure you have already marked where each vacuum line will be replaced before removing them.
Step 5: Remove any other connections. Some coolant vacuum valve switches may have an electrical connection or harness attached. Remove this before removing the unit.
Step 6: Remove the coolant vacuum valve switch. In most cases, you'll need an open end wrench to remove the valve switch from the intake manifold.
- Tip: It's a good idea to have a lot of shop rags or towels with you as you remove the coolant vacuum valve switch. Make sure you place several rags around the compoent before you remove it. Once you have removed it, you can also stuff a rag into the hole ;eft behind, which will reduce the chances of any debris falling into the intake manifold. Be sure to clean up any excess coolant from any engine components as well, especially any sensors, wires, or electrical pieces.
Step 7: Install the new coolant vacuum valve switch. Hand tighten the new switch into the intake manifold. Once it is hand tightened, continue tightening it with an end wrench until it is snug.
- Warning: Do NOT over-tighten as this will most likely cause the part to break off inside the intake manifold.
Step 8: Reattach the vacuum lines and electrical harness, if applicable. Once the new valve switch is installed, reattach the vacuum lines precisely as they were on the old unit. Double check this step before proceeding to add coolant or start the engine.
Step 9: Tighten the petcock valve or drain plug. After you've installed the new coolant vacuum valve switch and its corresponding lines, you'll need to proceed to add new coolant to the radiator. But before you proceed, make sure that your radiator drain plug or petcock is tightened and that no radiator fluid is continuing to drain.
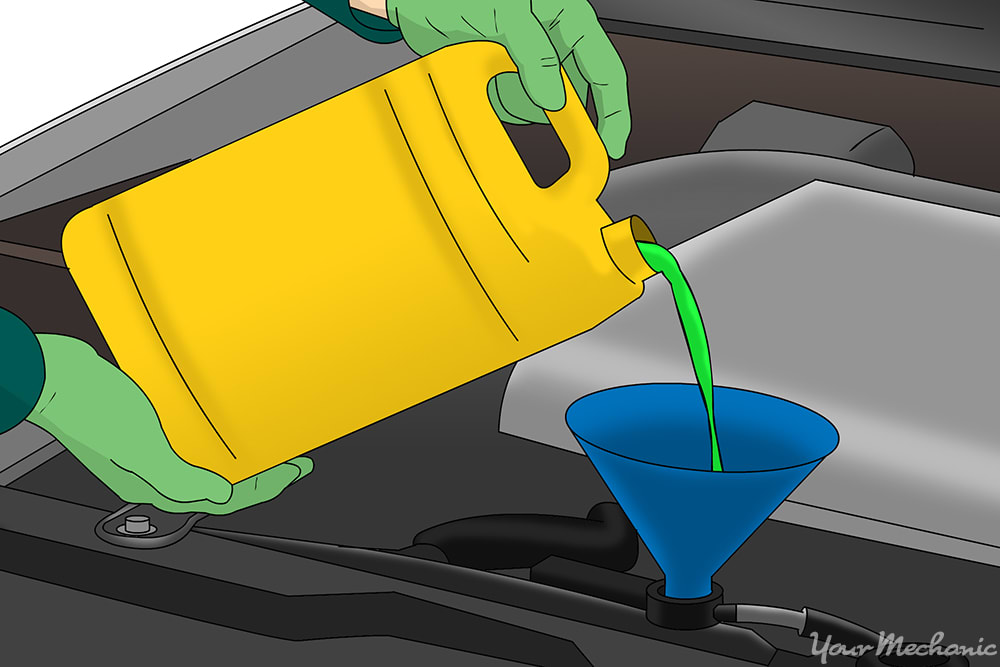
Step 10: Add coolant to the radiator. Slowly fill the radiator to the top using the correct ratio of coolant and distilled water and allowing any bubbles to come naturally to the top. Continue to add fluid until the radiator is completely full. Once full, place the radiator cap on the fill neck and secure tightly.
Step 11: Add coolant to the overflow reservoir. After filling the radiator to the top, make sure to add coolant to the coolant reservoir overflow tank as well.
Part 3 of 3: Starting the engine and test driving the vehicle
Before you start to drive your vehicle, you must verify that the job was completed correctly. This begins by starting up the engine and checking for any leaks.
Step 1: Verify that all caps are secure. To help avoid leaks, you should double check any caps or plugs to make sure they are tight.
Step 2: Start the engine and check for leaks. If the engine starts for you, that’s already a good indicator that you correctly installed the vacuum lines. Check for any leaks from the radiator drain plug or petcock and the coolant vacuum valve switch.
Step 3: Verify that no warning lights are lit. Check that the Check Engine Light, Low Radiator Fluid Light, or any other warning lights are not illuminated. If they are, shut down the engine and investigate the warning light issue as necessary.
Step 4: Check that the thermostat is working. Bring the engine to operating temperature, making sure that you can hear the radiator fan engage. This is a signal that the thermostat is working and that coolant is circulating through the entire system.
Step 5: Turn on the heater. Verify that hot air is indeed blowing through the vents when you turn on the heater.
Step 6: Let the engine cool and recheck the fluid level. Turn the engine off and let it cool for an hour. Then reassess the fluid levels.
Step 7: Test drive the vehicle. Make sure to drive the vehicle until you hear the radiator fan come on. Once you do, return home while keeping an eye on the thermostat or engine temperature.
Step 8: Recheck the fluid level one final time. Once the vehicle has cooled for a minimum of one hour, recheck the coolant level inside the reservoir and fill if needed.
As you can see, replacing the coolant vacuum valve switch is relatively easy when you know the precise location of the part and you make sure to reattach the vacuum lines correctly. As indicated earlier in this article, if you're not 100% confident in your ability to complete this task, don't worry. In fact, even experienced do-it-yourselfers have difficulty with this repair. But if you're not completely comfortable doing this yourself and would rather let a certified mechanic perform this service for you, the experts at YourMechanic can replace your coolant vacuum valve switch at your convenience.