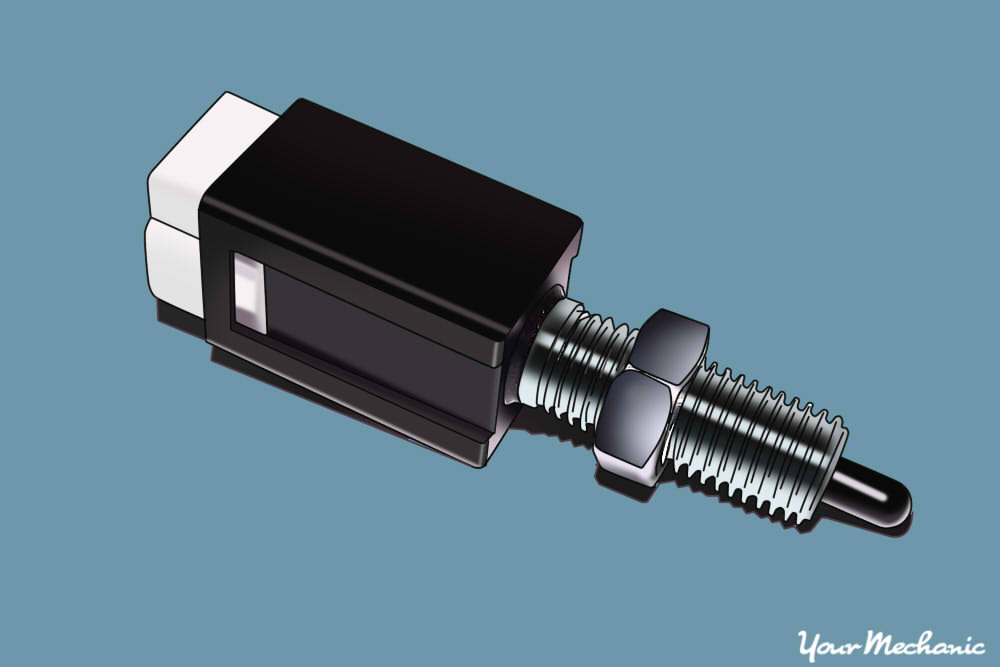
Clutch switches are designed to keep the vehicle from starting in gear. When the clutch pedal is in the up position, the clutch switch is normally open with no power to the ignition switch. When pushing down on the clutch pedal, the clutch switch closes the circuit to the ignition switch allowing the starter to the engine to engage. The clutch switch may need replacing, so follow along to figure out how the process works.
There are two ways to determine if the clutch switch is failing or has failed. First, the contacts inside the clutch switch have corroded or burned and will not make a connection to complete the circuit from the clutch switch to the ignition switch. Second, the clutch switch wiring could be damaged, burned, or corroded and will not complete the connection from the clutch switch to the ignition switch.
- Warning: Tampering with or removing a clutch switch to eliminate an issue is very dangerous.
Part 1 of 5: Verifying the clutch switch condition
Materials Needed
- Baking soda
- Electrical cleaner
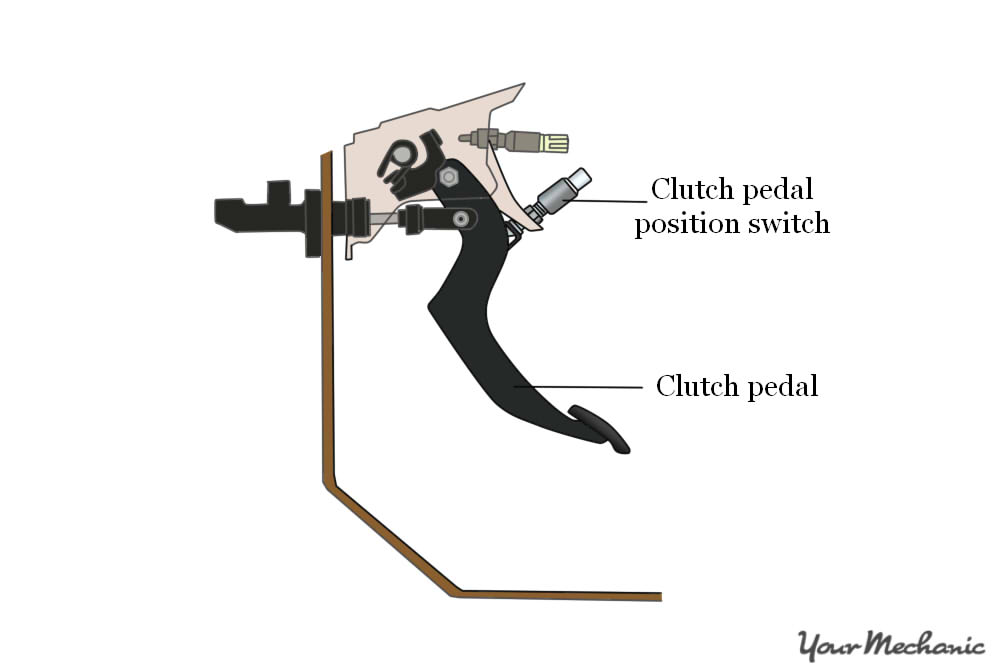
Step 1: Locate the clutch pedal. On the back side of the clutch pedal you will find the clutch switch.
Step 2: Check for drag. Pull up on the clutch pedal and push in the rod that sticks out of the switch that make constant contact to the clutch pedal.
There should be no drag on the rod movement.
Step 3: Check the wires to the clutch pedal. Make sure that the wires are not broken or loose.
If your clutch switch wire harness has a plug, then remove the plug and check the contacts inside for corrosion and moisture. If there is moisture currently present, you need to spray an electrical cleaner onto the contacts. If there is corrosion in the plug, you need to use baking soda and water to clean out the corrosion.
- Note: Make sure that the ignition switch is in the off position before using baking soda and water on contacts.
Part 2 of 5: Preparing the vehicle
Material Needed
Step 1: Park your vehicle on a flat, hard surface. This will allow you to work safely.
Step 2: Place wheel chocks around the rear tires. These are the tires that will be remaining on the ground.
Engage the parking brake to the lock the rear tires from moving.
Step 3: Put transmission in neutral. Once the wheel chocks are in place and the parking brake is on place the transmission in neutral.
Part 3 of 5: Removing the clutch switch
Materials Needed
- Boxed end wrenches
- Phillips head screwdriver
- Pedal depressor tool
- Protective gloves
- Ratchet with metric and standard sockets
- Safety glasses
- Side cutters
- Torque bit set
Step 1: Remove dash covers. Remove those that are covering the clutch pedal bracket.
Step 2: Unplug the harness to the switch. If the switch is hard wired in, you will need to label the wires and then cut them with your side cutters.
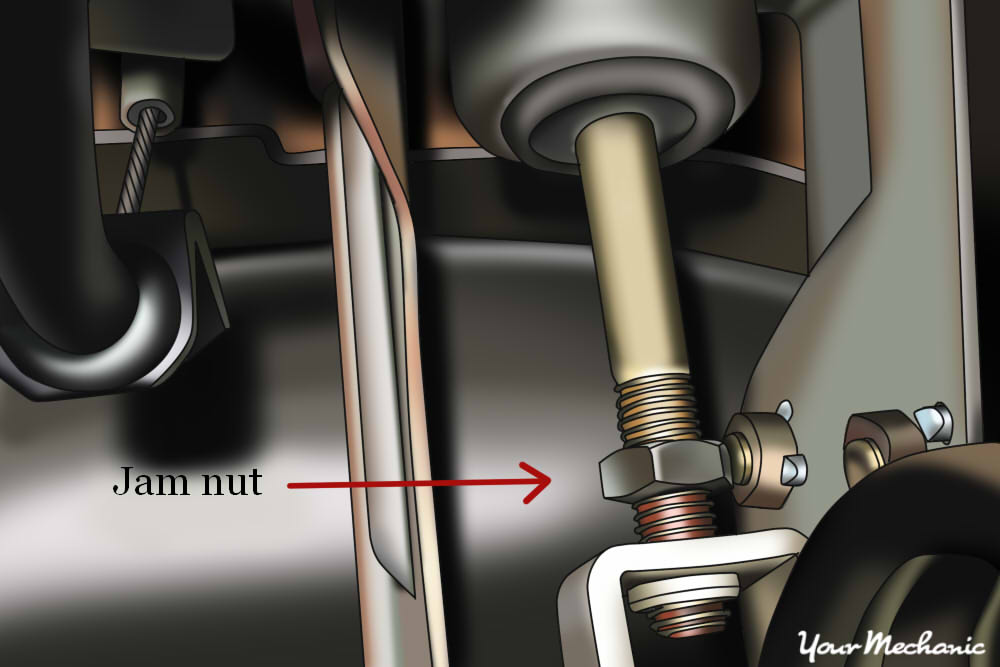
Step 3: Access the switch jam nut. Use the pedal depressor and position the clutch pedal far enough off the clutch switch to have access to the switch jam nut.
Step 4: Loosen the jam nut and remove clutch switch. This nut that secures the clutch switch to the clutch pedal bracket.
Remove the clutch switch from the clutch pedal bracket.
Part 4 of 5: Installing the clutch switch
- Boxed end wrenches
- Phillips head screwdriver
- Protective gloves
- Ratchet with metric and standard sockets
- Safety glasses
- Torque bit set
- Wire crimpers
- Wire strippers
Step 1: Install the switch. Put the adjusting nut on the new clutch switch and install the switch into the clutch pedal bracket.
Step 2: Put on the locking nut on the clutch switch. Leave the nut loose so you can adjust the switch.
Step 3: Release the brake pedal. Do this by turning the switch clockwise or counterclockwise to adjust the switch to where it is in full contact with clutch pedal arm.
Step 4: Access the switch jam nut. Use the pedal depressor and position the clutch pedal far enough off the clutch switch to have access to the switch jam nut.
Step 5: Tighten the jam nut by hand. Turn the adjuster 1/8 turn more to secure the clutch switch to the clutch pedal bracket.
Step 6: Verify contact between clutch pedal and switch. Remove the pedal depressor, verifying that the clutch pedal is in full contact with the clutch switch.
Step 7: Plug into the harness. If you had to cut the wires, match up the wires to the new switch.
Strip the wire bare using your wire strippers. Use butt connectors with built in heat shrink and place the wires inside them. Use your crimper tool and crimp the butt connectors to the wires.
Step 8: Reinstall dash covers. Install any dash covers that you had to remove to have access to the clutch pedal bracket.
Part 5 of 5: Test the clutch switch
Step 1: Remove the wheel chocks from the vehicle’s wheels. This will prevent damage to the clutch if the vehicle was to move during the test.
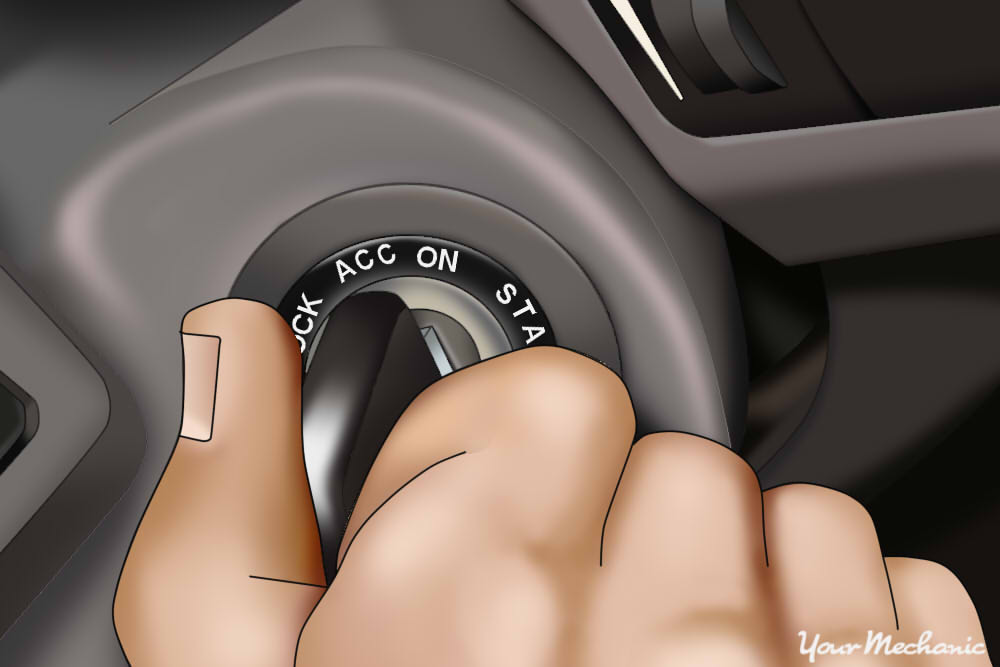
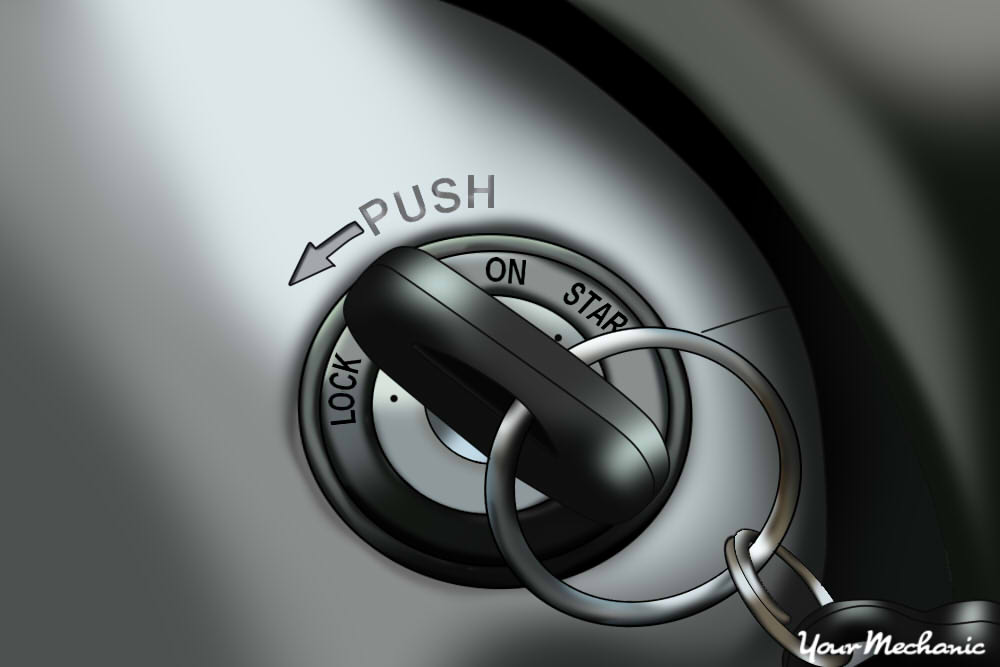
Step 2: Turn the ignition key to the start position. At this time nothing should happen.
Step 3: Step on the clutch pedal and turn the ignition switch to start. With the clutch pedal off the switch, the circuit to the starting position on the ignition switch should have a complete circuit.
The engine will start.
Step 4: Repeat the process three times. This verifies that the clutch switch is working correctly.
If your vehicle will not start with the clutch in the down position or if you have problems with the vehicle starting with the clutch switch engaged with the clutch pedal, then there may be further diagnosis needed. If the problem persists, then you should seek out help from one of YourMechanic’s certified mechanics that can inspect the clutch and transmission and diagnosis the problem.