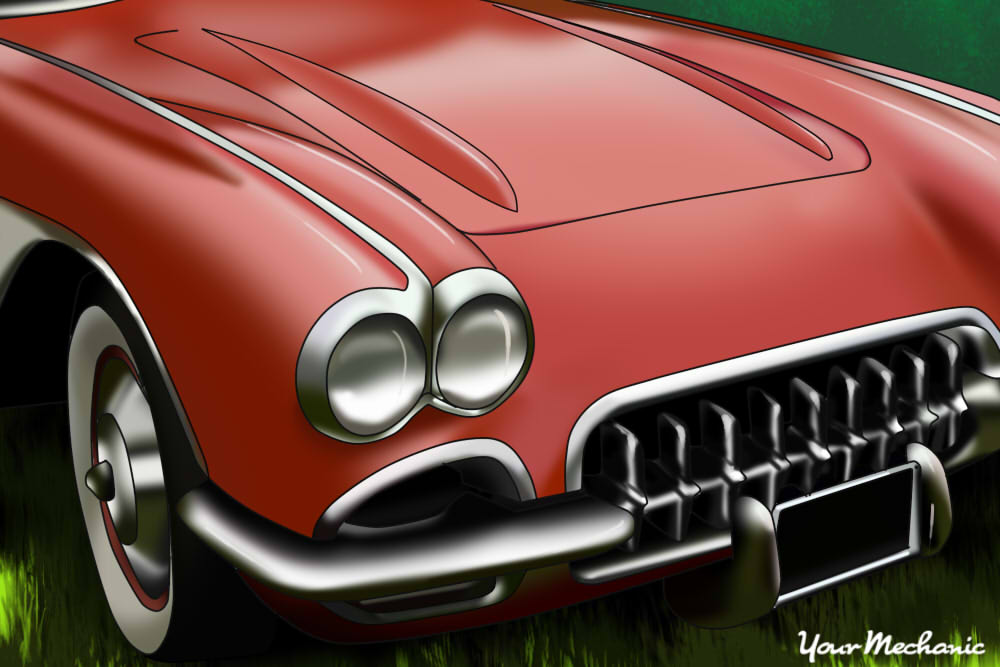

Classic cars and hot rods are back in fashion with the modern market. Stay rods only apply to classic cars, hot rods, or custom vintage vehicles. A stay rod is a device that secures a radiator in a classic car or hot rod. They are usually attached to a cross frame member, firewall, or fender.
Stay rods were made of steel and mounted directly to a radiator. The radiators in classic cars, hot rods, or custom vintage vehicles are made of steel or aluminum and have brackets on them to attach stay rods.
The benefit of having a stay rod is it secures a radiator to the vehicle with no movement. On the other hand, the stay rod has no rubber bushings so it could not compensate for any vibrations. If a stay rod was used on a newer type of radiator, it would crack the plastic (carbon fiber) housing.
Modern day cars have top mounts to secure the radiator. They usually have bushings and brackets that keep the radiator from moving and protect it from vibrations.
Symptoms of a failed stay rod include rattling noises that could be transmitting from the front of the vehicle and a radiator that is loose and moving around. If one stay rod were to fall off but the other stay rod remained in contact with the radiator, the radiator might turn into the rotating fan. If the stay rods fall out and make the radiator come in contact with the fan, then the radiator may be destroyed, causing leaking and overheating.
Part 1 of 3: Verifying the stay rod condition
Material Needed
- Flashlight
Step 1: Open the hood to determine if the vehicle has a stay rod. Grab a flashlight and take a look at the stay rods.
Visually see if they are intact.
Step 2: Grab the radiator and move it around. If the radiator moves a lot, then the stay rod may be loose or damaged.
Step 3: If the radiator is tight and has no movement, test drive the vehicle. On the test drive, check for any abnormal vibrations from the front of the vehicle.
Part 2 of 3: Replacing the stay rod
Materials Needed
- Boxed end wrenches
- Breaker bar
- Disposable gloves (Ethanol Glycol safe)
- Drip pan
- Flashlight
- Floor jack
- Jack stands
- Protective clothing
- Pry bar
- Ratchet with metric and standard sockets
- SAE and metric wrench set
- Safety glasses
- Small funnel
- Wheel chocks
Step 1: Park your vehicle on a flat, hard surface. Make sure that the transmission is in park (for automatics) or in 1st gear (for manuals).
Step 2: Place wheel chocks around the tires. In this case, the wheel chocks go around the front tires since the rear of the vehicle will be lifted up.
Engage the parking brake to lock the rear tires from moving.
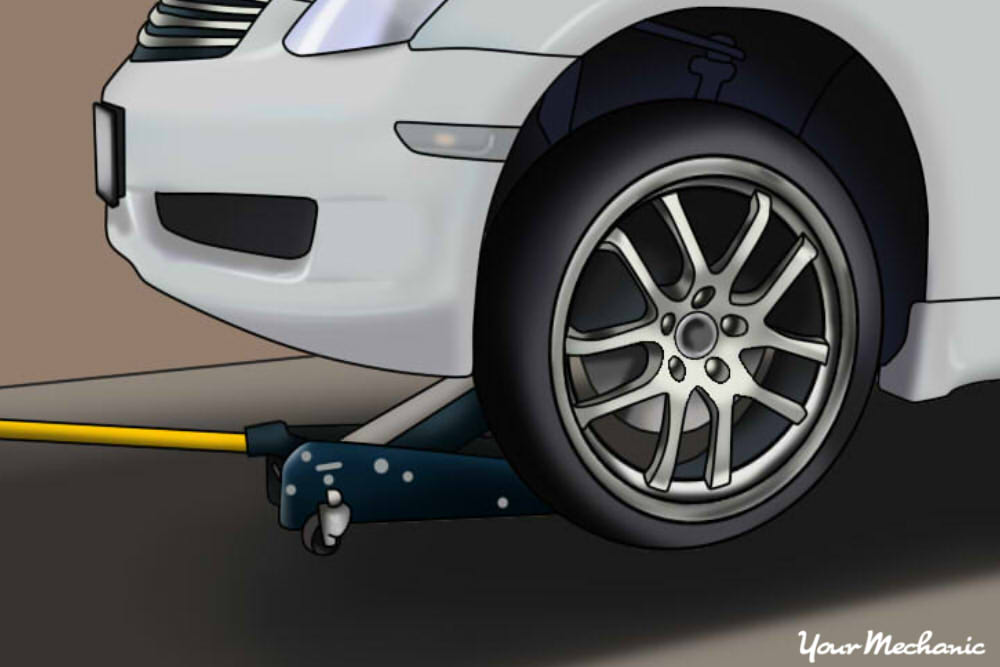
Step 3: Raise the vehicle. Using a floor jack, lift under the vehicle at its specified jacking points until the wheels are completely off the ground.
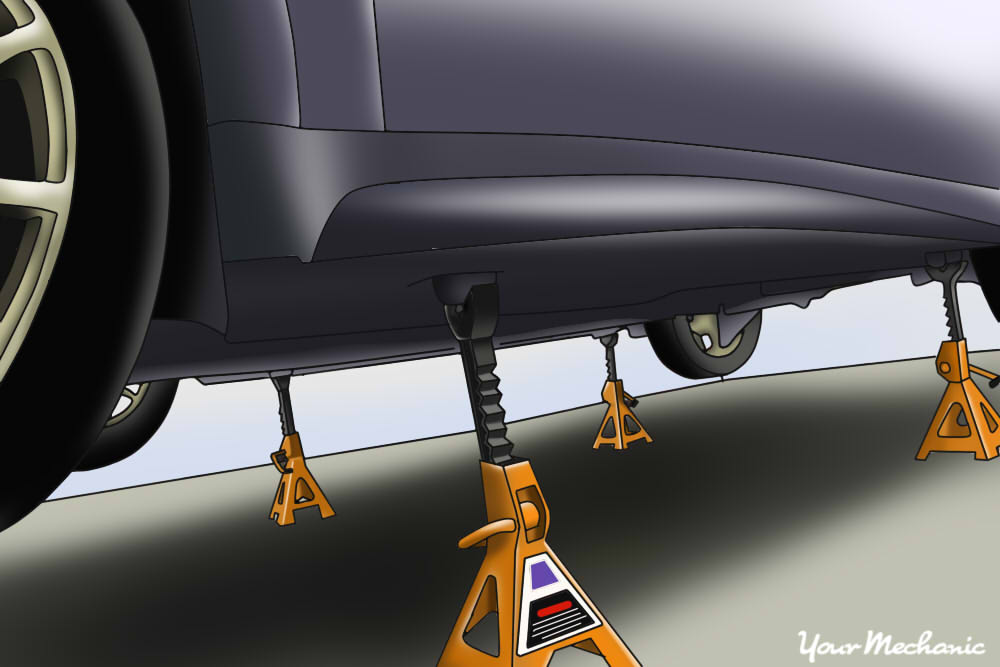
Step 4: Place the jack stands. The jack stands should go under the jacking point locations and then lower the vehicle onto the jack stands.
For most modern cars, the jacking points for jack stands are on the pinch weld just under the doors along the bottom of the car.
- Note: You can refer to your owner’s manual for proper jacking locations.
Step 5: Remove the radiator cap or reservoir cap. Place the cap where the hood latch is; this prevents you from shutting the hood and forgetting the cap.
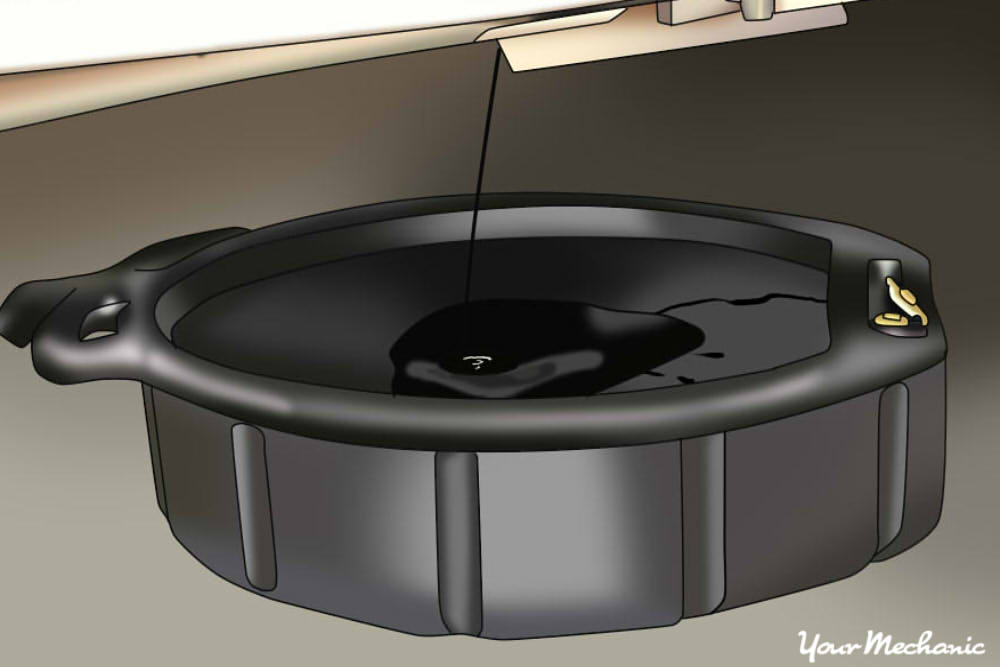
Step 6: Place a large drain pan under the radiator drain plug. Remove the drain plug and let the coolant drain out of the radiator into the drain pan.
Step 7: Remove the radiator top hose. Once all of the coolant is drained out, remove the radiator top hose.
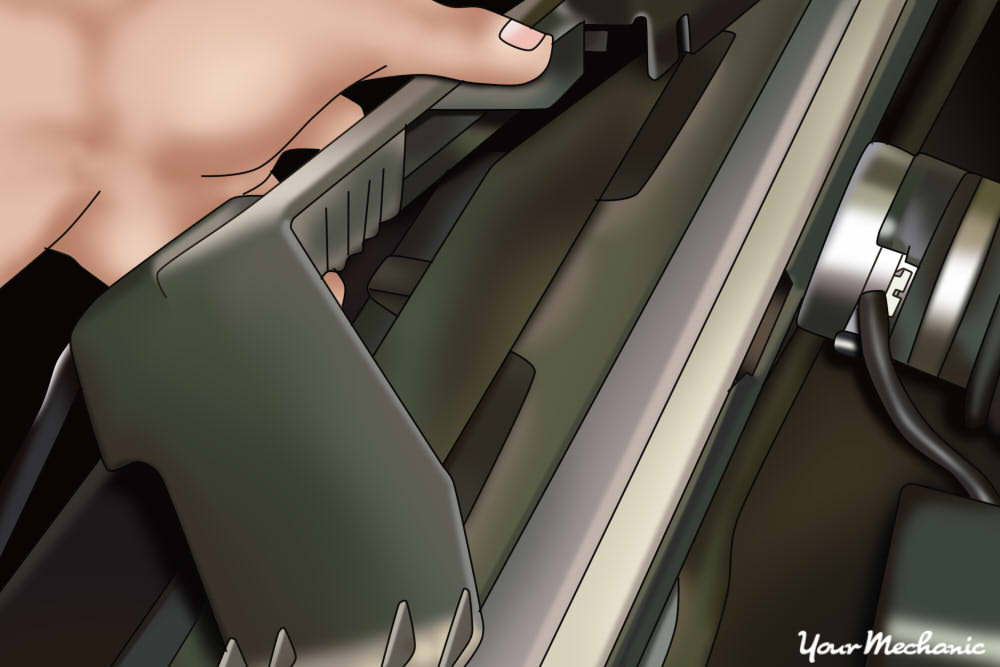
Step 8: Remove the shroud. If the vehicle has a shroud, remove the shroud to gain access to the lower part of the radiator.
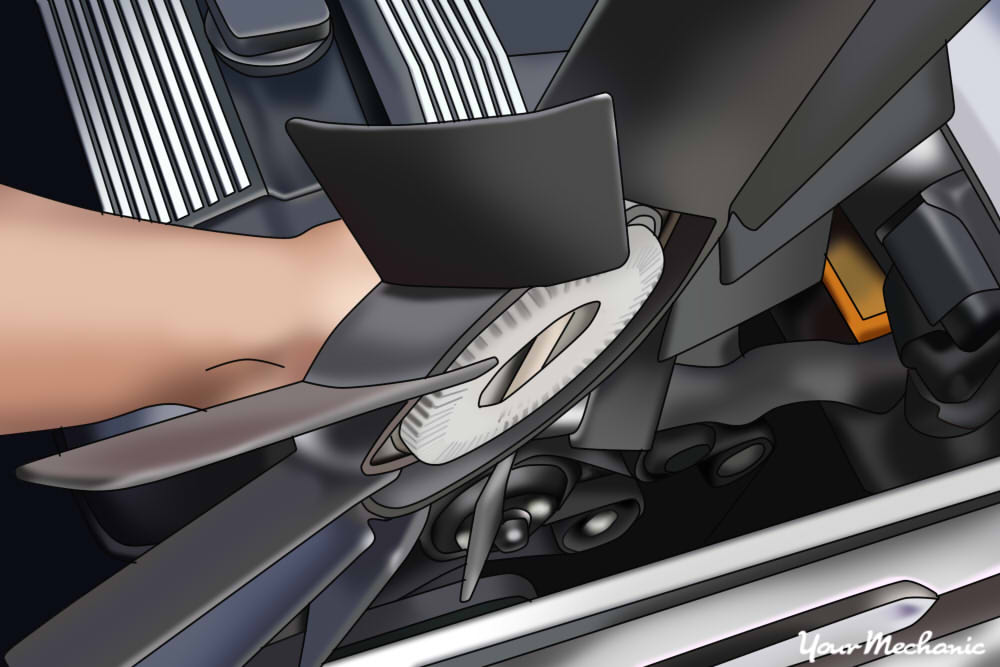
Step 9: Remove the fan blade to the water pump pulley. Be careful not to mark up the radiator as you pull the fan blade out.
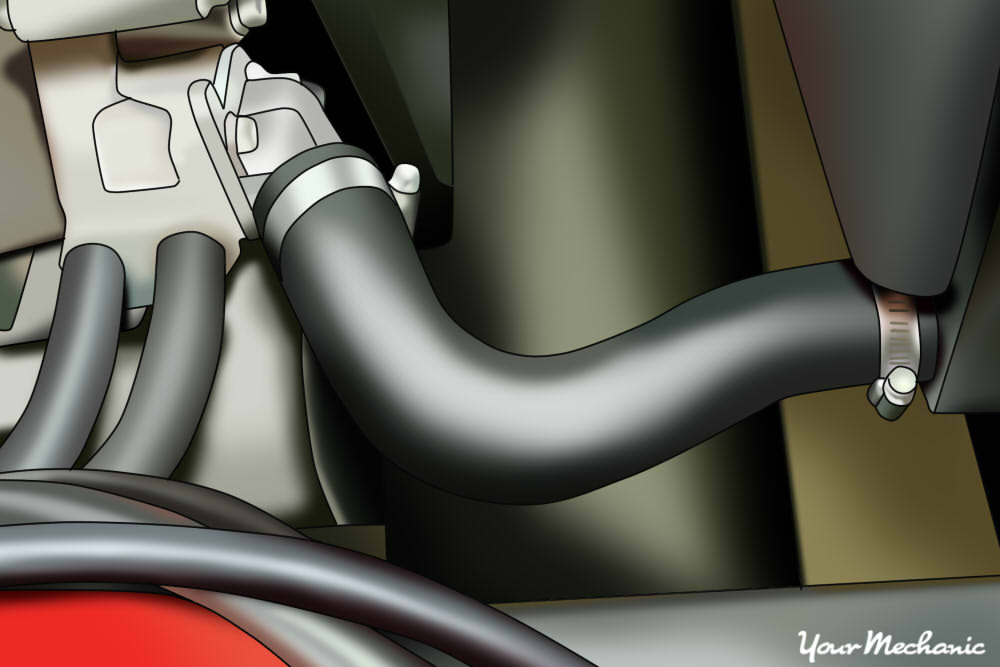
Step 10: Remove the lower radiator hose from the radiator. Make sure that the drain pan is under the hose to catch the last bit of coolant.
Step 11: Unbolt the stay rods from the radiator. Pull out the radiator from the vehicle.
Keep in mind, some of the radiators may be heavy.
Step 12: Remove the stay rods. Unbolt the stay rods from the cross frame member, fender, or firewall.
- Note: Most vehicles that do not have hoods or closed front ends will be easier to remove the stay rods. You do not have to remove the radiator, but you will need to remove one stay rod at a time to keep the radiator in place.
Step 13: Bolt in the new stay rods onto the cross frame member, fender, or firewall. Leave them loose enough to hook up the radiator.
Step 14: Install the radiator into the vehicle. Hook up the stay rods to the radiator and tighten them up on both ends.
Step 15: Install the lower radiator hose. Be sure to use new clamps and discard the old clamps as they are no longer strong enough to hold the hose on tight.
Step 16: Put on the fan blade back onto the water pump pulley. Tighten the bolts up tight and 1/8 turn more.
Step 17: Install the shroud. If you had to remove a shroud, be sure to install the shroud, making sure that the shroud is secure to the radiator.
Step 18: Put on the upper radiator hose onto the radiator. Use new clamps and discard the old ones as they are not strong enough to hold the hose on tight.
Step 19: Fill up the radiator with new coolant with the proper mixture. Most classic vehicles use 50/50 mixture of coolant.
- Warning: Do not use Dexcool coolant that is orange in color, unless you have a cooling system that requires it. Putting Dexcool orange coolant into a system with green standard coolant creates acid and destroys the water pump seals.
Step 20: Install a new radiator cap. Do not assume that the old radiator cap is sufficient enough to seal in the pressure.
Step 21: Raise the vehicle. Using a floor jack, lift under the vehicle at its specified jacking points until the wheels are completely off the ground.
Step 22: Remove the jack stands.
Step 23: Lower the vehicle to where all four wheels are on the ground. Pull out the jack and put it aside.
Step 24: Remove the wheel chocks.
Part 3 of 3: Test drive the vehicle
Step 1: Drive the vehicle around the block. Make sure that you do not hear any rattling noises from the front of the vehicle.
Check the cooling system to make sure it is full and not leaking.
If your stay rods become loose or damaged, then there may be further diagnosis of the stay rods needed. If the problem persists, then you should seek out help from one of YourMechanic’s certified mechanics who can inspect the stay rods and replace them if needed.


