Your vehicle’s internal combustion engine relies on oil to function. Pressurized engine oil is used to create a protective layer between moving parts that keeps them from coming into contact with each other. Without this layer, excess friction and heat is generated. Simply put, oil is meant to provide protection as both a lubricant and an aid in cooling.
To provide this protection, the engine has an oil pump that picks up the oil stored in the oil pan, builds up pressure, and delivers the pressurized oil to several locations inside the engine via oil galleries built into the engine components.
The ability of the oil to perform these functions will diminish as a result of several different factors. An engine heats up while running and cools down when shut off. Over time, this heat cycle will eventually cause the oil to lose its ability to lubricate and cool the engine. As the oil begins to break down, it will create small particles that can clog the oil galleries. This is why the oil filter is tasked with pulling those particles out of the oil, and why there are recommended intervals at which the oil and filter need to be changed.
Many heavy duty, or extreme use, vehicles will employ an oil temperature gauge. These heavy duty vehicles will typically see more stress than an average vehicle as a result of carrying heavier weights, working in more adverse conditions, working in more mountainous terrain, or towing a trailer, all of which will put greater stress on the vehicle and its components.
The harder the vehicle works, the more likely it is to see increased oil temperatures. This is why these vehicles will normally have an auxiliary oil cooling system and an oil temperature gauge. The gauge uses an oil temperature sensor to relay information that gets displayed on the instrument cluster. This lets the driver know when the oil is reaching an unsafe level and thus when a loss of performance may occur.
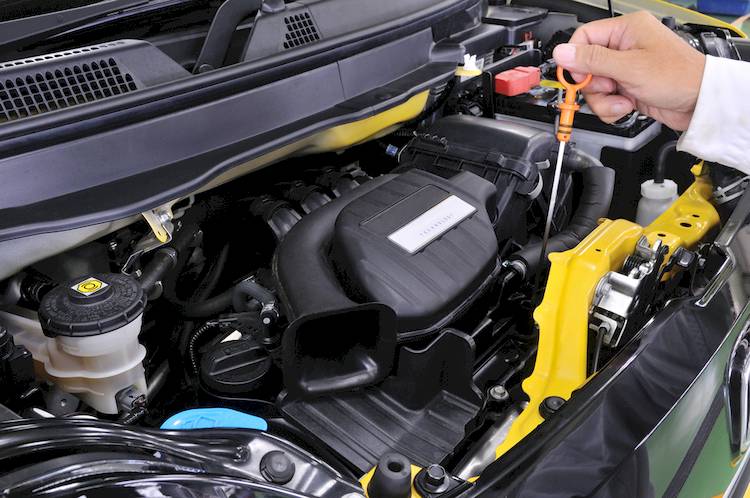
There are several different ways that this sensor and its related components can be arranged in a given vehicle, but this step-by-step guide has been written so that it can be adapted to a number of configurations. For instructions on how to replace a typical oil temperature sensor, read on below.
Part 1 of 1: Replacing the oil temperature sensor
Materials Needed
- Replacement oil temperature sensor
- Screwdriver set
- Shop towels or rags
- Socket set
- Thread sealant - on some applications
- Wrench set
Step 1: Locate the oil temperature sensor. Locate the oil temperature sensor in the engine compartment. It will typically be mounted in either the engine block or in the cylinder head.
Step 2: Unplug the electrical connector from the oil temperature sensor. Disconnect the electrical connector on the oil temperature sensor by disengaging the retainer clip and pulling the connector away from the sensor.
It may be necessary to push and pull on the connector a few times, as they tend to become stuck after being exposed to the elements under the hood.
- Tip: It is possible that some oil loss can occur when removing parts from the oil system. It would be advised to have some shop towels or rags available to clean up any fluid loss.
Step 3: Remove the old oil temperature sensor. With the appropriate wrench or socket, remove the oil temperature sensor. Be aware that it is possible for there to be some oil loss when the sensor is removed.
Step 4: Compare the new sensor to the old one. Compare the replacement oil temperature sensor to the sensor that was removed. They should be the same physical dimensions and have the same type of electrical connector, and the threaded portion should have the same diameter and thread pitch.
- Tip: Pay close attention to the oil temperature sensor that was removed. Look to see if there is any type of thread sealant. If there is any present, this will typically mean that the replacement will need a thread sealant as well when being installed. Most new oil temperature sensors will come with a sealant already on the threads, when required. If there is any doubt, consult a shop repair manual or Ask a Mechanic to get quick, detailed advice from one of our certified technicians.
Step 5: Install the new oil temperature sensor. With the thread sealant applied as needed, thread the replacement oil temperature sensor into place by hand.
Once threaded down as much a possible by hand, finish tightening it down with the appropriate wrench or socket. Be careful not to overtighten it and cause damage to either the sensor or its host.
Step 6: Reinstall the electrical connector. With the oil temperature sensor tightened up, plug the electrical connector back in.
Be sure that the connector is seated so that the retaining clip is engaged. Otherwise, the connector can work itself loose from engine vibration and render the oil temperature sensor inoperative.
Step 7: Wipe up any oil lost. Take a minute to clean up any oil lost during the replacement of the oil temperature sensor. A little clean up at this point can avoid a lot of unnecessary smoke later on from the oil burning off a hot engine.
Step 8: Check the oil level. Check the engine oil level on the dipstick. In most instances, there will not be much oil lost during the oil temperature sensor replacement. However, if the sensor was leaking for any period of time, it’s worth the couple of minutes to check and be sure that the oil level is up to an acceptable level.
Step 9: Test the new oil temperature sensor. With the oil at the recommended level, start the engine and let it run until it reaches operating temperature. While waiting for it to come up to operating temperature, inspect the area around where the repair was done to be sure there are no leaks present.
With oil being the lifeblood of the engine, it is imperative that care is taken to keep it in good shape. Keeping an eye on the oil temperature is just one way of doing so. Keeping that temperature within a range that minimizes the heat produced by the braking the oil is a key factor as well.
If at any point you feel that you could use a hand with replacing your oil temperature sensor, contact a trusted technician, such as those available at YourMechanic. YourMechanic has trained and certified professionals that can come to your home or place of business and perform such repairs for you.