
Anywhere that two parts of the engine come together, there’s a chance for leakage. The parts may be finely machined and carefully fitted, but rarely are the mating surfaces perfect enough never to leak. The gaskets are in place to provide a resilient, flexible surface that can make up for the imperfections of the mating parts and compensate for a small amount of relative movement. When the intake manifold gasket fails, you may see coolant escaping and have air getting in where it shouldn’t. Inevitably, overheating and performance problems will be the result.
Depending on the type of car, replacing an intake manifold gasket is the sort of job a determined home mechanic can perform, but for the unexperienced, there are potentially serious pitfalls which may cause engine damage, so be wary.
Part 1 of 4: Drain the coolant
Materials Needed
-
Drain pan
- Empty gallon jugs
-
Funnel
-
Jack
-
Jackstands
- Safety glasses
- Wheel chocks
- Workshop manual
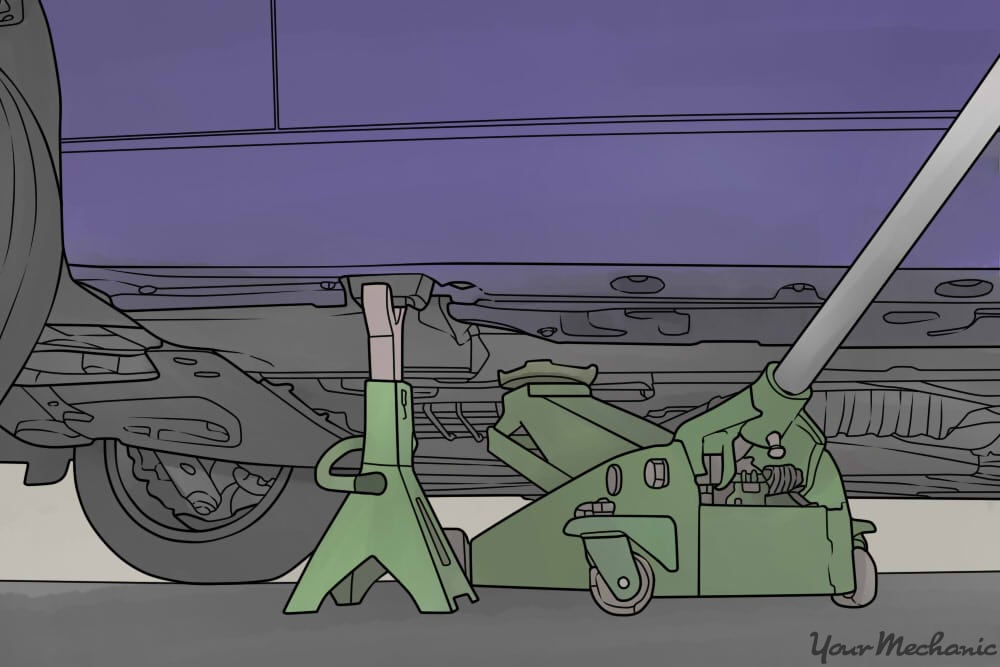
Step 1: Jack up the car. Making sure the car is in park or in first gear if it is a manual, set the brake and put wheel chocks under the rear wheels.
Jack the front of the car and place it on good jack stands. Working underneath a car is potentially one of the most dangerous things a home mechanic does, so you don’t want to take any chances that the car can shift and fall on you while you’re working underneath.
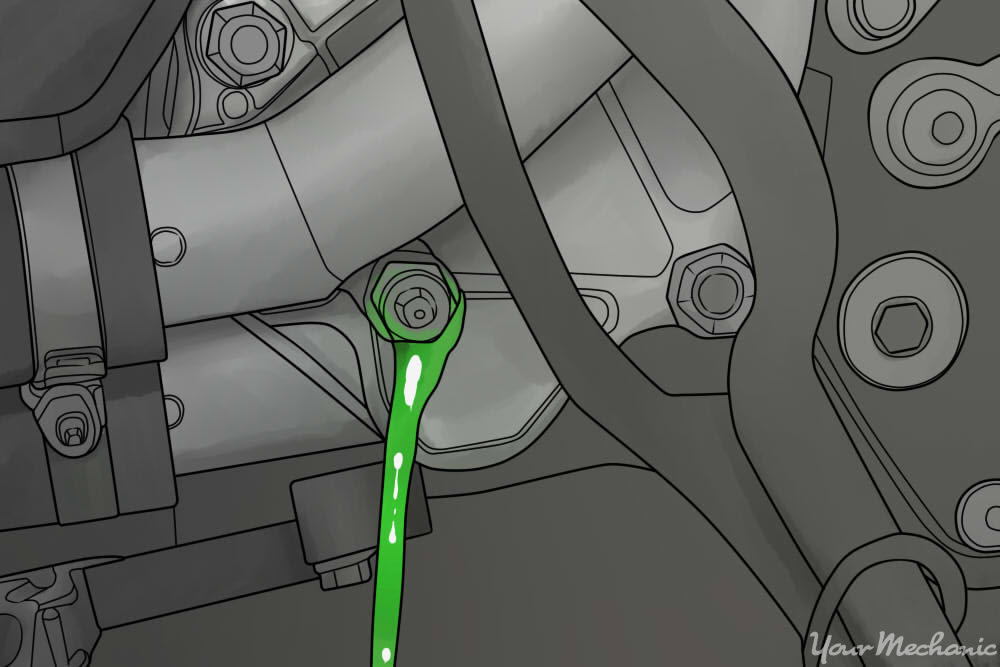
Step 2: Drain the coolant. Most cars run coolant through the intake manifold, so it will have to be drained before the manifold is removed.
There are a few types of engines that don’t have coolant passages in the intake. Your workshop manual can tell you if that’s the case.
Older cars had drain cocks or plugs in the radiators and engine, but many newer cars don’t have a drain in the radiator and most of them still have engine drains. Remove the radiator or coolant reservoir cap, locate the drains with your workshop manual, and let the coolant out into your drain pan. If your car doesn’t have a drain, you may have to loosen a hose at a low spot on the engine.
- Warning: Be sure you know where your dogs or cats are during this step Automotive antifreeze tastes good to them and they will drink it if they find a pan or a puddle of it and it will harm their kidneys. Drain your coolant from the pan into your gallon jugs to re-use it or dispose of it.
Part 2 of 4: Remove the intake manifold
Materials Needed
- Combination wrench set
-
Gasket scraper
-
Hose clamp pliers
- Screwdrivers, phillips and standard
- Shop vacuum
- Socket wrench set
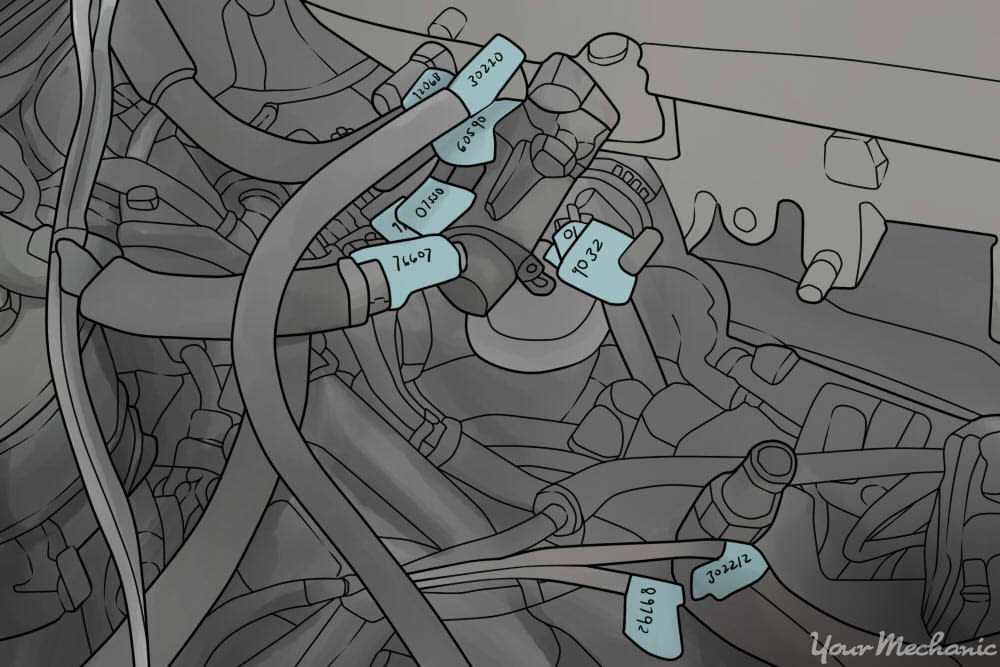
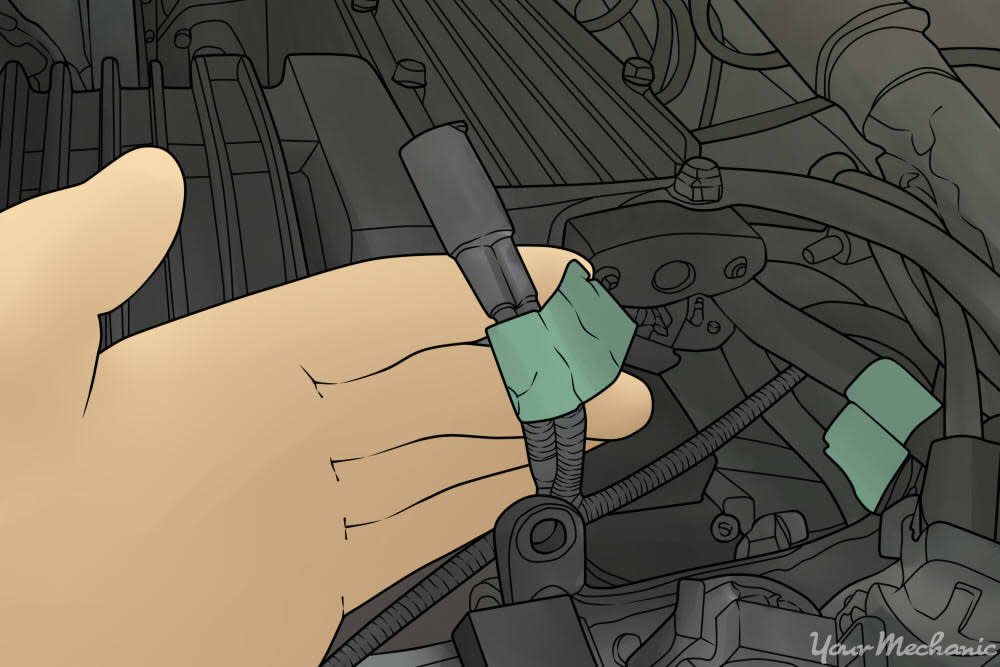
Step 1: Identify the hoses and wires. Intake manifolds usually have a plethora of hoses and wires connected to them at various locations.
Don’t just rip through there disconnecting them thinking you’ll remember where they go. The best thing to do is use tape or labels to match the hoses to their origin.
It may not be necessary to remove all the hoses and wires. If you can visualize having the manifold unbolted from the engine and facing upward where you can get to the gasket, it may be that some of the hoses and wires can remain attached provided you don’t have to pull on them too hard.
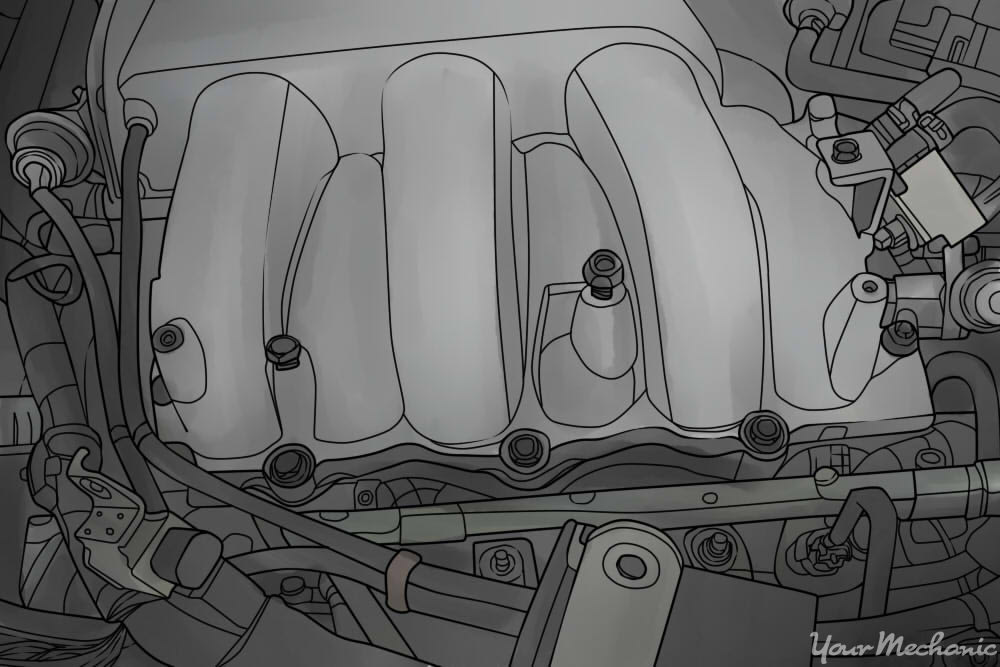
Step 2: Remove the fasteners. Locate and remove all the fasteners attaching the intake to the engine.
If your engine is a V type, they will probably all be on top. In that case, check your workshop manual, as there will be a recommended sequence for loosening the bolts. Inline 4’s and 6’s have the manifold hanging off the side, so there may be some bolts that have to be reached from underneath the car. There will likely also be a bracket supporting the intake to be removed.

Step 3: Remove the intake manifold. The gaskets will probably be sticky, so it will probably be necessary to gently pry the intake off of the cylinder head.
If it puts up too much of a fight, go back and be sure all the fasteners are out. This is a very tricky step, because it’s so easy to have foreign objects fall into the intake or into the ports at this time. Tools, nuts, washers, or debris can easily find their way into the engine without you realizing it, causing serious engine damage on start-up.
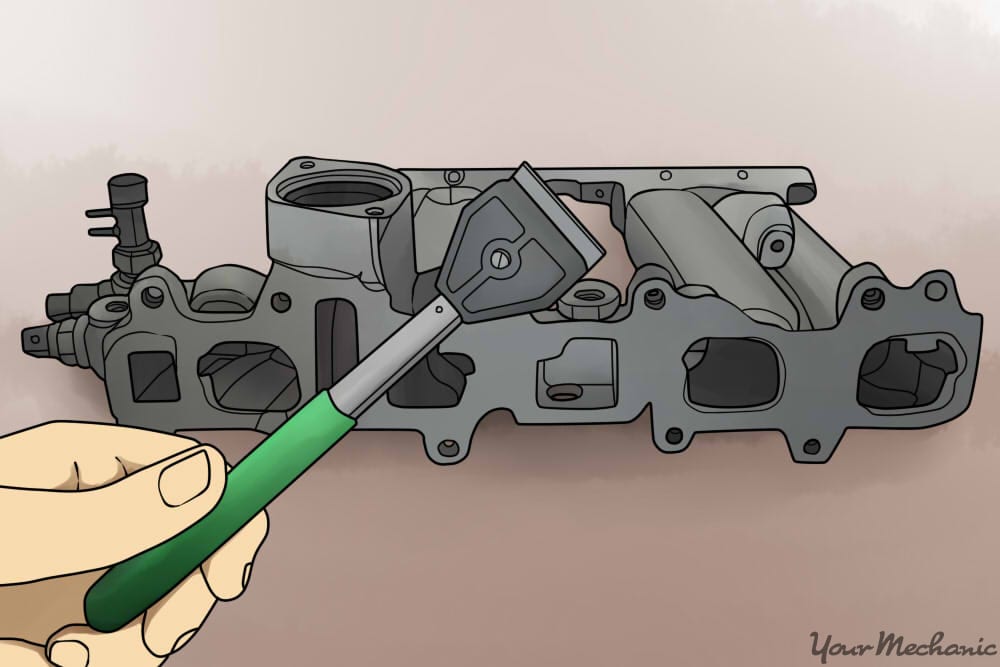
Step 4: Clean the gasket surfaces. Using your gasket scraper, remove all traces of the old gaskets from the intake and the cylinder head.
The surfaces have to be clean to make a good seal. This is a time when there is a danger of getting debris in the engine. Put tissues in the intake ports and in the ports on the manifold to prevent any debris from making it into the engine. When you are done, use your shop vacuum to suck up the tissues along with the debris.
Part 3 of 4: Reinstalling the intake
Materials Needed
-
Hose clamp pliers
- New intake gasket
- Screwdrivers: Phillips and straight
-
Sensor safe RTV sealer
- Socket wrench set
- Torque wrench
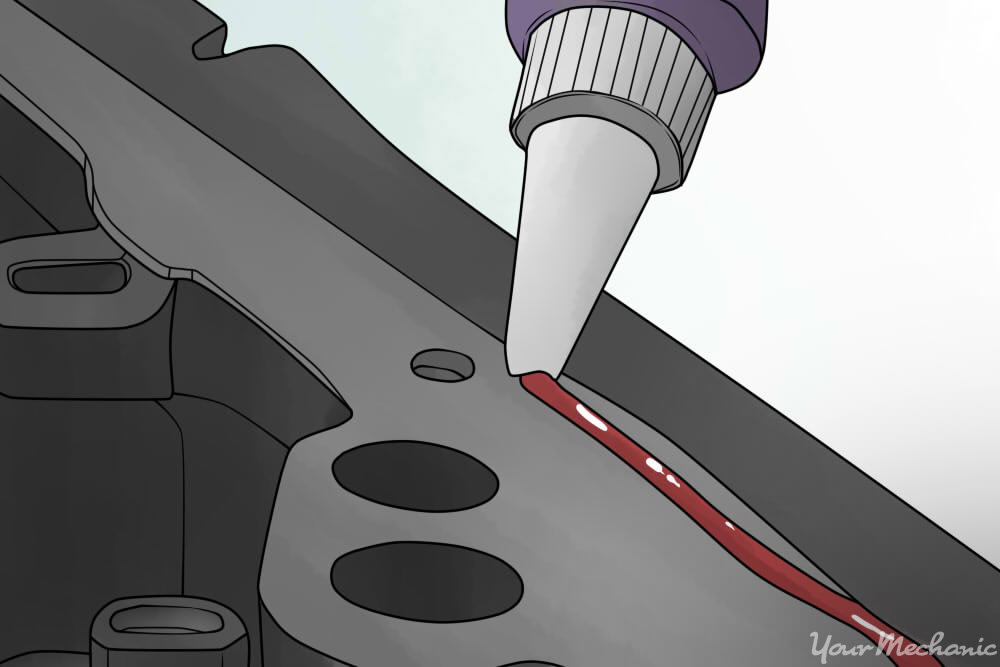
Step 1: Apply sealant. Applying sealant is a judgement call; it’s not always required.
Your workshop manual can help with this. In some cases it may only be recommended around the coolant or oil passages. If the gasket has rubber O rings, gasket sealer won’t really be helpful. If you do use sealant, it must say on the label that it is oxygen sensor safe. Some silicone based sealers emit fumes that can damage the engine oxygen sensor when the engine starts.
Step 2: Install the gasket. If you are lucky, there will be some studs or dowel pins to hang the gasket on.
If not, you can apply a few dabs of sealer to stick the gasket to the engine. Make sure it’s not going to move when you install the manifold.
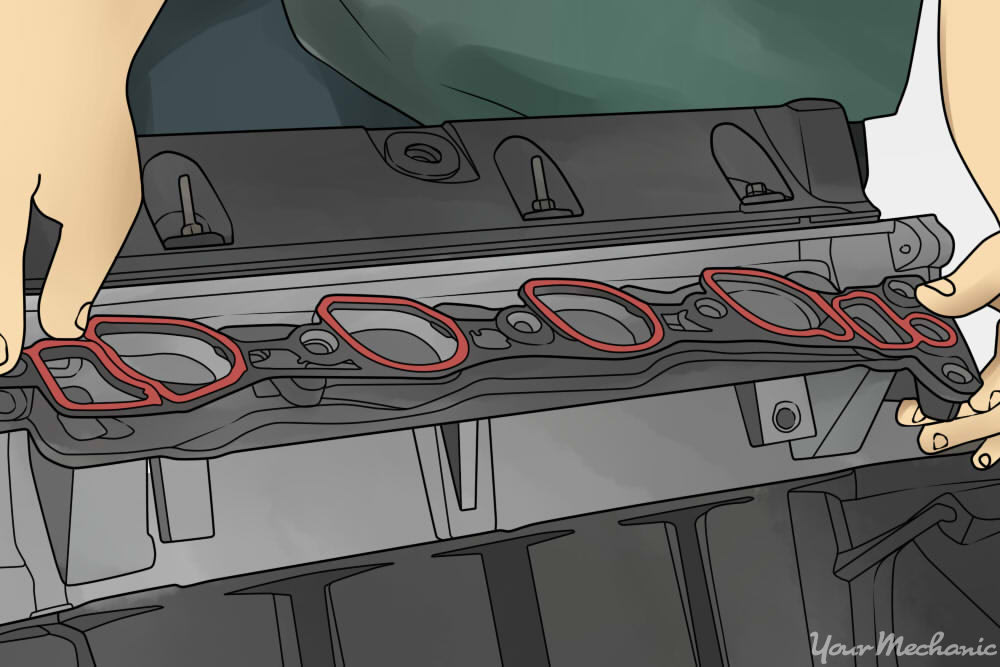
Step 3: Install the manifold. Carefully reinstall the manifold onto the engine.
It may be heavy, so get some help if you need it. When the manifold is lined up to the engine, start a couple of bolts to hold the gasket in place while you get everything situated. Install the fasteners and tighten them up evenly.
Your workshop manual may have a special sequence for tightening the bolts. Torque them to the factory specification. Install and tighten any bolts to brackets that hold the manifold.
Step 4: Reinstall hoses and connections. Following your earlier system of identification, reattach the various hoses and wires to the intake.
Tighten up any coolant connections you’ve undone and install the drain plugs that you took out. Check carefully that there are no hoses and wires that haven’t found a home.
Part 4 of 4: Fill and bleed the cooling system
Materials Needed
-
Coolant
- Funnel
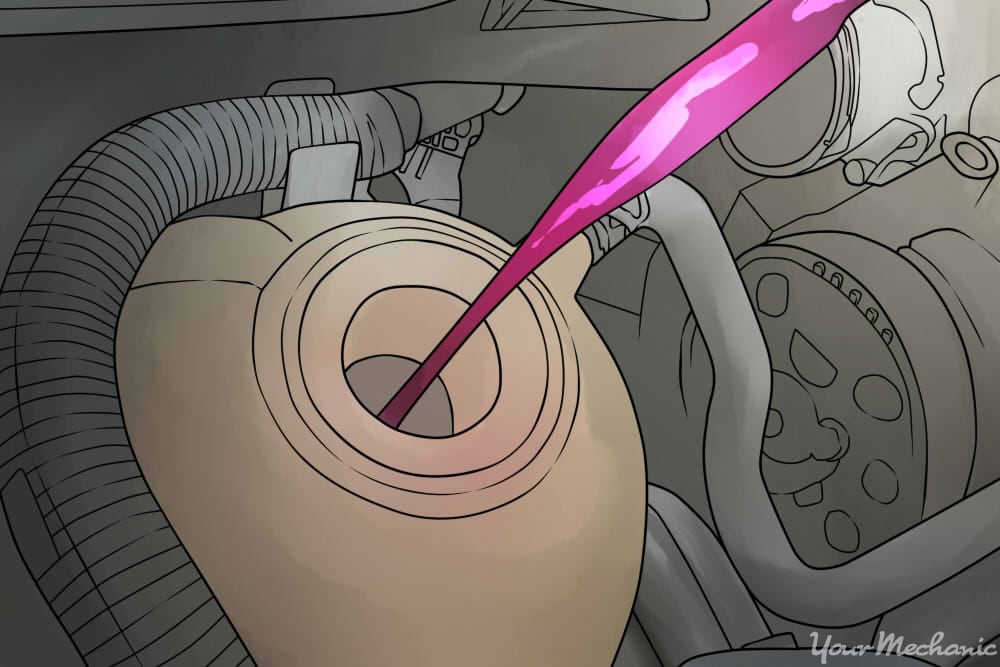
Step 1: Fill the system. If there is a coolant bleeder, open it up.
If not, remove a heater hose at a high spot on the engine and pour the coolant in through the reservoir. If the coolant you drained out is more than two years old, replace it with fresh coolant. Keep pouring until coolant runs out of the bleeder or the hose that you disconnected.
Step 2: Set the car’s heater on high. Set the temperature control to high, as this will ensure that coolant can circulate through the car’s heater core.
Step 3: Start the engine. Bring the car to operating temperature.
This will take a few minutes. Keep checking the reservoir and continue to top it off as the level decreases. When the engine has fully warmed up, you should feel heat coming out of the heating vents; if not, continue to run the car until you do. This is how you know that the system is really full.
Step 4: Install pressure cap. When the car is fully warmed up and the coolant is at the correct level, install the pressure cap on the reservoir.
Step 5: Finishing the job. Take the car off the jacks and take it out for a test drive, watching the temperature carefully.
It’s easy not to get the cooling system fully filled the first time. If you need to top it off, be sure to park the car and let it cool off before opening the reservoir cap.
Replacing a manifold gasket can be a daunting job, especially because of the danger of making a small mistake that can ruin your engine. If you don’t feel confident doing the job yourself, have one of YourMechanic’s certified technicians come to your home or business and perform a intake manifold gasket replacement for you.