
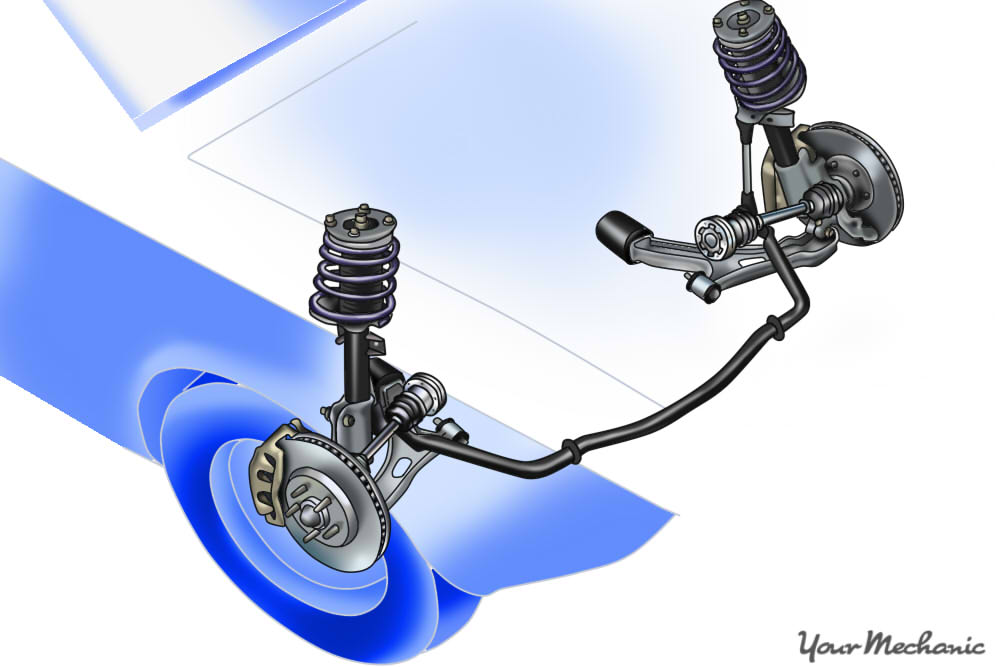
The Constant Velocity (CV) boots cover the CV joints and protect them from outside debris. They also keep the grease inside the joints for lubrication.
Usually, when CV joints are damaged, you will hear a “clicking” or “knocking” sound when making turns. This is a sign that the whole CV axle needs to be replaced. If no noise is present and only the CV boot is broken, you can replace just the CV boot.
- Tip: Before you install a new axle, check the CV joints (even when the boot is broken) and see if they are worth saving. If you need to replace the CV axle completely, the new CV axle will come with the boots already installed.
Materials Needed
- Box cutter knife or single side blade
- Bucket
- Clamp boot pliers/cutters
- Gloves
- Hydraulic jack
- Lug nut wrench
- Parts cleaner
- Rags or paper towels
- Safety stands
- Safety glasses
- Wheel chocks
Part 1 of 4: Secure the vehicle and remove the wheel
Step 1: Engage the emergency brake. Ensure that your car is secured so that it doesn’t roll backwards when it is being lifted.
Step 2: Secure the rear wheels. Place the wheel chocks behind the rear wheels for extra security.
- Tip: If you happen to be working by yourself, now would be a good time to loosen the lug nuts by 2 turns. Once the car is lifted, it would be harder to loosen the lug nuts.
Step 3: Lift up the vehicle. Locate the side that needs the replacement CV Boot and proceed to lift the vehicle. Every vehicle has jacking points in the underbody/body frame. You can lift the vehicle properly by using a hydraulic jack at these points.
- Note: Lifting the car in a improper body frame location could damage the undercarriage so always ensure that you find the right jacking points.
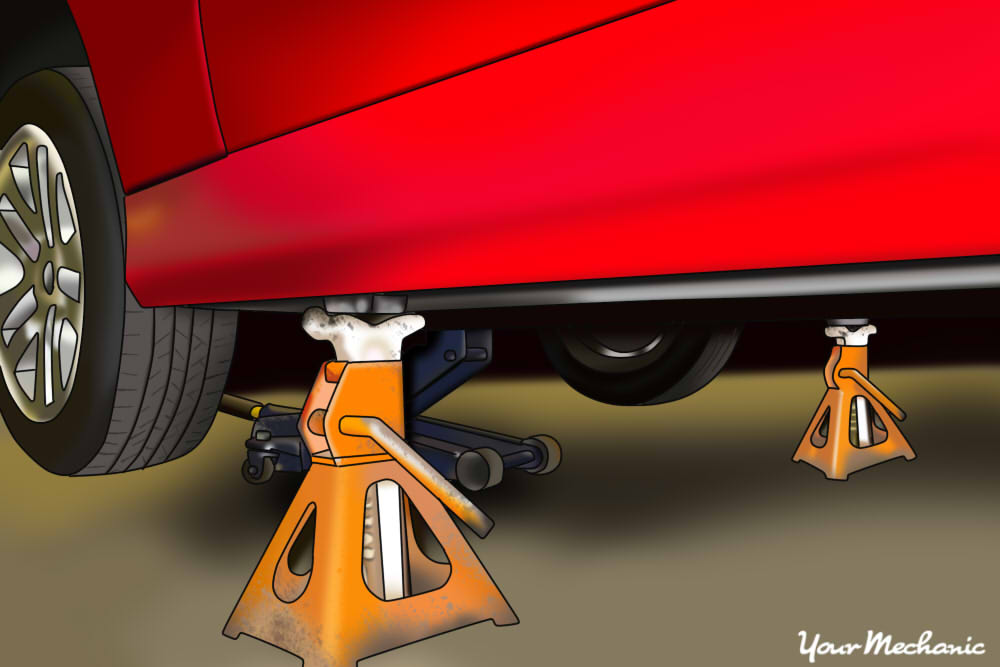
Step 4: Secure the vehicle with safety stands. Put the safety stands under the vehicle at the appropriate positions on the body frame to support the weight of the vehicle properly.
Remember to lift your vehicle as much as possible to give you the clearance needed to work under it.
- Warning: Never work under any car or truck before having the safety stands in place.
Step 5: Remove the wheel. Use the lug nut wrench to remove the wheel. Ask someone to get inside the car and apply pressure on the brakes while you loosen the lug nuts.
Part 2 of 4: Remove the worn/broken CV boot
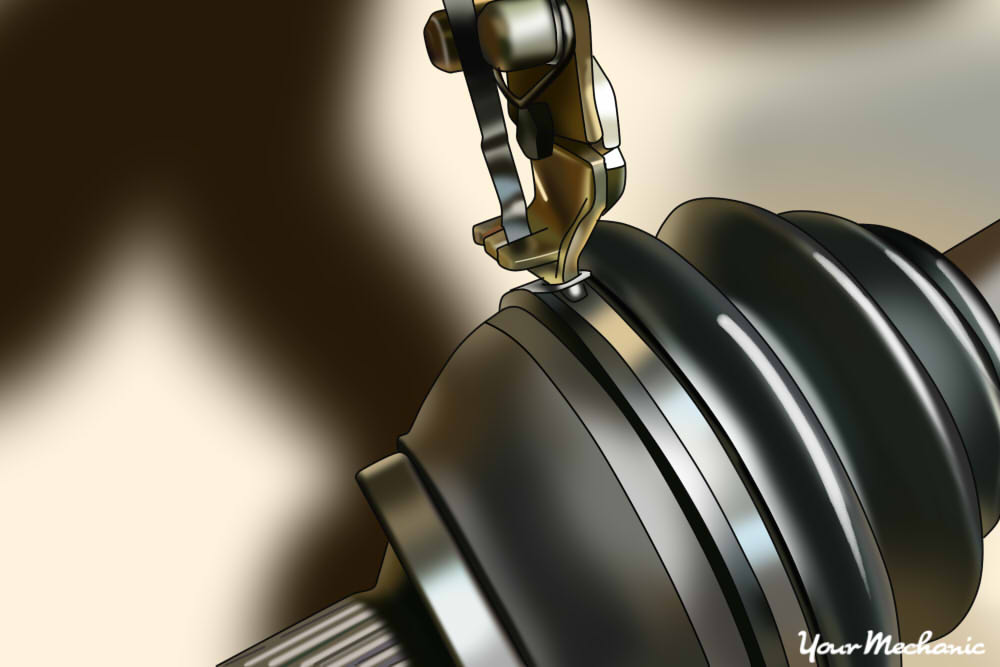
Step 1: Remove the metal clamps. Use the clamp cutters to remove the metal clamps. There is one clamp on each end of the rubber boot.
- Tip: If you look closely, there will be grooves on the axle and CV joint area to specify where the boot and clamp hold down to.
Step 2: Cut off the old rubber boot. Once both clamps are removed, proceed to cut the old CV rubber boot with the box cutter or blade.
- Tip: Always start to cut from the edge closest to you towards the opposite end. This is a safe way to avoid injuries.
Part 3 of 4: Clean the axle and joints
Step 1: Prepare to clean the joints. Place a bucket underneath the area you will be cleaning to avoid staining floors.
Always wear gloves and safety goggles.
Step 2: Clean the axle and joints. Use the parts cleaner agent to remove the old grease and debris.
Use the rags or paper towels to eliminate any residue that is left. Discard the used towels/rags into bucket.
Part 4 of 4: Install the new CV boot kit
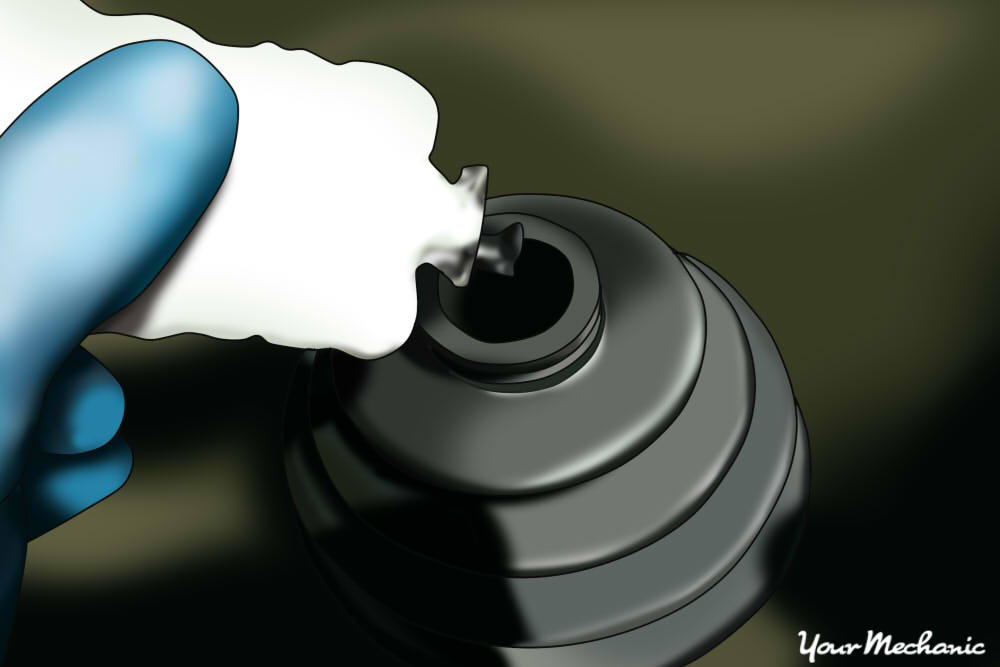
Step 1: Grease the joints. Grease packages are included with purchase of CV Boot Kit. Proceed to cut one tip off any end of the grease bag and apply it onto the areas. Apply new grease onto CV joints and part of the axle.
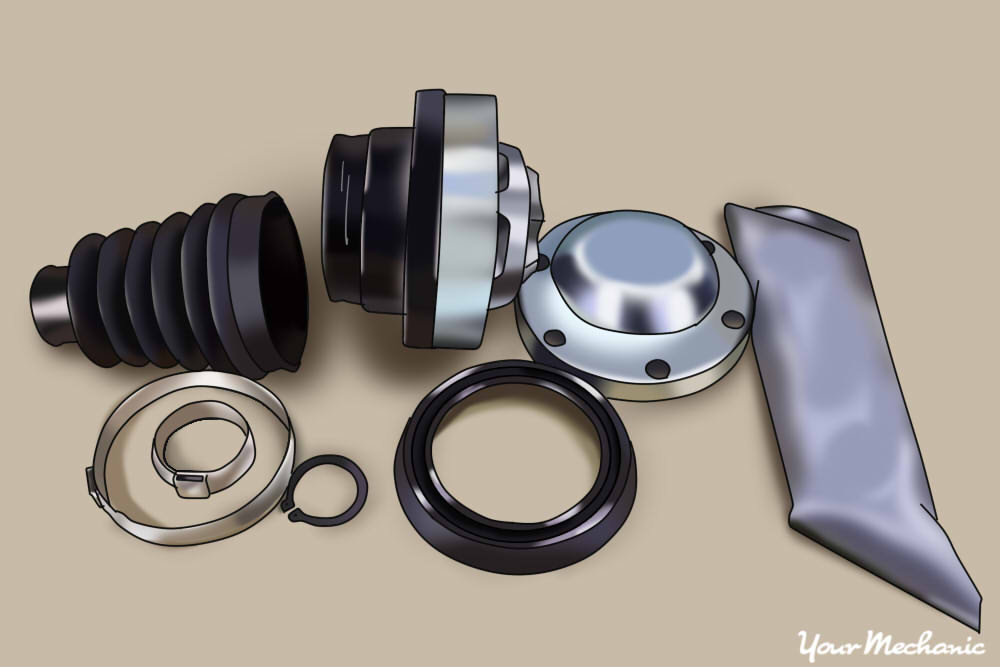
Step 2: Install the new boot. CV boots come with pre-cut grooves that you just need to open and install the boot over the axle area. Once it is over the axle area, apply the glue supplied with the boot kit and stick both ends of the boot together.
As soon as it dries up, the glue becomes as flexible as rubber.
Step 3: Grease the inside of the new CV boot. Try to fill the CV boot with as much grease as much as possible. This will prevent any future damage to the joint areas.
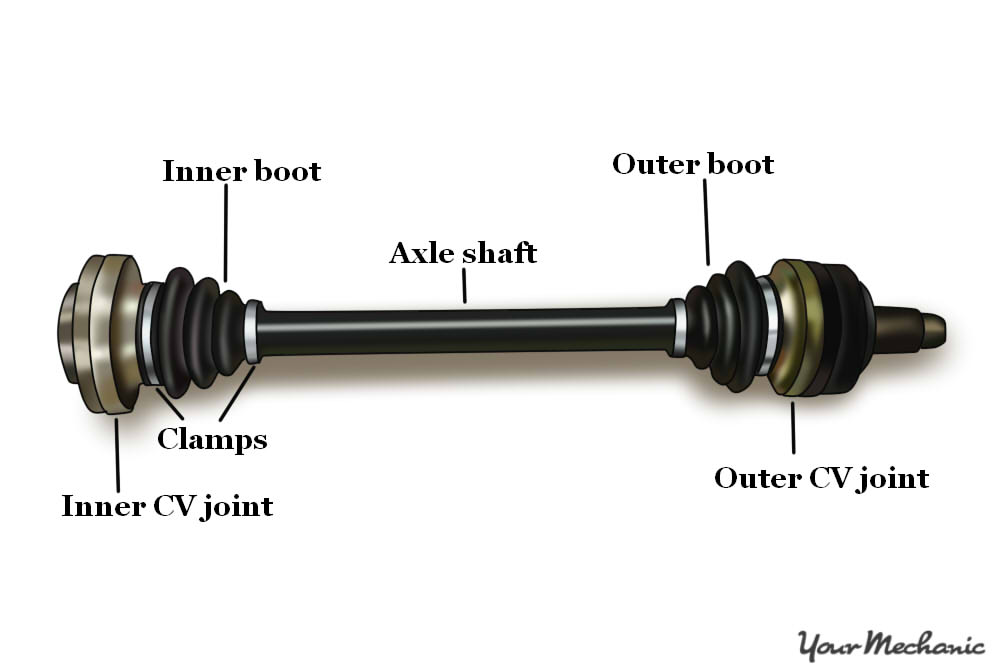
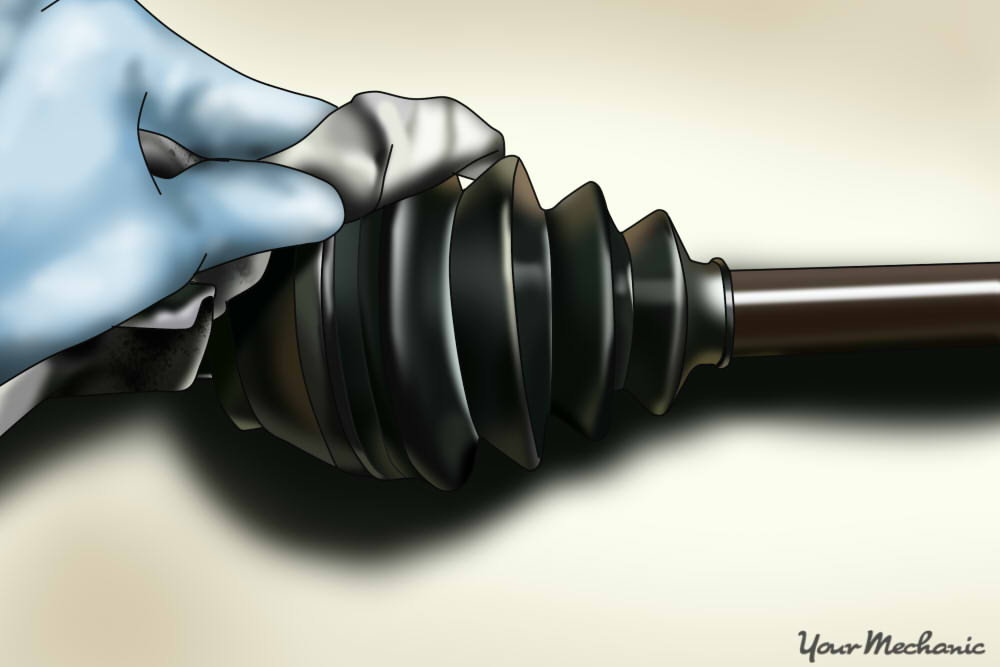
Step 4: Move the new CV boot into place. Notice that the smaller end of the CV boot goes on the axle shaft area and the larger opening goes over the outer CV joints.
If you look closely enough, you will notice that there are grooves to indicate where the boot holds in place on both ends.
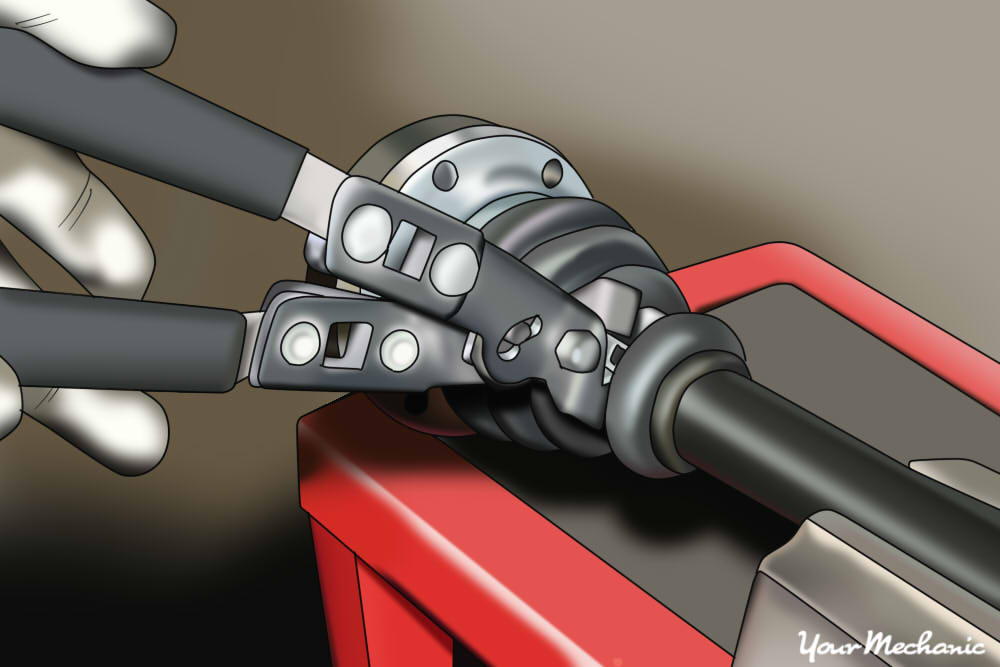
Step 5: Install the clamps. Once the CV boot is in place, proceed to install the metal clamps. Use the clamp pliers to hold them in place.
Now that everything is complete, proceed to re-install your tires, remove the safety stands and remember to disengage the emergency brake before driving.
If at any point you are unsure of any of the steps or if you have a newer, more complicated vehicle, one of our top-rated, mobile mechanics can perform a CV Boot change at your home or office.