The radiator and coolant system on most cars, trucks and SUV's sold in America today are extremely simplistic in design and function. Coolant is placed into a radiator and is circulated through the engine block, absorbing heat from the metal pieces inside the motor that create horsepower.
Once the coolant returns to the radiator, it is circulated through multiple chambers to cool down and repeat the process continuously. However, one fact about coolant is that it expands as it gets hotter. The coolant overflow reservoir is designed as a relief valve of sorts that stores extra coolant for the radiator.
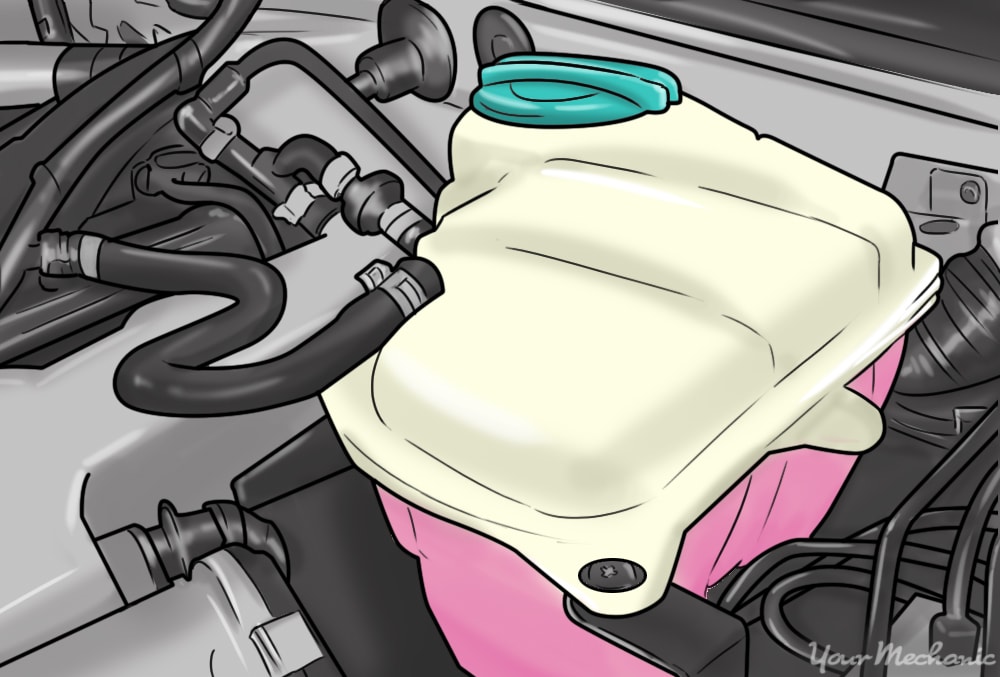
Most coolant reservoirs are made of out of durable plastic and are mounted on the upper right hand side of the engine compartment. The coolant reservoir is an integral part of the system, and since the coolant reservoir is a part of the entire cooling system, it's critical for it to be in working order every day.
However, due to its design, location and material, the coolant reservoir is also susceptible to wear and tear and in many cases may crack or develop leaks. If this occurs, you'll have to replace the coolant reservoir: a rather simple process that most DIY mechanics can complete without too many complications.
Part 1 of 3: Diagnosing a problem with the coolant reservoir
Before you make the decision to replace the coolant reservoir, it's very important for you to properly diagnose the symptoms to ensure that this part is the reason why you're experiencing problems. The coolant system has many individual components that must all work together in order to keep an engine running cool and strong. Any one of these components or several of them may fail and lead to a problem with the cooling system.
Noted below are a few of the warning signs that will alert you that the coolant reservoir is damaged and needs to be replaced.
Coolant is leaking under the motor: If you notice that there is coolant or what appears to be colored water under your vehicle, specifically under the passenger side engine compartment, this could be an indication that the coolant reservoir is damaged.
The leak could be coming from multiple sources including a loose coolant line that is connected to the reservoir, a crack in the coolant reservoir or the cap of the reservoir being damaged. The coolant level sensor light stays on: The coolant level sensor light comes on the dashboard in many of today's modern cars, trucks, and SUV's when the coolant level is low inside the radiator. However, if the coolant reservoir has coolant it naturally flows to the radiator to prevent this from occurring.
The most common cause of low radiator coolant is that it has leaked from the coolant reservoir, a radiator coolant line or the radiator itself. Make sure to inspect all coolant lines and the radiator for leaks before assuming it's the coolant reservoir tank.
Low coolant or engine overheating: When the radiator coolant level is actually low, air pockets may develop inside the coolant lines. This will typically create an overheating situation. In many cases, the low level of coolant is due to evaporation or a leak in the system. Check the radiator and coolant lines to verify they are not the cause of the leak before you replace the coolant reservoir.
- Note: Since all vehicles are unique, it's important to understand that the guidelines and instructions listed below are general instructions. Make sure to verify specific instructions with your vehicle manufacturer service manual before proceeding.
Part 2 of 3: Remove and replace the coolant reservoir
Every vehicle is unique and the location of the coolant reservoir may be specific to the vehicle manufacturer. Due to this fact, it's advised to purchase a service manual for your individual make and model to determine the exact location of the coolant reservoir and what ancillary materials you'll need to successfully complete this job.
Materials Needed
- Combination wrench set and extensions
- Coolant collection pan
- Flat head screwdriver
- Funnel
- Locking pliers
- New coolant
- Replacement coolant reservoir and clips
- Safety equipment including safety glasses and gloves
- Socket wrench set
- WD-40 or other penetrating oil
Work light
Note: The replacement coolant reservoir will vary according to different makes and models.
Tip: Anytime you work on the coolant system, the potential of being burned is very high. Coolant can maintain a temperature near boiling for a very long time and will burn your skin if exposed. This job should only be completed when the engine is cold and has not been running for a minimum of one hour. Make sure you wear safety glasses and gloves to protect your hands from hot coolant if the engine is not cold.
Step 1: Prepare the vehicle. The coolant reservoir is located on top of the engine compartment, and in some cases, may be tucked below.
However, it's relatively easy to reach so you won't have to jack up the car or place it on a vehicle lift. As an order of protection, you should place a coolant bucket under the coolant reservoir large enough in circumference to collect all the coolant that will spill when you remove the coolant lines that attach to this device.
Step 2: Spray WD-40 on any rusted bolts. There are only a few bolts that secure the coolant reservoir to the engine compartment.
However, due to the fact that water, coolant and other liquids can come into contact with these bolts, it's likely that they'll be rusted or extremely difficult to remove. In order to reduce the potential of breaking a stud or stripping a nut, make sure to spray the bolts securing the tank with WD-40 or another type of penetrating oil before beginning this job. The spray should settle for a minimum of 5 minutes before you attempt to remove the rusted bolts or nuts.
Step 3: Locate the coolant reservoir. The coolant reservoir should be located on the top of the engine compartment, typically on the passenger side.
Make sure you verify that this is the coolant reservoir and not the windshield washer reservoir that you're attempting to remove.
Step 4: Remove the bolts securing the reservoir to the engine compartment. On most US and foreign vehicles, there will be one or two bolts on the front of the reservoir that attacing it.
It's typically an 11mm bolt, but sizes will vary based on the manufacturer. Remove the bolt on the front that is holding the tank.
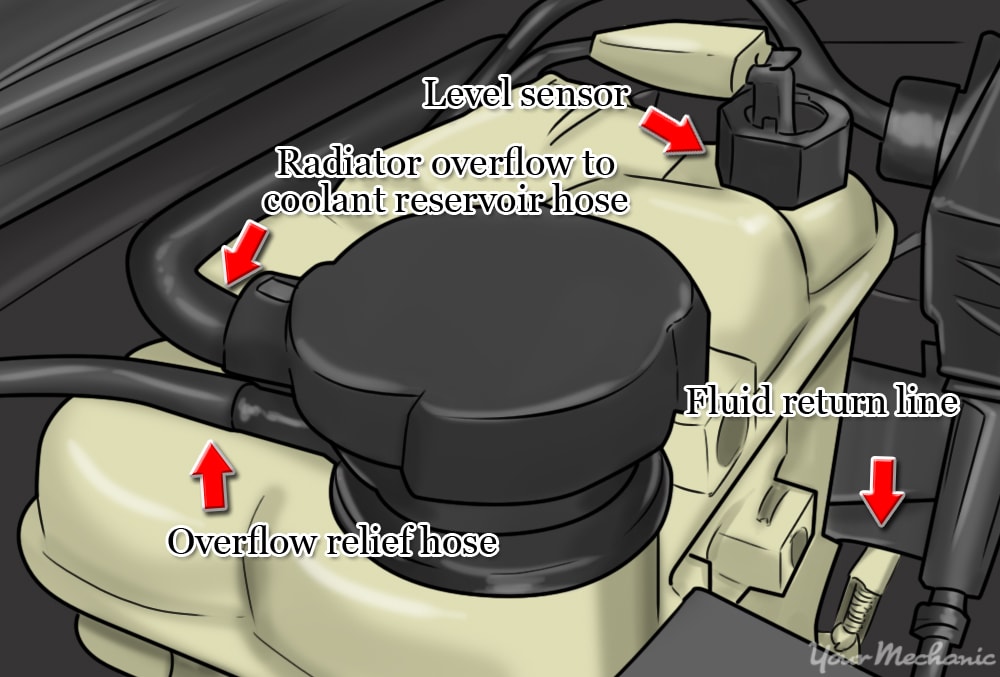
Step 5: Remove the two top hoses. There are two hoses on top of the coolant reservoir that need to be removed next.
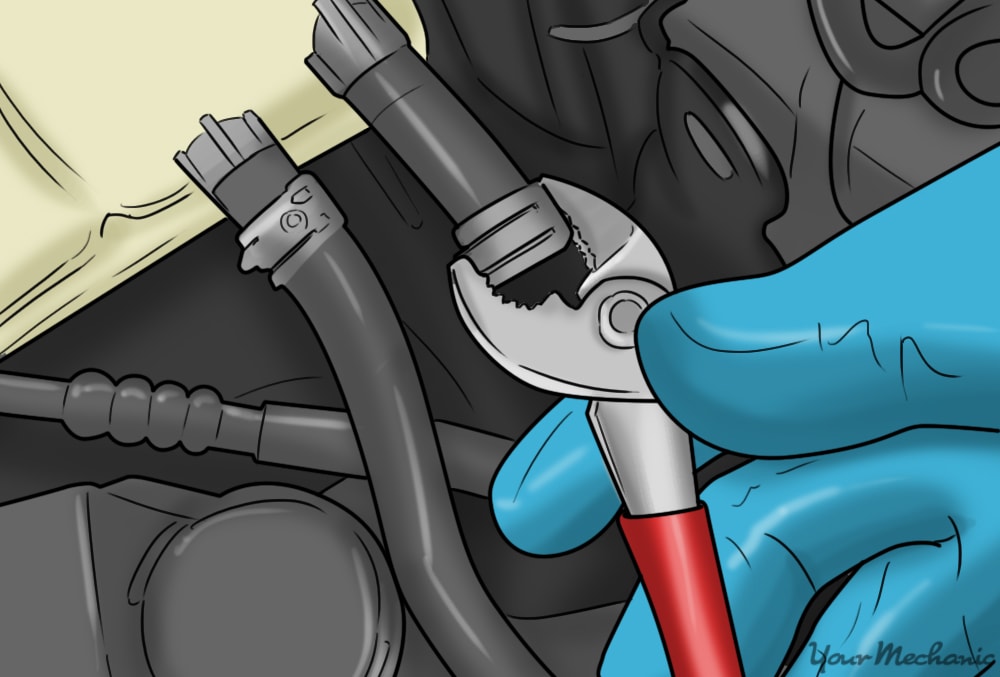
These hoses have clamps attached to them. Using a pair of pliers, close the teeth on the clamps (if they have the teeth clamp system) or unscrew the clamp with a flat screwdriver (if this type of clam is used). Using the pliers, make sure to slide the clamp off the lip where the hoses are attached to the tank.
Step 6: Pry the hoses off the reservoir tank fittings. Once the clamps have been moved back onto the hose, you'll need to use a very thin, flat head screwdriver to pry the hose clamps off the fitting.
Make sure to carefully pry the hose off without piercing the hose.
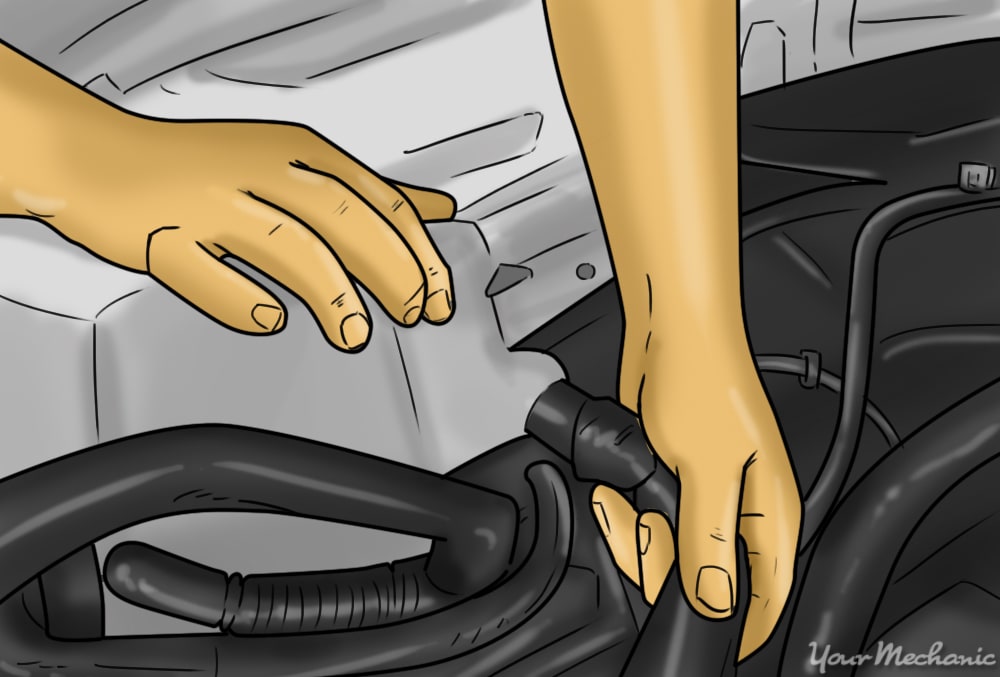
Step 7: Remove the bottom coolant hose. On the bottom of the tank , there is a larger circumference coolant hose that runs to the radiator.
This hose is typically secured by the same type of clamp as the two hoses on top of the reservoir. Using the same technique as above, loosen the clamp holding the hose and slide it down the hose until it is far from the connection.
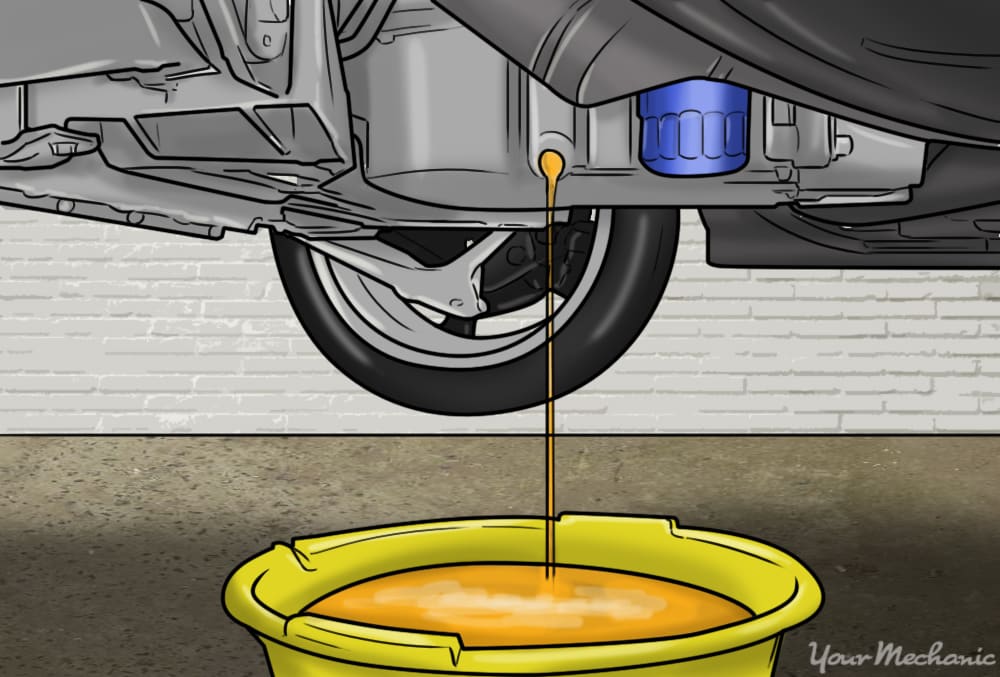
- Tip: Before completing the above step, make sure you have coolant buckets located under the area where you are working, especially if there is coolant still inside the coolant reservoir. When you remove the hose on the bottom, you will lose the majority of coolant inside the tank.
Step 8: Pry the hose off the bottom fitting. Do this as instructed above with top fitting.
Step 9: Remove rear clip from coolant reservoir. On most coolant reservoirs, there will be a clip that secures the reservoir to the rear of the engine compartment.
In some cases there will be a metal strap that holds the coolant reservoir on the engine compartment as indicated in above. In this case, you'll need a long, flat blade screwdriver to pry the clip off the reservoir. Simply slide the screwdriver in between the tank and the clip and pry forward. The clip should pop off without trouble.
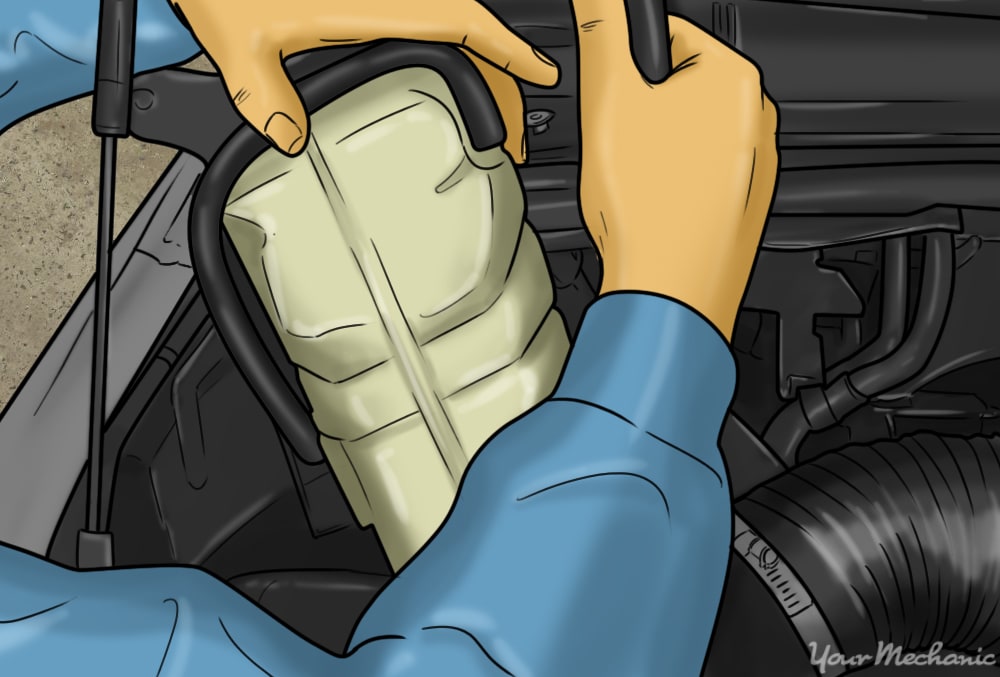
Step 10: Remove the old coolant reservoir from the engine compartment.
Step 11: Clean the area underneath the old coolant reservoir. Since the old reservoir is gone, this is a good opportunity to clean any coolant, debris, dirt or gunk that may be under that area.
When you reinstall any new part, it's critical to ensure the area is clean to make sure the new part secures solidly to the engine compartment. Clean all hoses and connections before reinstalling them as well.
Step 12: Reinstall the new tank. Before you reinstall the new coolant reservoir, make sure to visually verify that the new tank is the same shape, size, and has the same fittings as the older tank.
If it is different, double check with the parts supplier and verify that the connections and hose fittings are identical.
Step 13: Attach bottom hose to coolant reservoir. The bottom hose needs to be installed before trying to secure the tank to the engine compartment.
Using new coolant, lubricate the outside of the bottom male fitting on the tank and inside of the hose where it will attach to ensure easy application then slide the bottom hose on the male fitting indicated on the image above.
Step 14: Slide clamps onto the hose and fitting. Using a pair of pliers, close the teeth of the clamp and slide the clamp to the base of the tank and release the pliers to close the clamp securely.
If you have a screw type clamp, place the clamp on the base of the tank and tighten.
Step 15: Reattach two top hoses. Utilizing the same process as indicated in step 11 and 12, secure the left and right top hoses to the new coolant reservoir.
Step 16: Snap new tank onto rear clamp fitting. This step is for those that have a reservoir tank that has a clamp attachment as displayed in the image above.
Place the tank on the clamp attachment and press firmly until the clamp "snaps" into place.
Step 17: Secure coolant reservoir. Secure with bolts to the engine compartment.
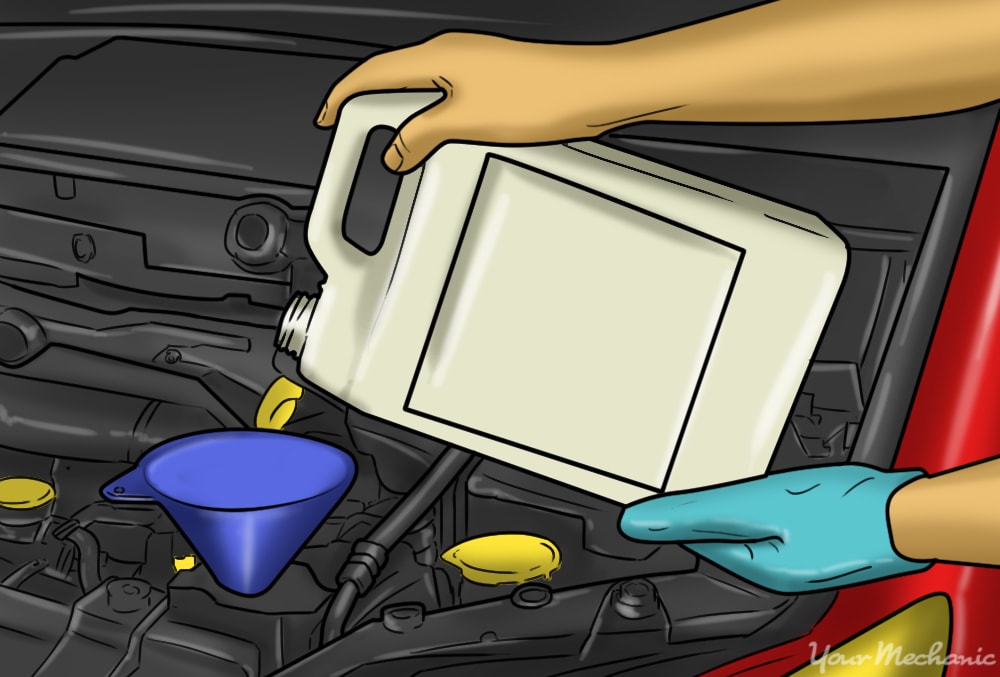
Step 18: Fill coolant reservoir. Each manufacturer has individual recommendations on the type of coolant that should be used as well as how high to fill the reservoir.
Follow these guidelines but ensure you fill the reservoir to the top of the full indicator line before attempting to start the vehicle.
Step 19: Check with manufacturer about priming coolant system. In some cases, your vehicles coolant system will need to be primed to avoid bubbles or air pockets inside the coolant lines. Make sure to check with your vehicle manufacturer if this is the case and prime the system as recommended before starting the vehicle.
- Warning: Many newer cars, trucks, and SUV's have coolant systems that require a priming step. This is unique and specific to each vehicle manufacturer, so it's vital that you contact your automotive manufacturer and receive the precise process for priming the coolant system. Failure to do this may result in air bubbles being trapped in the coolant system and overheating problems.
Part 3 of 3: Test drive the vehicle
After you've successfully replaced the coolant reservoir, you need to start the engine, check for leaks, and refill the radiator fluid in most cases before you test drive the vehicle. The best way to complete any road test is to have a planned route that will bring your engine to proper operating temperature and open the thermostat of your radiator.
Step 1: Start the vehicle. Let it warm up to operating temperature.
Step 2: Check for any leaks. Look for leaks from the coolant reservoir or coolant lines attached.
Step 3: Check to see if the check engine or low coolant level light is illuminated. If it is, turn off the engine and check the coolant level inside the reservoir.
If the light is on, the coolant reservoir should be empty. Fill with coolant and restart the engine to ensure the light comes off.
Step 4: Make sure to drive the vehicle until you hear the radiator fan come on. Once you do, return home while keeping an eye on the thermostat or engine temperature.
Step 5: Check coolant level. Once the vehicle has cooled for a minimum of one hour, check the coolant level inside the reservoir and fill if needed.
If you've completed this replacement correctly, you should be good to go for many years with a new coolant reservoir tank. However, if you are not 100 percent confident in completing this job on your own, contact one of YourMechanic’s professional and local ASE certified mechanics to complete a coolant reservoir replacement easily and affordably.