
Oil leaks are a very common problem that affects many car owners. Virtually all modern engines use some sort of oiling lubrication system, and a compromise in the sealing of this system will result in an oil leak. Whether it be the classic puddle in the driveway or the more dramatic smoke coming from the engine bay, an oil leak can present itself in a number of ways. An oil leak should be acknowledged with proper initiative in order to prevent other potential problems from developing.
Engine oil protects the engine from metal-on-metal contact, which can often result in permanent damage - so major care should be taken with oil leaks, especially if they are substantial in nature. Often, it may not be obvious where an oil leak is coming from, but with a little bit of effort you may be able to find the source of an oil leak and take appropriate action.
There are two common methods for detecting oil leaks. Both focus on utilizing visual aids to make the location and nature of the leak easier to determine and address properly. The first method simply involves using talcum powder as a visual aid to help pinpoint the location of an oil leak. The second, more technical method involves using UV dyes and lights to find the location of the leak. In this article, we will guide you step-by-step through both methods.
Method 1 of 2: Using talcum/baby powder to help locate an oil leak
- Note: This method works best for oil leaks coming from the upper part of the engine, but can work on any part of the engine where the powder can be applied.
Materials Needed
- Basic set of hand tools
- Flashlight
- Jack and jack stands
- Powder, talcum or baby
- Safety glasses
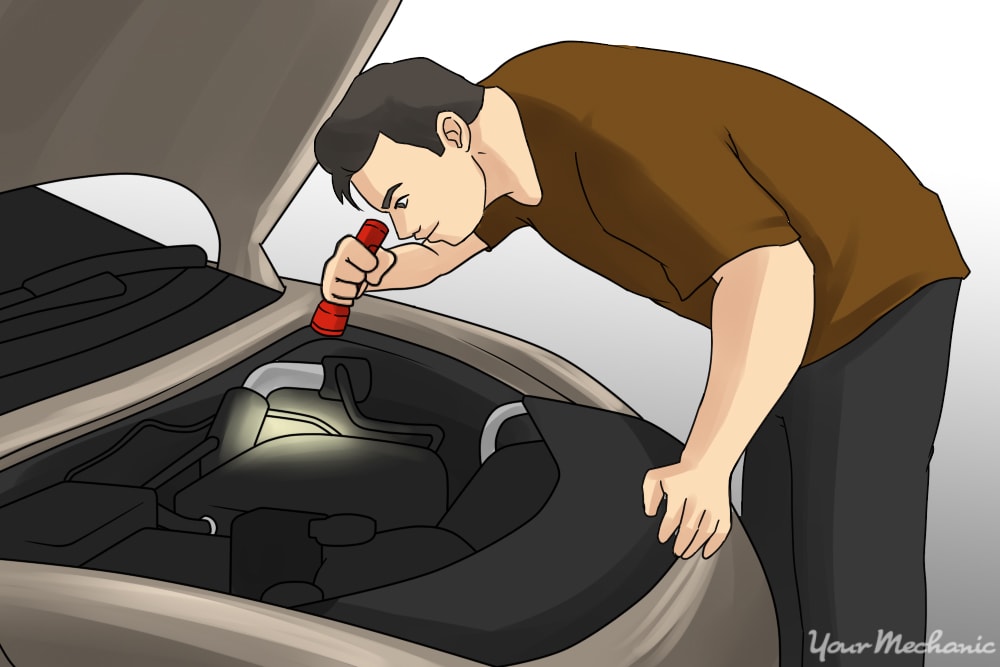
Step 1: Open the hood and visually inspect the top half of the engine for leaks. Conduct a thorough visual inspection of the motor to locate any suspect areas from which the leak may be originating.
Use the flashlight to help illuminate darker or lower parts of the engine. If need be, remove any plastic covers or trim that may be obstructing your view --this may require the use of hand tools.
Conduct as thorough an inspection as possible, looking specifically for any signs of fresh oil leakage, usually indicated by wet or shiny areas.
If the leak does not appear to be coming from the top half of the engine, it may be that the leak is coming from a lower part of the engine.
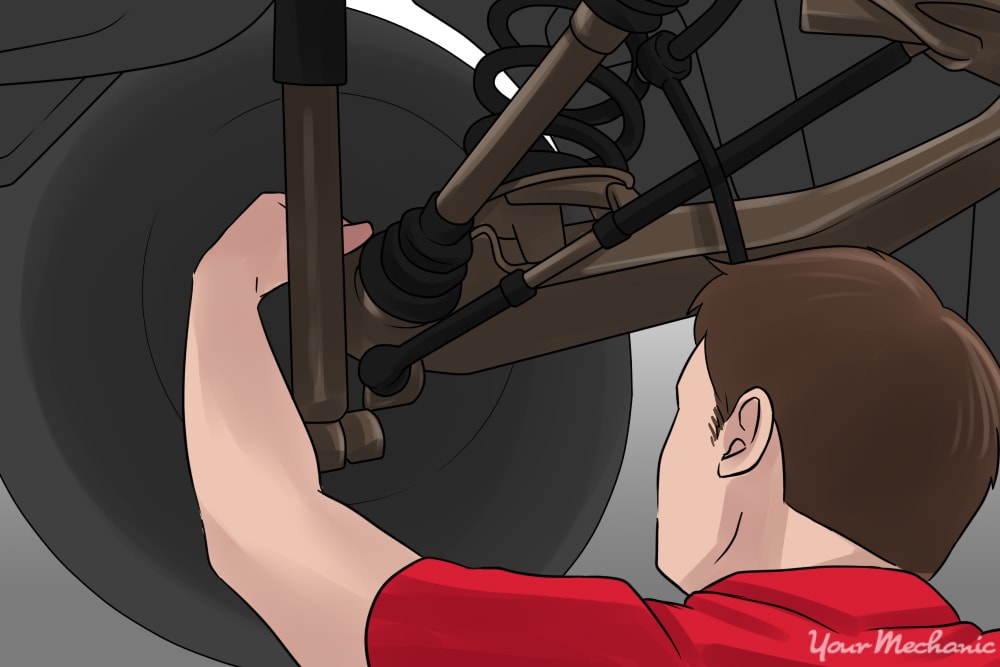
Step 2: Inspect the lower part of the engine for leaks. Raise the vehicle and secure it on jack stands.
Conduct a thorough inspection of the lower half and underside of the engine. Using the flashlight, look closely for any especially wet or shiny spots that could indicate the origin of the oil leak.
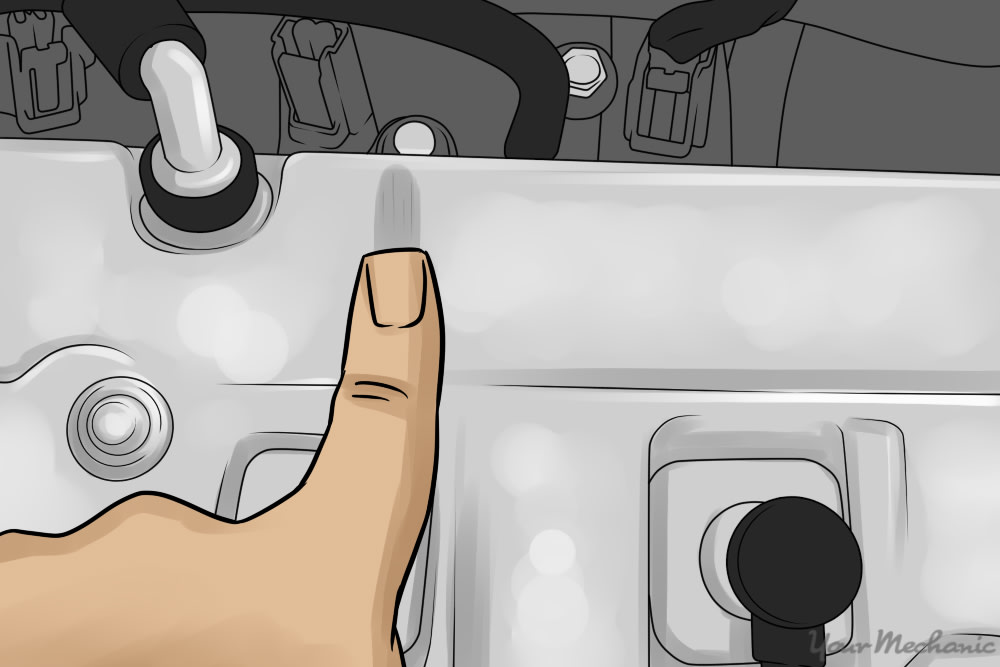
Step 3: Apply talcum powder to any areas identified as possible leak origins. Once any areas suspected to be potential origins of the leak have been identified, apply the talcum/baby powder liberally to these areas.
The talcum powder will act as a visual aid to help locate where exactly the leak is coming from.
Be generous in the application of the powder, as you want to be able to see a clear contrast between the powder and the oil from the leak.
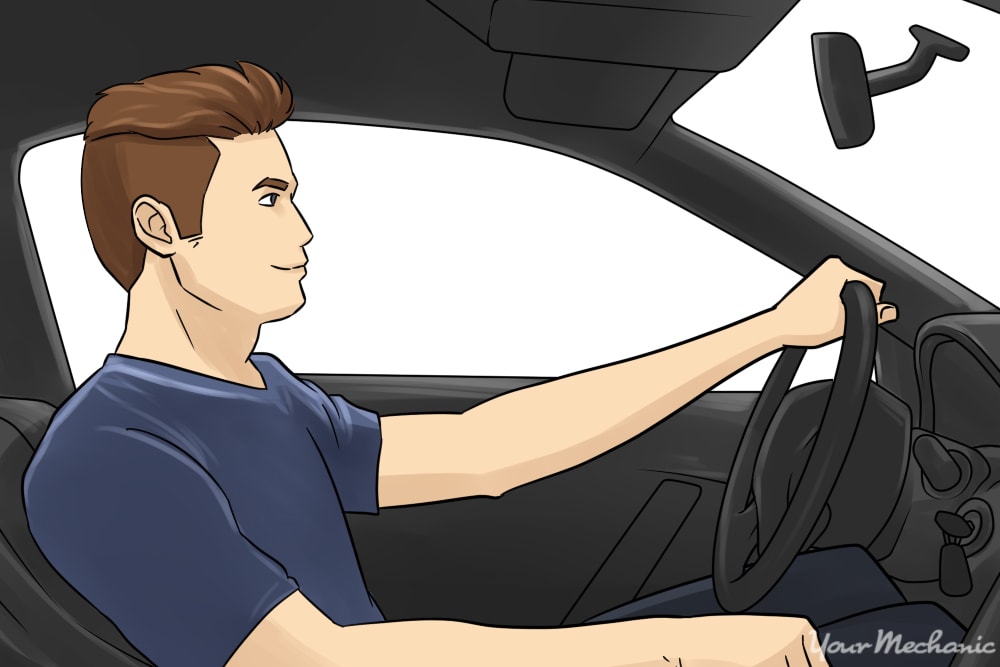
Step 4: Drive your vehicle to allow the leak to continue. Drive the vehicle on the street for 20 minutes.
This will allow the oil to leak onto the talcum/baby powder that was applied, and hopefully give a visual indication of where the leak may be coming from.
Step 5: Inspect all areas where talcum/baby powder was applied. Perform another thorough visual inspection of all the areas where you applied the talcum/baby powder.
Look for any signs of fresh oil leakage, which will appear as wet stains contrasting against the white powder.
- Tip: Sometimes with smaller leaks, the vehicle may need to be driven for a longer period of time, or allowed to sit for a few hours before the leaks will present themselves. Consider this if you are unable to find any obvious signs of the leak.
Step 6: Address the leak. Once the source of the leak has been identified, take measures to have the leak addressed.
In some cases, the engine could possibly be at risk for serious damage due to low oil levels resulting from the leak, so it is best to address oil leaks promptly to prevent them from becoming a potentially bigger problem.
Method 2 of 2: Finding the source of an oil leak using a UV dye and UV flashlight
There are some instances when the powder method can be inconclusive, or the leak is coming from a place where powder cannot be properly applied, such as in tight crevices behind the engine. In this case, you may use a UV dye and UV flashlight as visual aids to find the leak. This method does require the use of specialized tools; however, it is a much more conclusive test when trying to locate the source of an oil leak.
Materials Needed
- Basic set of hand tools
- Jack and jack stands
- Safety glasses
- UV dye, automotive grade
- UV flashlight
Step 1: Open the hood and visually inspect the top half of the engine for leaks. Conduct a thorough visual inspection of the motor to locate any suspect areas from which the leak may be originating.
Use the flashlight to help illuminate darker or lower parts of the engine. If need be, remove any plastic covers or trim that may be obstructing your view --this may require the use of hand tools.
Conduct as thorough an inspection as possible, looking specifically for any signs of fresh oil leakage, usually indicated by wet or shiny areas.
If the leak does not appear to be coming from the top half of the engine, it may be that the leak is coming from a lower part of the engine.
Step 2: Inspect the lower part of the engine for signs of an oil leak. Raise the vehicle using the jack and secure it on jack stands.
Conduct a thorough inspection of the lower half and underside of the engine. Using the flashlight, look closely for any especially wet or shiny spots, possible sources or clues to the origin of the oil leak.
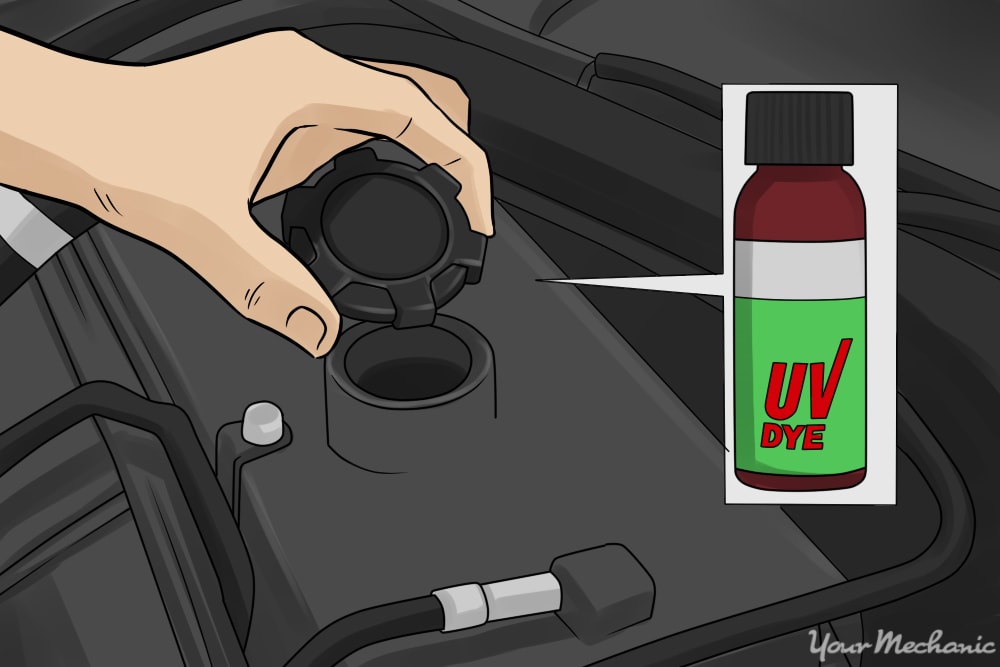
Step 3: Add UV dye to your engine. Once you have located any possible areas that could be the source of the leak, pour your automotive grade UV dye into your engine via the oil filler cap.
Go drive the vehicle for 20 minutes or as per the UV dye instructions. Driving the vehicle for 20 minutes or more will give the UV dye enough time to mix with the engine oil. This will allow any fresh oil that leaks to be tinted with UV dye, making it detectable with the UV light.
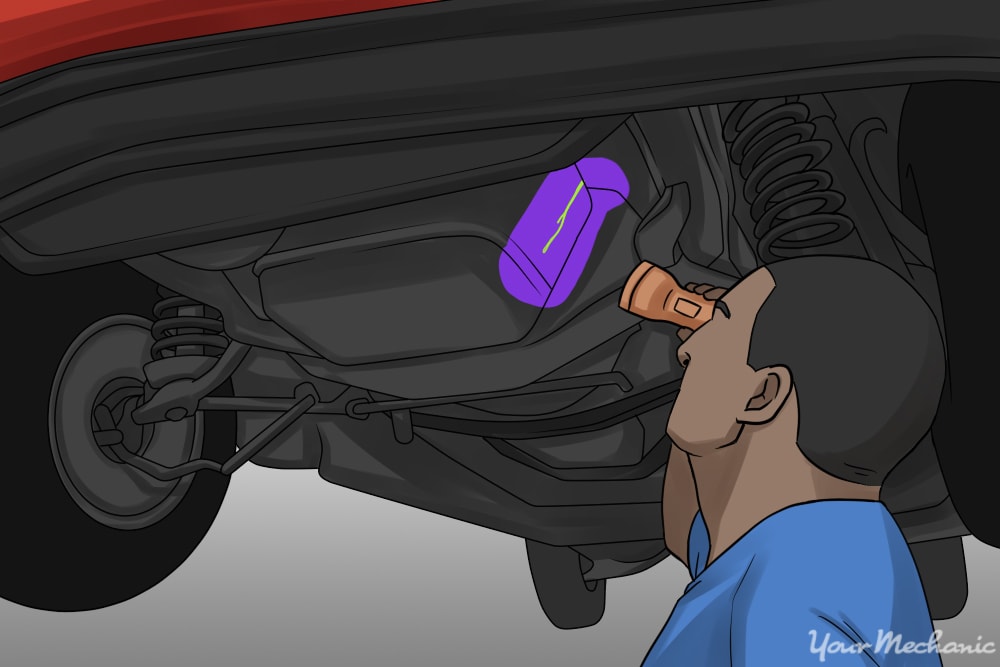
Step 4: Inspect the engine with the UV flashlight. Use the UV flashlight to perform another thorough visual inspection of the areas you identified as possible sources before.
Any fresh oil leakage will show itself in yellowish-green tint, reminiscent of the color of engine coolant, when the UV light is shined on it.
Follow any drips or stains visible under the UV light to the source. Sometimes, if the leak is very small or flowing very slowly, you may need to drive the vehicle again or let the vehicle sit for a period of time so that the leak may show itself.
Step 6: Address the leak. Once the source of the leak has been identified, take measures to have the leak addressed.
In some cases, the engine could possibly be at risk for serious damage due to low oil levels resulting from the leak, so it is best to address oil leaks promptly to prevent them from becoming a potentially bigger problem.
Most oil leaks can be detected using the above methods, with a little bit of effort and detective work. However, some oil leaks can be very elusive, especially in high mileage vehicles where the engine may be very dirty and the oil leaks may not be so obvious. In these cases, it would be best to have a professional technician such as one from YourMechanic search for the source of the leak.