
A bill of sale comes in handy when selling items, such as a used car, to another party. The bill of sale gives proof of the exchange of goods for money and requires specific language to make sure all parties are covered. By keeping what goes into writing a bill of sale in mind, you can write one yourself without having to hire a professional.
Part 1 of 3: Gather the information for the bill of sale
Materials Needed
- Desktop computer or laptop
- Paper and pen
Title and registration
Tip: Before writing any bill of sale, check your local or state laws to find out what is required in your area when selling goods to another person. Make sure to incorporate these requirements into your bill of sale when writing it.
Before writing a bill of sale you have to gather certain information. For used vehicles, this includes a variety of identifying information, descriptions of any problem areas on the vehicle, and who is or isn't responsible for them.
- Tip: When gathering your paperwork to write the bill of sale, take time to make sure items like the vehicle title is in order. This can give you time to clear up any problems before it is time to finalize the sale.
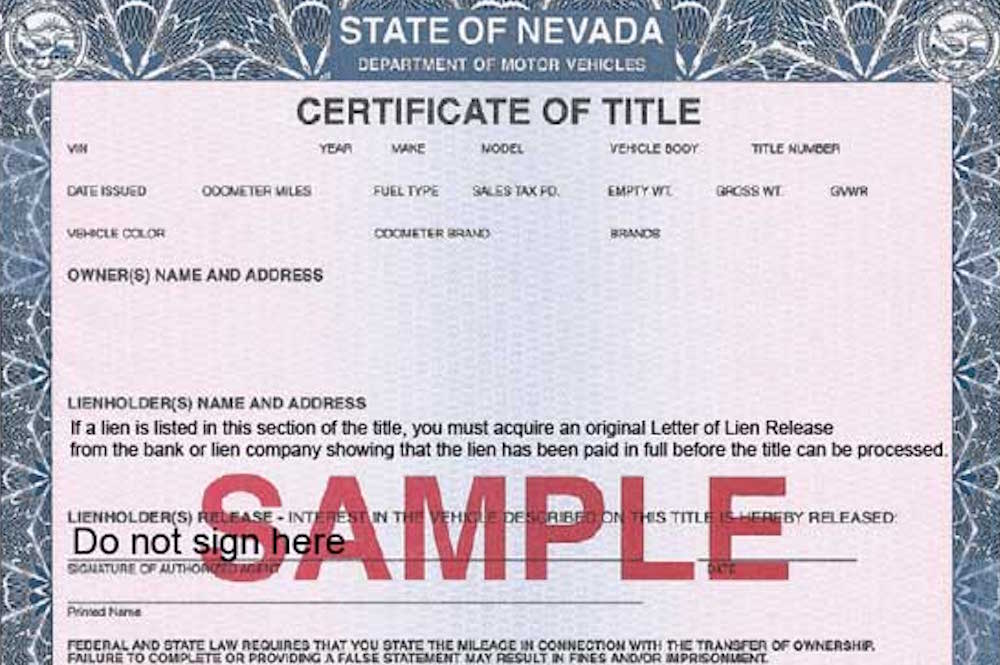
Step 1: Gather vehicle information. Gather information on the vehicle from the title, such as the VIN, proof of registration, and other pertinent information, including the make, model, and year of the vehicle.
In addition, make sure to write down information about any damage to the vehicle that the buyer will be responsible for.
Step 2: Get personal information of buyers and sellers. Find out the full name and address of the buyer for inclusion on the bill of sale, and, if you are not the seller, their full name and address as well.
This information is necessary, as naming the entities involved in the sale of an item, such as a used car, is an integral part of making any such sale legal in many states.
Step 3: Determine the vehicle’s price. Determine the price of the item for sale and any sales terms, such as how the seller should make the payments.
You should also determine any special considerations at this time, including any warranties and their length.
Part 2 of 3: Write the bill of sale
Materials Needed
- Desktop computer or laptop
- Paper and pen
Once you have gathered all of the necessary information, it is time to write the bill of sale. Use a computer to make it easier to edit the document after you are finished. As with all documents on a computer, keep a copy for your records, scanning the document after signing once everything is finalized.
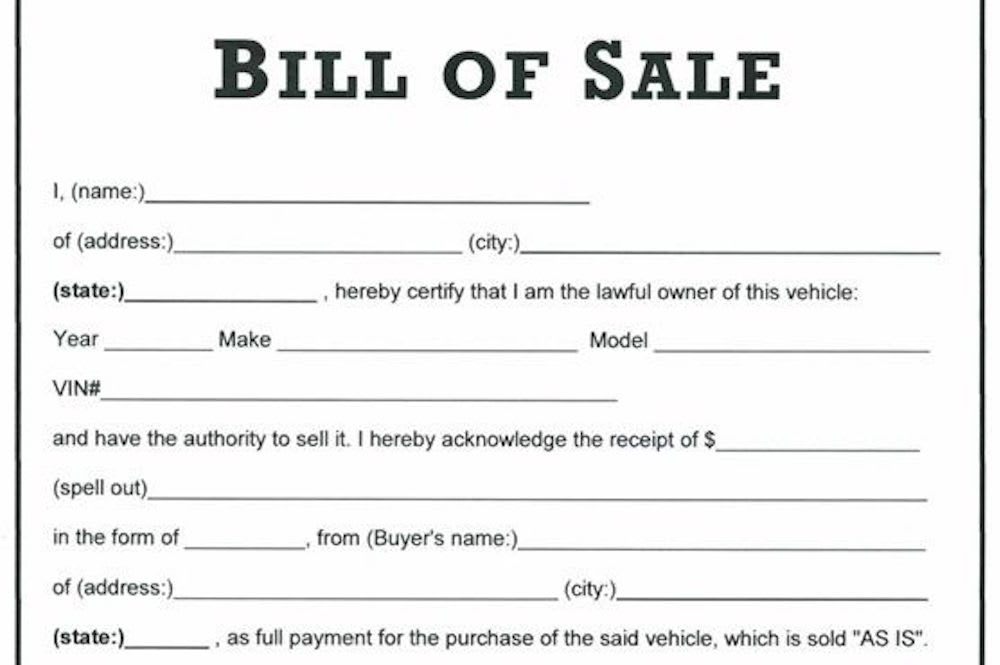
Step 1: Type Bill of Sale at the top. Using a word processing program, type Bill of Sale at the top of the document.
Step 2: Add a brief description. Follow the title of the document with a brief description of the item being sold.
For example, in the case of a used car, you would include the make, model, year, VIN, odometer reading, and registration number. In the description, you should also write in any identifying characteristics for the item, such as any special features on the car, any damage to the car, the color of the vehicle, etc.
Step 3: Add a statement of sale. Add a statement of sale listing all of the parties involved, including the seller's name and address and the buyer's name and address.
Also include the price of the item being sold, both spelled out and using numerals.
Here is an example of a statement of sale. "I, (seller's full legal name) of (seller's legal address, including city and state), as owner of this vehicle, transfer ownership to (buyer's full legal name) of (buyer's legal address, including city and state) for the sum of (price of vehicle)."
Step 4: Include any stipulations. Directly below the statement of sale, include any stipulations, such as any warranties, payment, or other information, such as delivery method if not in the buyer's area.
It is also common to include any special condition statuses in this section, such as conferring an "As Is" status to a used vehicle you are selling.
- Tip: Make sure to put each stipulation into its own paragraph for clarity.
Step 5: Include a statement of oath. Write out a statement of oath stating that the information listed above it is correct to the best of your (the seller's) knowledge under penalty of perjury.
This ensures that the seller is being truthful about an item's condition, or they run the risk of going to jail.
Here is an example of a statement of oath. "I declare under penalty of perjury that the statements herein contained are true and correct to the best of my knowledge and belief."
Step 6: Create an area to sign. Under the statement of oath, specify an area for the seller, buyer, and any witnesses (including a notary public) to sign and date.
In addition, include space for the address and phone number for the seller and buyer. Also, make sure to leave space below this area for the notary public to affix their seal.
Part 3 of 3: Review and sign the bill of sale
Materials Needed
- Desktop computer or laptop
- Paper and pen
- Notary public
- Photo identification for both parties
- Printer
- Title
The final step in the bill of sale process is to make sure all of the information on it is correct, that the seller and buyer are satisfied with what is written in it, and that both parties sign it.
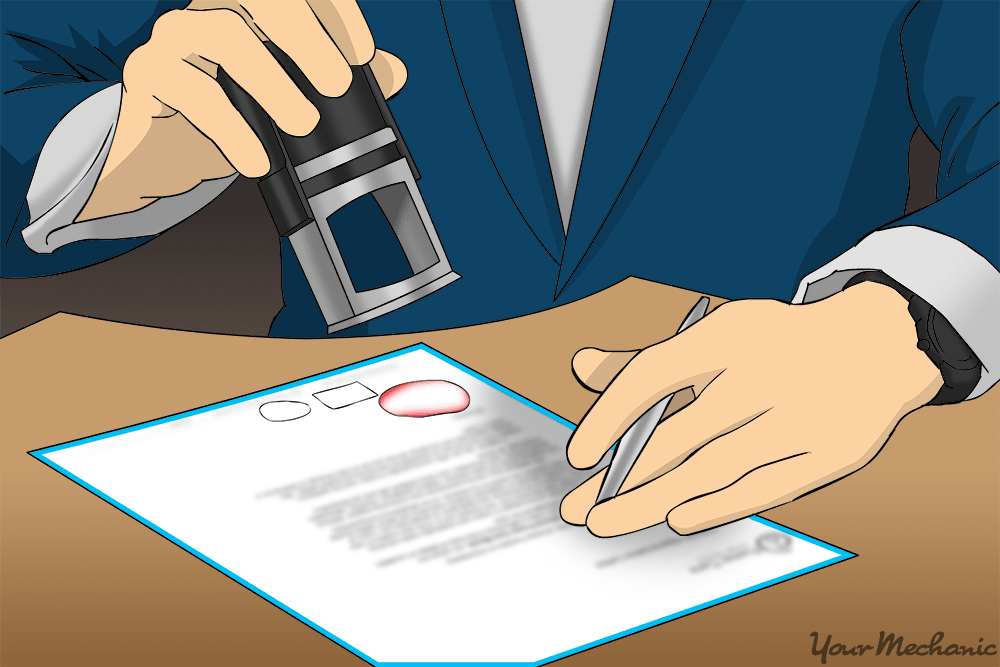
To protect both parties, they should sign in the presence of a notary public, who acts as a witness that both parties willingly signed the bill of sale by signing it themselves and affixing the seal of their office. Notary public services typically cost a small fee.
Step 1: Check for errors. Before finalizing the bill of sale, go over the bill of sale you created to make sure all of the information is correct and that there are no spelling errors.
You should also consider having a third party go over the documentation to make sure all of the information listed is correct.
Step 2: Print out copies of the bill of sale. You need one for the buyer, seller, and any other parties involved in the transfer of goods between parties.
In the case of selling a used car, the DMV would handle the transfer of the vehicle title from seller to buyer.
Step 3: Allow the buyer to review the bill of sale. If they have any changes, make them, but only if you agree with them.
Step 4: Sign and date the document. Both of the interested parties must sign and date the document.
If necessary, do so before a notary public, who will then sign, date, and apply their seal once both seller and buyer have signed. For this step, both parties will also need a valid photo ID.
Writing up a bill of sale yourself can save you the expense of paying a professional to do it for you. It is important to make sure that you know all the problems a vehicle has before you sell it so that you can include that information in the bill of sale. Have a pre-purchase car inspection performed on the vehicle by one of our expert mechanics to ensure that you know important information about a vehicle when writing up the bill of sale.