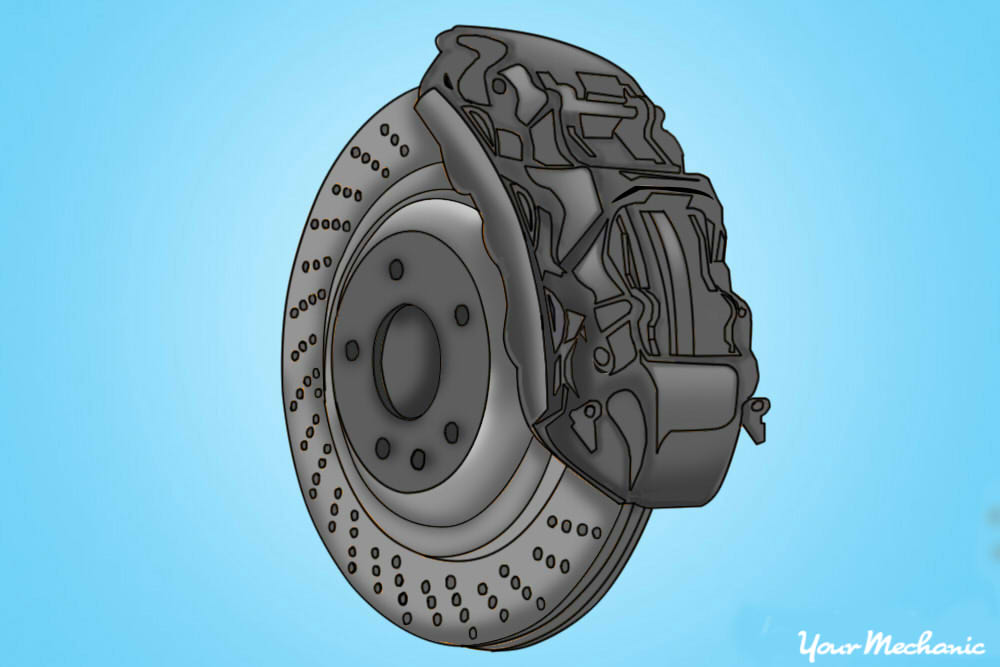
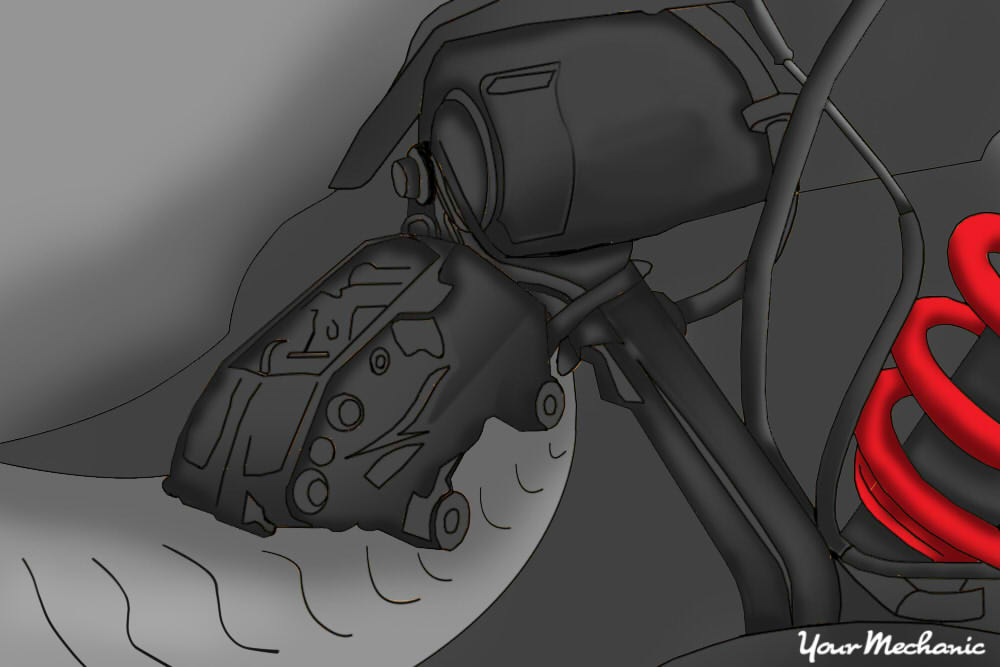
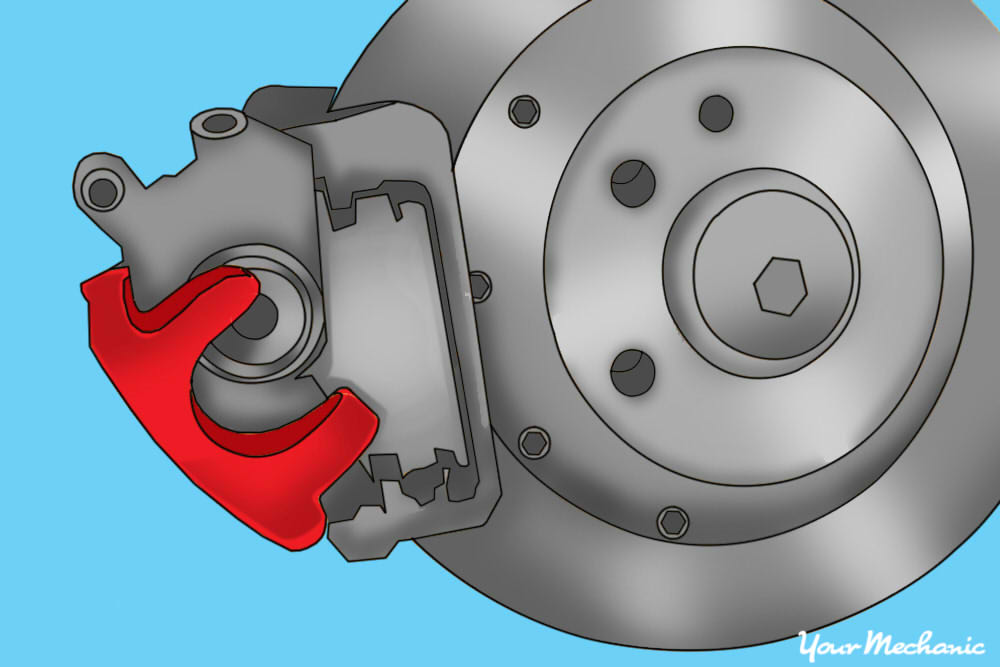
The brake caliper houses the brake piston which is used to then apply pressure onto the pads and rotor. The piston has a square seal on the inside that keeps the brake fluid from leaking out and allows the piston to move back and forth. Over time the seals can fail and fluid will start to leak out. This is very dangerous as it will slick the brakes and you won’t be able to stop the vehicle as effectively.
The main thing to prevent these seals from failing is regular brake maintenance, namely bleeding the brakes. Bleeding the brakes routinely will keep the fluid fresh and make sure that no liquid or dirt are in the brake lines. Dirt and rust caused by water in the lines can eat away at the seal until it fails completely.
It is possible to rebuild the caliper with a new seal and piston, but it is much easier to buy a new caliper. Rebuilding the caliper requires some special tools to remove the piston, whereas if you have the tools to replace your brake pads, you already have pretty much all the necessary tools to do this job as well.
Part 1 of 4: Remove the old caliper
Materials Needed
- Brake cleaner
- Breaker bar
- Bungee cord
- Gloves
- Jack
- Jack stands
- Rags
- Ratchet
- Silicone based lubricant
- Socket set
- Thread locker
- Torque wrench
Wire brush
Note: You’ll need a few different sizes of sockets and they will vary between different types of cars. The caliper slider pin bolts and mounting bolts tend to be around 14mm or ⅝”. The most common lug nut sizes are 19 or 20mm for metric. ¾” and 13/16” tend to be common for older domestic vehicles.
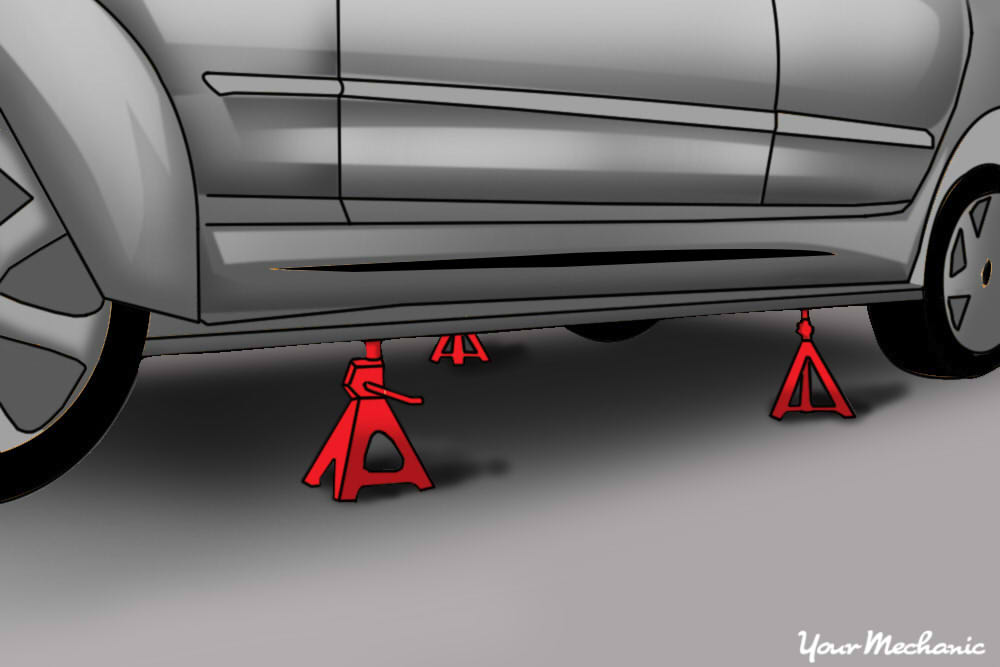
Step 1: Lift vehicle off the ground. On a solid, level surface, use your jack and raise the vehicle. Lower the car onto jack stands so the car won’t fall while we are underneath. Block off any wheels still on the ground so they can’t roll.
- Tip: If you are using a breaker bar, be sure to loosen the lug nuts before lifting the car up. Otherwise you will just turn the wheel trying to loosen them in the air.
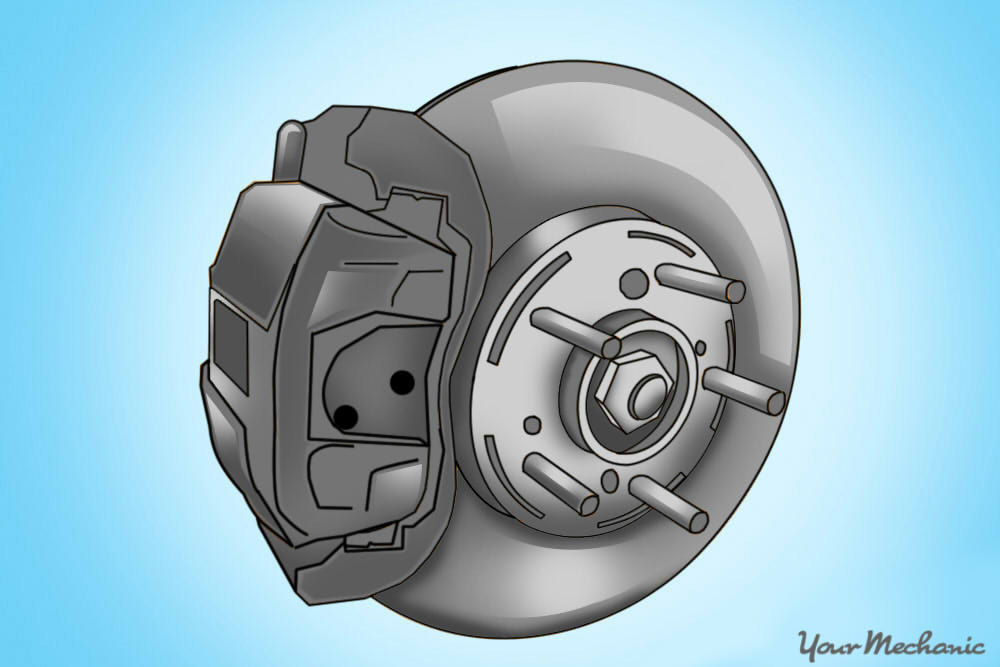
Step 2: Remove wheel. This will expose the caliper and rotor so we can work.
- Tip: Keep track of your lug nuts! Stick them in a tray so that they can’t roll away from you. If your car has hubcaps, you can flip them over and use them as a tray.
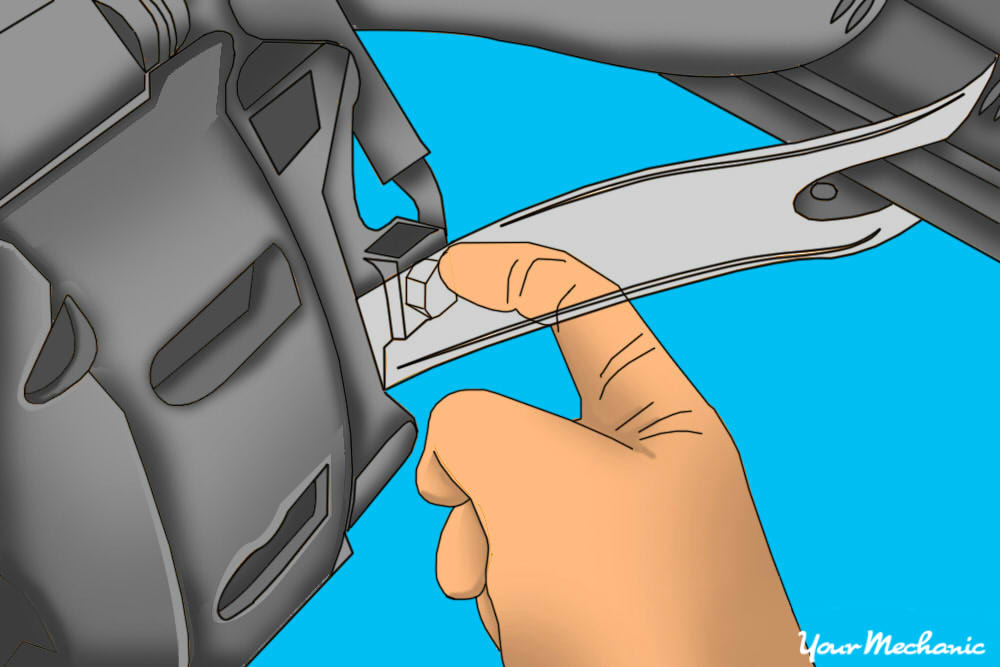
Step 3: Remove top slider pin bolt. This will allow us to open up the caliper to remove the brake pads. If we don’t remove them now, they will most likely fall out when taking the whole caliper assembly off.
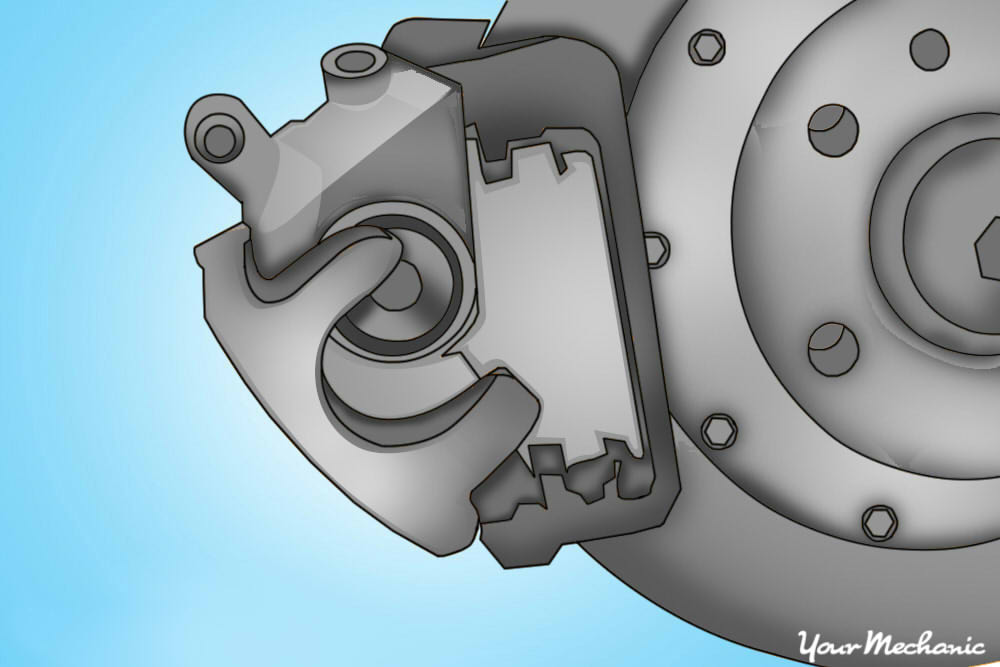
Step 4: Twist open the caliper housing. Similar to a clam shell, the housing will be able to rotate up and open allowing you to then remove the pads.
- Tip: Use a flathead screwdriver or small pry bar to help open up the caliper if there is resistance.
Step 5: Close caliper. With the pads removed, close the caliper and hand tighten the slider bolt to keep the pieces together.
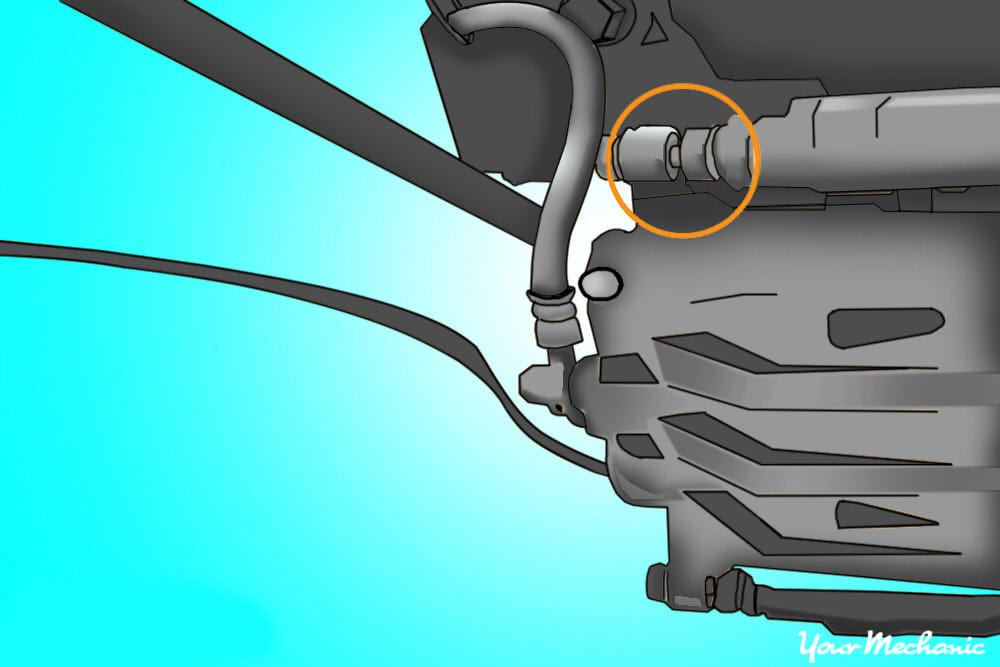
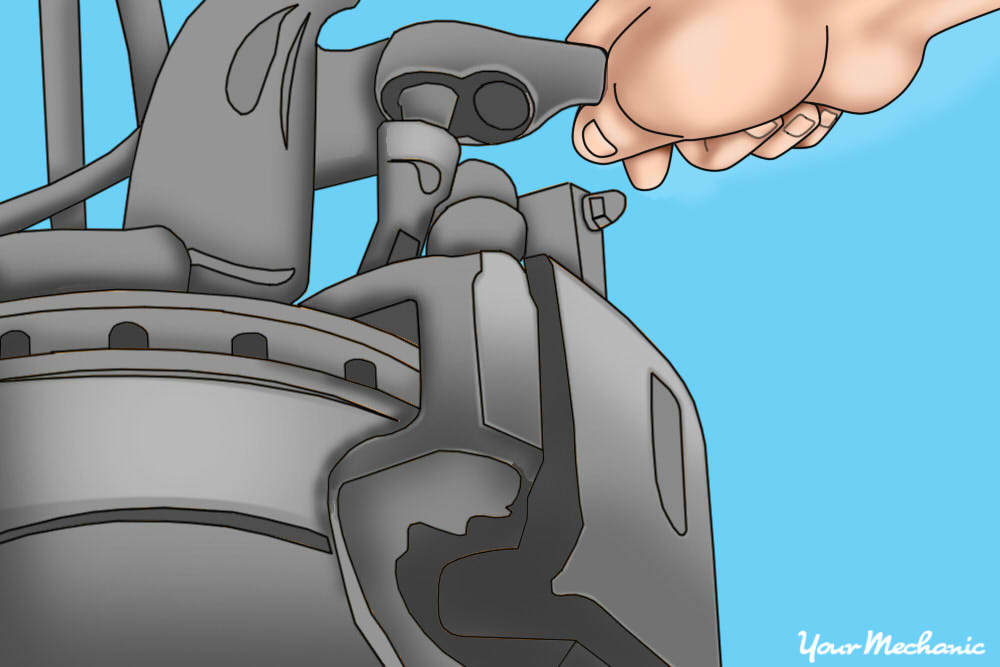
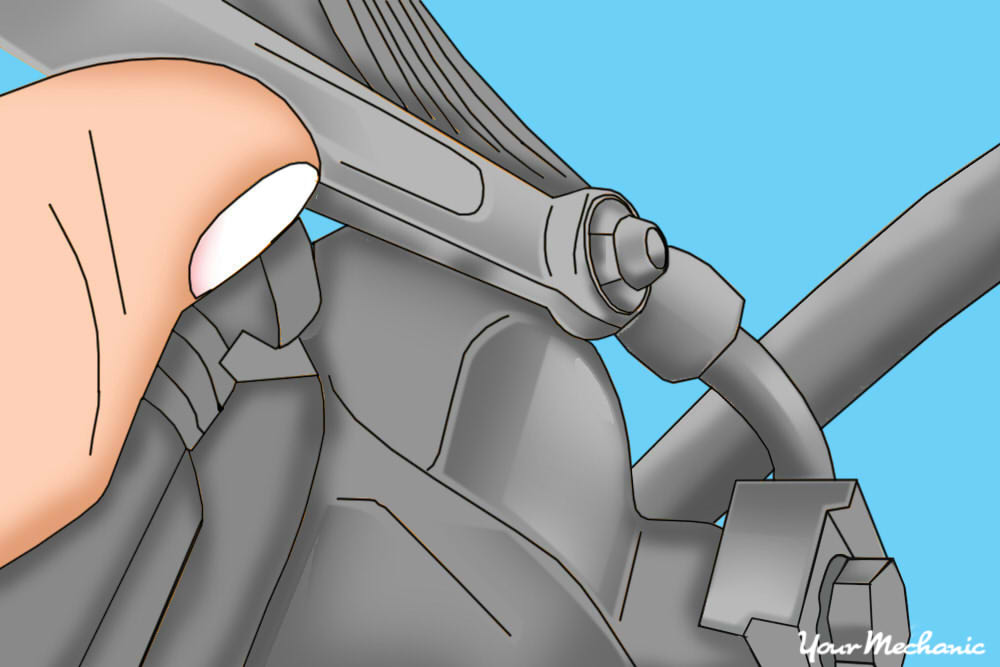
Step 6: Loosen the banjo bolt. While the caliper is still secured on the hub, we’ll loosen the bolt to make it easier to remove later. Tighten it down lightly so fluid won’t leak.
If you pull the caliper off and try to loosen the bolt later, you’ll likely need a vice to keep the caliper in place.
- Note: As soon as you loosen the bolt, fluid will start leaking out. Have the rags ready to clean up.
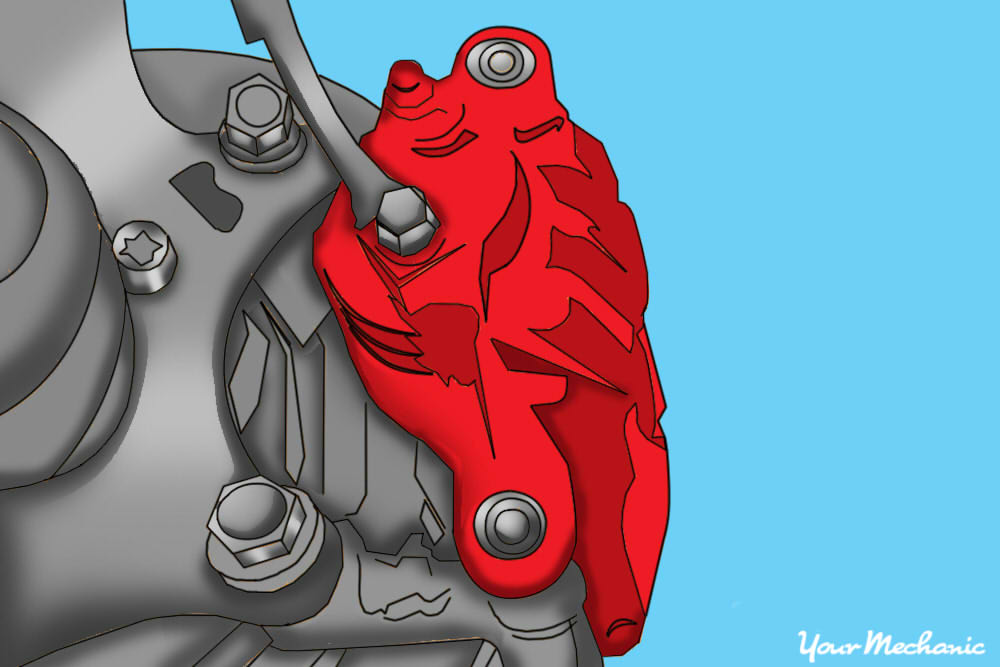
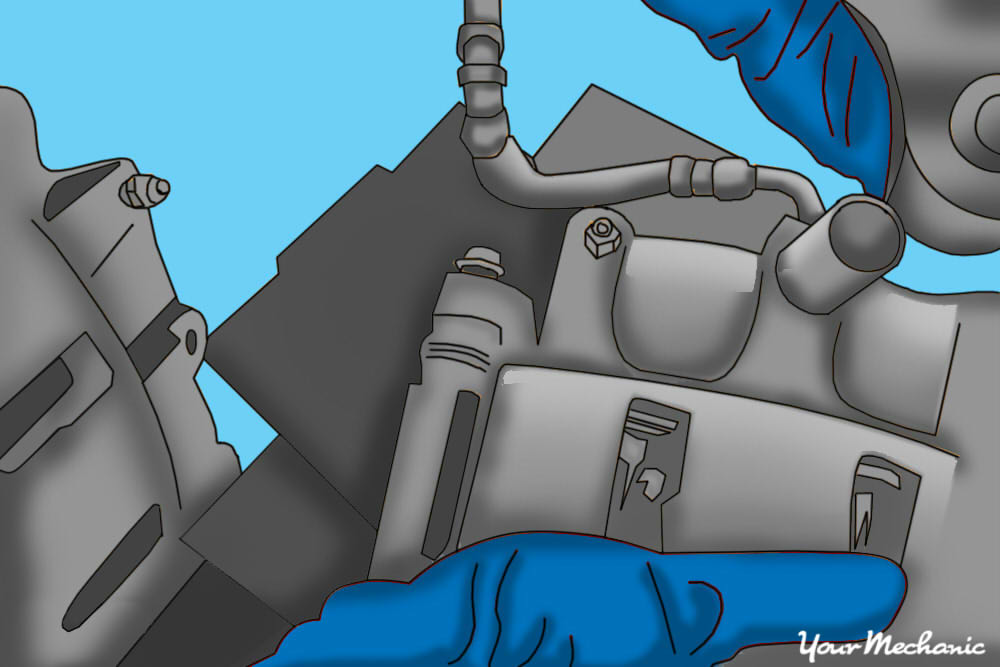
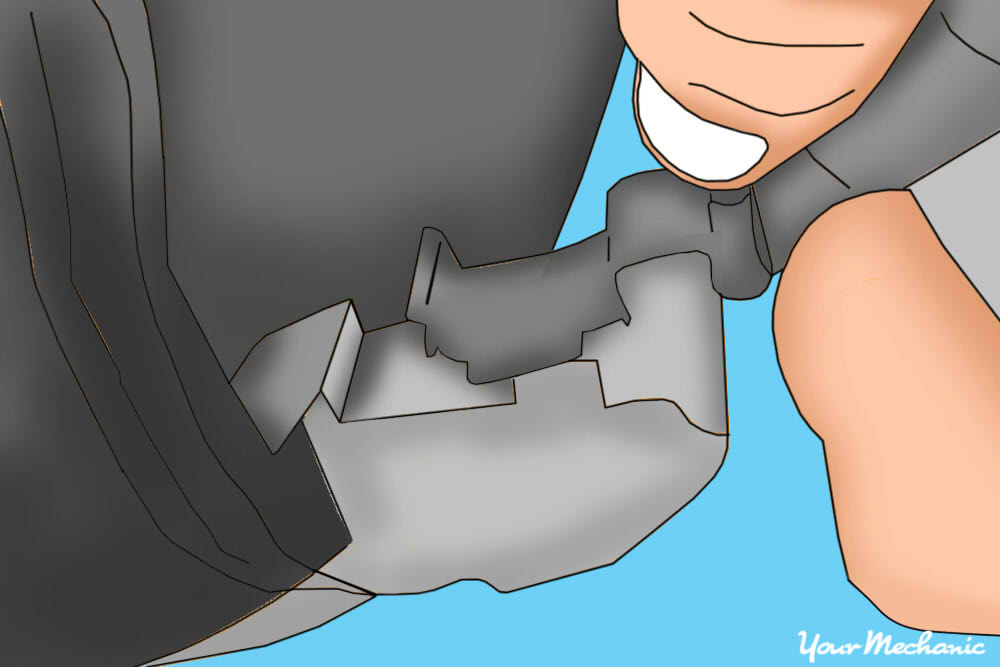
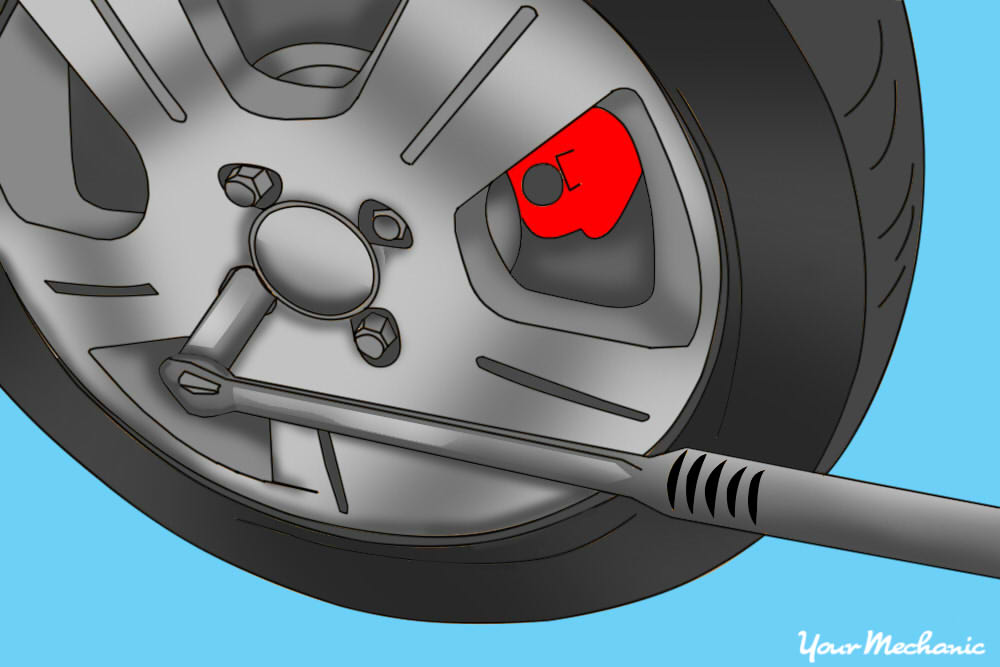
Step 7: Remove one of the caliper mounting bracket bolts. These will be closer to the center of the wheel on the backside of the wheel hub. Unscrew one of them and set it aside.
- Tip: It is common for the manufacturer to use thread locker on these bolts to prevent them from loosening. Use a breaker bar to help get these undone.
Step 8: Get a firm grip on the caliper. Before we remove the second bolt, make sure you have a hand supporting the weight of the caliper as it will fall off. They tend to be heavy so be prepared for the weight. If it were to fall, the weight of the caliper pulling on the lines can cause significant damage.
- Tip: Get yourself as close as possible when supporting the caliper. The farther away you are, the harder it will be hold the weight of the caliper.
Step 9: Remove second caliper mounting bracket bolt. With one hand under the caliper, supporting it, use your other hand to undo the bolt and remove the caliper.
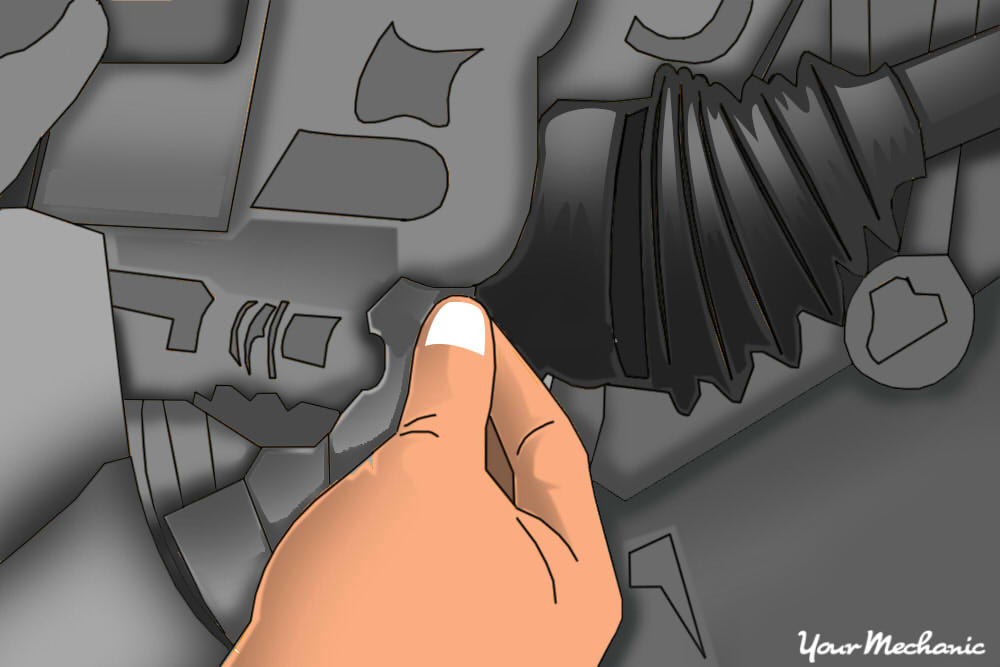
Step 10: Tie down caliper so it is not dangling. As mentioned before, we don’t want the weight of the caliper pulling on the brake lines. Find a sturdy piece of the suspension and tie the caliper to it with the bungee cord. Wrap multiple times to make sure it won’t fall.
- Tip: If you don’t have a bungee cord or rope, you can set the caliper on a sturdy box. Make sure there is some slack in the line so there isn’t too much tension on them.
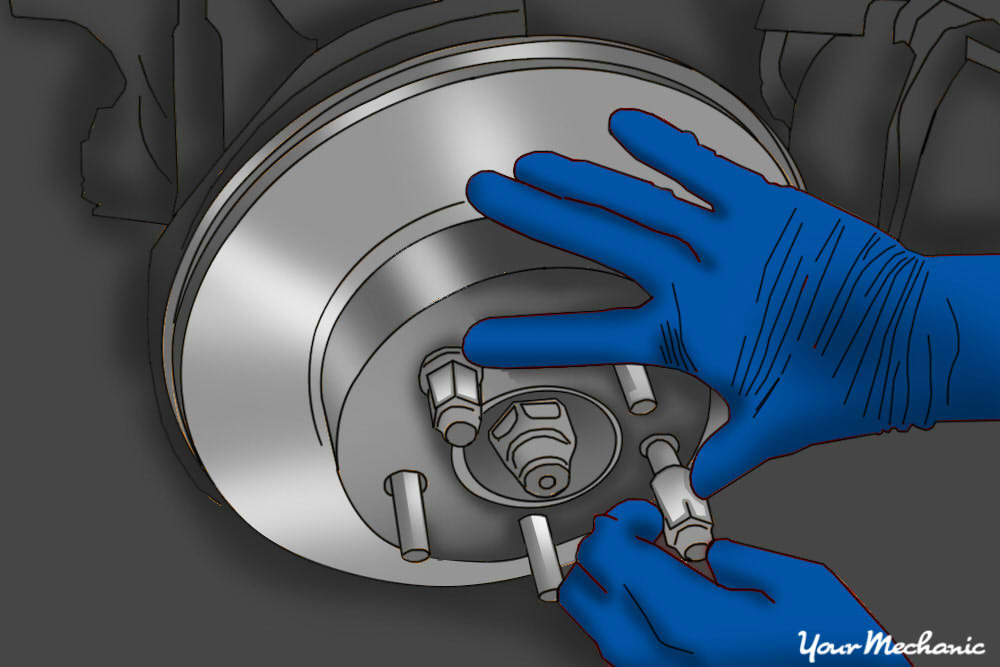
Step 11: Use lug nuts to hold the rotor in place. Take two of your lug nuts and screw them back onto the studs. This will hold the rotor in place for when we put the new caliper on and make the job a little easier.
Part 2 of 4: Set up a new caliper
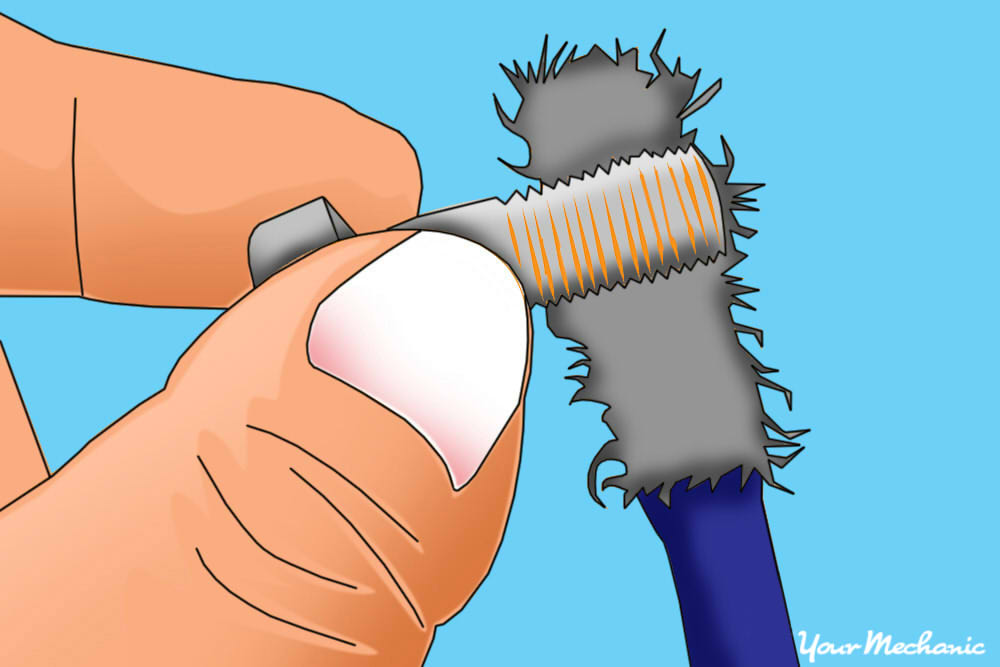
Step 1: Clean the mounting bolts and apply new thread lock. Before we put the bolts back in we need to clean them and apply new thread locker. Spray with some brake cleaner and use a wire brush to clean the threads thoroughly. Make sure they are completely dry before applying the new thread locker.
- Note: Only use thread locker if it was used before.
Step 2: Install the new caliper and mount. Start with the top bolt and get it screwed in a few turns. This will help with lining up the bottom bolt hole.
Step 3: Tighten the mounting bolts to the correct torque specification. The specs vary from car to car, but you can find the specification online or in the vehicle’s repair guide.
- Note: Torque specifications are there for a reason. Tightening bolts too tight stretches the metal and makes the connection weaker than before. Too loose and vibrations may cause the bolt to start unscrewing.
Part 3 of 4: Transfer brake line to the new caliper
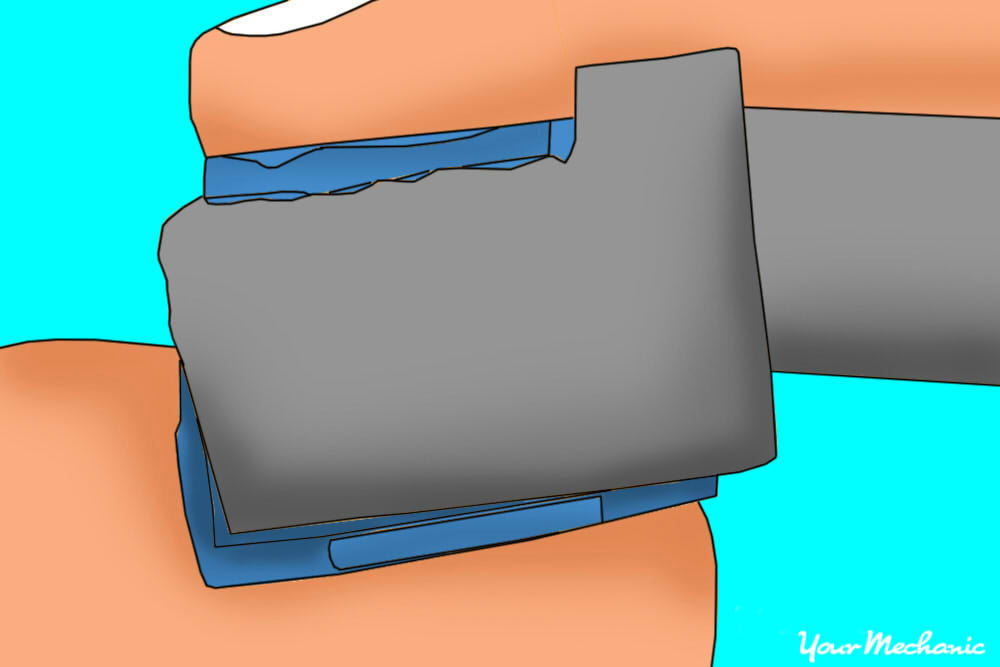
Step 1: Remove the banjo fitting from the old caliper. Unscrew the bolt and remove the banjo fitting. Fluid will be pouring out again so have the rags ready.
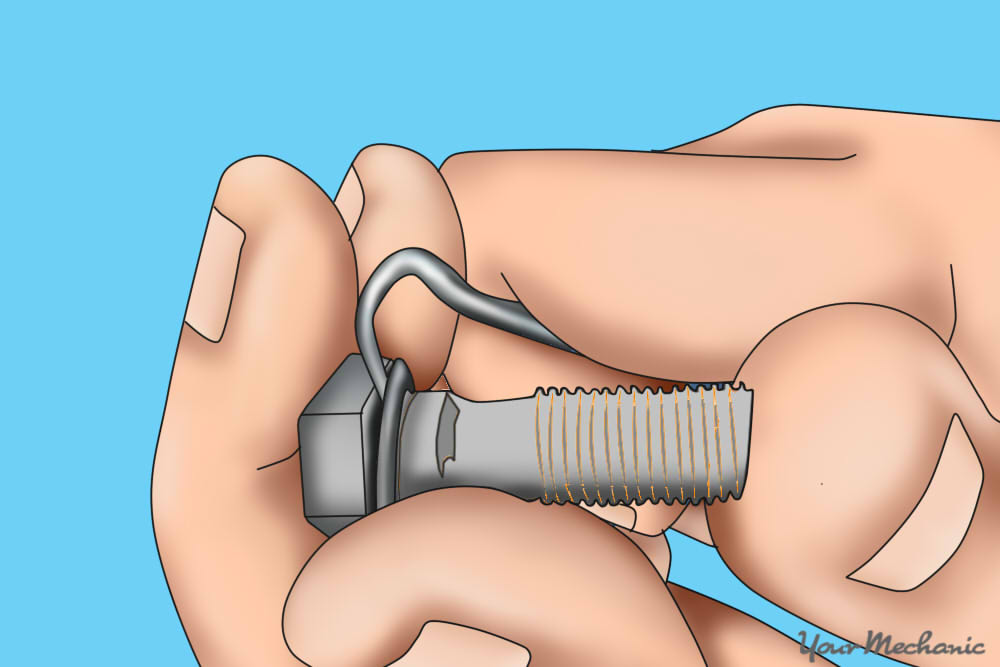
- Step 2: Remove the old washers from the fitting. The new caliper will come with fresh washers that we will use. Clean the banjo bolt with some brake cleaner as well.
One will be between the fitting and the caliper.
The other will be on the bolt. It may be pressed thin and hard to tell there is a washer, but there is one there. When you tighten down the banjo fitting, it crushes the washer slightly creating a tight seal so fluid won’t leak out under pressure.
- Note: If you don’t remove the old washers, the new caliper won’t be able to seal properly and you’ll have to take everything apart again to fix it.
Step 3: Set up the new washers. Place the new washers in the same places as before. One on the bolt and one between the fitting and the caliper.
Step 4: Tighten down the banjo bolt. Use a torque wrench to get the correct torque specification. The torque spec can be found online or in the vehicle repair guide.
Part 4 of 4: Putting everything back together
Step 1: Reinstall the brake pads. Remove the top slider bolt and open the caliper to put the brake pads back in.
- Note: The new caliper may use different sized bolts so test the sizes before starting to undo them with the ratchet.
Step 2: Install the new anti-vibration clips into the new caliper. The new caliper should come with new clips. If not, you can reuse them from the old caliper. These clips prevent the brake pads from rattling around inside the caliper.
- Tip: Reference the old caliper if you’re not sure where they are supposed to go.
Step 3: Lubricate the backside of the brakes. Without any lubricant, disc brakes tend to squeak when the metal rubs together. Put a thin layer on the backside of the brakes and on the inside of the caliper where they rub together.
You can put a little on the anti-vibration clips where the pads slide back and forth as well.
- Note: You don’t need very much. It’s much safer to apply too little and have your brakes make some noise as opposed to using too much and having it leak onto the brake pads.

Step 4: Close caliper. Close the caliper and tighten the top slider bolt to spec. The new caliper may have a different torque specification than the original as well so look in the instructions to get the correct value.
Step 5: Crack open the bleeder valve. This will help start the bleeding process by allowing air to start escaping out of the valve. Gravity will help push the fluid down and when liquid starts coming out of the valve, snug it down. Not too tight as we still need to open the valve to pump the rest of the air out.
Loosen the cap of the master cylinder to help speed up the process. Be prepared to close the valve as this really helps get the fluid moving through the lines.
- Tip: Have your rags set up right under the bleeder valve to soak up the brake fluid. It is much more important to make sure all the fluid is cleaned up on your new calipers compared to the old ones.
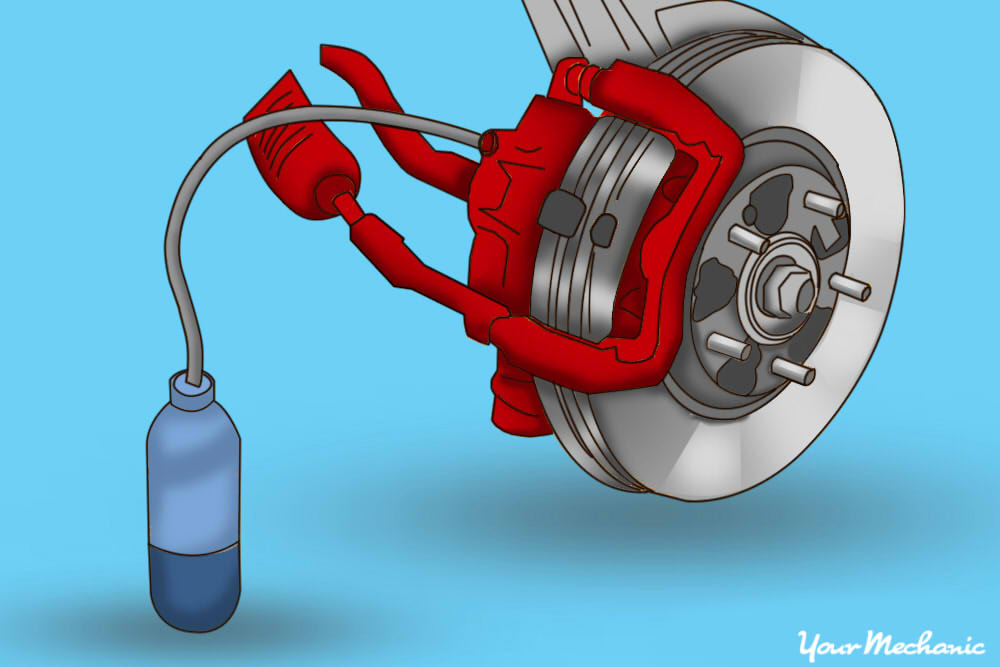
Step 6: Bleed the brakes. There will still be some air in the brake lines and we need to pump it out so that the pedal doesn’t feel spongy. You only need to bleed the lines of the calipers that you replaced.
Warning: Make sure the master cylinder never runs dry of fluid, otherwise you will have to start over. Check the fluid level after every caliper that you bleed.
Note: All cars have a particular order in which the calipers are bled. Make sure you bleed them in the correct order, otherwise you won’t be able to get all of the air out of the lines. Most cars you start with the caliper that is furthest from the master cylinder and work your way closer. So if the master cylinder is on the driver’s side, the order would be right rear caliper, left rear caliper, right front caliper, and the left front caliper would be last.
Tip: It is possible to bleed the brakes by yourself, but is much easier with a friend. Have them pump the brakes while you open and close the bleeder valves.
Step 7: Put the wheel back on. With the brakes bled, make sure the calipers and lines are completely clean of brake fluid and put the wheel back on.
Make sure to tighten to the correct torque specification.
Step 8: Time for a test drive: Make sure you have plenty of space ahead of you in case the brakes don’t work as intended. Start with a very low speed to make sure the brakes can stop the car slightly.
After a couple of start and stops, check for any leaks. Mainly on the banjo fitting that we transferred over. If you can’t see it through the wheel, you may have to take it off to inspect. It is worth the time to make sure that everything is working as intended before you take the car onto actual streets.
With the brand new calipers and lines bled, your brakes should feel almost brand new. As mentioned before, regular brake bleeding can really make the calipers last as it keeps the fluid fresh which keeps your seals intact. If you are experiencing any issues while changing out your calipers, our certified technicians here at YourMechanic would be able to assist you in replacing them.