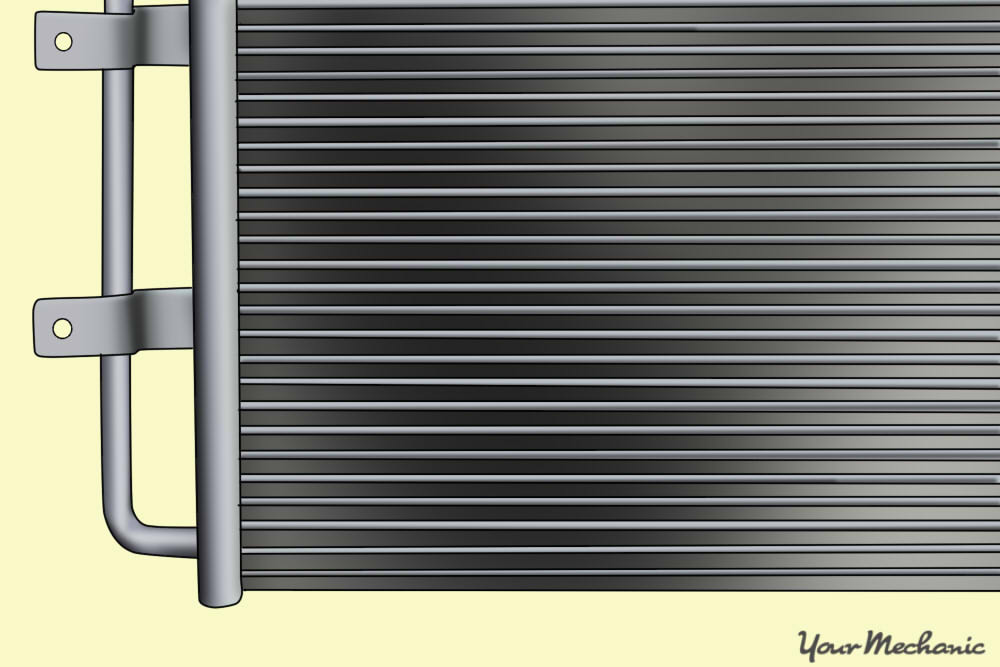
AC condensers are a critical component of your vehicle’s air conditioning system. The AC condenser transfers heat from the refrigerant to the atmosphere and thus is comparable to your engine’s radiator insofar as function.
Here’s how it works: refrigerant is pumped from the AC compressor into the condenser as a hot gas. Air flowing through the condenser cooling fins reduces the temperature of this hot, gaseous refrigerant and it the refrigerant gas “condenses” into a liquid which is then metered by a valve into the evaporator in your car’s passenger compartment. In the evaporator, that liquid refrigerant flashes (boils) back into a vapor because it is absorbing heat from your passenger compartment. The vapor containing the heat is then drawn into the “low” side of the compressor which compresses it back into the condenser, starting the refrigerant cycle all over again.
Examples of faults that are commonly seen in AC condensers include external damage to fins or tubes, pinhole leaks, and clogged passages. When these occur the condenser usually has to be replaced (save for minor damage to fins which can be straightened with a fin “comb”). This article will briefly cover the procedure required to replace a typical AC condenser.
-
Warning: the AC system is under very high pressure, up to several hundred PSI when operating, and thus you can be seriously injured (blinded or suffer permanent frostbite burns) if the refrigerant gas contained within is not recovered properly. Also, note that it is illegal to vent refrigerant gas to the atmosphere and thus if you do not have recovery equipment, you must consult a professional who will typically have a license, certification, and highly specialized training.
Part 1 of 3: Discharging and recovering the AC refrigerant
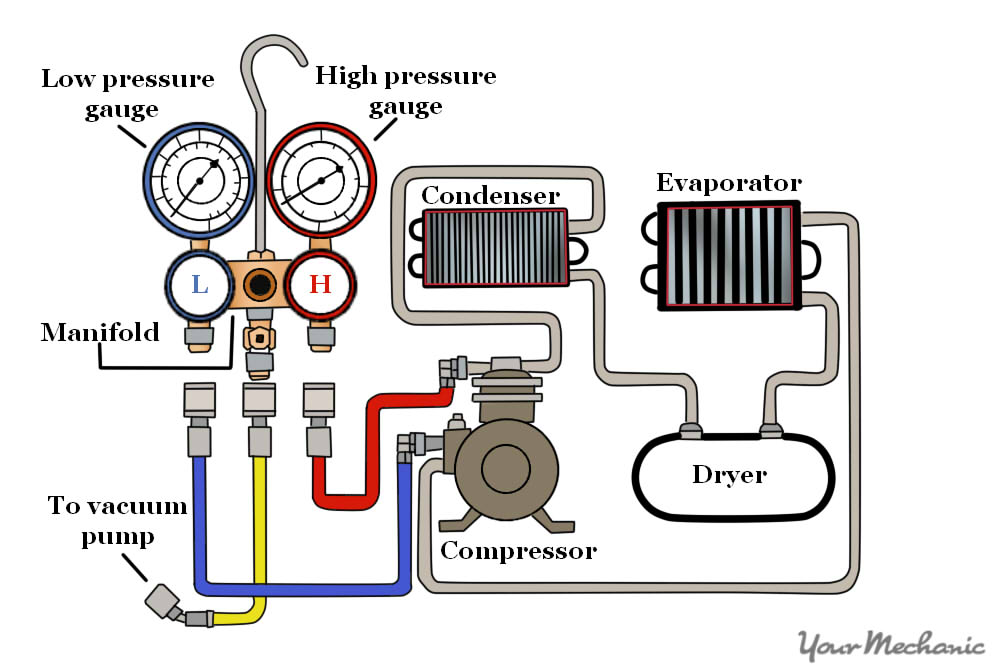
Step 1: Hook up the manifold gauge set. When looking at the manifold gauge set there will be 3 hoses.
All connections must be tight and free of leaks. Pay close attention to the replaceable rubber gaskets at the hose ends. If any leaks are present refrigerant will leak into the air and you will not be able to evacuate the system properly. The yellow hose will go to the recovery machine. From the recovery machine this will go into a recovery tank.
The blue hose will go to the low side (20-50 PSI in operation) pressure port. The red hose will go to the high side (175-300 PSI in operation) pressure port. With the engine running check the pressures on the high and low side against the specifications set forth in the Factory Service Manual. Do not use generic (all car) references as there are meaningful differences in specifications across the different manufacturers.
-
Warning: automotive refrigerant is an EPA regulated chemical. Recovery steps must only be performed by a certified refrigerant handler with a Section 608 license. Refrigerant can not be intentionally released into the air. Doing so could result in criminal charges and a large fine and imprisonment if convicted. If you are not comfortable performing an AC recovery job properly and are not EPA certified then the recovery portion of the repair would be best left to the professionals.
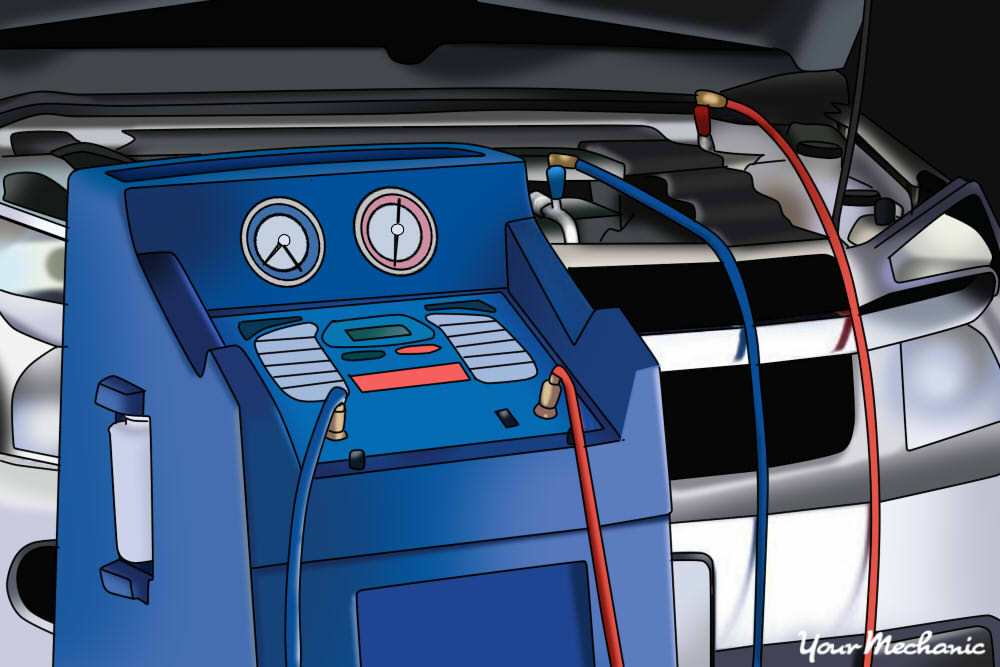
Step 2: Recover the refrigerant. Many recovery machines will require the hoses to be purged of air before use.
Follow the prompts and purge the hoses.
Step 3: Let the machine recover the refrigerant. Open the high and low side pressure valves on the machine and let the machine recover the refrigerant.
The recovery process will be done once the gauges both drop to zero and the machine says the process is completed.
Part 2 of 3: Condenser removal and replacement
Materials Needed
- AC line o-ring
- AC manifold tool set
- AC refrigerant recovery tank
- Basic socket set
- Condenser
- Eye protection
- Refrigerant R134
- Vacuum pump
- Wrench set
Step 1: Removing items in the way. Remove parts that are in the way of the condenser. Consult the Factory Service Manual.
These may include the car’s radiator, radiator and condenser fans, grills, headlights, mounting brackets, lock brace, supports and in some cases the bumper. Do not release the condenser from its mounts yet, just remove parts that are in the way. The parts required to be removed, and how they are removed, will vary greatly from car to car. Consult the Factory Service Manual.
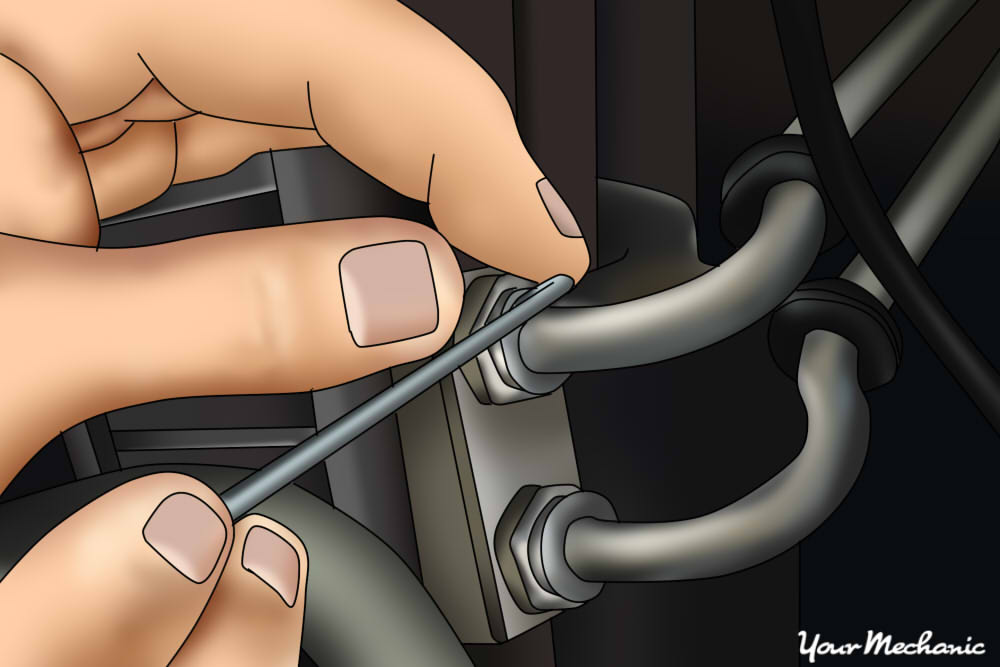
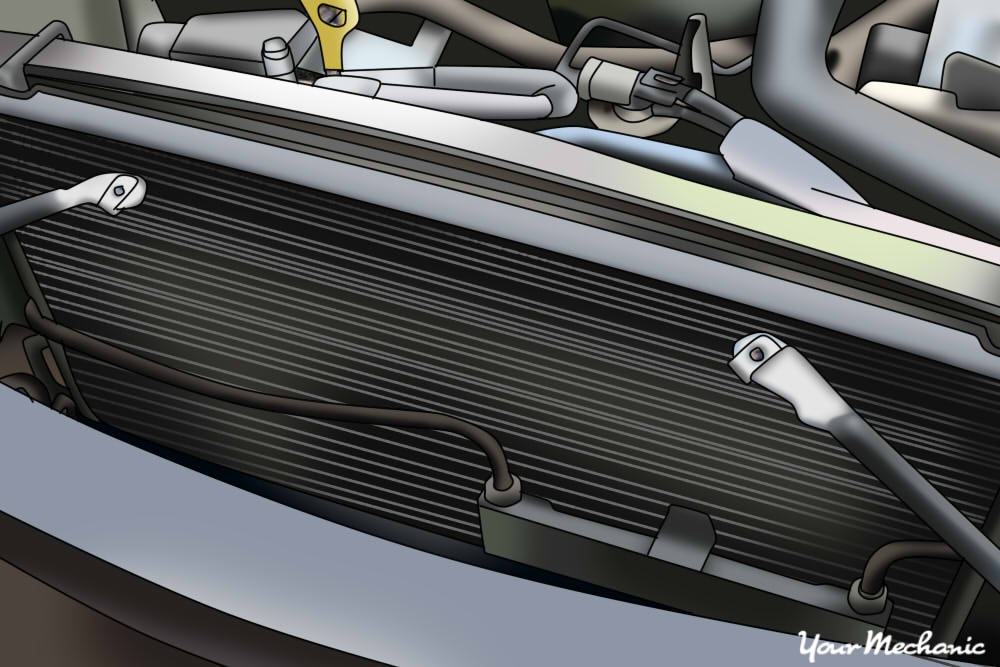
Step 2: Removing the AC lines to the condenser. Before the AC condenser is removed from the vehicle the AC lines must be removed.
Wear eye protection and preferably a face shield when removing refrigerant lines in case any residual pressure remains. Keep in mind the system contains (or contained) not just refrigerant but also refrigerant oil which could spatter in your face. Oils used with R134a are damaging to the eyes and skin. The style and exact removal procedure for the AC line will be different from vehicle to vehicle.
In most cases the lines either bolt to the condenser or are a hard line that must be removed with a wrench. The lines attaching to the condenser will have o-ring seals on them. Inspect the o-rings for damage which might provide clues as to past or current leakage. However, regardless of how o-rings “look” o-rings can NEVER be re-used. Be sure the replacement o-rings are the right size.
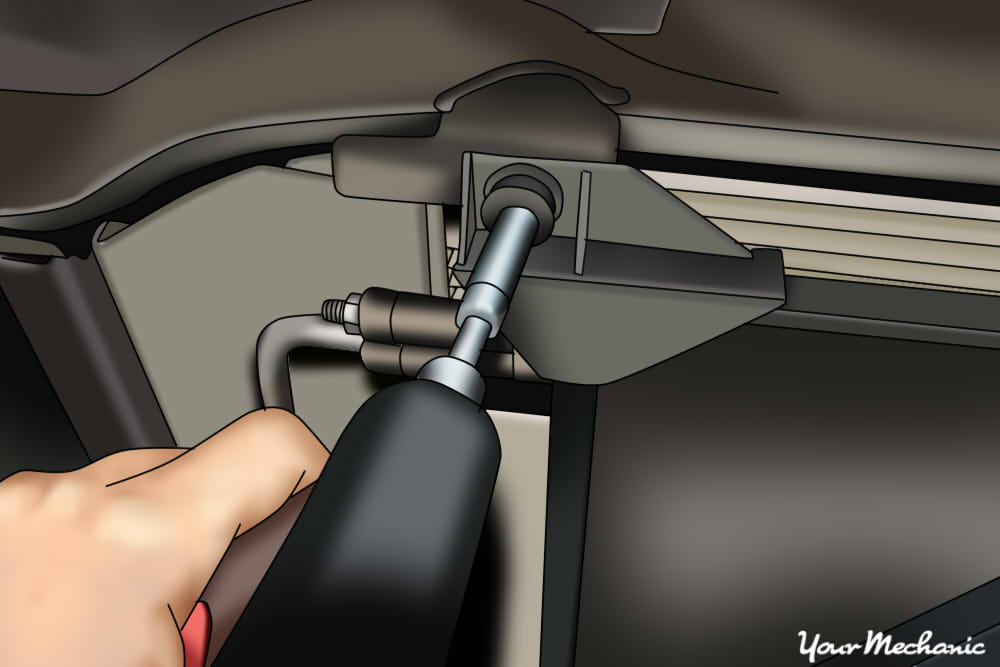
Step 3: Remove the condenser. Now the mounting bolts for the condenser will be removed. In some vehicles these mount the radiator and condenser together.
Once the bolts are removed, remove the condenser slowly to be sure that no bolts remain and so that it does not snag on any wiring or hoses.
Step 4: Install the new condenser. With the condenser removed compare it to the new part.
Make sure the new and old condensers match up exactly and that they have the same mounting locations especially if your replacement condenser is not a factory OEM part. Preferred practice is to use factory OEM dealer supplied parts but if you elect “aftermarket” check all dimensions and mounts carefully. If any discrepancies exist, do not install. Condensers contain some of the system oil. Consult the Factory Service Manual (FSM) and pour the required amount of new refrigerant oil (from a new sealed container so there is no moisture) into one of the refrigerant line ports of the condenser. Typically, about an ounce of oil is required but consult your FSM. Then, install the new condenser with the mounting brackets.
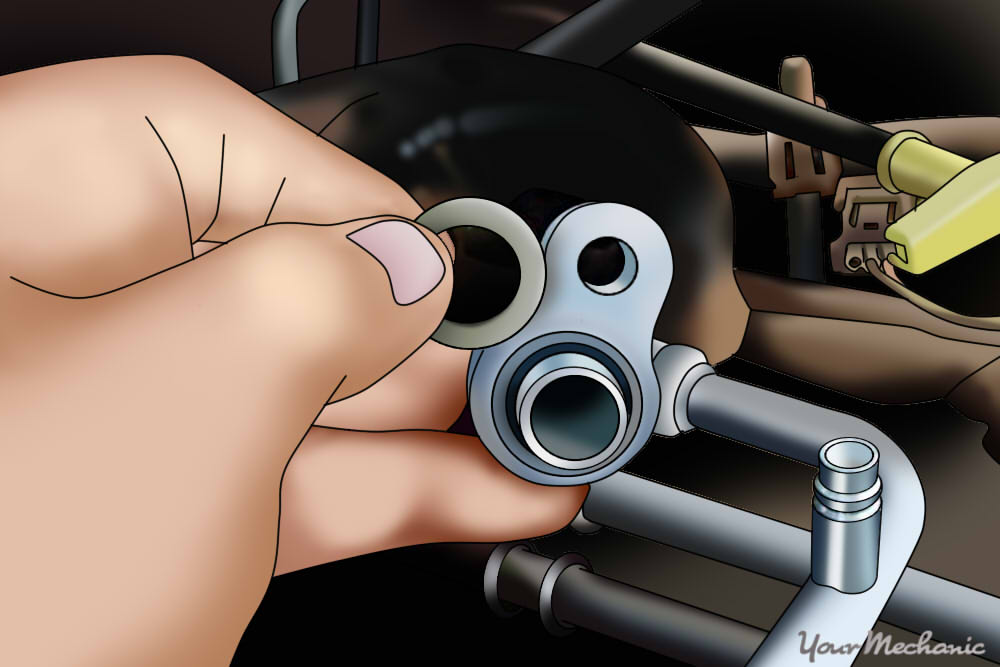
Step 5: Reinstall the AC lines. The next step will be to replace the o-rings on the AC lines going to the condenser.
- Note: These o-rings can only be used one time and must be replaced or your system will leak.
Coat the the o-rings with the system oil to ensure a good seal. Once the o-rings are replaced the lines can be bolted back to the condenser. Once they are bolted on and torqued to specifications you can move on to the next step.
Inasmuch as you have opened the system to the atmosphere to replace the condenser, air containing moisture has been introduced. Therefore, the receiver/drier on your system MUST be replaced.
If you do not replace it, you run the risk of having circulating moisture in your system which can periodically freeze and block the system’s expansion valve, causing cyclic loss of cooling as the water freezes and then thaws in an endless cycle. The drier installation instructions will also specify that a certain amount of system oil be added to the new drier to replace that lost in the old discarded drier.
Step 6: Reinstall parts removed to gain access. Reinstall all the parts that were removed to gain access to the condenser.
This may include the bumper, hood latch, grills, supports and brackets. Once these are all in place there are only a few finishing touches left to do.
Part 3 of 3: Final checks, evacuation, and recharge
Material Needed
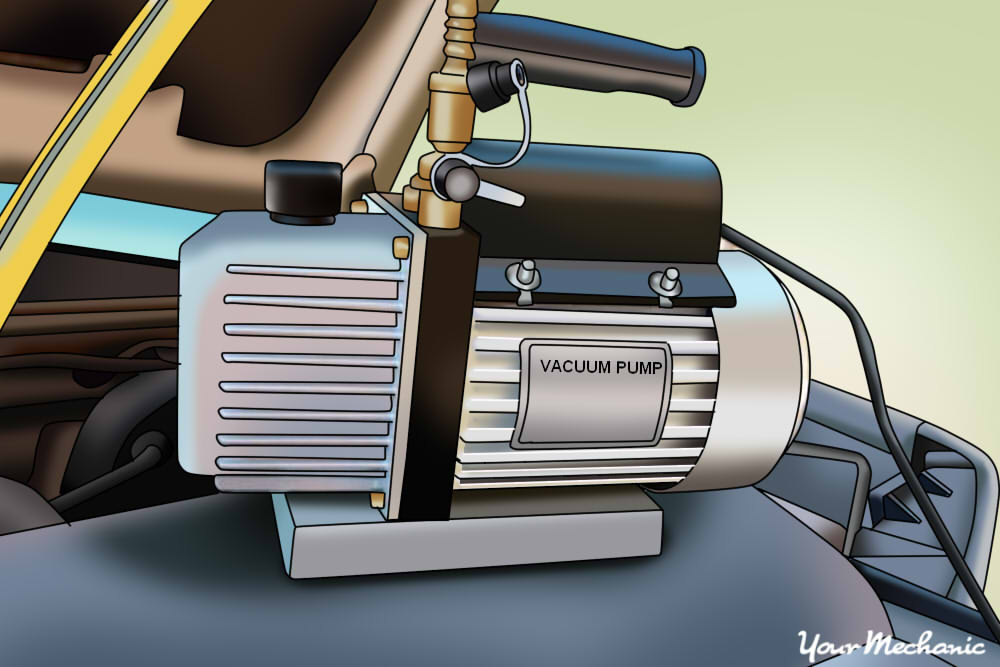
Step 1: Place the AC system into a vacuum. Before any new refrigerant can be added the AC system must be placed into a vacuum.
This can be done using a recovery machine or using a manifold gauge set and a vacuum pump. The high and low side lines must be hooked up to the vacuum pump.
The system is placed in vacuum for at least 30 minutes, preferably longer. How long the system must be held in vacuum depends on altitude and the amount of moisture being boiled off (that’s why you need a new drier - to keep moisture to a minimum). The FSM will give advice as to the duration of evacuation for your make and model. Evacuating properly ensures all moisture and air is removed from your system.
When the AC system is in vacuum you can get an idea of whether there are large leaks (note that only pressure testing, at around 200 PSI, with nitrogen will reveal small leaks). The vehicle will not reach vacuum if the car has a large leak. The vacuum pump will keep running but the recommended vacuum will never be reached.
If you turn off the vacuum pump for 10 minutes and observe the gauge pressure, if there are no large leaks, the gauge pointer should remain steady. If not, that is an indication that there is a leak that must be fixed before refrigerant is added.
However, if you really want to do a professional test for leaks, pressurize the system to 200 PSI with inert, dry nitrogen gas and a couple ounces of refrigerant while sniffing for leaks using (for example) a Fieldpiece Infrared Refrigerant Leak Detector. But, even that test is less than optimal as you are testing under static, not dynamic (running) conditions when leaks will be most apparent.
Step 2: Recharge the AC. Once the AC system has been in vacuum for 30 minutes and no leaks are detected the car is ready to be charged.
Modern AC systems have charge quantities specified in tenths of an ounce. Consequently, the AC system will not perform as efficiently as possible with either too much refrigerant or too little. Make sure you are using the same refrigerant your vehicle came with which is typically R134a for modern U.S. cars built after the early 1990s. This information can be found in the owner's manual or on an AC service tag on the underside of the hood.
Once the exact amount of refrigerant to be added has been determined the AC machine can now be used to charge the system.
Charging is done with the engine running at 1500 RPM or more and only the low side port hooked up. The system is filled until the specified amount (see FSM or vehicle underhood tag) is added. If an AC machine is used the charge amount can be set, if you are using a manifold and gauge set the level will have to be set based on using either a scale or low and high side pressures.
- Warning: As with all other procedures described in this article, charging the AC system should only be done by a licensed refrigerant handler or certified technician. This is done to avoid any fines or, most importantly damage to the environment or yourself, caused by improper handling of refrigerant.
Step 3: Checking the performance. After all repairs have been completed and the vehicle’s AC is charged it is time to see if all of your planning, wise selection of replacement components, testing and repairs have paid off.
With the engine running turn the AC system on and let the system stabilize for 5 minutes. The difference between ambient (outdoor temperature) and the temperature of the cool air at your center outlet should be at least 40 degrees. Once the vehicle cools down this proves the AC works and you can now enjoy nice cool temperatures.
Replacing major AC system components such as a condenser may seem like a daunting task but it can be completed with a bit of help. This repair pays off in the long run as not only is it much more tolerable with functioning AC, the AC system can actually keep you safe if the vehicle breaks down in a hot environment.
In some cases it may be easier to have this repair done for you while you relax inside your home or workplace. One of YourMechanic’s mobile mechanics would be glad to come to your home or place of business and perform a condenser replacement.