The Variable Valve Timing (VVT) Solenoid has been engineered to adjust the valve timing automatically in the engine depending on how the engine is running and the load the engine is under. For example, if you're running down flat road the variable valve solenoid will “retard” timing which will decrease power and increase efficiency (fuel economy), and if you have a car full of company and are driving uphill, the variable valve timing will “advance” timing which will increase power to overcome the load it is taking.
When it comes time to have your variable valve timing solenoid or solenoids replaced, your vehicle may have symptoms such as an illuminated Check Engine Light, loss of power, bad fuel economy, and a rough idle.
Part 1 of 1: Replacing the variable valve timing solenoid
Materials Needed
- ¼” ratchet
- ¼” extensions - 3” and 6”
- ¼” sockets - metric and standard
- ⅜” ratchet
- ⅜” extensions - 3” and 6”
- ⅜” sockets - metric and standard
- Box of rags
- Bungee cords - 12”
- Channel lock pliers- 10” or 12”
- Dielectric grease-optional
- Flash light
- Lithium grease - assembling lube
- Needle nose pliers
- Pry bar - 18” long
- Pick set - long set
- Service manual - torque specifications
- Telescoping magnet
- Variable valve timing solenoid/solenoids
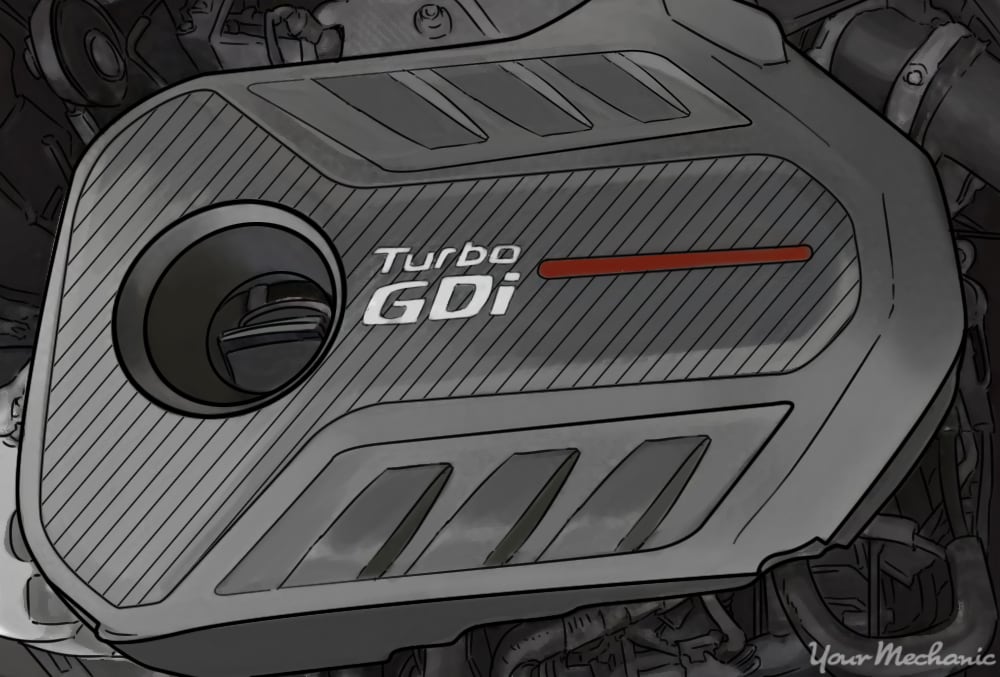
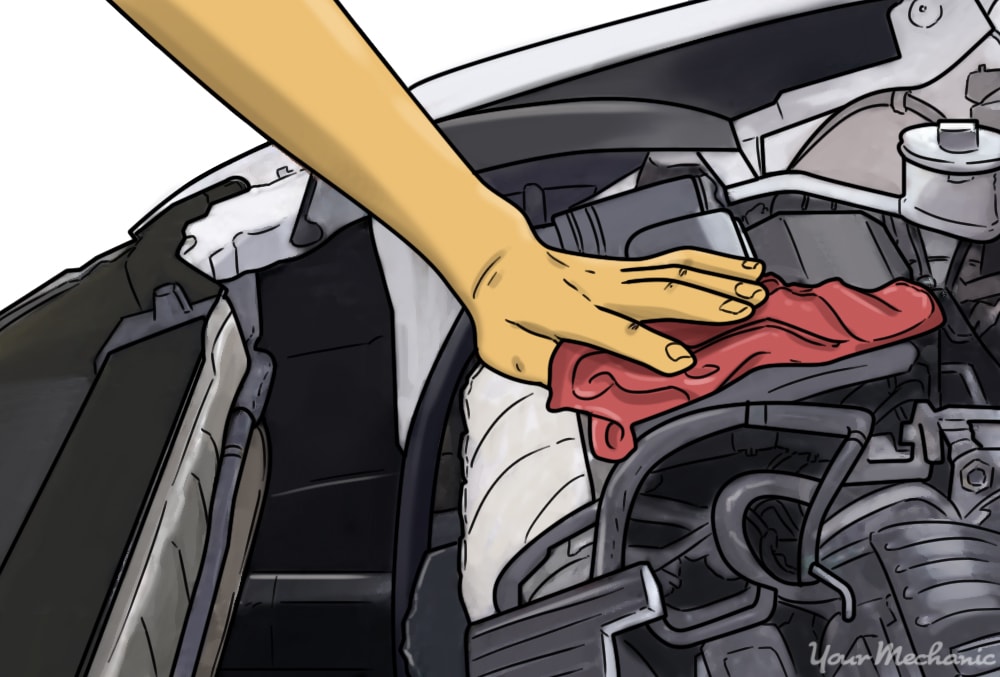
Step 1: Raise and secure hood. If there is an engine cover, it needs to be removed.
Engine covers are a cosmetic feature manufactures install. Some are attached by nuts or bolts and others are installed by snapping into place.
Step 2: Disconnect the battery. The most common size battery terminal nuts are 8mm, 10mm, and 13mm.
Loosen the positive and negative battery terminals, and twist and pull on the terminals to remove. Set the cables aside or tie down with a bungee cord to prevent them from making contact.
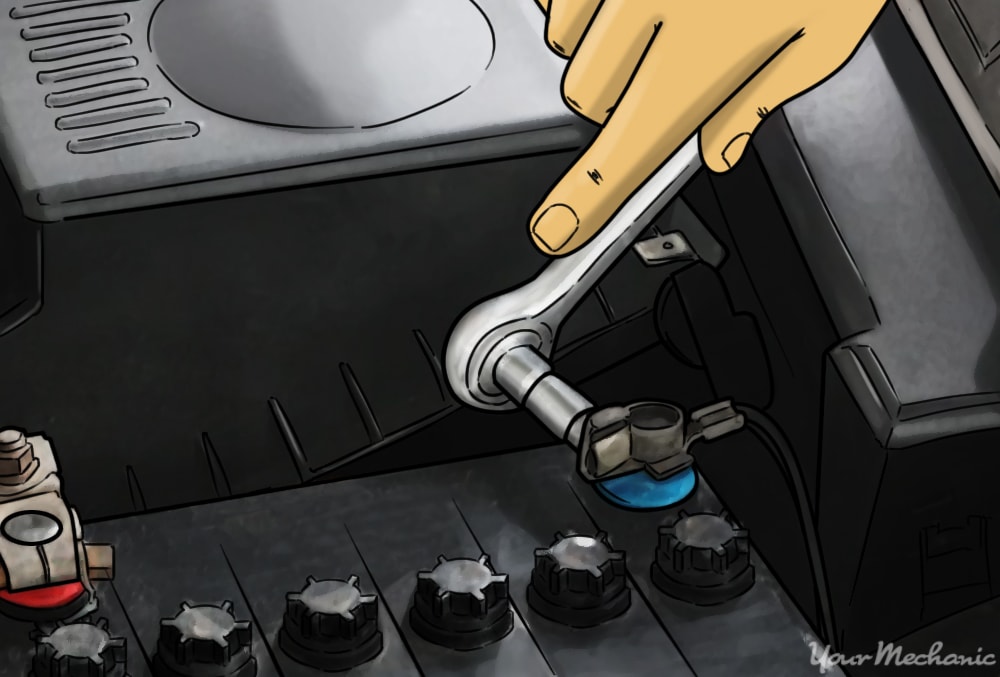
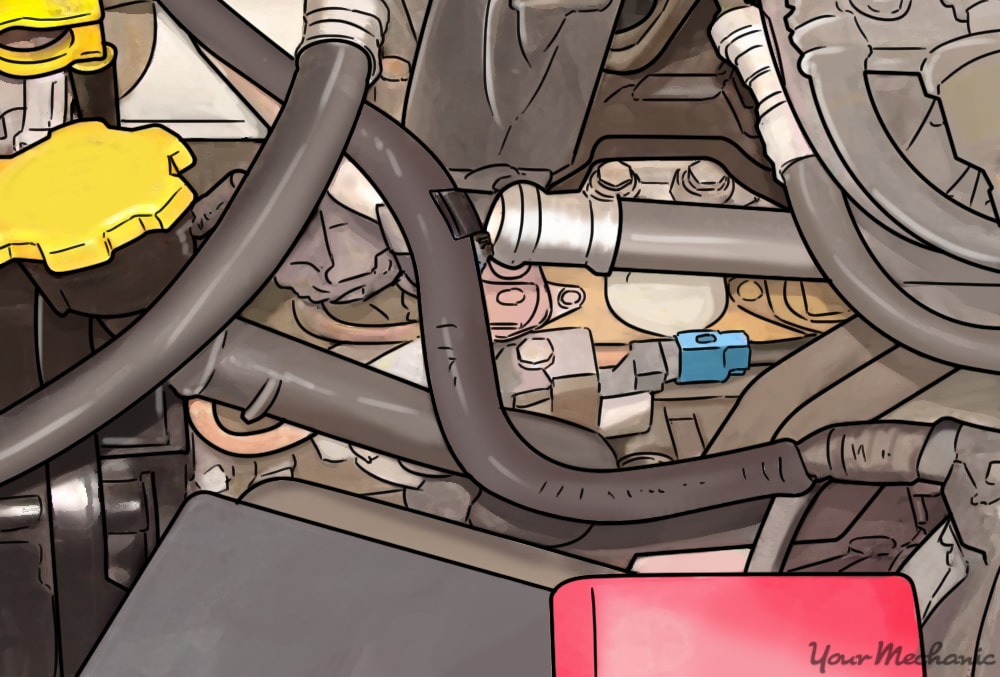
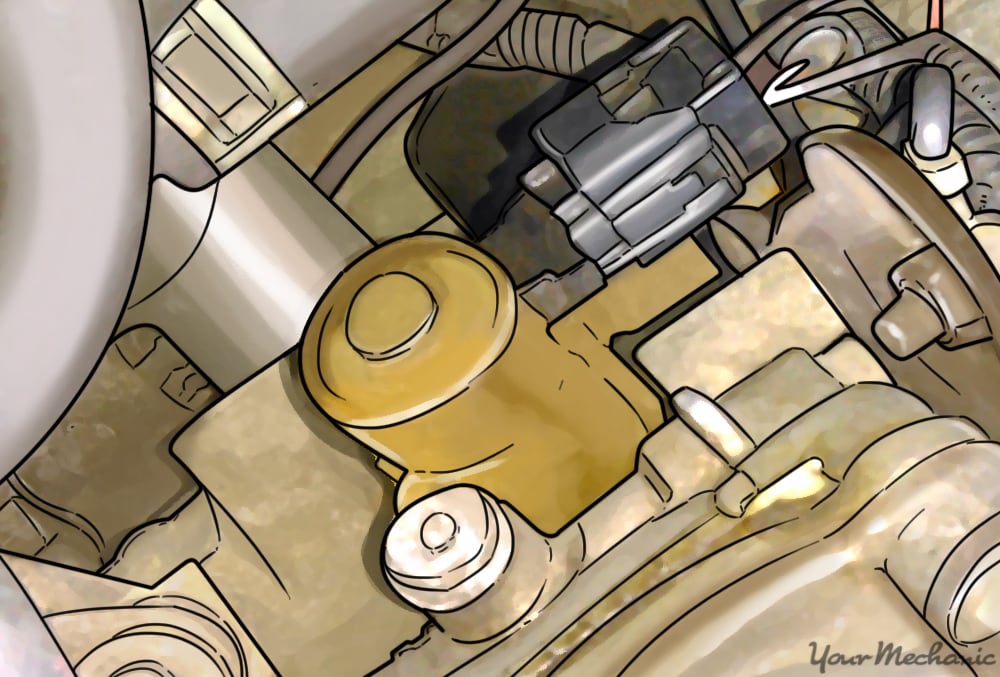
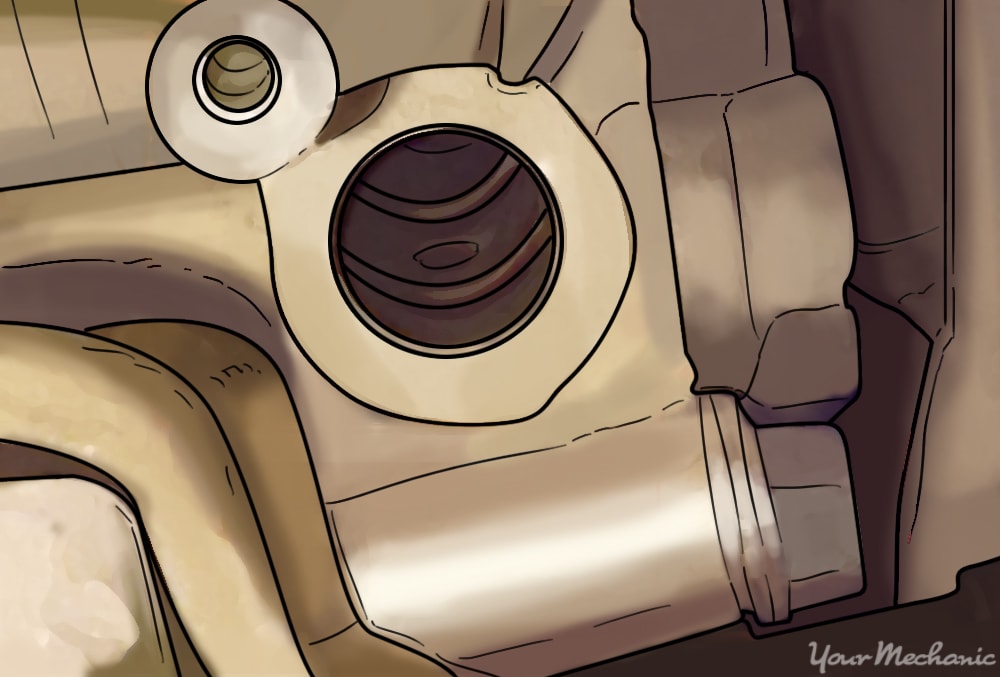
Step 3: Locating the variable valve timing solenoid. The variable valve timing solenoid is located at the front of the engine, typically near the front of the valve cover.
Try looking at the new solenoid to match the shape and help you find it. The connector is the exposed end of the variable valve timing solenoid. In the image above, you can see the connector, the solenoid’s silver body and the mounting bolt.
Step 4: Clear the area. If there is anything in the way such as vacuum lines or wiring harnesses secure them out of the way using a bungee.
Avoid disconnecting or pulling to prevent any damage or confusion.
Step 5: Locate the mounting bolts. There are, in most cases, one mounting bolt, but some may have two.
Be sure to pay attention to the mounting flange on the solenoid to verify.
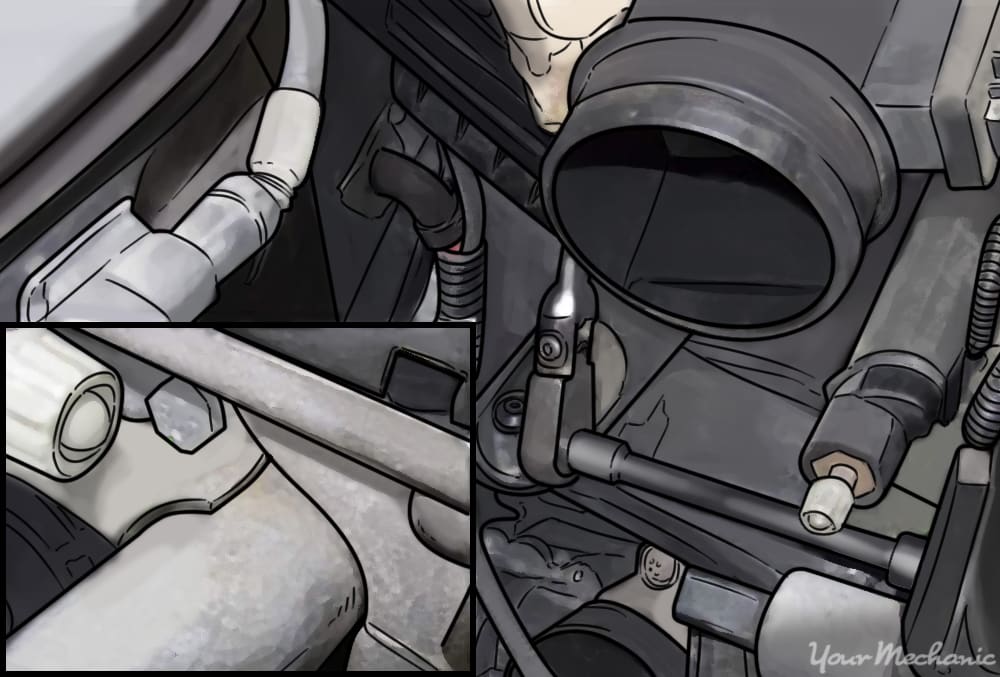
Step 6: Remove the mounting bolts. Start by removing the mounting bolts and be careful not to drop them in any crevices or openings in the engine compartment.
Step 7: Disconnect solenoid. Remove the connector on the solenoid.
Most connectors are removed by applying pressure to the tab to release the lock on the connector itself. Be very careful not to pull on the wire; only pull on the connector itself.
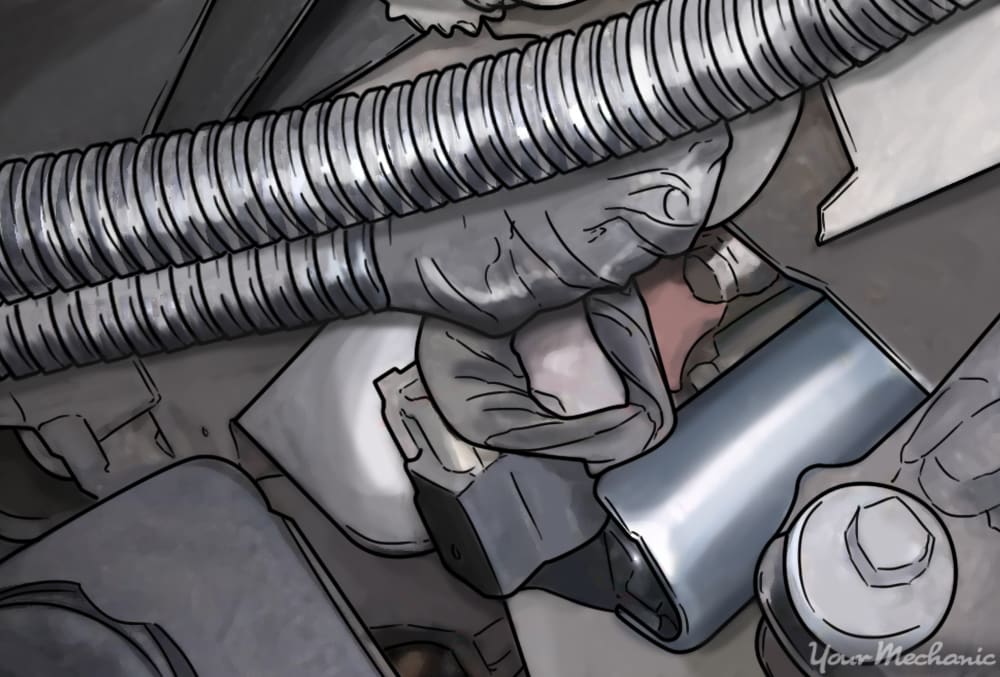
Step 8: Remove the solenoid. The variable valve timing solenoid may be stuck, so start by taking a pair of channel locks and gripping the strongest point of the solenoid.
This would be any metal part of the solenoid you can reach. Twist the solenoid side to side and lift while twisting side to side. It may take a little working at it to get it removed but it should pop right out.
Step 9: Inspect the variable valve. After removing the variable valve timing solenoid, take a good look at it to make sure it is in one piece.
There are times where a piece of o-ring or screen may be damaged or missing. Look down the solenoid valve mounting surface and look into the hole to make there aren’t any pieces of o-ring or screen.
Step 10: Remove any debris found. If you see anything abnormal inside the mounting surface hole, remove it carefully with a long curved pick or a long pair of needle nose pliers.
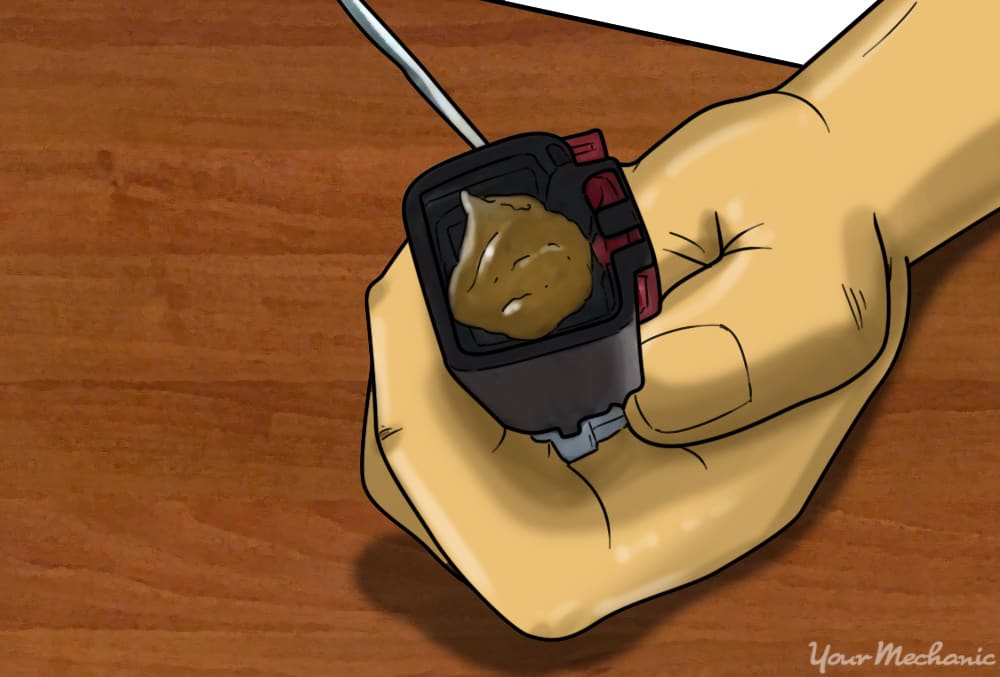
Step 11: Lube the solenoid. Apply the lithium grease to the seals on the solenoid spool.
The spool is the part you are inserting into the port.
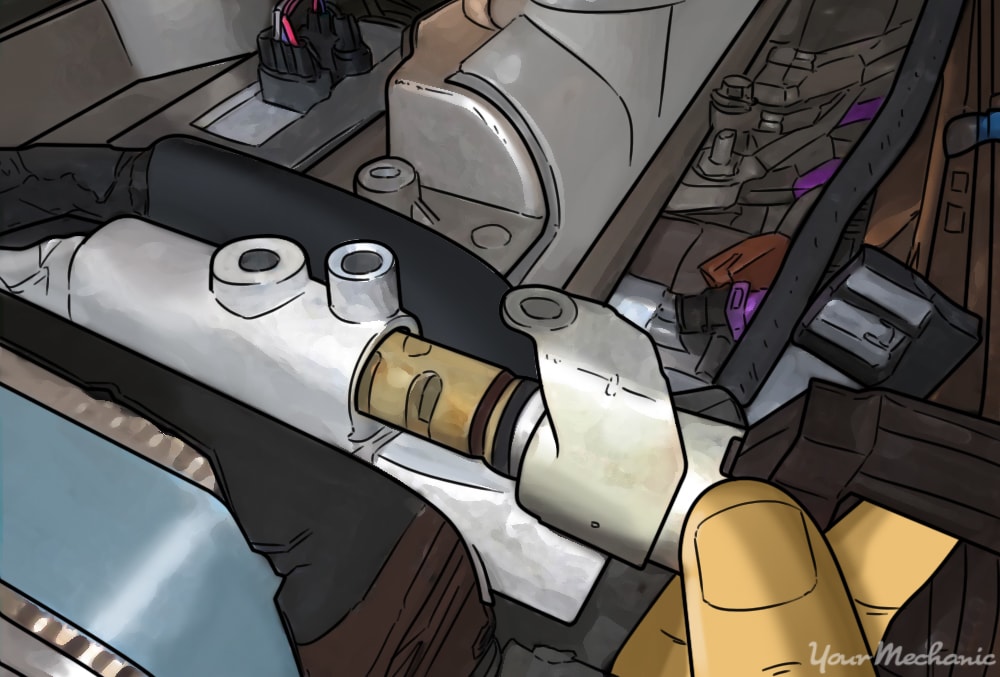
Step 12: Insert the solenoid. Take the new solenoid and insert it into the mounting surface hole.
There is slight resistance when installed but that indicates the seals are properly snug. While inserting the new solenoid, it helps to twist slightly back and forth while pushing down to get it flush with the mounting surface.
Step 13: Insert the mounting screws. Get the mounting screws started and tighten them snugly; it doesn't require too much torque.
Step 14: Install electrical connector. Apply a little dielectric grease to the face of the connector and the seal.
Applying dielectric grease isn't required but it is recommended to prevent corrosion to the connection, and it will help make connector installation easier.
Step 15: Re-route anything moved aside. Anything secured with a bungee should be set back into place.
Step 16: Install the engine cover. Re-install the engine cover that was removed.
Bolt or fasten it back into place.
Step 17: Reconnect the battery. Install the negative terminal onto the battery and tighten it.
Reconnect the positive battery terminal and tighten.
Having this repair done as recommended prolongs the life of your vehicle and rewards you with better fuel mileage. Reading and being educated on what to expect with your vehicle, and what to look for when inspecting, saves you costs in repairs in the future. If replacing your variable valve timing solenoid is something you would rather leave to a professional, have one of YourMechanic’s certified technicians perform the replacement.