Getting a flat tire can put a damper on your day and your wallet.
Tires can go flat due to many issues including:
- Glass or metal shards
- Hitting a pothole hard
- Impact with a curb
- Leaking valve stem
- Nails or screws on the road
The most common cause of a leaking tire is a puncture from a nail or screw.
When a nail punctures a tire, it can either stay embedded in the tread or can enter and come straight out. The tire pressure leaks from the puncture hole and the tire eventually goes flat.
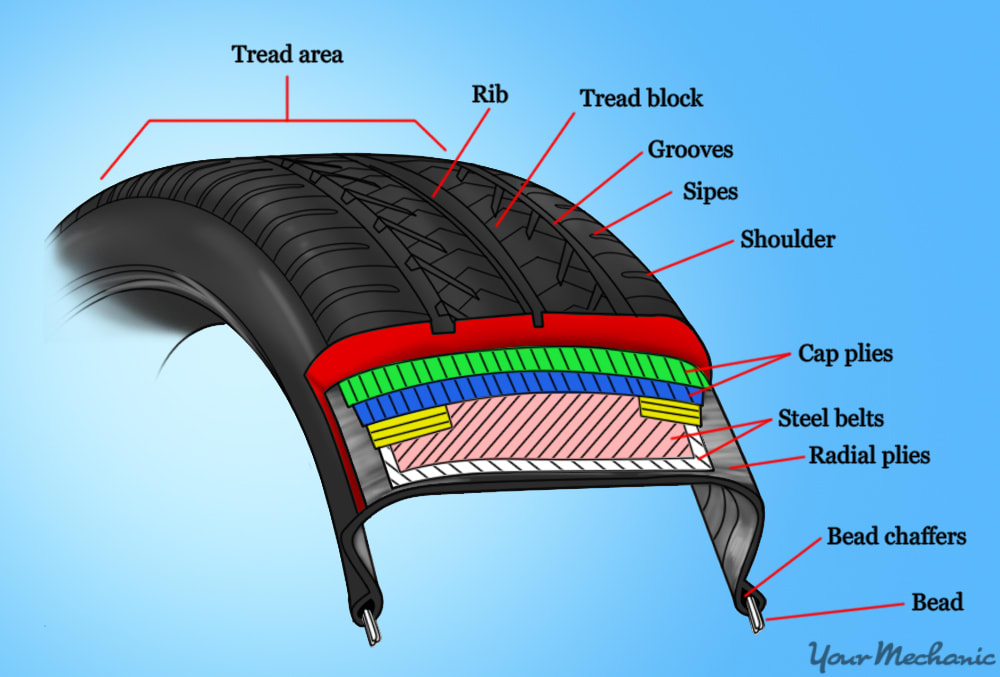
In either case, a puncture can be repaired if it occurs in the tread section of the tire.
Tip: If you have a slow leak in your tire, have it repaired soon after. If you top up the tire pressure without repairing the puncture, rust and corrosion can form in the steel belt layer, causing further damage such as belt separation and steering wobble.
Note: A proper tire repair includes removing the rubber tire from the wheel rim. While kits are available on the market to plug a tire from the outside, it is not an approved repair method and does not meet Department of Transportation (DOT) standards.
A proper tire repair can be done in one of two ways:
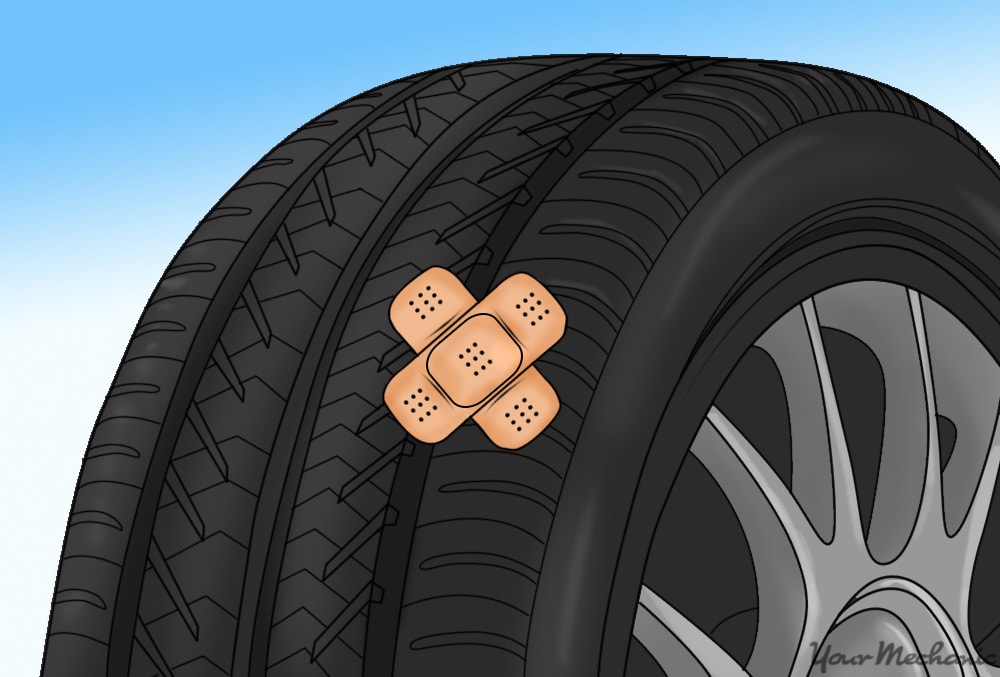
- A single repair with a combination plug and patch in one
A two-piece repair with a filler plug and a covering patch
Note: A two-piece repair is seldom used unless the puncture is on an angle greater than 25 degrees to the tread. It is a repair done in professional settings.
Here’s how to perform a tire repair with a combination patch.
Part 1 of 4: Find the tire puncture
Use the following steps to check your tire for any leaks and determine the location of the puncture.
Materials Needed
- Soapy water
- Spray bottle
- Tire crayon
Step 1: Spray soapy water over the tire with a spray bottle. Focus on areas that are likely to have a leak such as the bead, the valve stem, and the tread section.
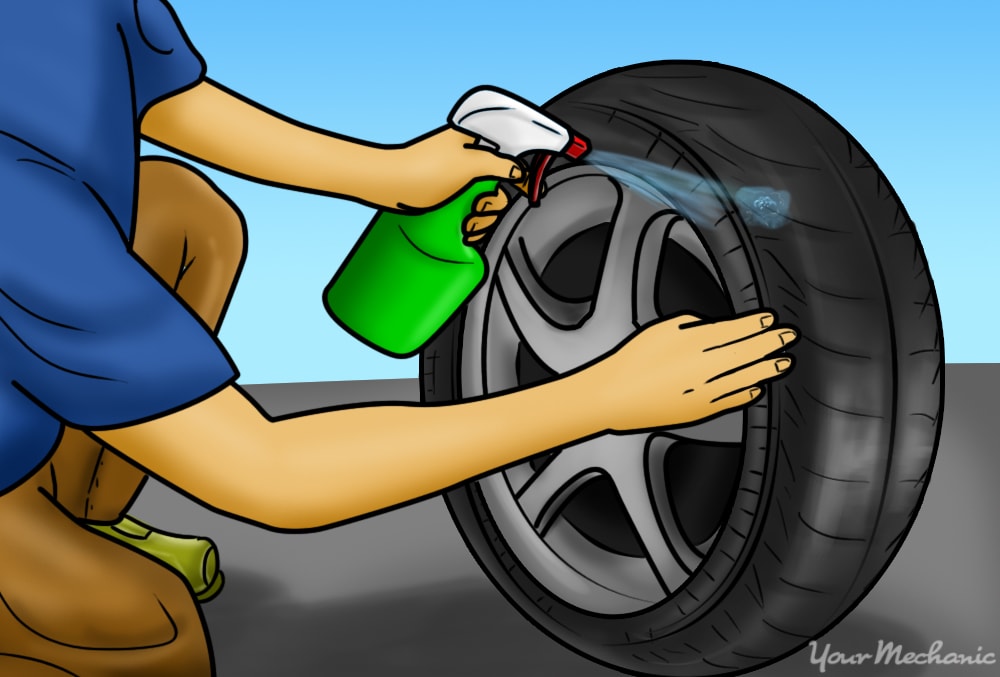
Coat the tire a little at a time with soapy water. You’ll know where the leak is when you see big or small bubbles forming in the soapy water.
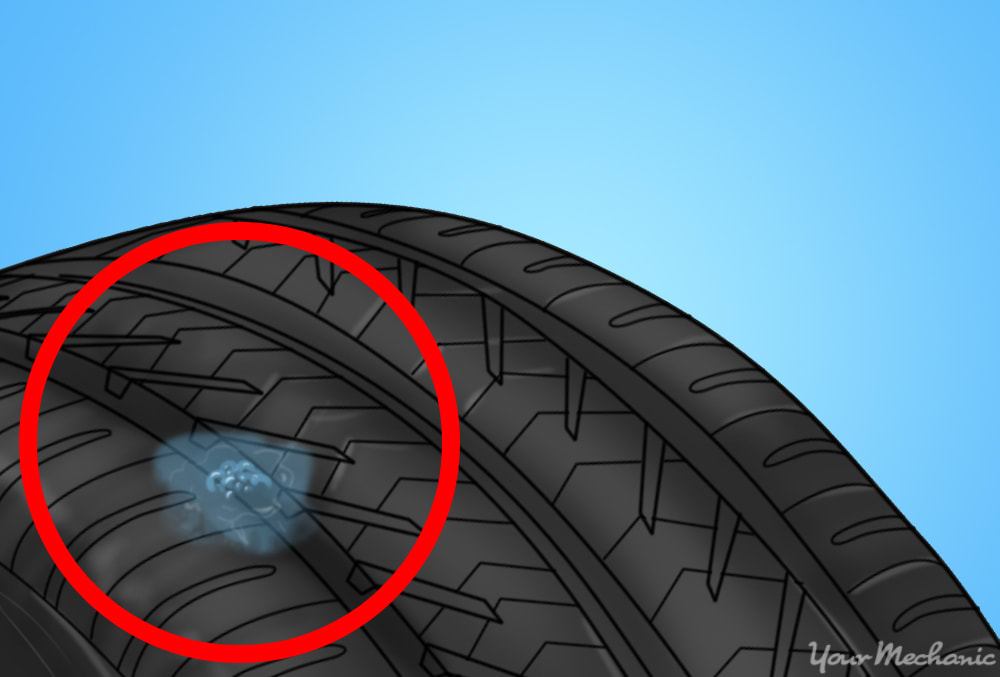
Step 2: Locate the leak. Mark the location of the leak with a tire crayon. Mark the location of the valve stem on the sidewall as well so that you can orient the tire properly when you reinstall it.
Part 2 of 4: Remove the tire from the rim
You will need to remove the tire from the wheel rim in order to be able to fix the puncture.
Materials Needed
- Bead breaker bar
- Eye Protection
- Heavy hammer
- Pry bar
- Valve stem core tool
- Work gloves
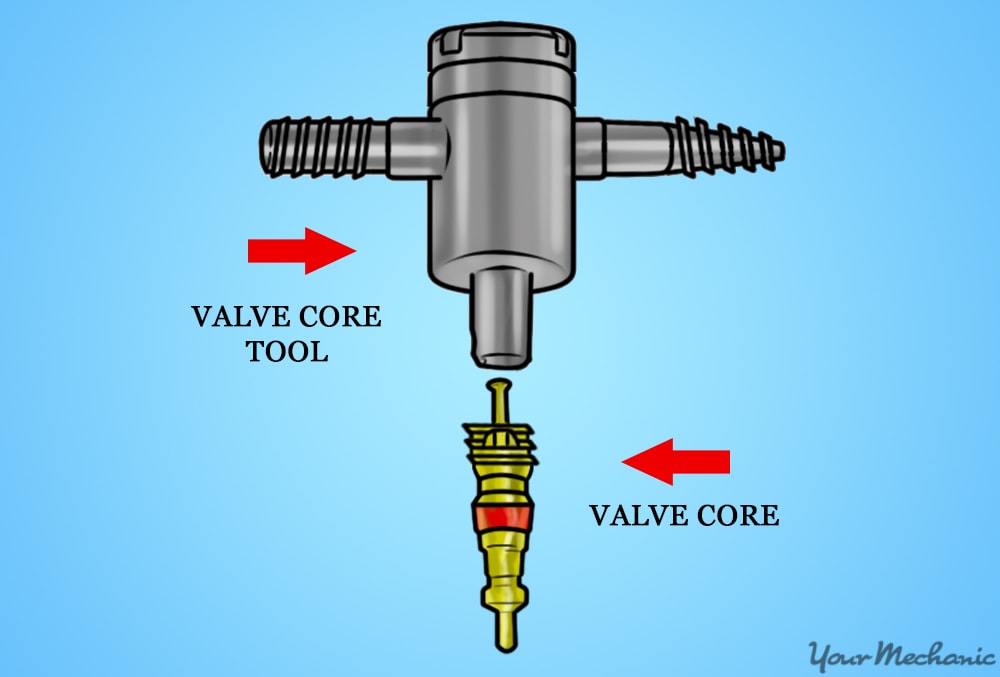
Step 1: Deflate the tire completely. If your tire still has air, remove the valve stem cap, then remove the valve stem core with the tool.
- Note: Air will start to hiss out quickly when the valve stem core is loose. Be careful to control the valve core and hold it so you can reuse it after the tire is repaired.
The tire will take less than a minute to completely deflate with the valve core out.
If your tire is already completely empty of pressure, skip to the next step.
Step 2: Break the bead. The smooth lip of the tire seals tightly to the rim and needs to be separated from the rim.
Lay the tire and rim flat on the ground. Place the bead breaker bar snugly under the lip of the rim on top of the tire and pound on it with a heavy hammer, wearing eye protection and work gloves.
Continue around the whole tire bead in the same fashion, moving along once the bead begins to move. When the bead is fully unseated, it will sink loosely downwards. Flip the wheel over and repeat the process for the other side.

Step 3: Pry the tire off the rim. Place the end of the bar under the lip of the tire and against the rim and pry the tire upwards. A section of the rubber lip will be above the edge of the rim.
Using a second bar, pry around the rest of the bead until it is fully above the edge of the rim. The second lip will come easily off the rim with a bit of wiggling. Use a pry bar to lift it above if it’s not coming off easily.
Part 3 of 4: Perform the tire repair
Apply the patch and plug into the puncture to fix your flat tire.
Materials Needed
- Combination patch
- Patch roller
- Rasp or diamond-grit sandpaper
- Reamer
- Rubber cement
- Utility knife
Step 1: Evaluate the tire’s condition. If there are black pebbles or dust inside the tire, or if you see cracks or cuts on the inside of the tire, that’s an indication the flat tire was driven for too long. In this case, discard the tire and replace it.
If the inside of the tire is shiny and free from debris, continue with the repair.
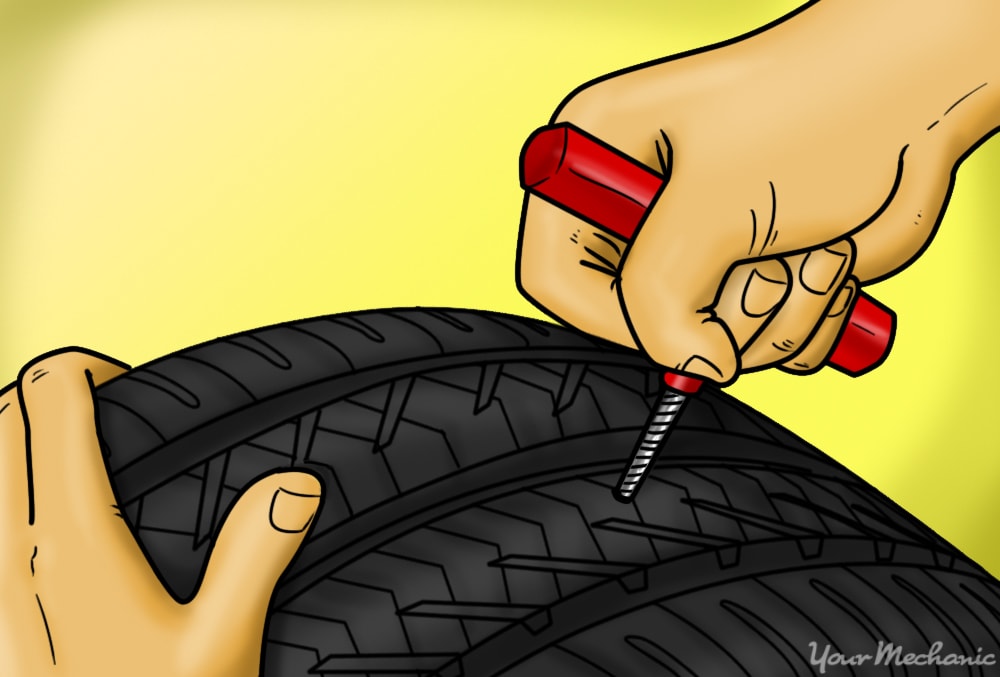
Step 2: Ream the puncture hole. Locate the hole inside the tire opposite the mark you made on the tread. Insert your reamer into the hole from the inner side of the tire, pushing it deeply into the hole and back out at least six times.
- Tip: The hole needs to be clean so the plug part of the patch will make good contact and seal the hole.
Step 3: Rough up the inside of the tire at the hole. Use a manual rasp or a piece of diamond-grit sandpaper to rough up a spot just larger than the patch area. Brush away any loose rubber that may have formed.
Step 4: Apply a generous layer of rubber cement. Brush the cement over an area just larger than the patch. Let it set according to the instructions on the container.
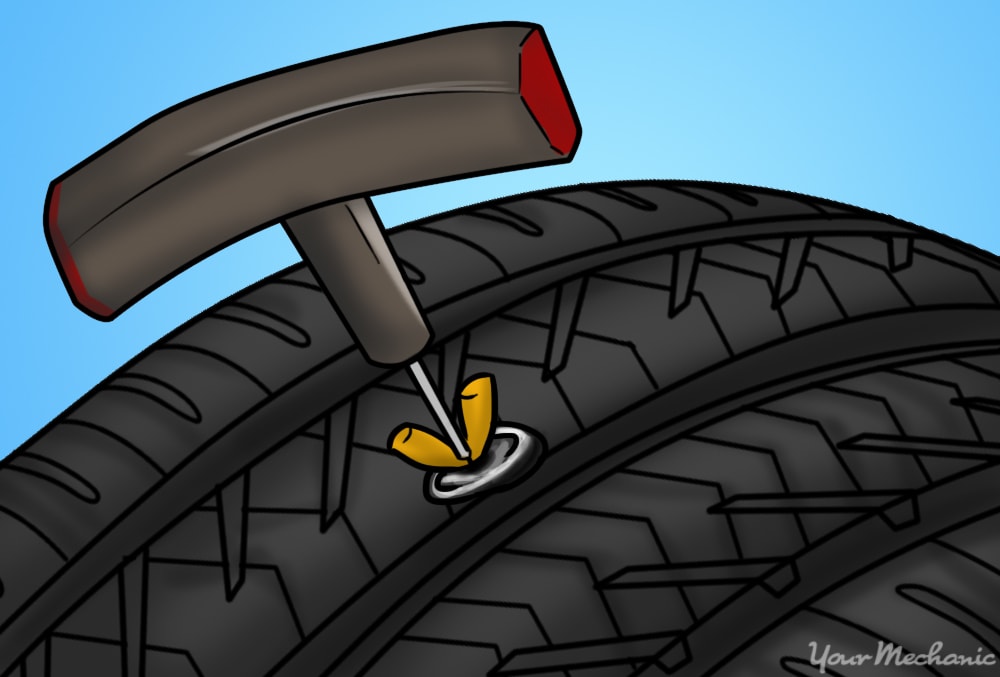
Step 5: Push the plug part of the patch into the hole. Pull the protective backing off of the patch, then insert the plug into the hole. There is a stiff wire at the end of the plug. Insert it into the hole, pushing it through as far as you can.
Note: The plug needs to go deep enough that the patch rests fully on the inner tire liner.
Tip: The fit will likely be tight, and you may have to pull the plug the rest of the way with a pair of pliers. Pull on the wire part to fit the plug correctly.
Step 6: Seat the patch with a roller. With the combination patch all the way in place, seat the patch in the rubber cement with a roller.
- Tip: The roller looks like a toothed pizza cutter. Roll it with moderate force, ensuring that you contact every part of the patch.
Step 7: Cut the protruding plug flush with the tire tread. Use a utility knife to cut the plug flush with the tire surface. Don’t pull on the plug when cutting it.
Part 4 of 4: Reinstall the tire on the rim
After repairing the puncture, you need to put the tire back on the wheel rim.
Materials Needed
- Compressed air
- Pry bar
- Valve core tool
Step 1: Orient the tire in the proper direction. Use the valve stem marking to line it up on the correct side and position in the rim.
Step 2: Install the tire back onto the rim. Press the tire over the rim and wiggle it into position. The bottom side should drop easily into place. The top side may take some effort like twisting the tire or putting pressure around the bead.
If necessary, use a bar to pry the rubber back under the rim.
Step 3: Install the valve stem core. Make sure the valve core is snug to prevent leaks.
Step 4: Inflate the tire. Use a compressed air source to put air into the tire. Inflate it to the recommended tire pressure for your vehicle, found on the driver’s door placard.
Step 5: Recheck the tire for leaks. Spray the tire with soapy solution to confirm the leak is repaired and the tire is seated on the bead.
Even though a tire plug might be sufficient by itself, national road safety agencies caution against using only a simple plug.
In some situations, relying on a plug might be less effective.When the puncture hole is near the tire’s sidewall, many experts recommend a patch as a simple plug may not be enough to completely seal the damage. When the puncture is diagonal and not straight, a patch will need to be applied. A plug-patch is the ideal solution to such situations involving a flat tire.
If you find that your tire is not inflating properly even after repairing the puncture, get a certified mechanic, such as one from YourMechanic, to inspect the tire and install your spare tire instead.