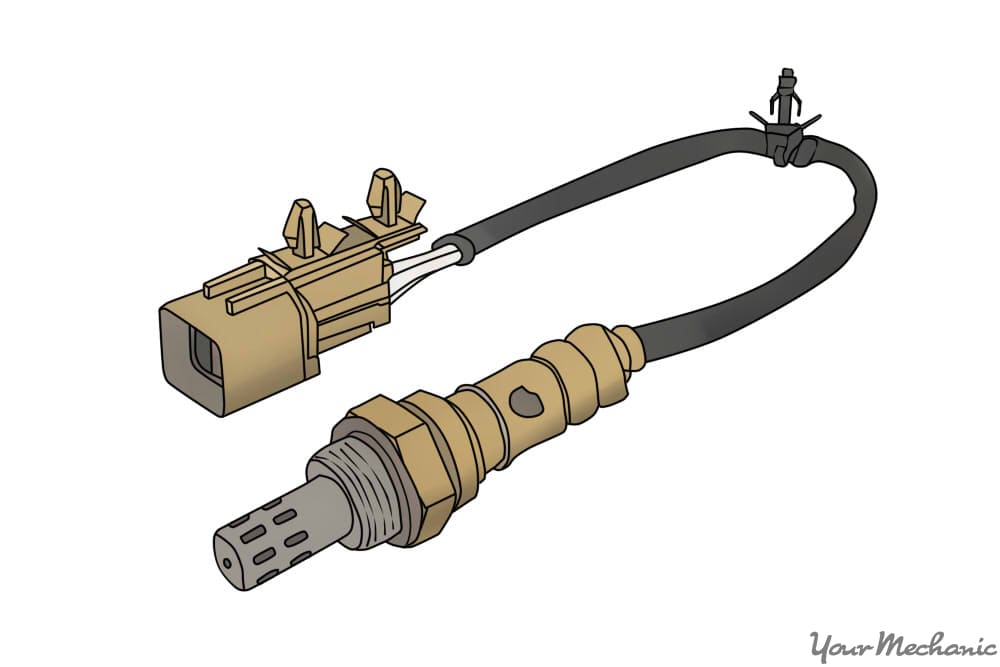
How to Replace an Oxygen Sensor

Oxygen sensors are one of the most important components on a modern vehicle’s engine management system. They are responsible for monitoring the air fuel mixture of the engine, and their readings affect important engine functions such as timing and air fuel mixture.

Over time, with normal use, oxygen sensors can begin to function with a delayed response, and they will eventually fail. Typical symptoms of a failed oxygen sensor are decreased engine performance, decreased fuel efficiency, rough idle, and in certain cases, even misfires. Usually a failed oxygen sensor will also set off a check engine light, specifying which sensor on what bank has failed.

In most cases, replacing an oxygen sensor is a relatively straightforward procedure that usually only requires a few tools. In this step by step guide, we will go over what removing and replacing an oxygen sensor typically entails.

Part 1 of 1: Replacing an oxygen sensor

Materials Needed

scanning tool

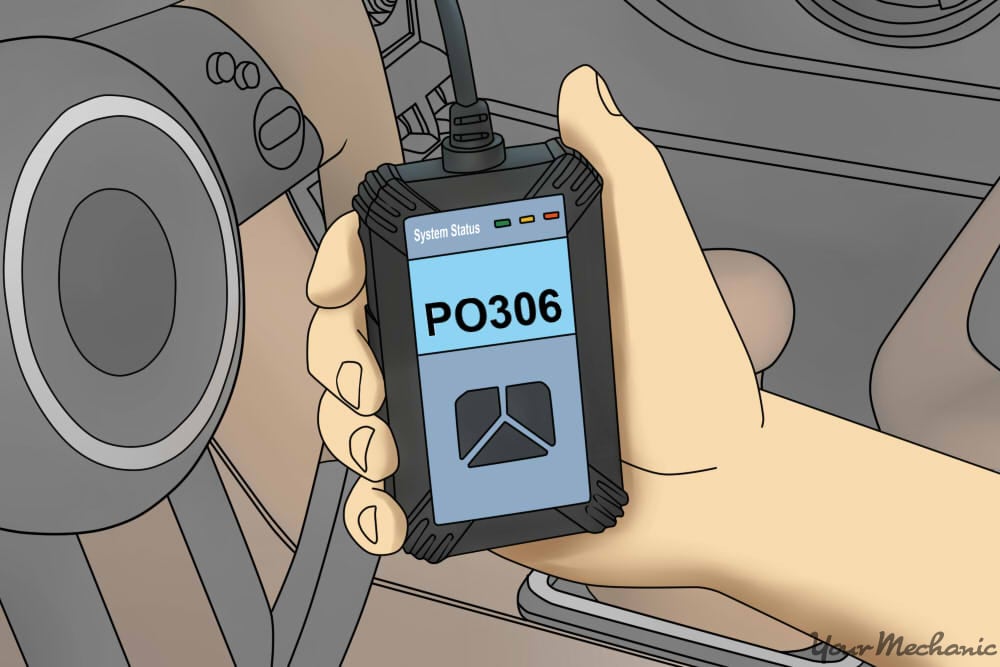
Step 1: Identify the faulty sensor. Before beginning, connect the OBD II scan tool to the vehicle and read the codes to determine which specific oxygen sensor has failed and needs to be replaced.

Depending on the engine design, vehicles can have multiple oxygen sensors, sometimes on both sides of the engine. Reading the trouble codes will tell you exactly which sensor is in need of replacing — either the upstream (top) or downstream (bottom) sensor — and on what bank (side) of the engine.

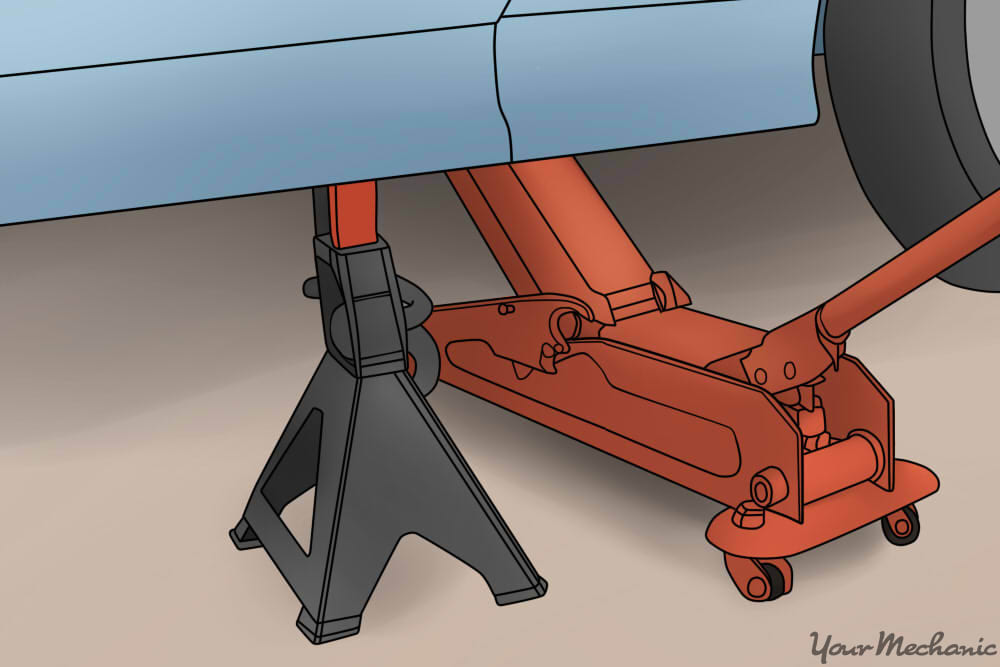
vehicle raised on jack stands

Step 2: Raise the vehicle. Once the faulty sensor has been identified, raise the vehicle and secure it on jack stands. Be sure to raise the vehicle on the side which you will allow you to access the oxygen sensor that needs to be replaced.

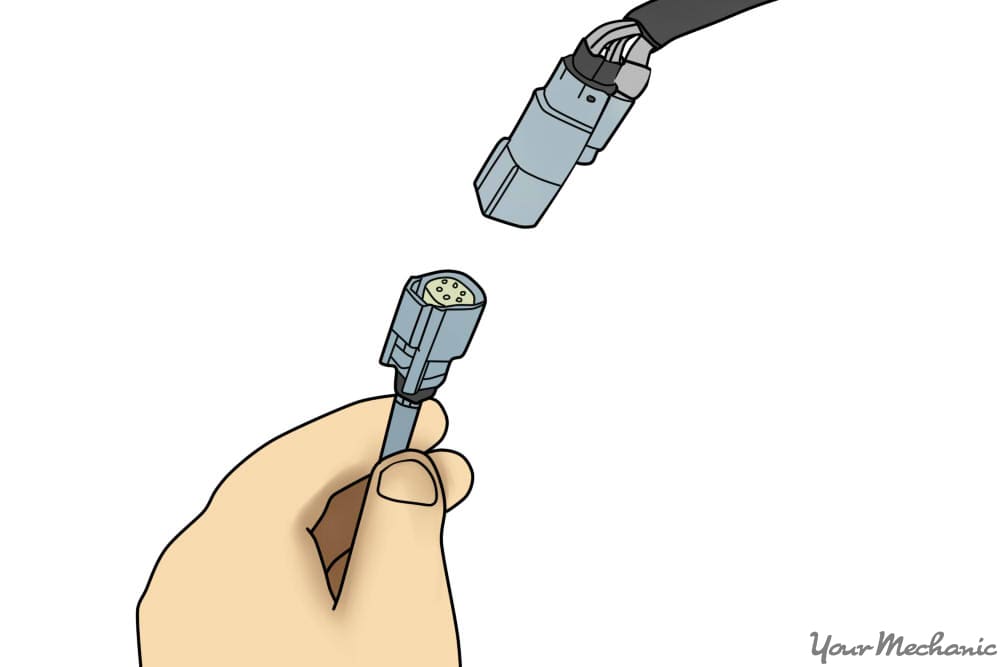
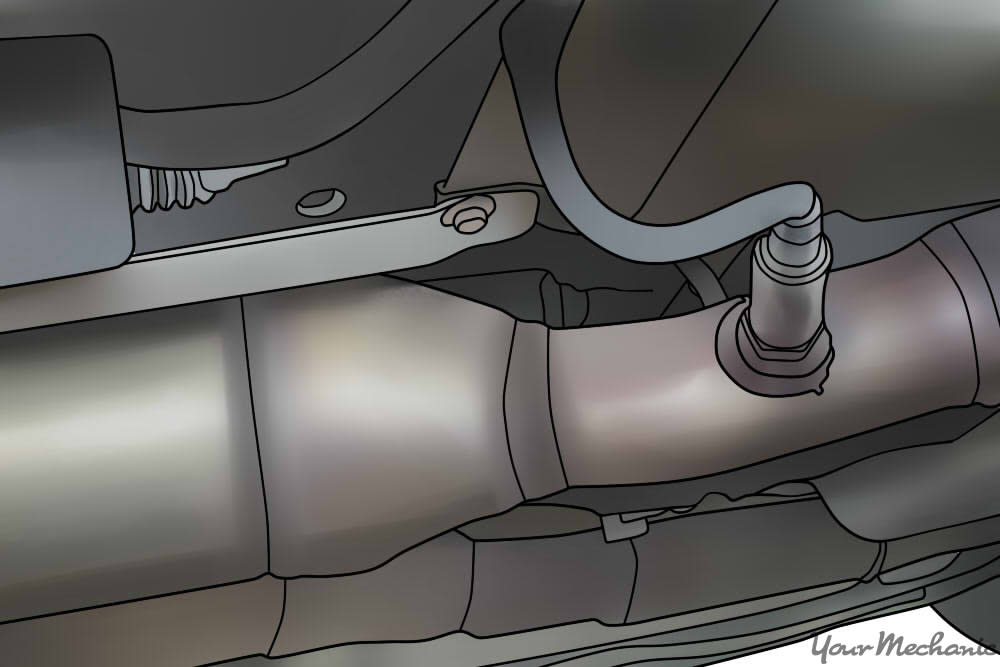
person disconnecting the oxygen sensor

Step 3: Disconnect the oxygen sensor connector. With the vehicle raised, locate the faulty oxygen sensor and disconnect the wiring harness connector.

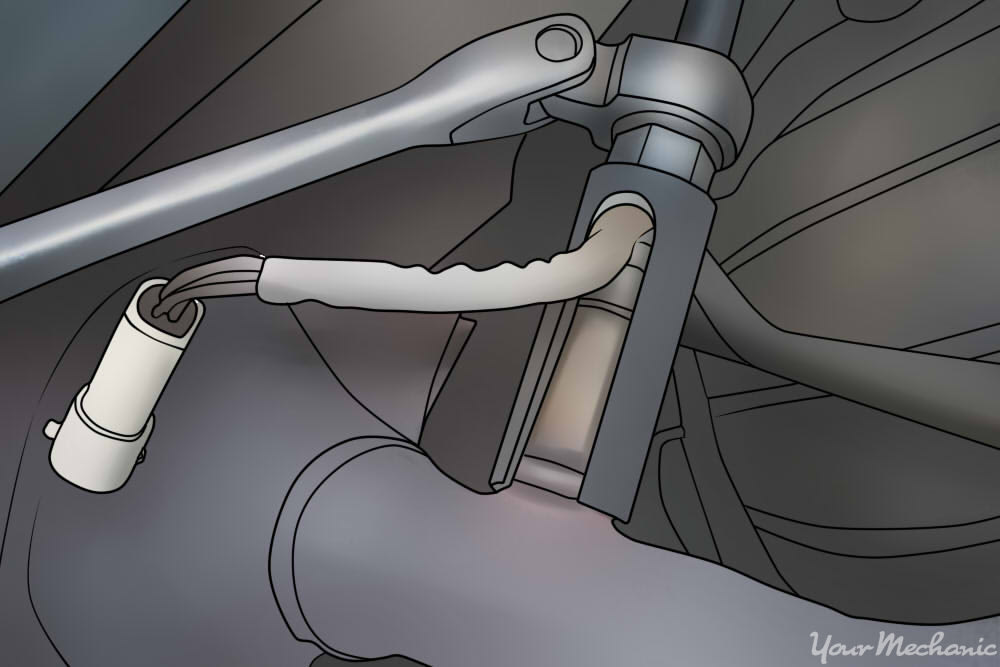
person using tools to remove the oxygen sensor

Step 4: Remove the oxygen sensor. Using the oxygen sensor socket or the appropriate size open end wrench, loosen and remove the oxygen sensor.

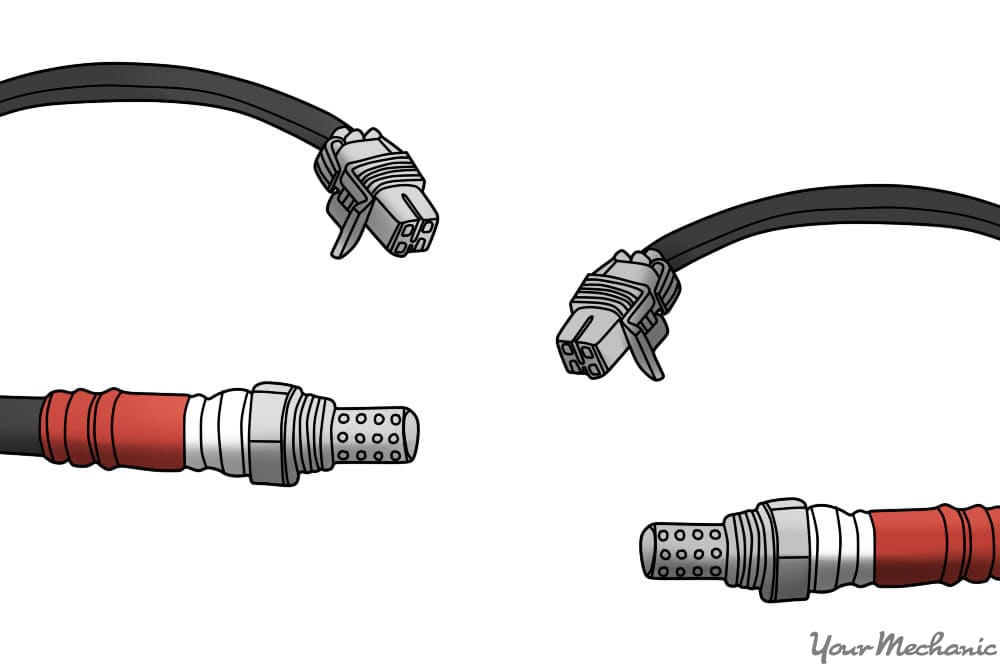
side by side comparison of the oxygen sensor

Step 5: Compare the faulty oxygen sensor with the replacement sensor. Compare your old oxygen sensor with your new replacement to ensure the correct fitment.

new oxygen sensor installed

Step 6: Install the new oxygen sensor. Once fitment has been verified, install your new oxygen sensor, and connect the harness.

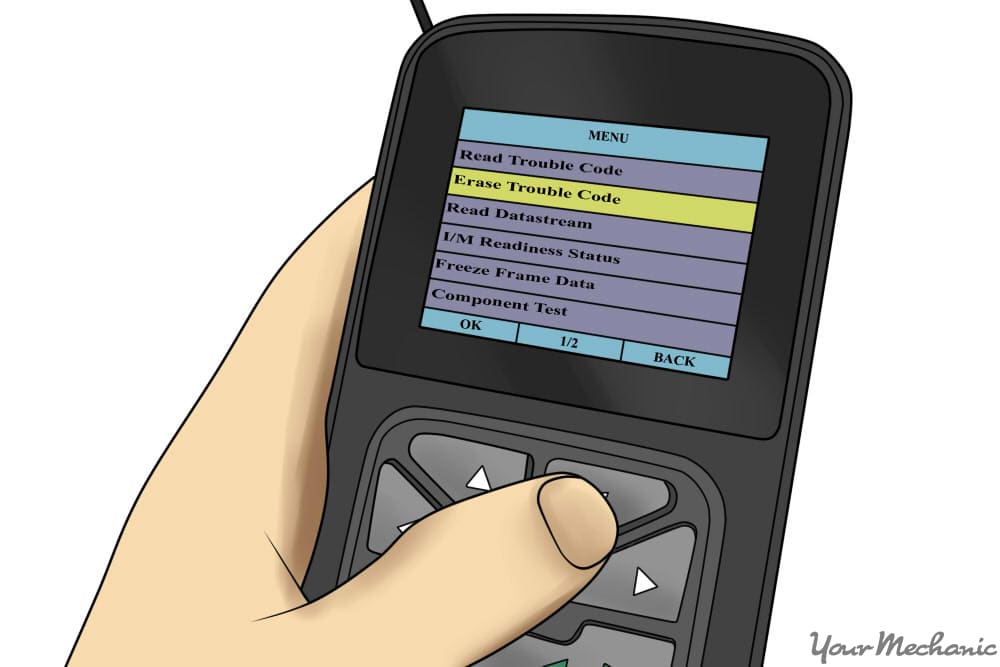
person using a scan tool to erase the trouble codes

Step 7: Clear the codes. Once the new sensor has been installed, it is time to clear the codes. Connect the OBD II scan tool to the vehicle and clear the codes.

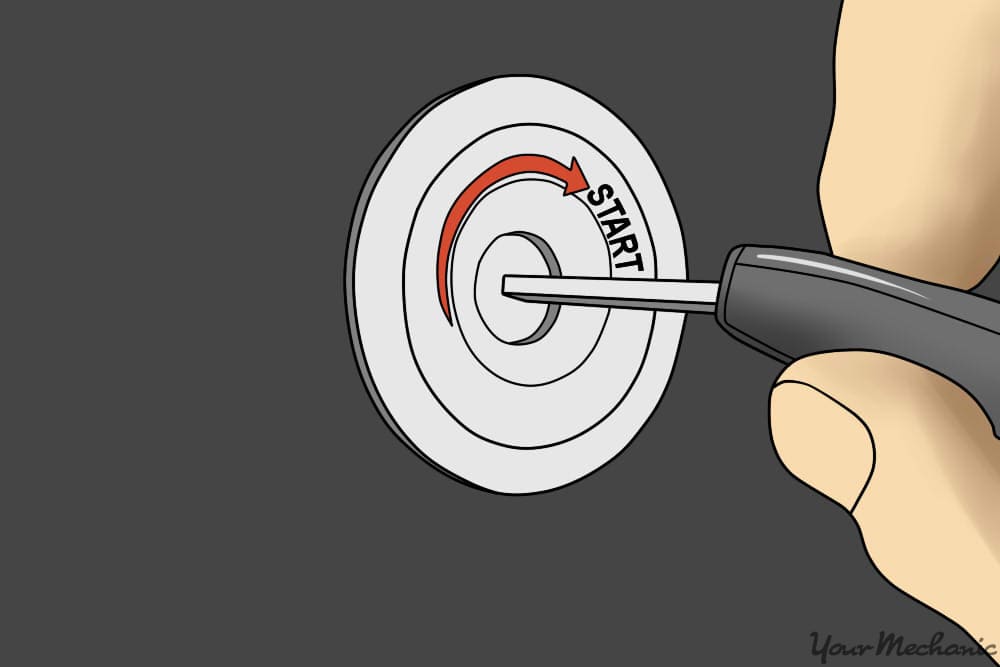
person inserting and turning key in the ignition

Step 8: Start the vehicle. Once the codes have been cleared, remove and reinsert the key, and then start the vehicle. The check engine light should now be gone, and the symptoms you were experiencing should be alleviated.

In most vehicles, replacing an oxygen sensor is a simple procedure that requires only a few tools. However, if this is not a task you are comfortable doing on your own, this is something that any professional technician, such as one from YourMechanic, can take care of quickly and easily.


Next Step

Schedule Oxygen Sensor Replacement

The most popular service booked by readers of this article is Oxygen Sensor Replacement. YourMechanic’s technicians bring the dealership to you by performing this job at your home or office 7-days a week between 7AM-9PM. We currently cover over 2,000 cities and have 100k+ 5-star reviews... LEARN MORE

SEE PRICING & SCHEDULING

The statements expressed above are only for informational purposes and should be independently verified. Please see our terms of service for more details

Recent Oxygen Sensor Replacement reviews

Excellent Rating

(1,705)

Rating Summary
1,609
51
10
10
25
1,609
51
10
10
25

Theodore

17 years of experience
1794 reviews
Theodore
17 years of experience
Toyota 4Runner V6-3.4L - Oxygen Sensor Replacement (Front/Upper/Upstream) - Sammamish, Washington
I am very happy with the service on my 2001 Toyota 4 Runner. Theodor replaced my Oxygen Sensor that was causing my check engine light to be on. He was very fast. I was given a price under what it would have been hsad I taken it to the dealer.
Jeep Liberty - Oxygen Sensor Replacement (Front/Upper/Upstream) - Lynnwood, Washington
Thedore arrived early and was done quickly. He is very knowledgeable vand friendly and highly recommend him.

Corey

13 years of experience
511 reviews
Corey
13 years of experience
Jeep Wrangler L6-4.0L - Oxygen Sensor Replacement (Front/Upper/Upstream, Rear/Lower/Downstream) - Charlotte, North Carolina
Corey went above and beyond expectations with my appointment. Quality work, very timely but more importantly he took it upon himself to make sure everything was right. definitely recommend and will use in the future.
Honda CR-V - Oxygen Sensor Replacement (Front/Upper/Upstream) - Charlotte, North Carolina
Corey was very knowledgeable and courteous. His work was very good. I would highly recommend him for any mechanic jobs. I was very satisfied.

Johnathan

8 years of experience
191 reviews
Johnathan
8 years of experience
Chevrolet Cruze L4-1.4L Turbo - Oxygen Sensor Replacement (Front/Upper/Upstream) - Saint Louis, Missouri
Very professional and honest! Thought I needed an alternator and turned out to be an O2 sensor. Johnathan went and got the part and was done in no time. Great mechanic! I hope to have him again should another issue surface.
Subaru Legacy - Oxygen Sensor Replacement (Rear/Lower/Downstream) - Saint Louis, Missouri
John was very thorough and completed the maintenance faster than I expected. He was also very familiar with my car already and answered any questions I had.

Ronald

42 years of experience
519 reviews
Ronald
42 years of experience
Lexus SC430 V8-4.3L - Oxygen Sensor Replacement (Front/Upper/Upstream) - Spring, Texas
This is the 3rd or 4th time I've had Ron out to work on one of our cars. He is always prompt, friendly, knowledgable and diligent in getting the work done right the first time.
Ford F-150 - Oxygen Sensor Replacement (Front/Upper/Upstream, Rear/Lower/Downstream) - Humble, Texas
Very pleasant experience good mechanic would strongly recommend to others as well as any future work

Need Help With Your Car?

Our certified mobile mechanics make house calls in over 2,000 U.S. cities. Fast, free online quotes for your car repair.

GET A QUOTE

Related articles

B1904 OBD-II Trouble Code: Air Bag Crash Sensor #2 Feed/Return Circuit Failure
B1904 means there is a circuit malfunction in the #2 airbag crash sensor, likely due to damaged electrical components or a bad sensor.
How to Replace a Shock Absorber
Replacing a shock absorber can take some work, as it requires lifting your vehicle and ensuring you are aligning the new shock correctly.
How to Replace a Car Track Bar
Replacing a track bar involves lifting the car in the air and using a wrench to tighten the bar at the correct torque specification.

Related questions

Replace timing belt.
Camshaft and Crankshaft position sensors are somewhat common failures seen in the Hyundai Santa Fe, mainly due to the temperature abuse they both receive inside of the engine. From extreme hot when the engine runs, to very cool ambient temperature...
Throttle suddenly goes out
Hi there, thank you for asking about your 2003 Mercedes-Benz S55 AMG. This is usually caused by a failing throttle body. The throttle motor or sensor fails and will cause this to occur. If the motor cannot move the throttle...
2008 Mazda CX-9 twin camshaft sensor with shavings
Hi there. Remove the valve cover to the engine. Get a flashlight and look at where the sensor is located at on the top of the engine. Check to see where the camshaft sensor is located and see if the...

How can we help?

Our service team is available 7 days a week, Monday - Friday from 6 AM to 5 PM PST, Saturday - Sunday 7 AM - 4 PM PST.

1 (855) 347-2779 · hi@yourmechanic.com