How to Add Headlight Covers

A current trend in the automotive industry is to blackout a vehicle. That includes tinting the windows dark, installing black nameplates and emblems, black rims, and black tinted light assemblies.

Aftermarket parts and accessories achieve the same look, and one way of doing so is with headlight covers. Headlight covers are made of plastic and are usually tinted translucent black, though they are also available in other colors or clear.

The translucent plastic looks black in appearance until the headlights are turned on, then the headlights are clearly visible as if the headlight covers weren’t present at all. Headlight covers serve several purposes. They protect the headlight assemblies from rock or debris damage when driving and prevent oxidation on your headlight assemblies. They also provide a sleek European feel and personal touch for your car.

Installing headlight covers is a straightforward process that has dramatic results in just a few minutes.

Part 1 of 2: Prep your headlight assemblies

Headlight covers adhere to the outside of your headlight assemblies over the clear lens. You need to ensure the headlight is completely clean in order to achieve long-lasting adhesion and clear illumination.

Materials Needed

hand washing the headlight assembly of a car

Step 1: Wash headlights. Wash your headlight assemblies with soap and water.

Mix soap and water in your bucket according to the instructions on the car wash soap container. Wash your headlamp assemblies thoroughly with a sponge saturated in the soapy water, being sure to scrub until you no longer feel any dirt or grit on the headlight assemblies.

Step 2: Rinse the headlights. Rinse the headlights with clean water until suds are longer present in the water running off.

headlight assembly with pink cloth

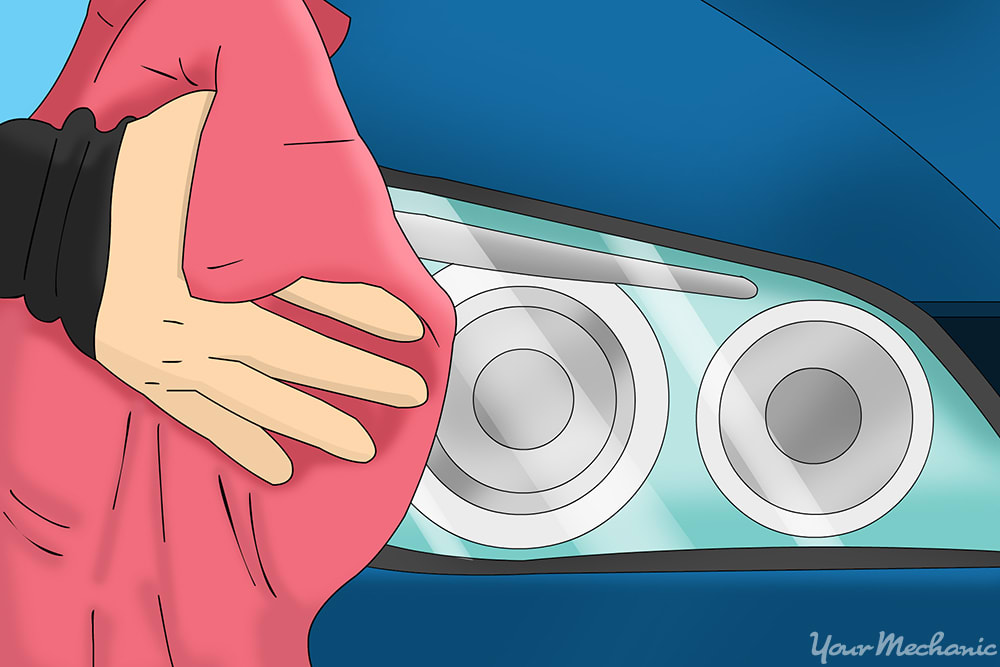
Step 3: Dry headlights. Wipe your headlights with a microfiber cloth to dry them completely.

Wring out the cloth if it becomes saturated. Let your car sit for at least 30 minutes to allow any water droplets remaining in the area to dissipate.

Give one last wipe with your cloth to ensure the headlights are dry and clean.

oxidized headlight assembly on blue car

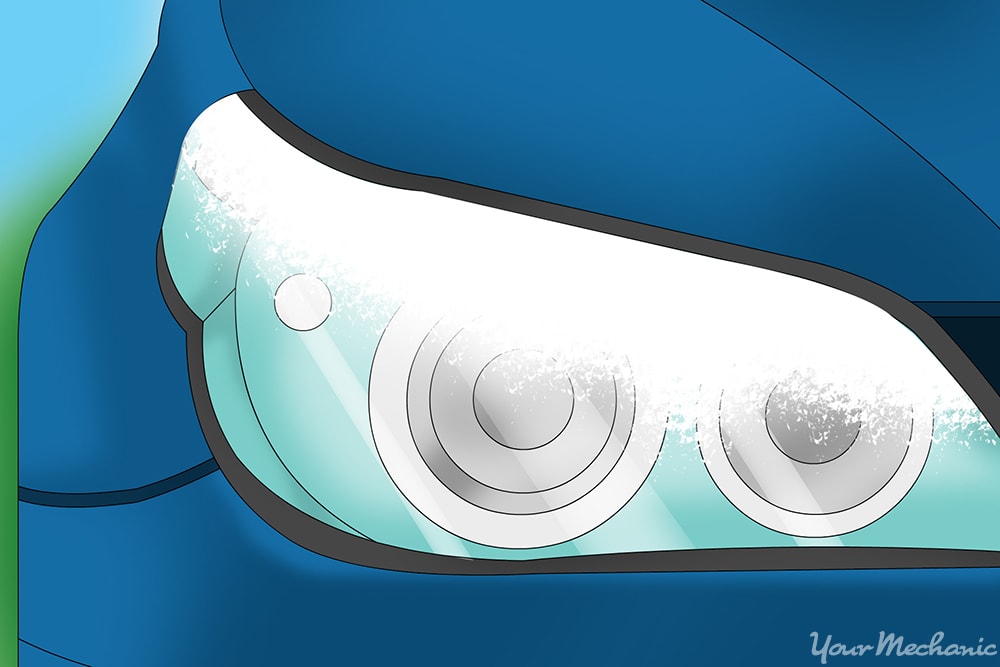
Step 4: Remove oxidation. Inspect your headlights to make sure they are clean and the lenses are clear of oxidation.

Oxidation presents as a hazy white appearance on your headlight lens. It often feels gritty or rough. If oxidation is present, remove the oxidation from your headlights before proceeding to the installation.

Part 2 of 2: Install the headlight covers

Installing your headlight covers is a straightforward process that doesn’t require special tools or equipment to achieve a professional result. Make sure you start with clean headlights for the best possible results.

  • Warning: Installing headlight covers onto headlights that have not been properly cleaned can result in the light from your headlight bulbs refracting before leaving the headlight assembly, reducing your visible light range. This may also cause the adhesive tape used to secure the headlight covers to release prematurely.

open hood in VW car

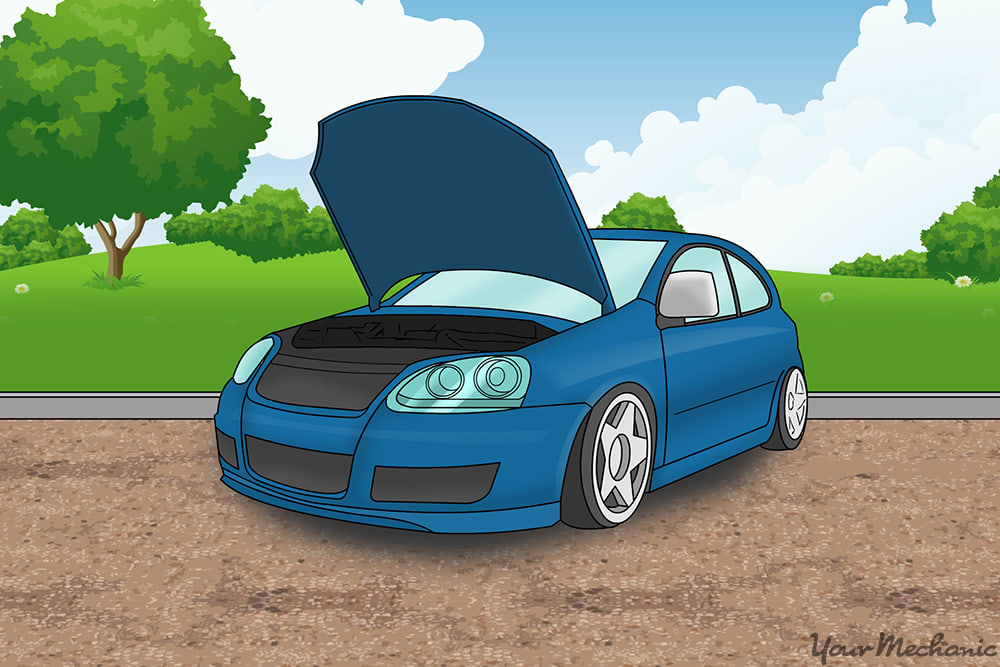
Step 1: Open hood. Lift your hood and secure it in the open position.

With your hood open, you can more easily install your headlight covers than with the hood closed.

Pre-fit the headlight covers to be sure they are the correct ones and are not deformed in any way before you try and install them only to find out one of them is not formed correctly.

hand wiping headlight with alcohol pad in hand

Step 2: Wipe headlight with alcohol. Wipe the driver’s side headlight assembly with an alcohol pad. Check the inside of the cover for anything on the inside of the lens covers before installation.

Wipe all the way to the edges with the alcohol pad, ensuring the areas where the two-sided tape will be applied are clean.

  • Note: The alcohol pad is included with the headlight cover installation kit.

two sided tape on backside of headlight

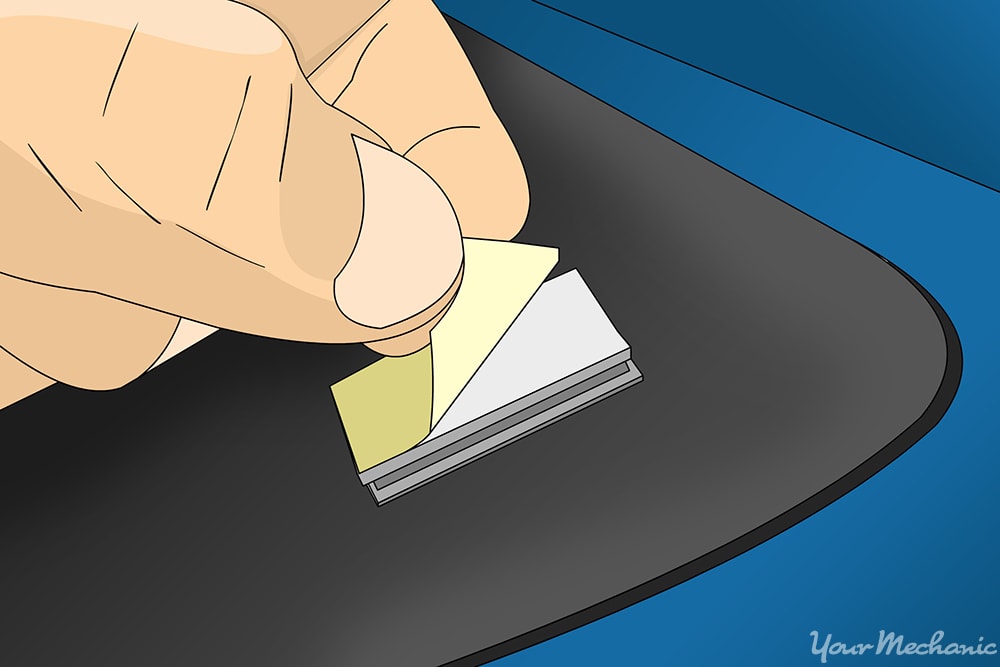
Step 3: Remove protective cover. Remove the protective cover on the two-sided tape on the backside of the headlight cover.

  • Warning: Be careful not to touch the exposed two-sided tape or get it dirty or dusty.

Step 4: Align the cover and lens. Line up the driver’s side headlight cover with the headlight lens.

headlight cover on blue car

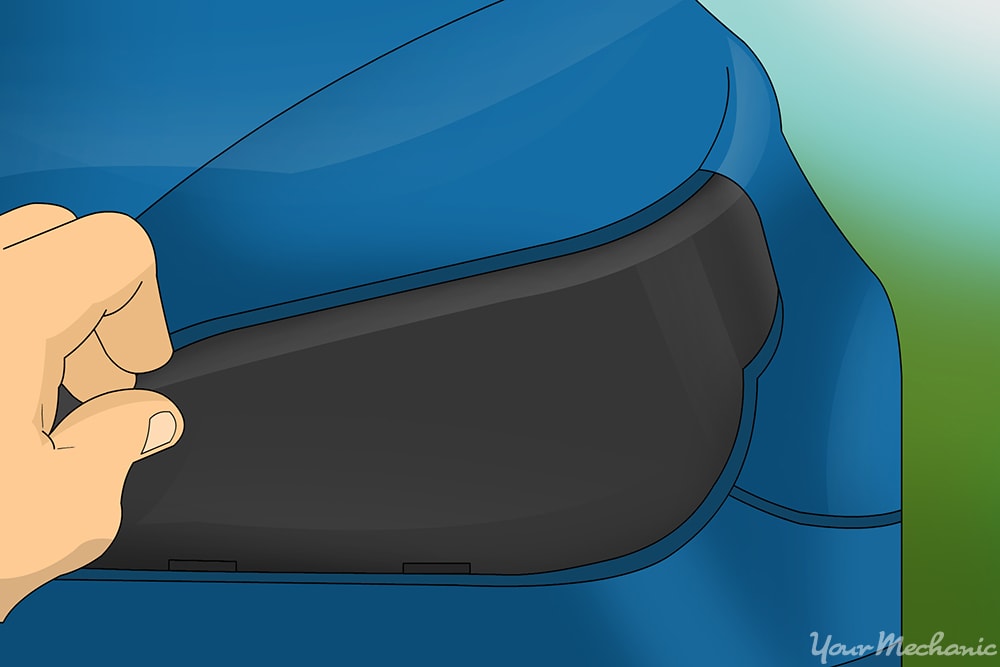
Step 5: Fit the cover onto the lens. Slide the headlight cover into place over top of the headlight lens.

If there are alignment tabs on the headlight cover, make sure they fit around the headlight lens properly. Press the two-sided tape firmly to ensure a tight fit.

Step 6: Put cover on passenger side. Repeat steps 1 through 5 for the passenger side headlight cover as well.

  • Tip: Headlight covers are manufactured as a direct fit for each vehicle. Don’t attempt to install headlight covers intended for another make or model as they will not fit properly and may not adhere to your headlights well.

  • Warning: Caring for your headlight covers is as easy as washing with gentle car wash soap and water, but it’s not advised to go through automatic car washes with brushes as the brushes can get stuck on the edges of the headlight cover and damage the covers or your vehicle.

Adding headlight covers is a popular way to achieve a new look for your car. Not only is this aesthetically appealing, but it can protect your headlights as well. If you are confused about the process, Ask a Mechanic for help, and if a headlight is not working, one of our certified mobile mechanics would be glad to inspect it for you.


Next Step

Schedule Headlight is not working Inspection

The most popular service booked by readers of this article is Headlight is not working Inspection. Once the problem has been diagnosed, you will be provided with an upfront quote for the recommended fix and receive $20.00 off as a credit towards the repair. YourMechanic’s technicians bring the dealership to you by performing this job at your home or office 7-days a week between 7AM-9PM. We currently cover over 2,000 cities and have 100k+ 5-star reviews... LEARN MORE

SEE PRICING & SCHEDULING

The statements expressed above are only for informational purposes and should be independently verified. Please see our terms of service for more details

Recent Headlight is not working Inspection reviews

Excellent Rating

(122)

Rating Summary
112
3
1
1
5
112
3
1
1
5

Matthew

34 years of experience
1438 reviews
Matthew
34 years of experience
Chevrolet Impala V6-3.5L - Headlight is not working - Norfolk, Virginia
Always professional and offers the best info when it comes to preventing further issues with the car. I would recommend him to anyone.
Chrysler Sebring - Headlight is not working - Norfolk, Virginia
Matthew absolutely exceeded my expectations! Not only did he find the problem, but he also fixed it too. He was able to get all services I ordered done in close to an hour. He is an exceptional mechanic and a master of his trade. I would absolutely book him again.

Attila

20 years of experience
1104 reviews
Attila
20 years of experience
Mercedes-Benz GL450 V8-4.6L - Headlight is not working - Roselle, New Jersey
He is very honest. He diagnosed what I thought was an issue that would have been costly. Instead it was an easy minor fix and didnt crush my pocket.
Nissan Altima - Headlight is not working - Irvington, New Jersey
My experience with Atilla was great he came and got the job done in a short amount of time. I am pleased and will definitely reccomend him to others and will surely book him in the future. ï–’

Michael

49 years of experience
124 reviews
Michael
49 years of experience
Chevrolet Malibu V6-3.5L - Headlight is not working - Memphis, Tennessee
Michael has helped me on multiple car issues and always knows exactly how to fix things. Grateful for his help!
Chevrolet Malibu - Headlight is not working - Memphis, Tennessee
Michael always does everything he can to solve any car issues. He is always very kind and efficient.

Rusty

24 years of experience
567 reviews
Rusty
24 years of experience
Hyundai Genesis V8-4.6L - Headlight is not working - Arlington, Texas
All work completed successfully and in a timely manner. Rusty was great to work with. The weather was cold and raining but Rusty worked in the garage and completed the work. Great job!! Thanks !!
Lincoln Town Car - Headlight is not working - Arlington, Texas
Rusty was awesome, he help me figure out what the problem was and informed me what I needed to do to get it fix. Very very knowledgeable. I will always use him from now on!!! Thanks

Need Help With Your Car?

Our certified mobile mechanics make house calls in over 2,000 U.S. cities. Fast, free online quotes for your car repair.

GET A QUOTE

Related articles

How to Clean and Restore Headlights
Even Even owners who regularly clean and maintain their vehicles are not immune to wear on their headlights. As the vast majority of headlights are made of plastic, they require different care than other exterior surfaces of your car. Plastic...
How Headlights Are Tested and How Yours Can Be Improved
According According to the Insurance Institute for Highway Safety (IIHS) (http://www.iihs.org/iihs/ratings/ratings-info/headlight-evaluation), about half of fatal roadway crashes happen in the dark, with about a quarter of those happening on unlit roads. This statistic makes it more important than ever to...
How to Replace the Headlights on a Toyota Prius
Your headlights are one of the most important safety components for your car. A broken headlight bulb can endanger yourself and others on the road.

Related questions

How do you turn on the Auto Headlight function?
If your car is equipped with auto headlights, this is more than a convenience feature. They will automatically turn on and off based on the level of ambient light outside. That ensures better safety at all times while driving (we’ve...
With car off, exterior and interior lights start flashing
It sounds like somehow the anti theft system was activated and drained the battery. Try locking all of the doors from the inside and close them. Then lock, unlock, lock and unlock the doors to see if the problem persists....
Aftermarket headlamps, right parking light, and left parking light dashboard messages are on.
The message is on for the lights are not completing a circuit from the switch to the lights. Check all of the wiring on the lights and see if all of them are plugged in properly. Then look for any...

How can we help?

Our service team is available 7 days a week, Monday - Friday from 6 AM to 5 PM PST, Saturday - Sunday 7 AM - 4 PM PST.

1 (855) 347-2779 · hi@yourmechanic.com