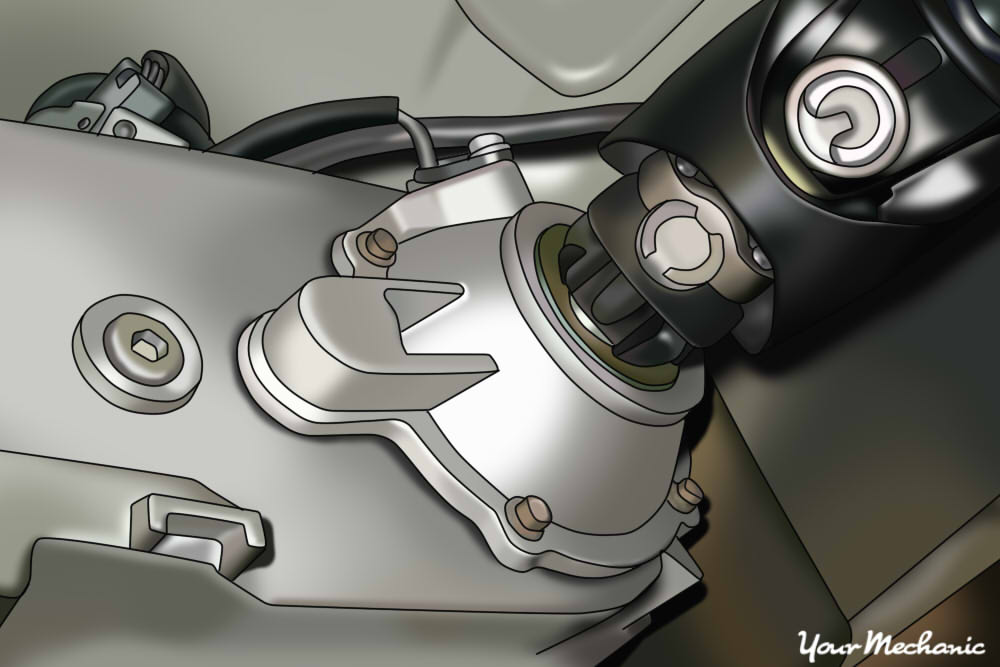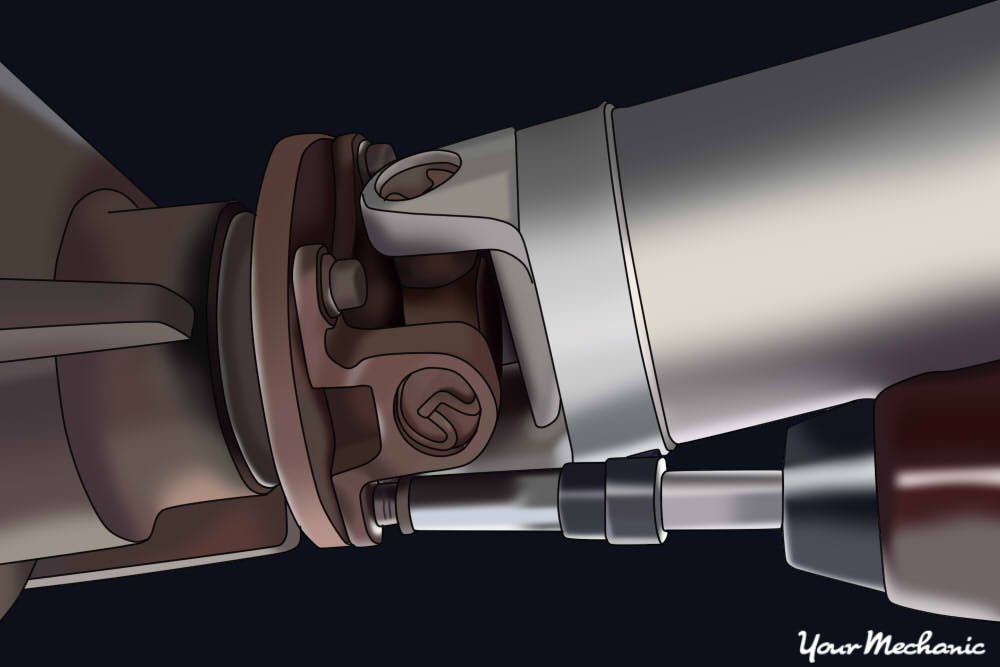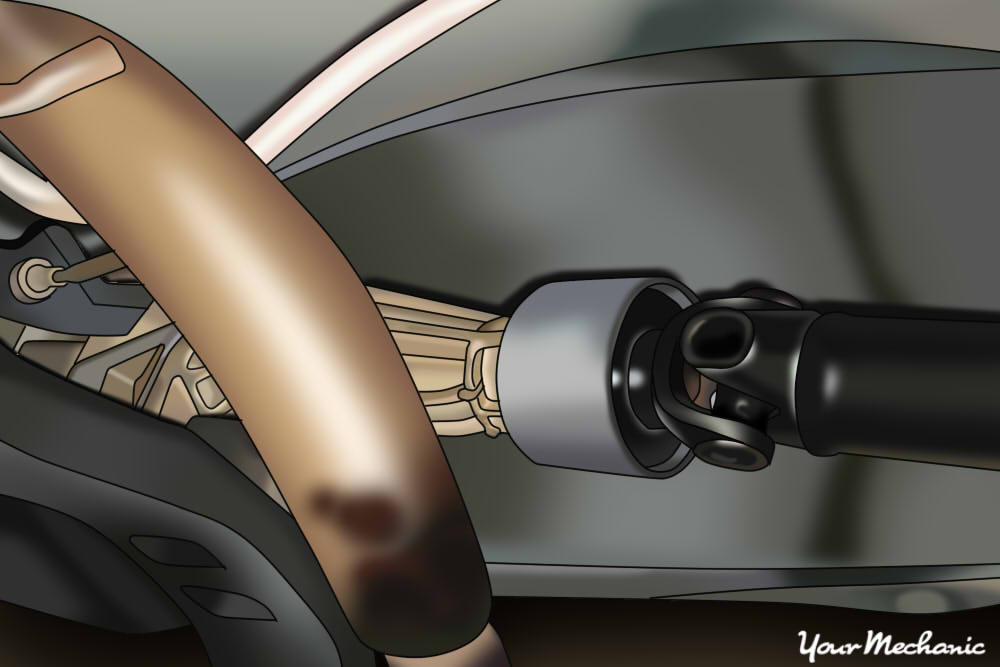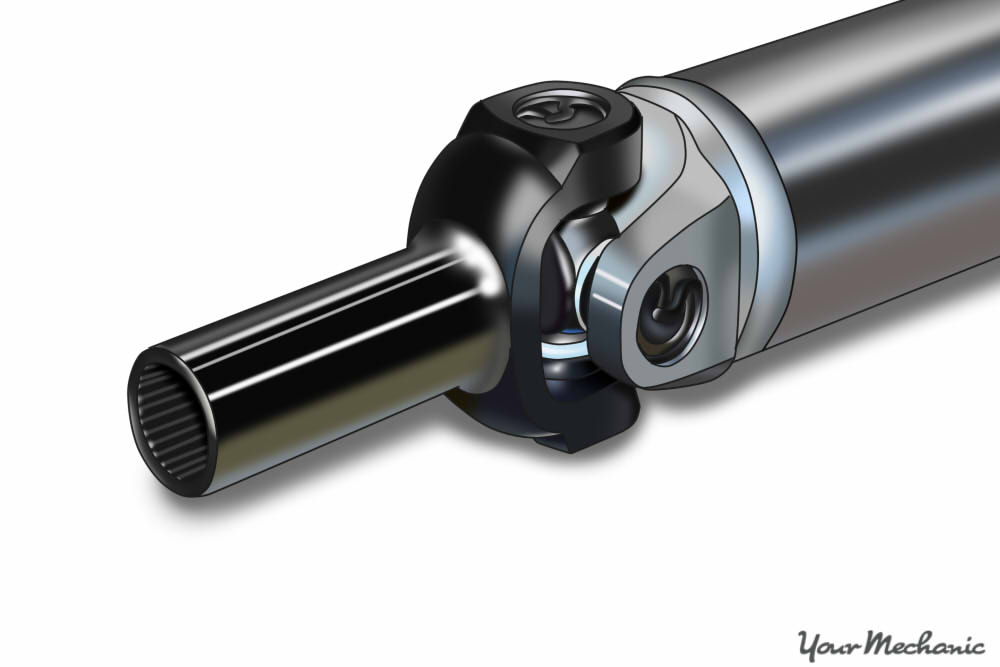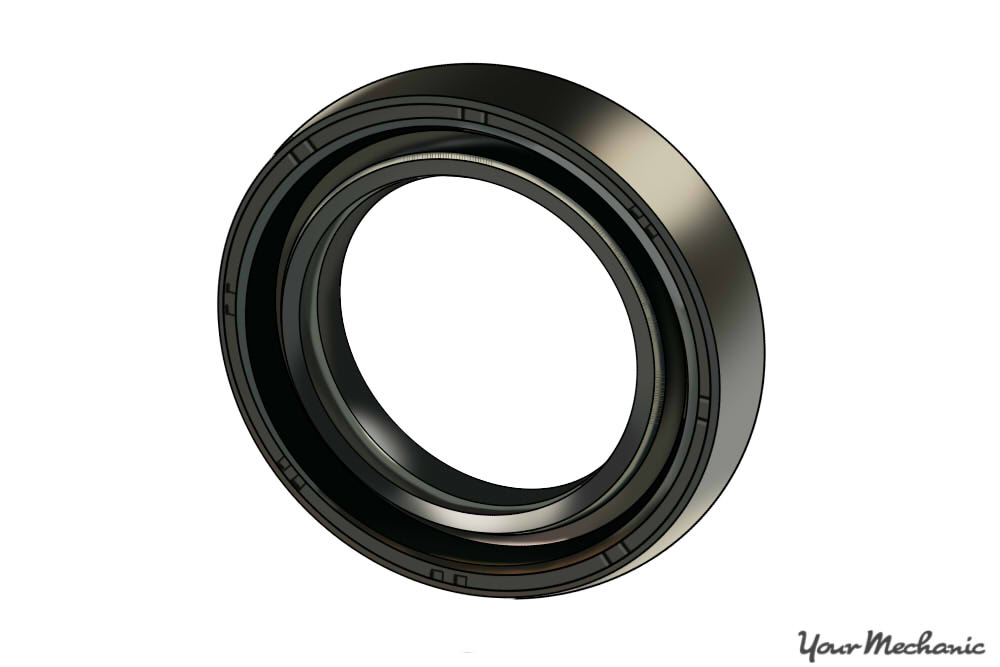

A transfer case output shaft is designed to transfer the motion of power and torque from the powertrain to the rear wheels of a four-wheel drive vehicle. The output shaft is built inside the transfer case with a drive shaft attached to it.
Some drive shafts on four-wheel drive vehicles are made of two pieces with a front slip yoke and some are two pieces with a center slip yoke. The two-piece drive shaft with a center yoke attaches to a bolted on, built-in yoke sleeve into the transfer case. The yoke sleeve is put into the transfer case with a snap ring to hold it on. The output shaft seal rides on the yoke sleeve and the sleeve is stationary (it does not move laterally).
The two-piece drive shaft with a front yoke slides onto the output shaft of a transfer case. The output shaft seal rides on the front yoke and is in constant contact with the yoke as it moves laterally during driving conditions.
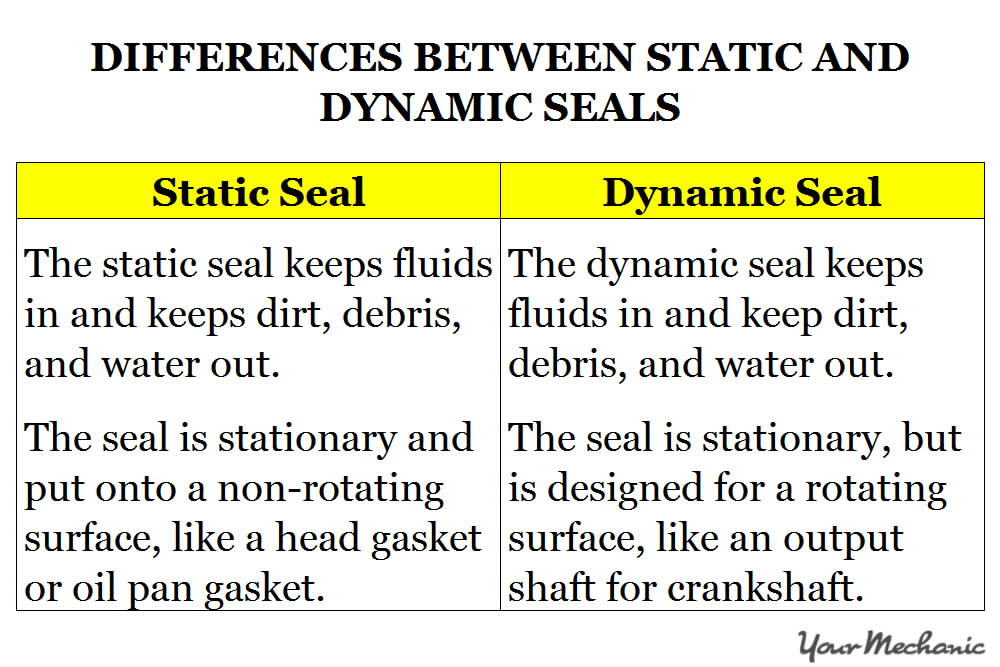
The transfer case output shaft seal is designed to seal in fluid and keep dirt, debris, and water out. The seal is stationary on the transfer case housing, but the inside of the seal must withstand rotational direction movements along with lateral movements. The seal is known as a dynamic seal.
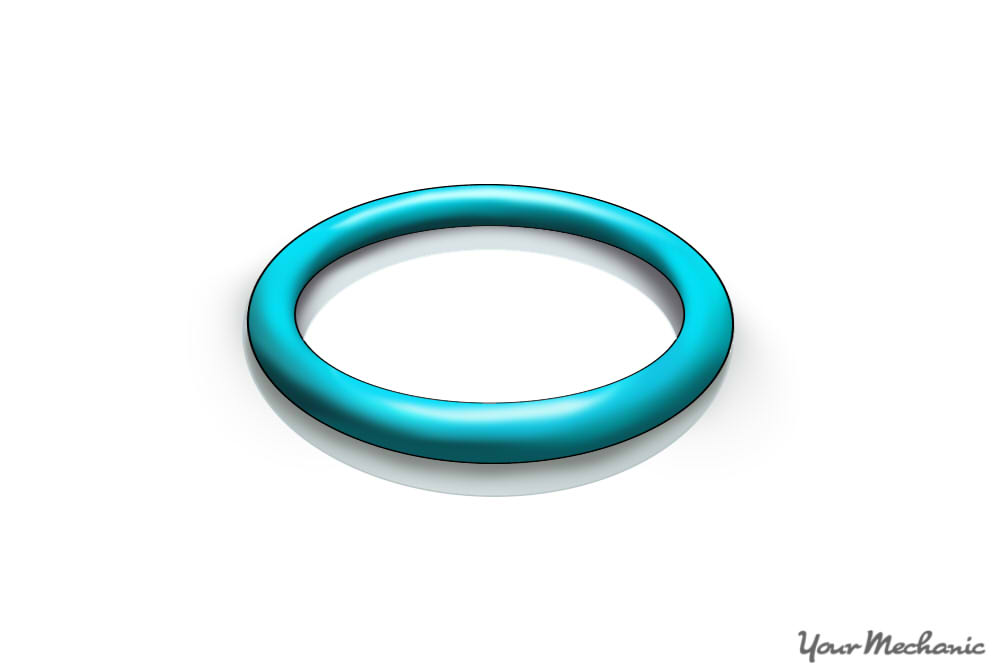
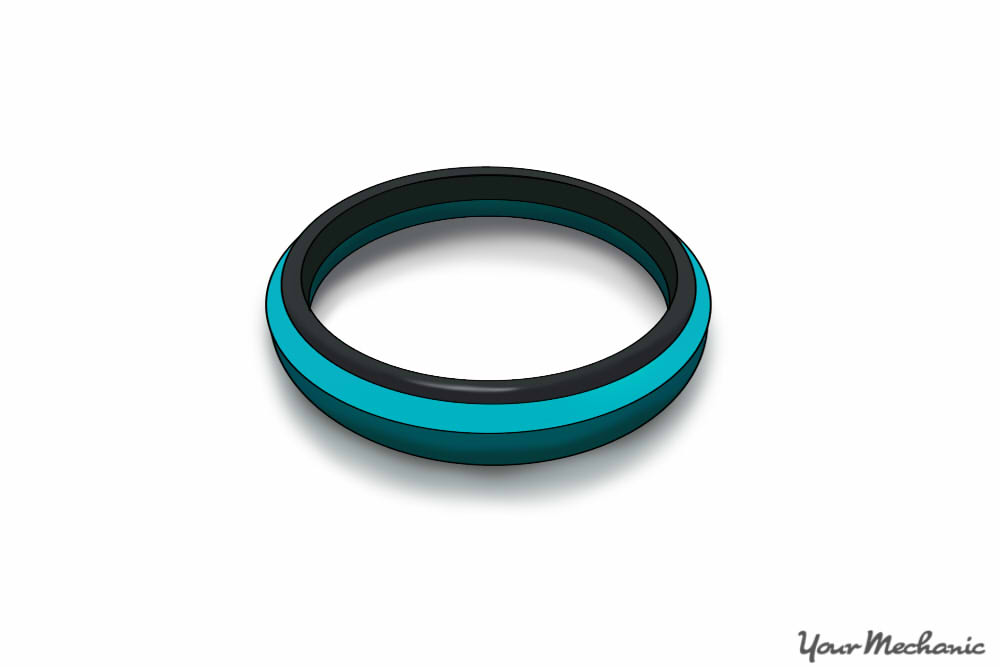
There are two common types of seals:
- Static seal
- Dynamic seal
Part 1 of 7: Identify the signs of an output shaft seal failure
Output shaft seals are designed to seal off fluids even when they flex, however, the seal tends to become hard over time and cannot flex any more.
As the vehicle goes over large obstacles, the drive shaft will move up and down with lateral vibrations and torsional vibrations. This puts a lot of stress on the output shaft seal and makes the seal bend. When the seal is hard, bending the seal will allow fluid to escape the transfer case and allow dirt, debris, and water to enter into the transfer case.
The most common sign of output shaft seal failure is the drip of gear oil leaking from the seal. Other signs are slight whining noises that occur when the output shaft is in motion. In many cases, these noises are caused by the reduction of lubricants inside the transfer case or metal-to-metal grinding.
Part 2 of 7: Check the condition of the transfer case output shaft seal
Materials Needed
- Flashlight
- Non-lint cloth
Step 1: Grab a flashlight and look under the four-wheel drive vehicle for any oil on the ground. Then shine the light onto the transfer case output shaft and look to see if the seal is leaking.
Step 2: If the seal is leaking, use a non-lint cloth to clean it off. Visually check to see if the seal leaks slowly or fast.
Part 3 of 7: Prepare to replace the transfer case output shaft seal
Having all of the necessary tools and materials prior to starting the work will allow you to get the job done more efficiently.
Materials Needed
- Allen wrench set
- Boxed end wrenches
- Breaker bar
- Drip pan
- Emery cloth 320 grit
- Flash light
- Grease gun
- Hammer (at least 2 pound)
- Jack stands
- Flat tip screwdriver
- Masking tape
- Oil resistant gloves
- Oil resistant silicon
- Protective clothing
- Ratchet w/metric and standard sockets
- Safety glasses
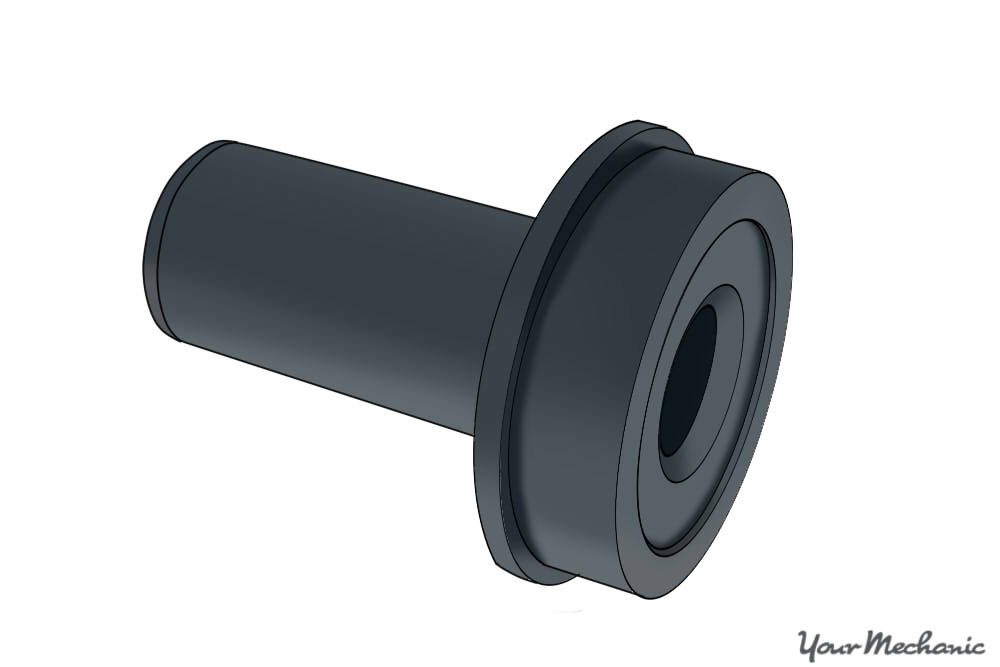
- Seal installer
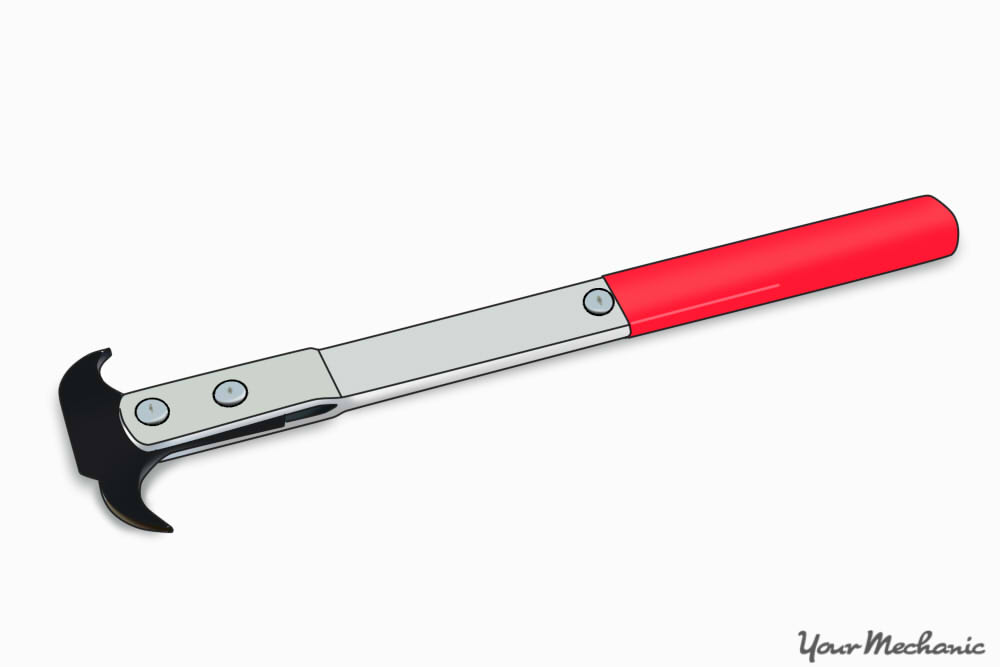
- Seal removal tool
- Torque wrench
- Torques bit set
- Wheel chocks
Step 1: Park your vehicle on a flat, hard surface. Make sure that the transmission is in park mode (for automatics) or in 1st gear (for manuals).
Step 2: Secure the wheels. Place wheel chocks around the tires that will remain on the ground. In this case, place the wheel chocks around the front tires since the rear of the vehicle will be lifted up.
Engage the parking brake to the lock the rear tires from moving.
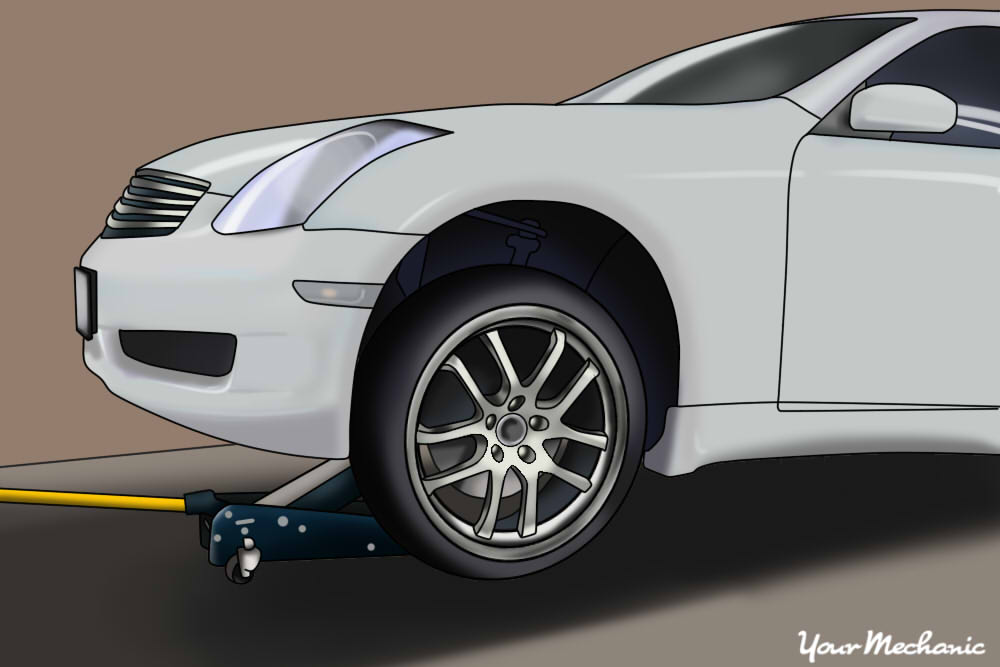
Step 3: Raise the vehicle. Using a floor jack that is recommended for the weight of the vehicle, lift the vehicle at its specified jacking points until the wheels are completely off the ground.
- Note: It is always best to follow the recommendations given in the owner’s manual of your vehicle and use the jack at the proper jacking points for your vehicle.
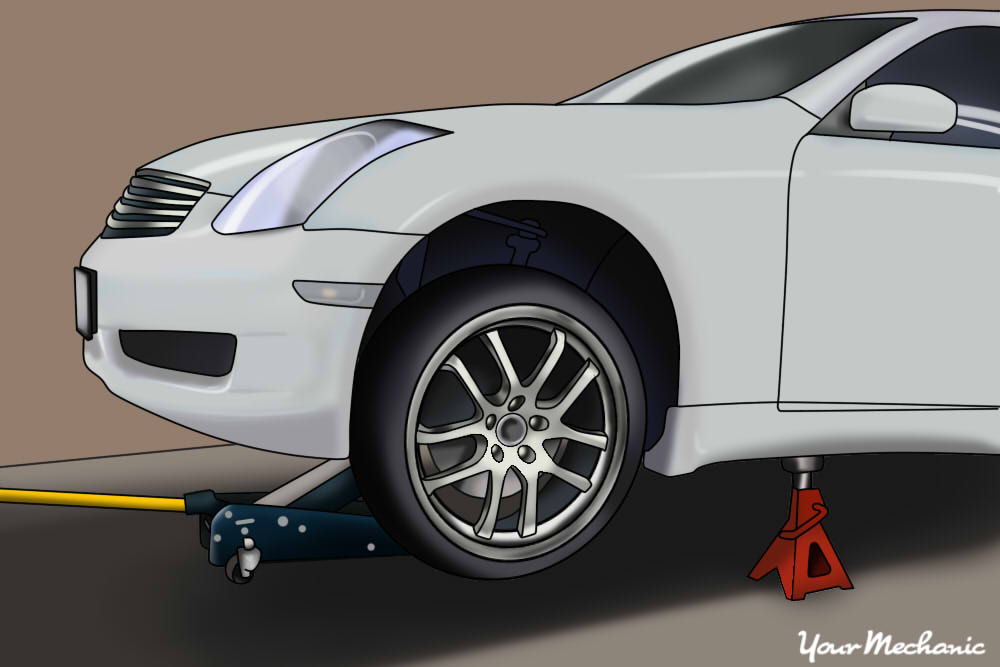
Step 4: Place the jack stands. The jack stands should go under the jacking point locations. Then lower the vehicle onto the jack stands.
- Tip: For most modern cars, the jacking points for jack stands will be on the pinch weld just under the doors along the bottom of the car.
Part 4 of 7: Remove the transfer case output shaft seal
Step 1: Take safety precautions. Put on protective clothing, oil resistant gloves, and safety glasses.
Step 2: Grab a creeper, flashlight, and tools for the job. Slide under the vehicle and locate the transfer case output shaft.
Step 3: Pry out the drive shaft. If you have a front slip yoke drive shaft, remove the bolts to the drive shaft on the rear axle.
Use a large flat screwdriver and slightly pry out the drive shaft and universal joint from the yoke on the axle.
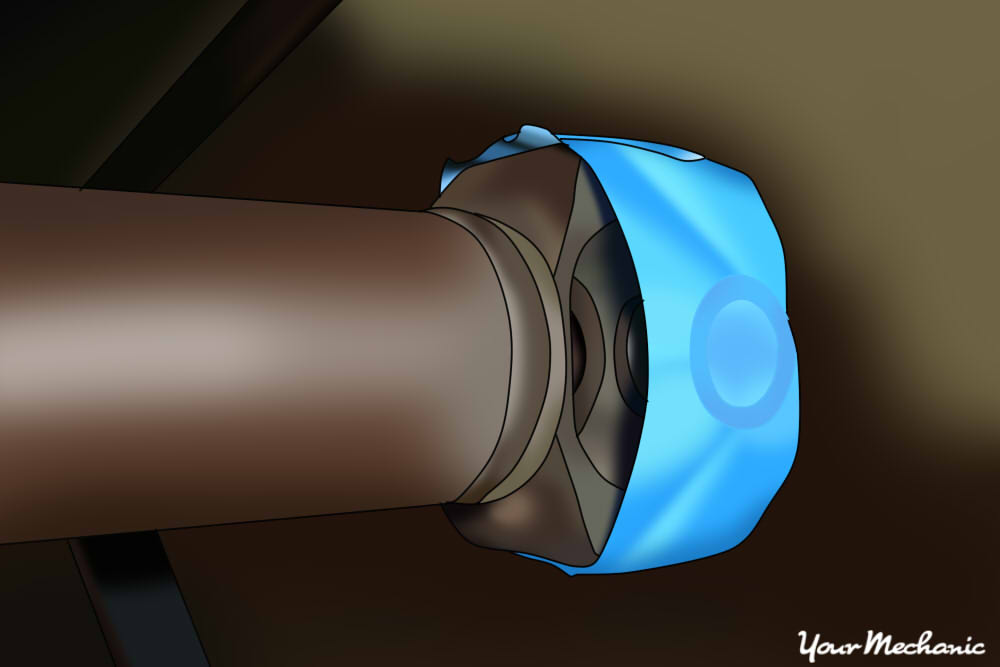
Tip: Hold the caps to the universal joint so they don’t fall off and tape them up with masking tape.
Note: The mounting bolts that secure the drive shaft to the rear axle may have a hex, allen, or torx head.
Step 4: Get a drip pan and place it underneath the slip yoke of the drive shaft. Slide the drive shaft off of the transfer case output shaft.
- Note: As you slide the slip yoke off the output shaft, make sure that you mark the slip yoke and housing for timing. If the drive shaft is out of time, it will vibrate.
Step 5: Grab a seal removal tool. Pop out the output shaft seal. If the seal will not come off, you can use a hammer and chisel to cut the seal. This will make the seal collapse on itself, making it easy to remove.
- Warning: Do not cut the output shaft seal housing. This can result in a serious leak when the new seal is in.
Step 6: Clean up the seal housing. Use emery cloth grit 320 to clean up the output shaft seal housing. Make sure that there is no residue left from the old seal.
Part 5 of 7: Install the new transfer case output shaft seal
Step 1: Prepare the new output shaft seal. Get a tube of oil resistant silicon and place a fine film of silicon on the shell (outside area) of the new output shaft seal.
Step 2: Get a seal installer tool that is made for an output shaft seal. Use a hammer and smack the seal installer to draw in the seal into the output shaft housing.
Step 3: Put the slip yoke back. Pick up the drive shaft and put the slip yoke back onto the transfer case output shaft. Make sure that you line up the timing marks that you made to ensure that the drive shaft goes back on correctly.
Step 4: Remove the masking tape from the universal joint. Hold the caps on tight to the universal joint and install the rear portion of the drive shaft onto the rear axle yoke.
Install the bolts to secure the universal joint to the yoke with some oil resistant silicon. Tighten the bolts finger tight and an additional 1/8 turn. This silicon helps the bolts from backing off.
- Note: Do not cross thread the bolts or over tighten them as that will damage the yoke on the rear axle.
Step 5: Use a grease gun. Lubricate the fittings, if needed.
Part 6 of 7: Lower the vehicle
Step 1: Clear up your tools. Collect all tools and your creeper and place them out of the way.
Step 2: Raise the vehicle. Using a floor jack that is recommended for the weight of the vehicle, lift under the vehicle at its specified jacking points until the wheels are completely off the ground.
Step 3: Remove the jack stands. Remove the jack stands and keep them far away from the vehicle.
Step 4: Lower the vehicle. Lower the vehicle to where all four wheels are on the ground. Pull out the jack and put it aside.
Remove the wheel chocks from the rear wheels and put them aside.
Part 7 of 7: Test drive the vehicle
Materials Needed
- Flashlight
Step 1: Drive the vehicle around the block. While you are driving around, check to feel any abnormal vibrations. This may occur when the drive shaft could be out of timing.
Step 2: Check for oil leaks. When you are done with the test drive, grab a flashlight and look under the vehicle for any leaking oil. Look at the transfer case output shaft seal to see any leaking gear oil.
If your vehicle continues to leak oil from the transfer case after replacing the transfer case output shaft seal, then you may need to get a professional to take a look at the transfer case.
If the problem persists, get one of the certified technicians at YourMechanic to inspect the transfer case and diagnose the problem.


