
The fuel filler cap secures the entry to the fuel tank of a vehicle and it is made of metal or plastic.
Most fuel filler caps have threads, which are fixed to the tank pipe with matching threads. A rubber gasket at the top is compressed when the cap is fixed and it stops fuel and fuel vapor leaks. The fuel filler cap also has air vents that allow the air to enter into the tank and maintain pressure.
Generally, fuel filler caps can be used as a closure for the fuel tank. Most fuel filler caps are sealed by turning them until you hear a clicking sound. Other caps have locks within them requiring a key to open them.
- Note: It is not recommended to use a fuel filler cap with a key insert. These type of caps generally have a small leak around the keyhole.
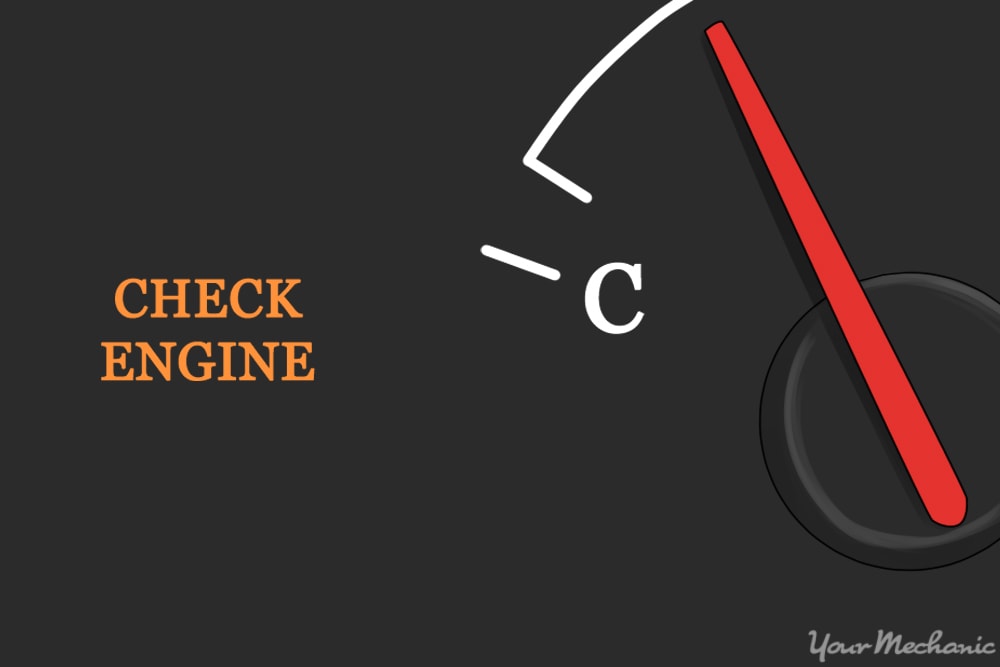
On vehicles from 1996, the emission control system monitors the fuel vapors and illuminates an engine light when there is leakage. If the seal is damaged or if the fuel filler cap does not seal the tank properly, the engine light will be illuminated along with the fuel door light. If this light comes on, check the fuel filler cap and see if it is screwed on properly. Most of the time, the problem may be solved by replacing the defective gasket. However, cleaning the cap and/or greasing the gasket may also help in a few cases.
Signs of fuel filler cap failure
At regular intervals, ensure that you check your vehicle for any signs of fuel filler cap failure like:
- The smell of gasoline or diesel vapors around or near the fuel filler cap
- The gasket of the cap is split or missing
- The cap has a crack
- The threads on the cap are stripped
If the fuel filler cap fails, the engine management system will record this event. A fuel level sensor will send information to the car’s computer about the level and resistance transmitted to the gauge.
Engine light codes related to the fuel filler cap
Fuel leakage in a vehicle can be very dangerous. Liquid fuel does not burn, but the vapors given off by the fuel are extremely flammable. If there is a leak at the fuel filler cap, there is an increased risk of the fuel vapors igniting when rocks are thrown up into the wheel well causing a spark.
- Warning: Do not smoke around a vehicle if you smell fuel as the fuel vapors are very flammable.
Part 1 of 3: Prepare to replace the fuel filler neck
Having all of the necessary tools and materials prior to starting the work will allow you to get the job done more efficiently.
Materials Needed
- Allen wrench set
- Combustible gas detector
- Flashlight
- Flat tip screwdriver
- Fuel filler cap
- Fuel resistant gloves
- Needle nose pliers
- Protective clothing
- Safety glasses
Note: When replacing a fuel filler cap, it is recommended that you purchase only original manufactured equipment (OEM). The OEM fuel filler cap is fitted and made for the vehicle.
Step 1: Park your vehicle on a flat, hard surface. Make sure that the transmission is in park mode (for automatics) or in 1st gear (for manuals).
Step 2: Secure the vehicle. Place wheel chocks around the front tires that will remain on the ground since the rear of the vehicle will be lifted up.
Engage the parking brake to prevent the rear tires from moving.
Part 2 of 3: Remove the fuel filler cap
Step 1: Locate the fuel filler cap. Open the fuel door to gain access to the fuel filler cap.
Step 2: Check the fuel filler cap. Look at the fuel filler cap for any exterior damage. Remove the fuel filler cap from the fuel filler neck and remove the cable from the fuel door.
Look at the threads on the cap to see if they are stripped.
Step 3: Check the gasket. Remove the gasket that is on the bottom of the fuel filler cap. Check the gasket for any cracks or distortion.
Step 4: Check the fuel filler neck for any damage. If you notice any damage, the fuel filler neck may be failing.
Step 5: Clean the fuel filler neck threads. Use a clean cloth or paper towel to clean the threads on the fuel filler neck.
Part 3 of 3: Install the new fuel filler cap
Step 1: Install the new gasket onto the new fuel filler cap. Screw the new fuel filler cap onto the fuel filler neck. Ensure that the threads lock fully onto the fuel filler neck.
Step 2: Hook up the cable to the fuel door. Use the combustible gas detector and verify that there are no fuel vapors leaking from the fuel filler cap.
Close the fuel door
Step 3: Drive the vehicle. During the test drive, go over different terrain like bumps to allow the fuel to slosh around inside the fuel tank. This will cause the fuel to bubble up and create mass amounts of vapor.
Step 4: Check for warning lights. Monitor the dash for the engine light to appear.
If the engine light comes on even after replacing the fuel filler cap, you may need to get the fuel system checked for possible electrical issues. If the problem persists, seek help from one of the certified technicians at YourMechanic and get them to inspect the fuel filler cap and determine the cause of the problem.