A carburetor’s function is to meter incoming air, mix the appropriate amount of fuel with that air, and deliver the mixture to the engine. When that air-to-fuel ratio is off, this leads to several different running conditions. There may be a loss of power, the engine may run too hot, and fuel economy can suffer. These are just some, but not all, of the effects of a poorly functioning carburetor.
The process of replacing a carburetor that is detailed below is meant as an overview, not a tutorial on any one model in particular. There are multiple types of carburetors, and not all manufacturers use the same types. Some manufacturers may even use different brands of carburetors on the same model and year of a given car. This is why this overview is written in a way that should cover all of the basics of carburetors in general.
- Warning: When servicing any part of the fuel system on a vehicle, it is very important to take precautions to avoid fires. Fuel is extremely flammable and requires preparedness to avoid any injuries. It is highly recommended that a fire extinguisher be near by at all times. It is also suggested that you wear safety glasses as fuel is caustic and can cause damage to the eyes very easily. Gasoline is also hazardous to inhale. It is recommended that repairs be performed in a well-ventilated area.
Part 1 of 10: Disconnecting the battery cables
Materials Needed
- Camera
- Extension set
- Flare nut wrenches
- Light solvent, such as brake clean or alcohol
- Marker
- Masking tape
- Pliers
- Scraper or razor blade
- Screwdrivers
- Shop rags or towels
- Small fuel-safe bowl or tray
- Small pry bar
- Socket set
- Wrench set
When working on a fuel system, it is always a good idea to disconnect the battery cables to avoid any sparks that may be caused by accidentally touching electrical connections with tools or other surfaces. And because the process of changing a carburetor will involve contact with gasoline in both its liquid and gaseous forms, limiting the chance for a spark is highly important.
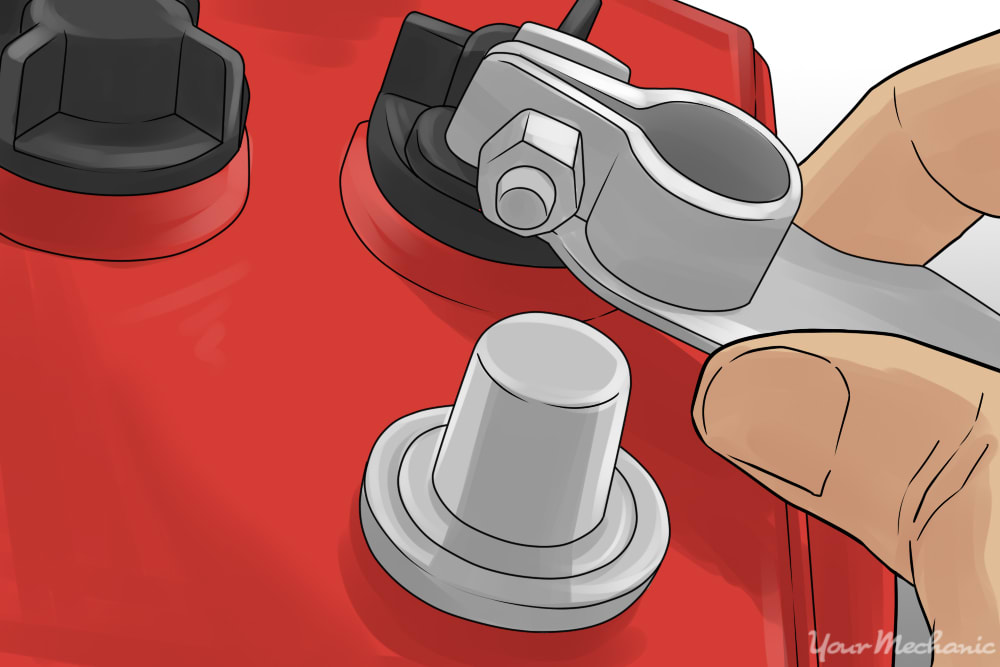
Step 1: Locate the battery and remove the cables. Find the battery under the hood of the vehicle and detach both the positive (+) and negative (-) battery cables.
Step 2: Secure the cables. You will need to shield and secure the cables in a way that they cannot inadvertently make contact with the posts on the battery while you are making repairs. Cover the cable terminals and secure them out of the way.
Part 2 of 10: Removing the air cleaner and any air intake ductwork
Most carburetors have an air cleaner assembly that covers the air intake side of the carburetor. This air cleaner assembly typically houses an air filter to keep dirt and debris out of the engine. This filter is most commonly a folded paper element or a sponge type of material. The cover of the air cleaner assembly is usually held in place by screws, bolts, clips, or any combination or these.
Additionally, there may be ductwork, or hoses, that run from the air cleaner assembly to a source of fresh air on the front of the vehicle.
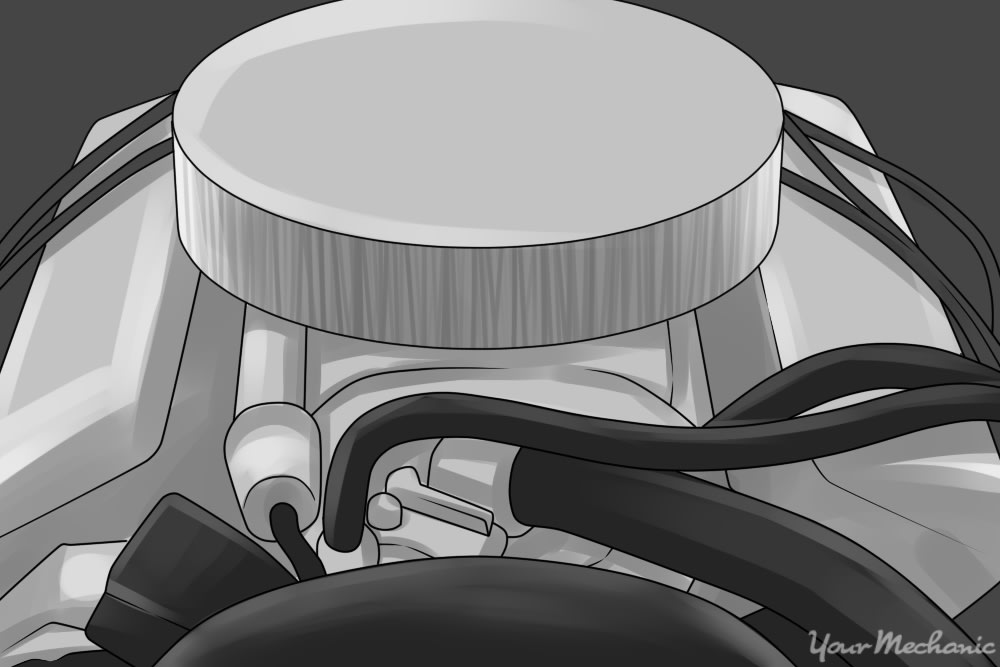
Step 1: Identify the air cleaner assembly and all related ductwork. Visually identify all of the parts that make up the air cleaner assembly and the ductwork that will need to be removed in order to access the carburetor.

Step 2: Remove the air cleaner assembly and all ductwork. Remove all the components associated with the air cleaner assembly and its ductwork using tools according to the type of fastener holding the parts in place. Set these parts off to the side and out of the way.
Part 3 of 10: Identifying and removing all of the vacuum hoses and other connections
A carburetor functions by mechanically reading signals from the engine to determine how much load the engine is under. One of the ways this load is determined is by getting a signal from the intake manifold in the form of a vacuum inside the intake manifold. This signal is delivered to the carburetor by the vacuum hoses.
Depending on the style of carburetor used in the vehicle, there will be one or more vacuum hoses that connect to the carburetor.
Step 1: Visually identify all of the hoses attached to carburetor. Look around the perimeter of the carburetor and identify all the hoses that connect to it.
- Tip: Taking pictures of the hoses in their original configuration with a camera or phone is a good idea because you may then refer back to the pictures upon reassembly.
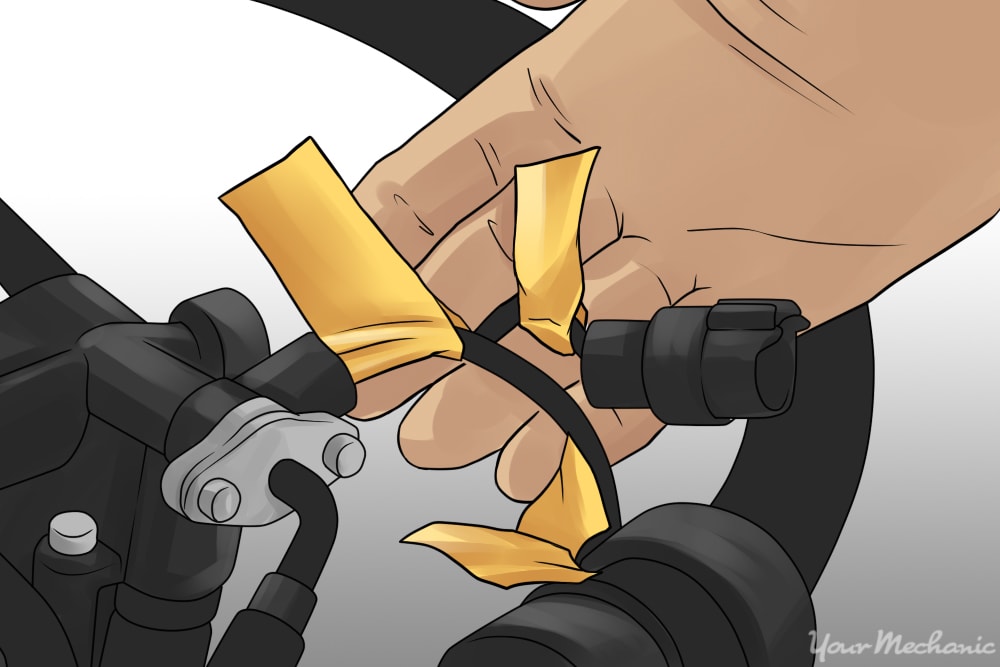
- Tip: If necessary, hoses and any subsequent connections can be labeled with masking tape and a marker to help you remember the place and function of each one.
Step 2: Remove all of the hoses. Remove all the hoses that are attached to the carburetor and secure them off to the side of the work area.
Part 4 of 10: Removing any linkages
Locate the throttle linkage that connects the throttle pedal inside the car to the carburetor, which will be attached to the side of the carburetor. This linkage is what controls the butterfly valve on the carburetor. The butterfly valve then controls the amount of air that enters the carburetor, thus, signaling how much fuel will be needed by the engine. The throttle linkage could be held on by any combination of clips, bolts, or screws.

Step 1: Visually identify the linkage and its bracketry. Look on all sides of the carburetor and identify the throttle linkage and any of its bracketry that will need to be removed in order to separate the carburetor from the intake manifold.

Step 2: Remove the linkage and bracketry. Disconnect the throttle linkage and any bracketry that may mount it to the side of the carburetor. Remove the linkage and bracketry and secure it off to the side.
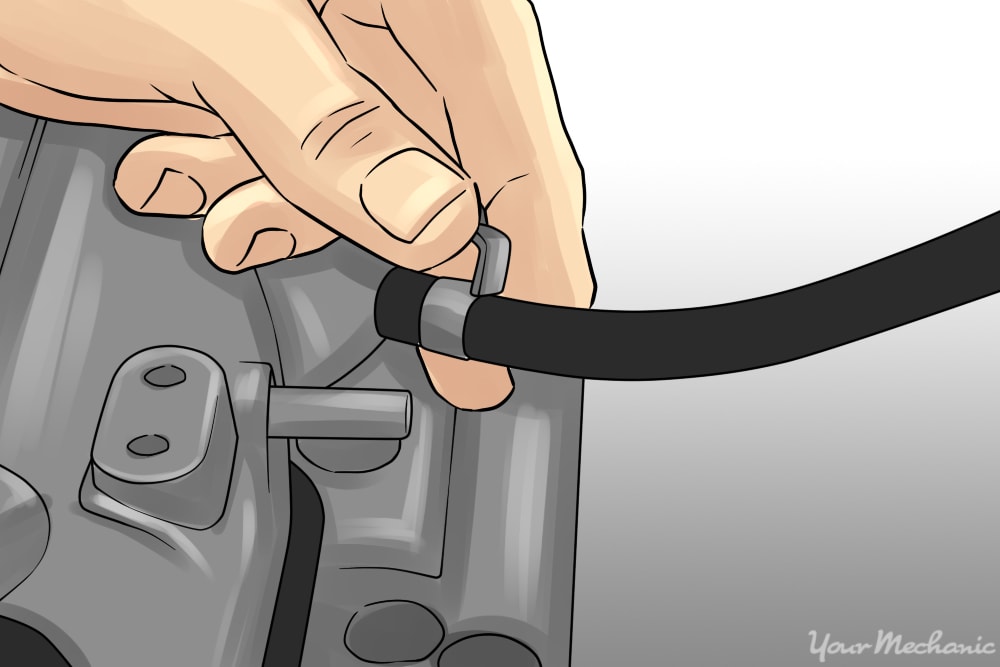
Part 5 of 10: Disconnecting the fuel supply line
The carburetor uses fuel from the fuel tank to supply gasoline to the engine. There is typically a hose or metal tube for this, called the fuel supply line, that connects to the carburetor.
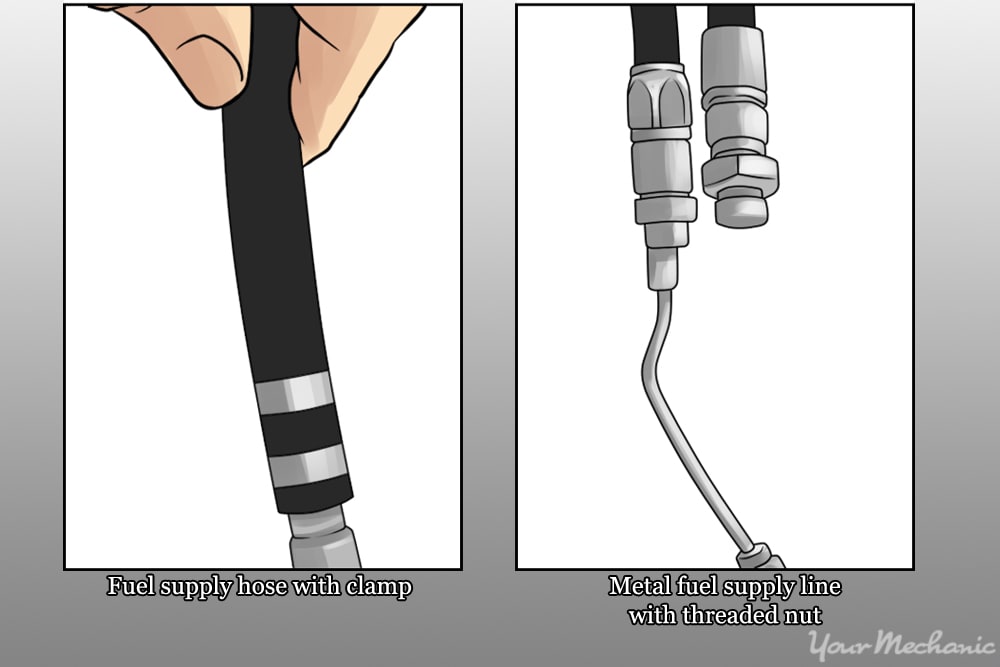
This line may be held onto the carburetor by a hose clamp (for a rubber hose) or it may be threaded directly into the carburetor (in the case of a metal line).
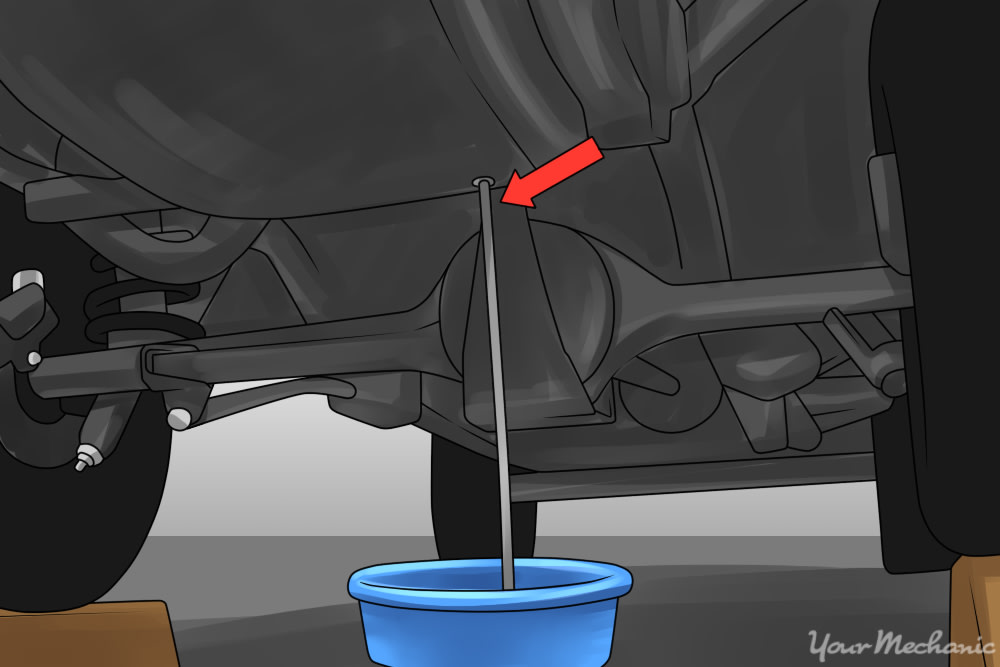
Step 1: Release any residual fuel pressure in the fuel line. Gently break the line free and let off any residual pressure that may still be present.
Depending on the type of fuel system being employed, there may still be pressurized fuel in the fuel line. When removing the fuel line, you should have something available to catch the escaping fuel when the line is removed.
If there is room, a bowl or tray placed underneath the line would be best. If room is limited, a shop rag or towel may be placed below the line in an effort to catch as much fuel as possible.
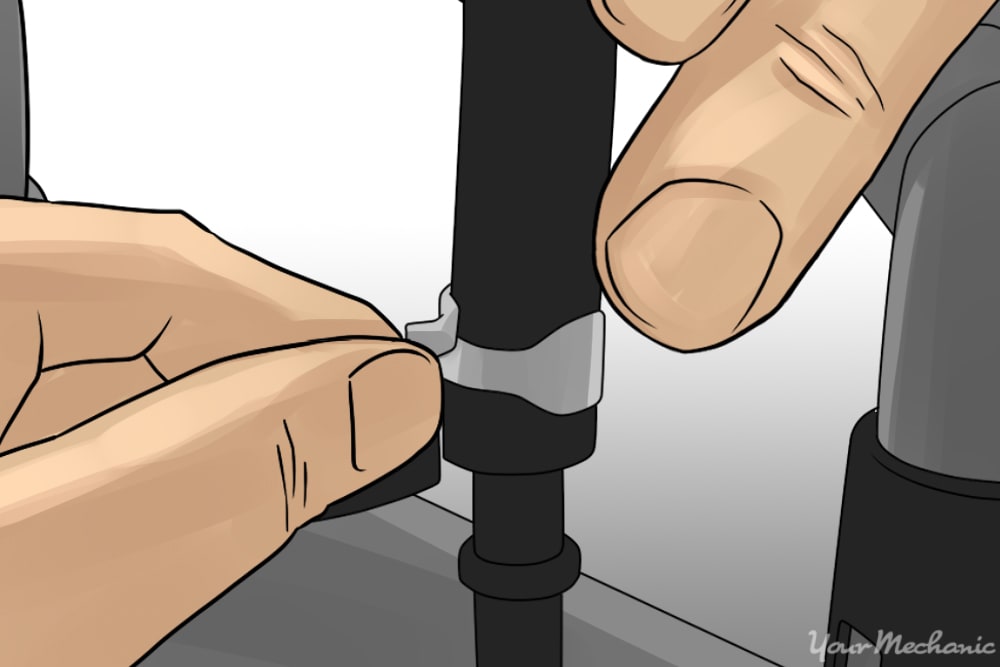
Step 2: Remove the fuel supply line. Remove the fuel supply line by removing any necessary clamps, bolts, nuts, or other fasteners necessary to separate the fuel supply line from the carburetor.
Step 3: Drain the fuel supply line. Drain as much residual fuel out of the line as possible to avoid leakage.
Step 4: Move the fuel supply line off to the side. Position the line off to the side in a way that will not allow fuel to drip on the work area.
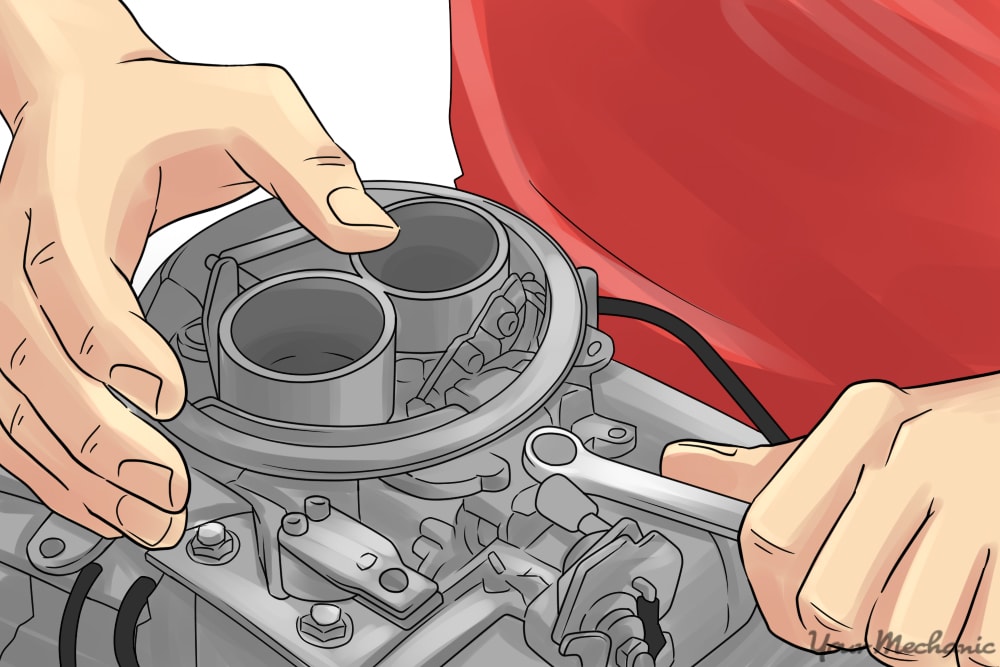
Part 6 of 10: Removing the old carburetor
The carburetor is held onto the intake manifold by any combination of bolts, nuts, studs, and screws. These fasteners can be located anywhere on the carburetor, such as around the base or even through the center of the carburetor housing.
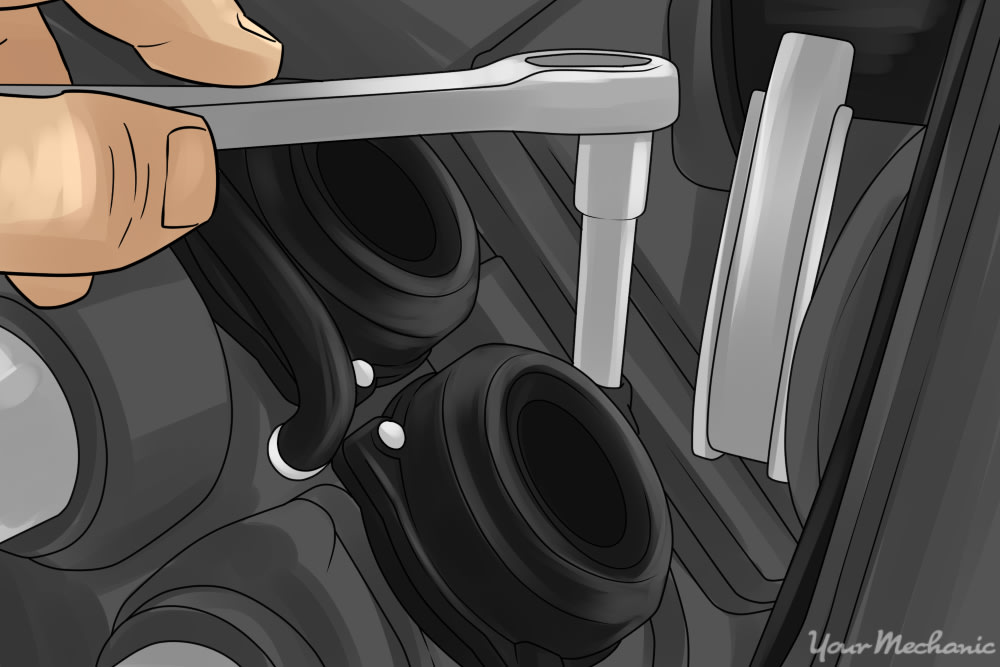
Step 1: Identify and remove the carburetor mounting hardware. Visually identify all hardware that secures the carburetor to the intake manifold.
Use the appropriate tools to remove the mounting hardware.
Step 2: Separate the carburetor from the intake manifold. Lift the carburetor free from the intake manifold.
If there is resistance to lifting the carburetor off, a small pry bar or screwdriver can be used to gently pry the carburetor free.
- Warning: Be very careful when prying on the carburetor as the body and flanges are fragile and can be damaged or broken if you do not use caution. NEVER force anything into the seam between the carburetor and the intake manifold. This can cause damage to the flanges on either the carburetor or the intake manifold, which in turn can cause vacuum leaks and lead to rough running conditions later on.
Step 3: Block off the intake manifold opening. Place shop rags or towels in the intake manifold opening to keep debris from falling into the engine.
Take caution not to place them so far in that they cannot be retrieved when it is time to install the replacement carburetor.

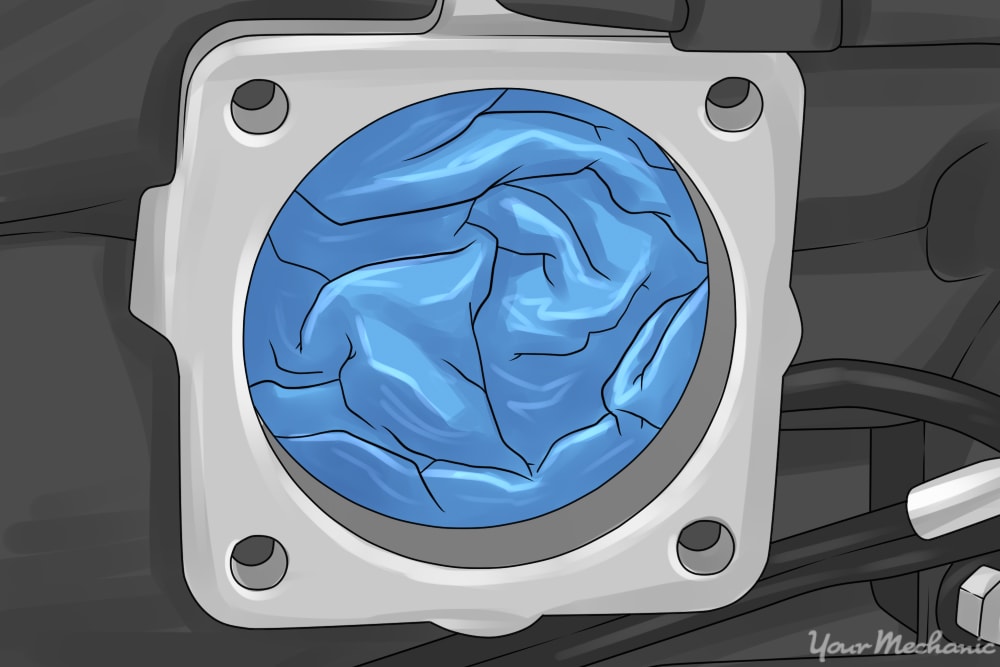
Step 4: Remove the old gasket, if applicable. Remove the gasket between the carburetor and intake manifold.
Note: Not all manufacturers use a gasket. If no gasket is present, contact a certified mechanic, such as one from YourMechanic, to get more information. In fact, throughout this process, you can always Ask a Mechanic to get quick, detailed advice from one of our certified technicians.
Tip: If the gasket sticks to the surface of either the carburetor or the intake manifold, a scraper or razor blade can be used to gently remove the gasket. Take care not to gouge the surfaces as this can lead to a vacuum leak later on.
Part 7 of 10: Preparing to install the replacement carburetor

Step 1: Clean the carburetor and intake manifold mounting flanges. Using a light solvent, clean the flanges of both the intake manifold and the replacement carburetor.
Remove all dirt and debris to help ensure a leak free seal.
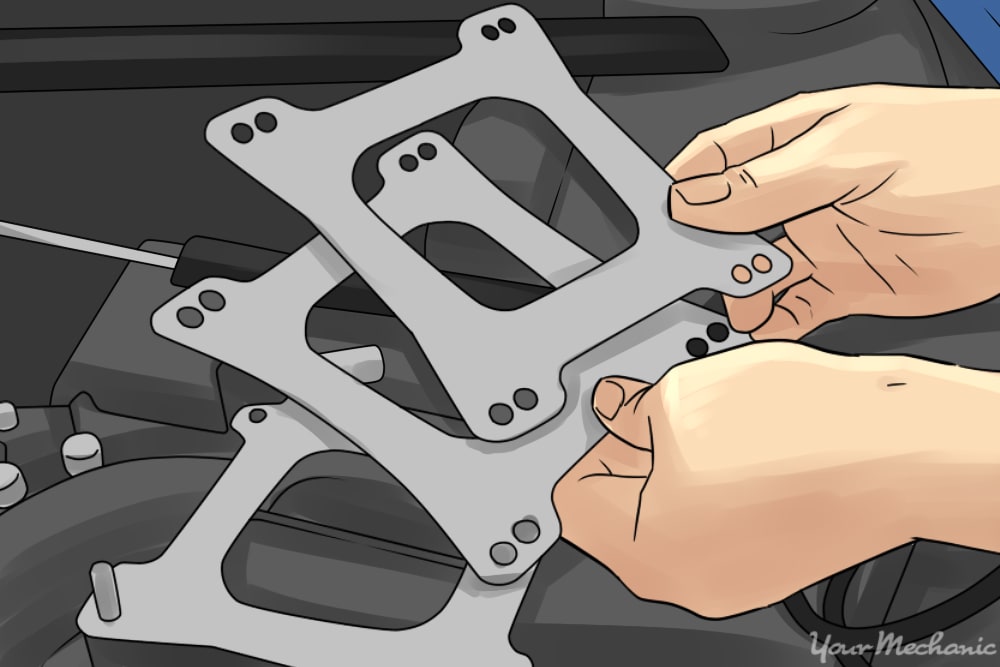
Step 2: Install a new gasket, if applicable. Install a new carburetor gasket on the intake manifold (most replacement carburetors come with a new gasket).
Place the new gasket onto the intake manifold, oriented so it sits between the intake manifold and the carburetor in the same manner as the old gasket with the cutouts in the new gasket matching up with the openings in both the intake manifold and the carburetor.
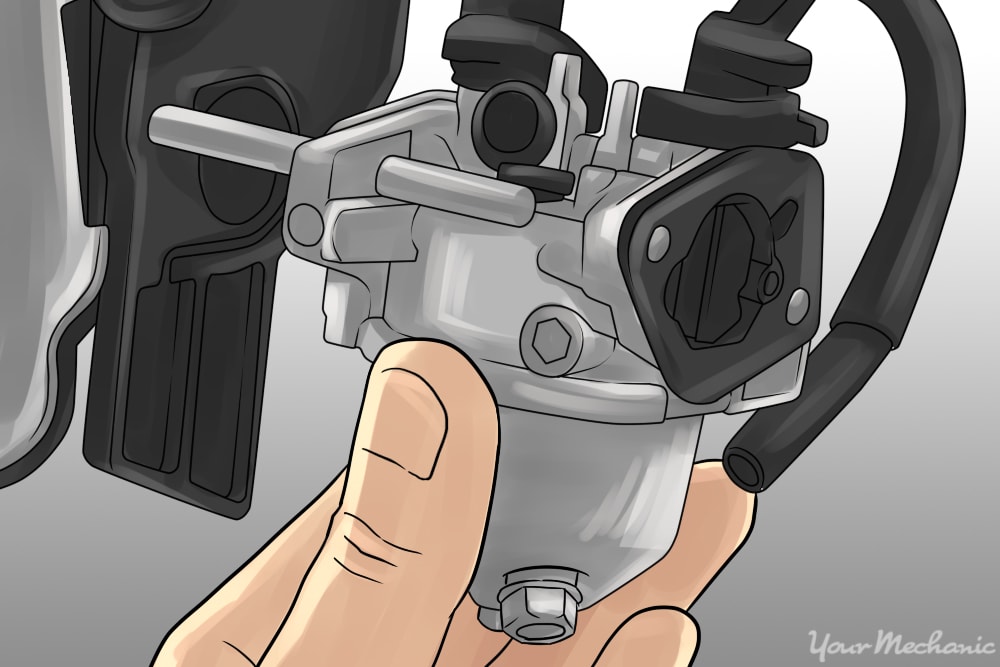
Step 3: Compare the old carburetor to the new carburetor. Take a few minutes to visually compare the old carburetor to the replacement carburetor, making sure that they have the same features, linkages, mounting points, fuel inlet style, and are at least in the same general position.
Step 4: Transfer parts from the original carburetor to the new carburetor. Transfer any parts from the old carburetor to the replacement.
This is typically easier to do before the replacement is mounted on the intake manifold.
Step 5: Remove any shop rags or towels. Remove any shop rags or towels that may have been previously placed into the intake manifold.
Part 8 of 10: Installing the replacement carburetor
Step 1: Set the new carburetor onto the intake manifold. Place the replacement carburetor back onto the intake manifold.
Step 2: Complete the installation of the carburetor. From here, follow the removal process in reverse order, up to the point where all vacuum hoses, the fuel line, and the throttle linkage have been reinstalled.
Part 9 of 10: Checking the carburetor for leaks
Once the carburetor has been installed and all of the fuel supply lines, vacuum hoses, and linkages have been reinstalled, you can begin to check the system for leaks.
Step 1: Reconnect the battery. Reconnect both the positive (+) and negative (-) battery cables.
Step 2: Build pressure to the carburetor. Depending on the type of fuel system you have (electric versus mechanical), apply fuel pressure to the system.
- Note: Vehicles with an electric fuel pump will typically only require the ignition key be placed into the run position to inspect for a leak. Vehicles with a mechanical fuel pump may require the engine to be cranked before fuel pressure can be achieved. The engine does not necessarily need to run, just cranked long enough to build up pressure in the line to check for leaks.
Step 3: Inspect the carburetor for leaks. Visually inspect the carburetor, hoses, lines, and general area around the carburetor for any signs of fuel leakage.
Tip: Listen for a whistling sound around the carburetor, as this may also signal that there is a vacuum leak.
Warning: If a leak is detected, immediately shut the engine off and be careful not to cause any sparks. Clean up any spilled fuel as soon as possible.
Step 4: Repair any leaks found. Tighten any fittings or fasteners as necessary to seal any leaks.
Step 5: Start the engine again. Once any leaks are taken care of, start the engine and check the functionality of the new carburetor.
Part 10 of 10: Completing the installation
Step 1: Reinstall the air cleaner and any associated ductwork. Replace the air cleaner and any ductwork removed during disassembly.
Step 2: Give a final visual inspection. Take a couple of minutes to visually inspect the repair area to be sure there are no tools still laying in the engine compartment.
Check that all fasteners are tight and that nothing has been left loose.
Step 3: Test drive the car. Road test the vehicle to verify that it is functioning correctly.
- Warning: If at any time during the road test, a fuel smell is detected, pull off of the side of the roadway in a safe location and shut the engine off immediately. Inspect the vehicle for any leaks that may have arisen and repair as necessary.
A properly functioning carburetor will provide years of service. When tuned correctly, there will be an improvement in fuel mileage, an increase in power, and an overall better driving experience. If you need a hand replacing your carburetor, contact a professional technician, such as one from YourMechanic. One of our certified repair professionals will be available to come to your home or place of business to perform the repairs for you.