
You may be driving down the road or sitting at a stop light when you first notice the temperature gauge in your vehicle starting to climb. If you let it go long enough, you may notice steam coming from under the hood indicating that the engine is overheating.
Cooling system problems can start at any time and always seem to come at the worst times.
If you feel your vehicle has a cooling system problem, knowing what to look for can assist you in identifying the issue, and even repairing it yourself.
Part 1 of 9: Understand your vehicle’s cooling system
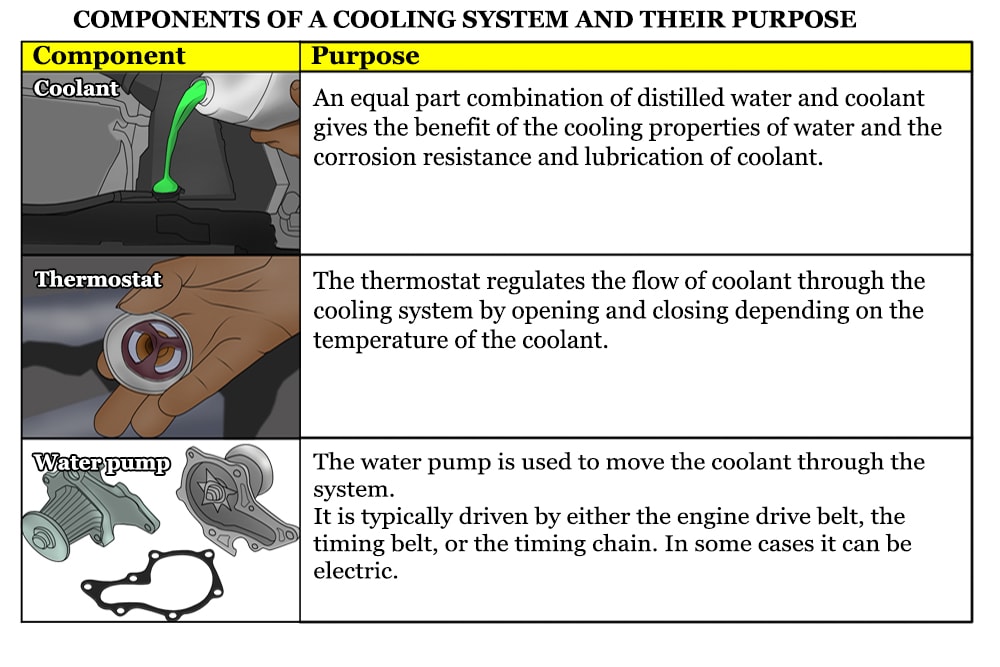
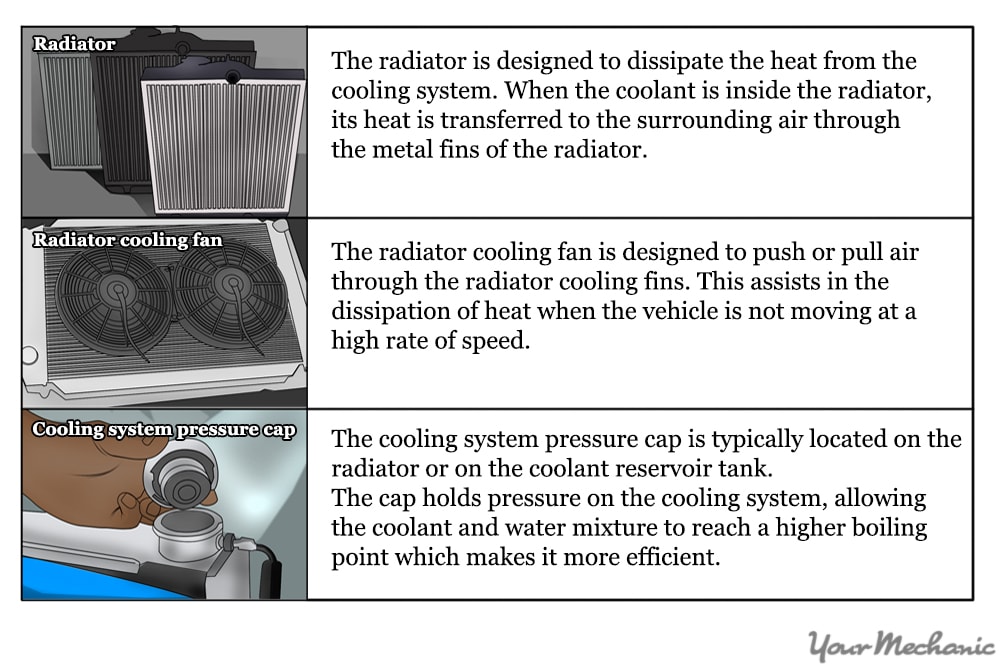
The cooling system in your vehicle is designed to keep the engine at a consistent temperature. It keeps the engine from running too hot or too cold once it is warmed up.
The cooling system consists of several main components that each perform a different task. Each of the following components are essential to keep the engine running at the correct temperature.
Part 2 of 9: Identify the problem
When your vehicle starts up fine when cold and if the temperature rises until it overheats and does not cool until the vehicle sits for a while, then there may be several different issues with your vehicle.
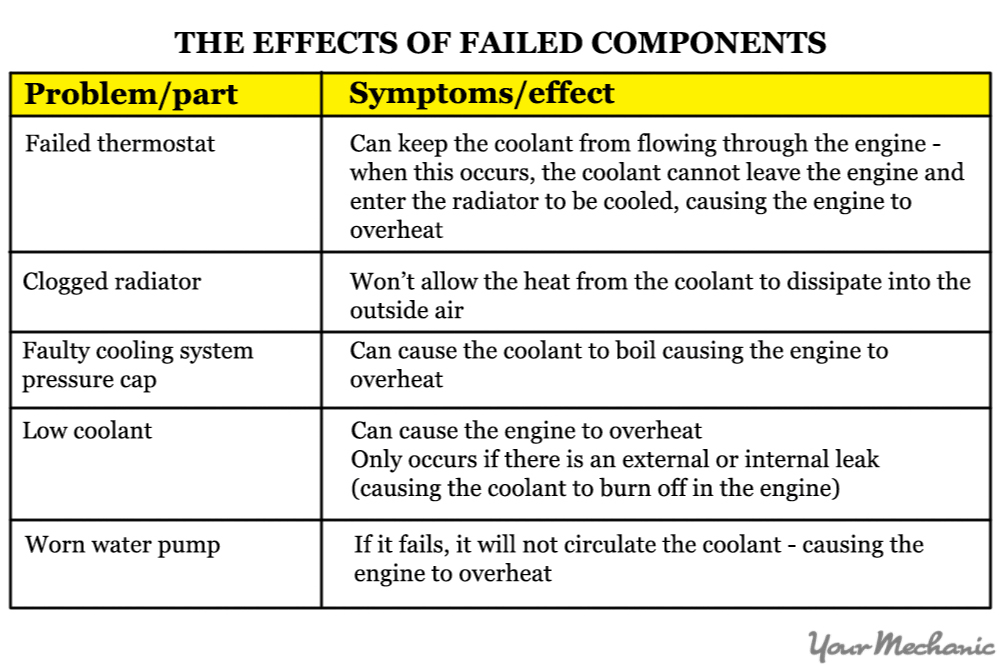
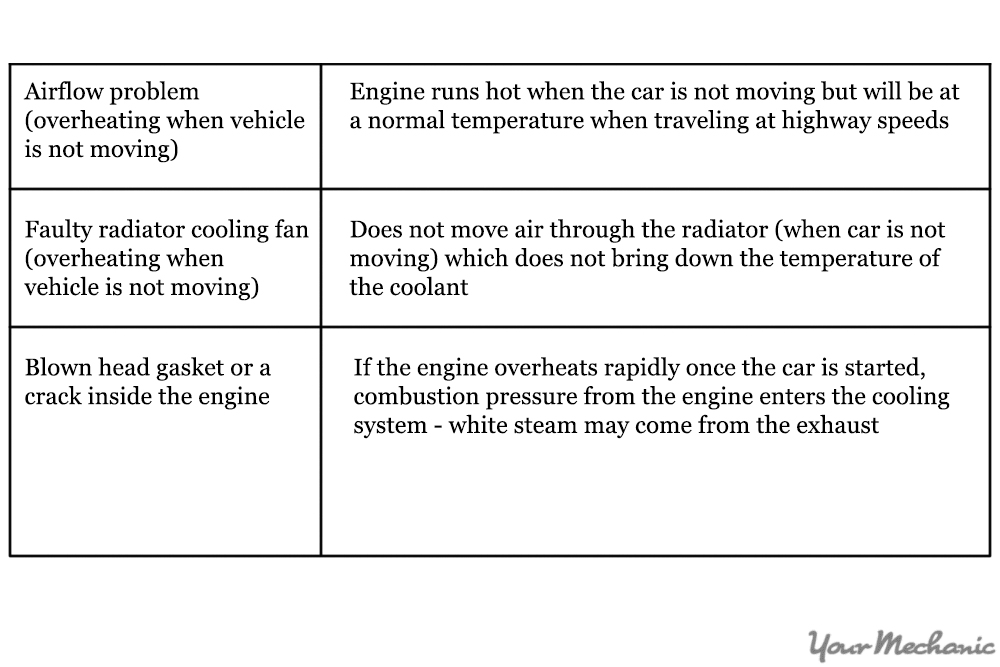
If any of the components fail, a series of issues can occur. Knowing the symptoms caused by each part can assist you in identifying the issue.
Part 3 of 9: Check for a failed thermostat
Materials Needed
A failing thermostat is the most common cause of overheating. If it is not opening and closing properly, then it must be replaced by a certified mechanic, such as one from YourMechanic.
Step 1: Warm up the engine. Start your vehicle and allow the engine to warm up.
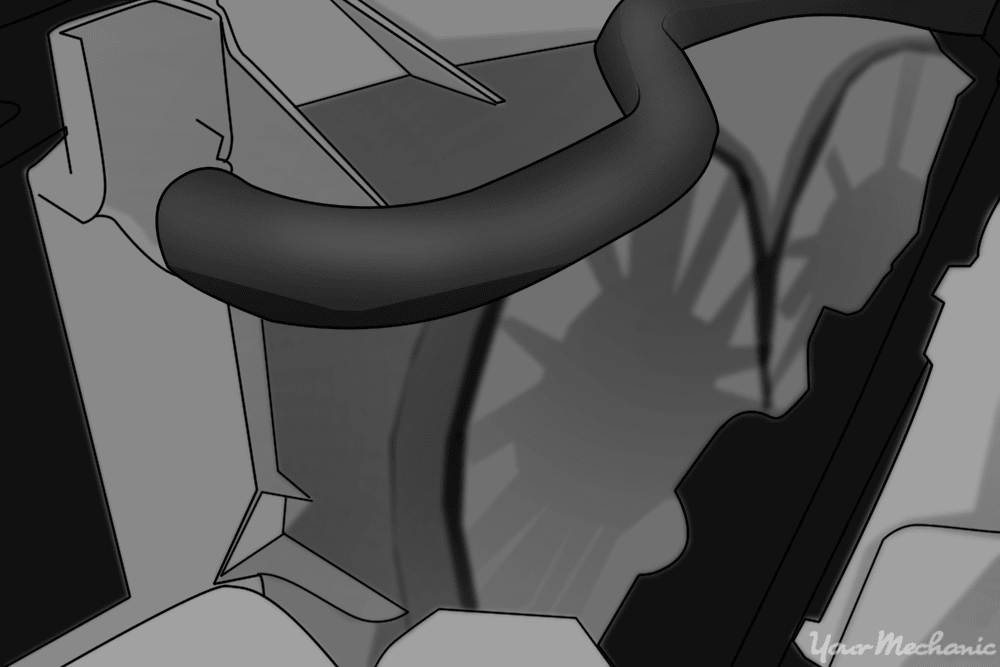
Step 2: Locate the radiator hoses. Open the hood and locate the upper and lower radiator hoses on the vehicle.
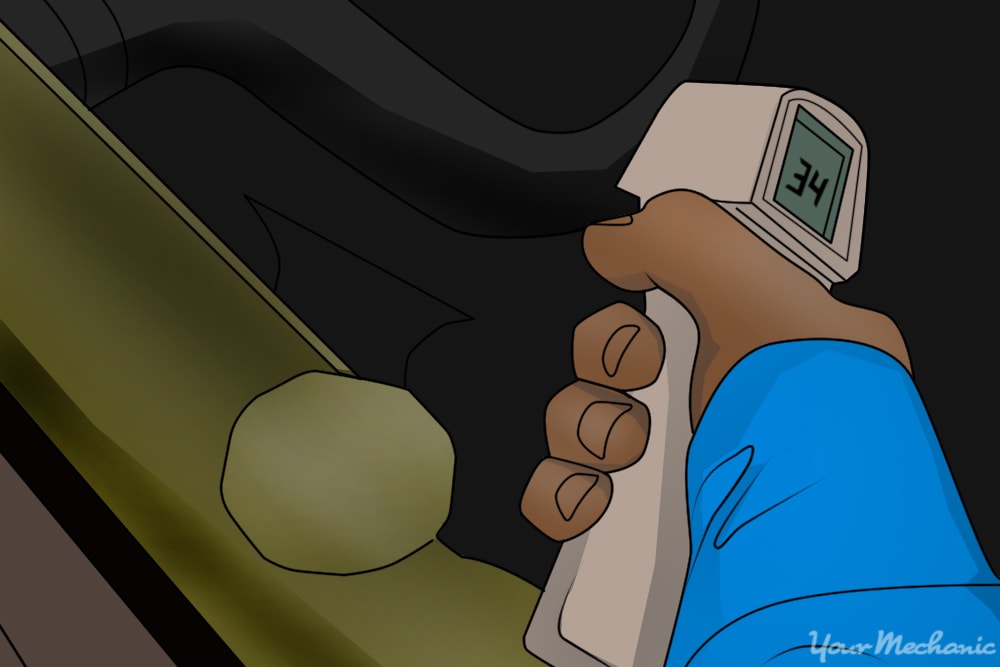
Step 3: Check the temperature of radiator hoses. When the engine starts to overheat, use the temperature gun, and check the temperature of both radiator hoses.
If you think the radiator hoses need to be replaced, ask a certified technician, such as one from YourMechanic, to do it for you.
Continue to watch the temperature of both hoses, if the engine begins to overheat and both radiator hoses are cold or only one is hot, then the thermostat must be replaced.
Part 4 of 9: Check for a clogged radiator
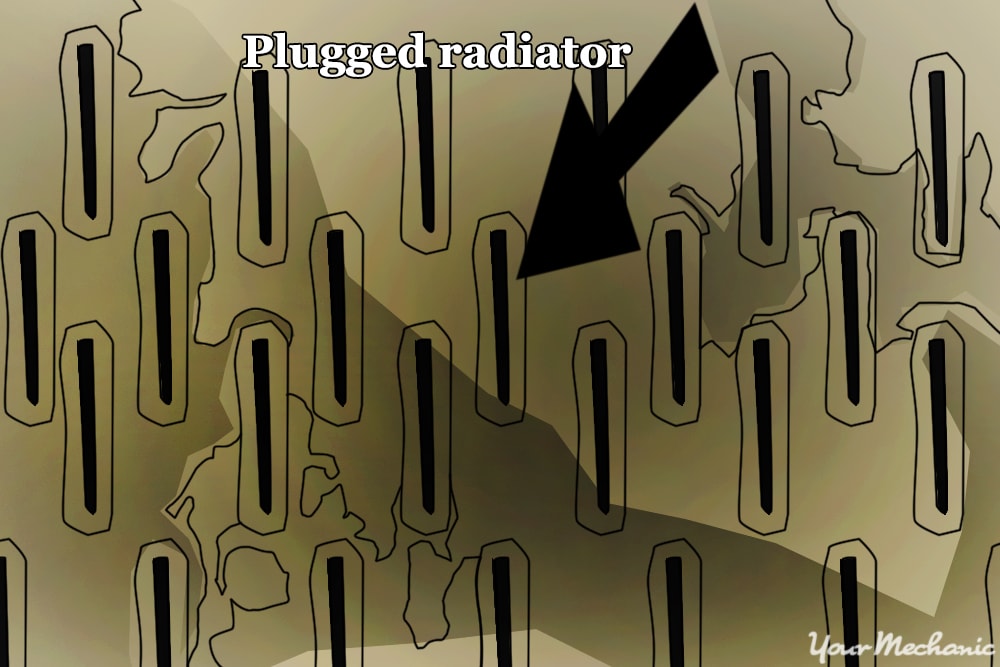
When a radiator is clogged internally, it will restrict the flow of coolant. If it clogs on the outside, it will restrict the airflow through the radiator and cause overheating.
Step 1: Allow the engine to cool. Park your car, allow the engine to cool and open the hood.
Step 2: Inspect the inside of the radiator. Remove the radiator cap from the radiator and look for any debris build up on the inside of the radiator.
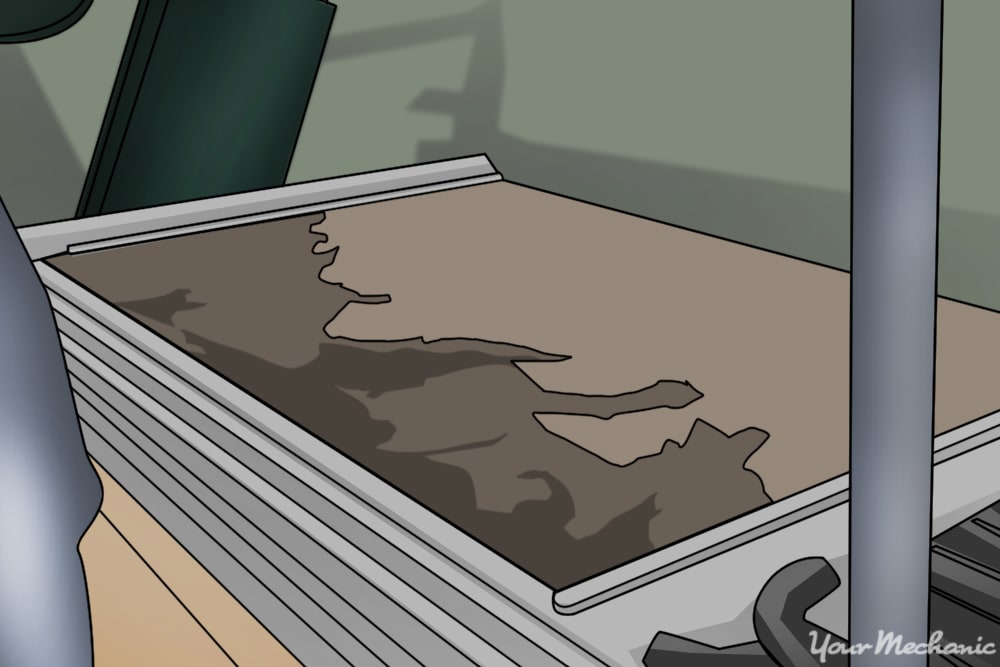
Step 3: Check for external clogs. Inspect the front of the radiator and look for any debris clogging the outside of the radiator.
If the radiator is clogged internally, it must be replaced. If it is blocked on the outside, then you can usually clean it with compressed air or a garden hose.
Part 5 of 9: Check for a cooling system leak
A leak in the cooling system will cause the engine to overheat. Any leak needs to be repaired to prevent serious engine damage.
Materials Needed
Step 1: Allow the engine to cool. Park your vehicle and allow the engine to cool.
Step 2: Remove the cooling system pressure cap. Remove the pressure cap from the cooling system and keep it aside.
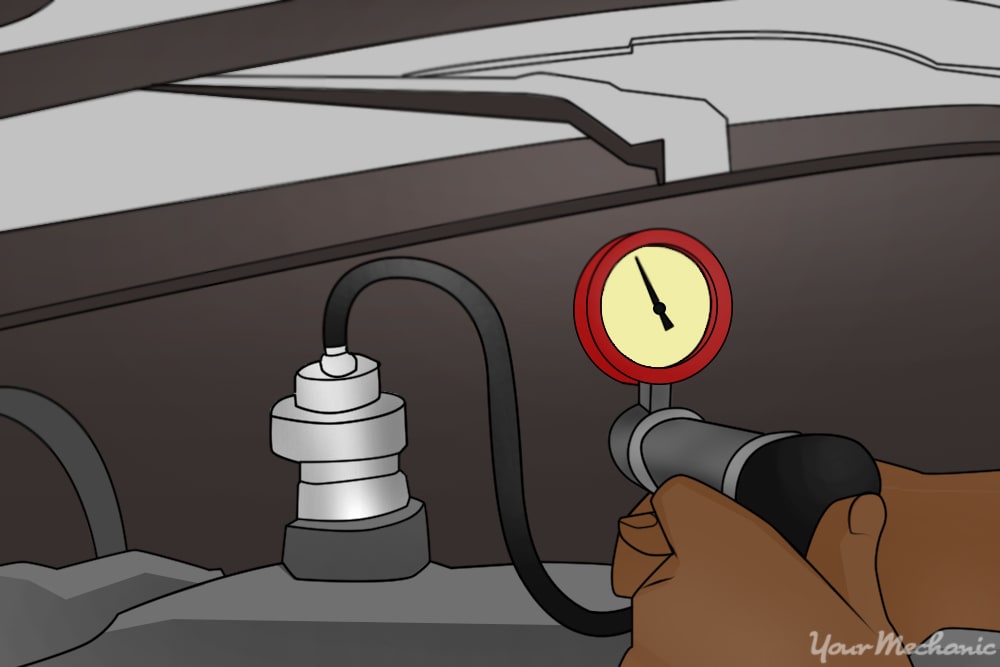
Step 3: Apply pressure. Using the cooling system pressure tester, follow manufacturer’s instructions and apply pressure to the cooling system.
- Warning: The maximum pressure you should apply is the same pressure noted on the radiator cap.
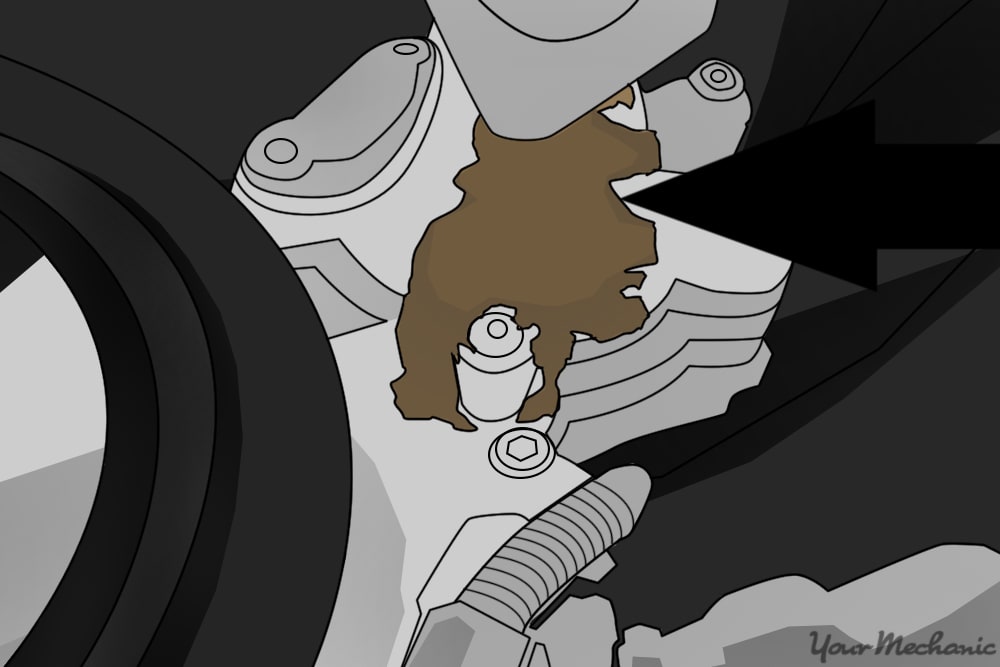
Step 4: Check all the components for a leak. With pressure applied to the system, inspect all of the components in the cooling system for leakage.
Step 5: Add coolant dye to the system. If no leak is found with the pressure tester, remove the tester and add the coolant dye to the cooling system.
Step 6: Warm up the engine. Put back the radiator cap and start the engine.
Step 7: Check for a dye leak. Allow the engine to run for a while before checking for any signs of the dye, indicating a leak.
- Tip: If the leak is slow enough, you may need to drive the vehicle for a few days prior to checking for signs of the dye.
Part 6 of 9: Check the cooling system pressure cap
Material Needed
When the pressure cap does not hold the proper pressure, it allows the coolant to boil, causing the engine to overheat.
Step 1: Allow the engine to cool. Park your vehicle and allow the engine to cool.
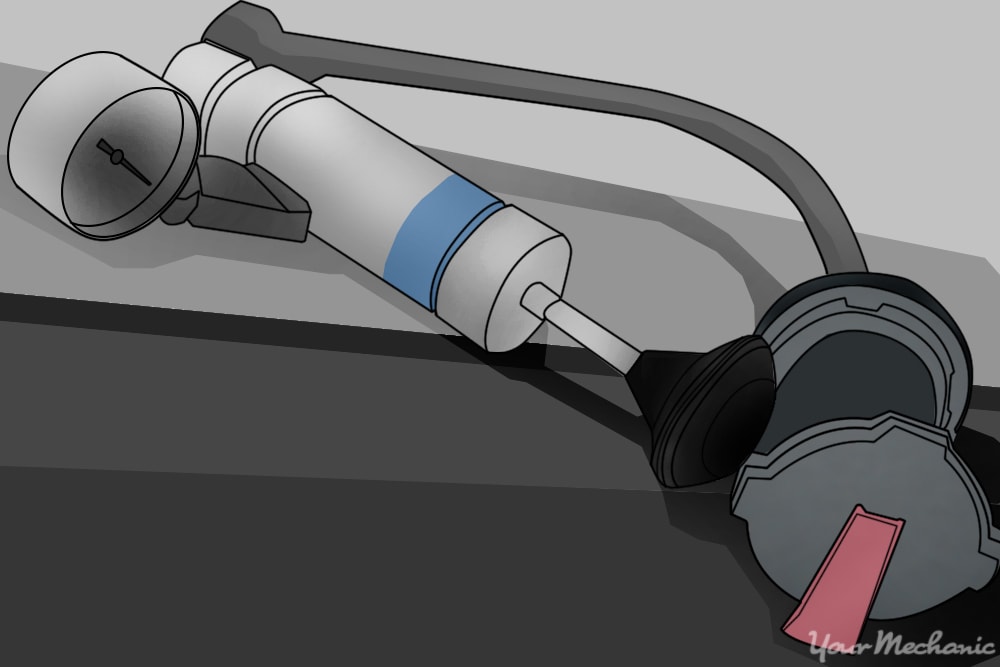
Step 2: Remove the cooling system pressure cap. Unscrew and remove the pressure cap from the cooling system and keep it aside.
Step 3: Test the cap. Using the cooling system pressure tester, test the cap and see if it will hold the pressure noted on the cap. If it will not hold pressure, it must be replaced.
If you are not comfortable with pressure testing the radiator cap by yourself, contact a certified mechanic, such as one from YourMechanic to conduct the pressure test for you.
Part 7 of 9: Check for a faulty water pump
If the water pump fails, it will not circulate the coolant through the engine and the radiator, causing the engine to overheat.
Step 1: Allow the engine to cool. Park your vehicle and allow the engine to cool.
Step 2: Remove the cooling system pressure cap. Unscrew and remove the pressure cap from the cooling system and keep it aside.
Step 3: Check if the coolant is circulating. Start your engine. When the engine is warm, visually watch the coolant in the cooling system to see if it is circulating.
- Tip: If the coolant is not circulating, then it may need a new water pump. The water pump test should only be done after you verify whether or not the thermostat is faulty.
Step 4: Visually inspect the water pump. A failing water pump sometimes show signs of leakage such as wetness or dry white or green tracks on it.
Part 8 of 9: Check if the radiator cooling fan is faulty
If the cooling fan is not functioning, the engine will overheat when the vehicle is not moving and if there is no airflow through the radiator.
Step 1: Locate the radiator cooling fan. Park your vehicle and apply the parking brake.
Open the hood and locate the radiator cooling fan. This can be an electric fan or a mechanical fan driven by the engine.
Step 2: Warm the engine. Start your vehicle and allow the engine to run until it begins to get hot.
Step 3: Check the cooling fan. When the engine starts to get above the normal operating temperature, watch the cooling fan. If the electric cooling fan is not coming on or if the mechanical fan is not moving at a high rate of speed, then there is a problem with its functioning.
If you have a mechanical fan that is not functioning, the fan clutch must be replaced. If you have an electric cooling fan, the circuit must be diagnosed before replacing the fan.
Part 9 of 9: Check for a faulty head gasket or internal problem
The most serious cooling system problems are internal engine issues. These will typically occur once a different part of the cooling system fails and allows the engine to overheat.
Materials Needed
Step 1: Let the engine cool. Park your vehicle and open the hood. Allow the engine to cool enough to remove the radiator cap.
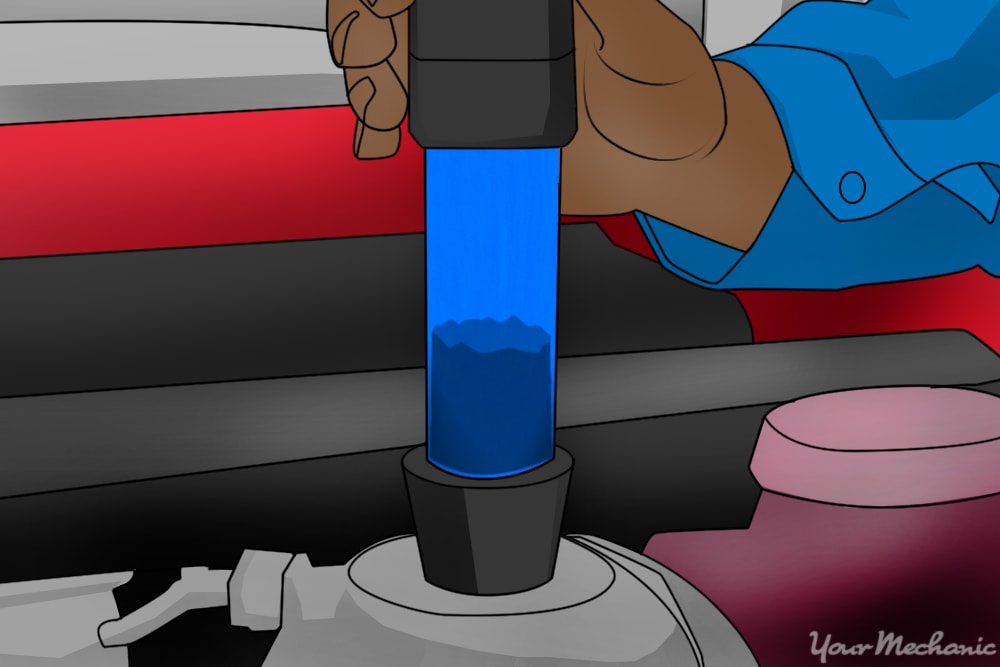
Step 2: Fit the block tester. With the radiator cap removed, install the block tester per manufacturer’s specifications.
Step 3: Observe the block tester. Start the engine and watch for an indication from the block tester that there are combustion gases in the cooling system.
If your test shows that there are combustion gases entering the cooling system, then the engine will need to be disassembled to identify the seriousness of the problem.
Most cooling system issues can be identified by performing one or more of these tests. Some issues will require further testing with other diagnostic tools.
Once you identify the faulty part, replace it as soon as possible. If you are not comfortable performing these tests on your own, get a certified mechanic, such as one from YourMechanic, to test the cooling system for you.


