For the most part, drum brakes have not been a staple of newer cars. But, there are still some manufacturers utilizing this older technology. If your vehicle has drum brakes, the brake shoes will eventually need to be replaced. When that time comes, you’ll be ready to tackle the job yourself by following these helpful steps.
Part 1 of 3: Prepare the vehicle
Materials Needed
- Jack
Tire iron
Note: Autozone provides free online repair manuals for certain makes and models.
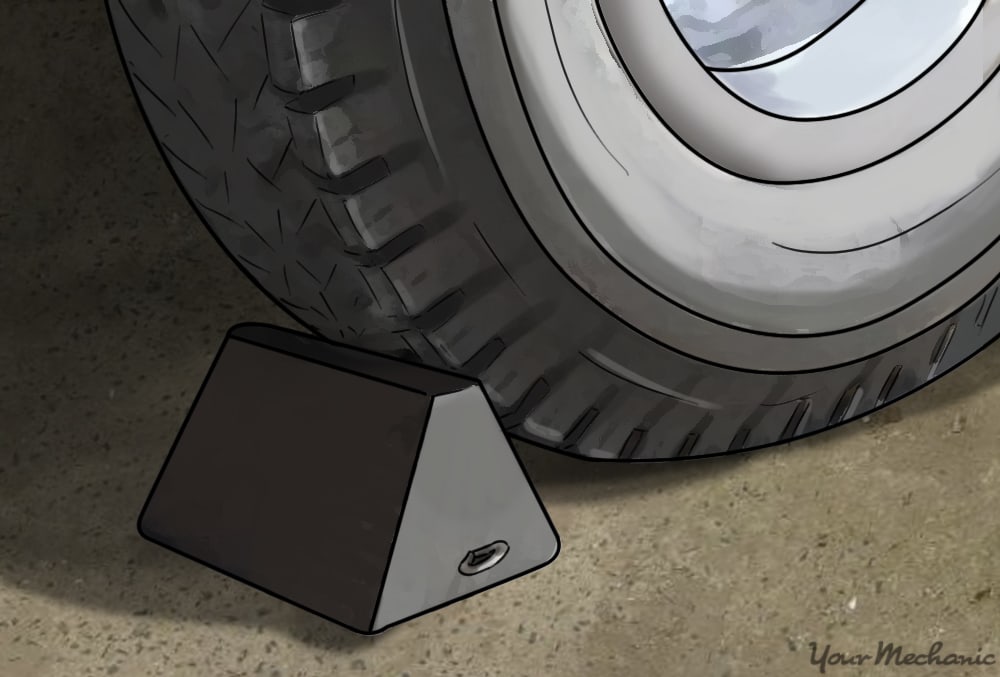
Step 1: Chock the wheels and release the emergency brake. Park your vehicle on level ground and release the emergency brake, placing wheel chocks behind the front wheels.
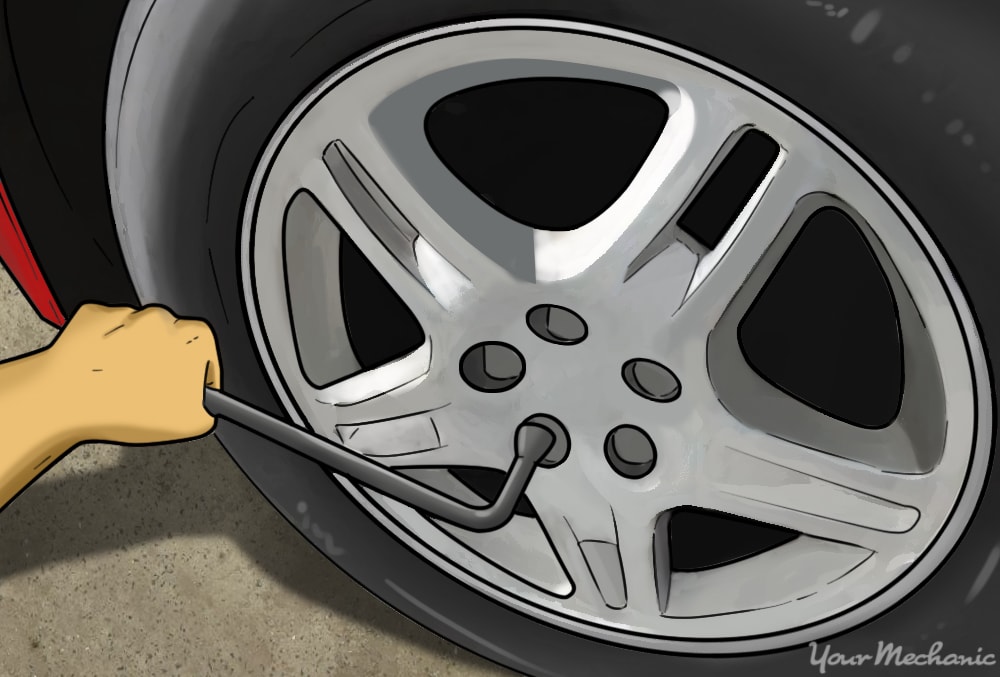
Step 2: Loosen the lugs nuts. Loosen the lug nuts but do not remove them while the wheel is still on the ground so it does not turn.
The lug nuts will be on tight; use the tire iron that came with your vehicle or a long breaker bar to loosen them.
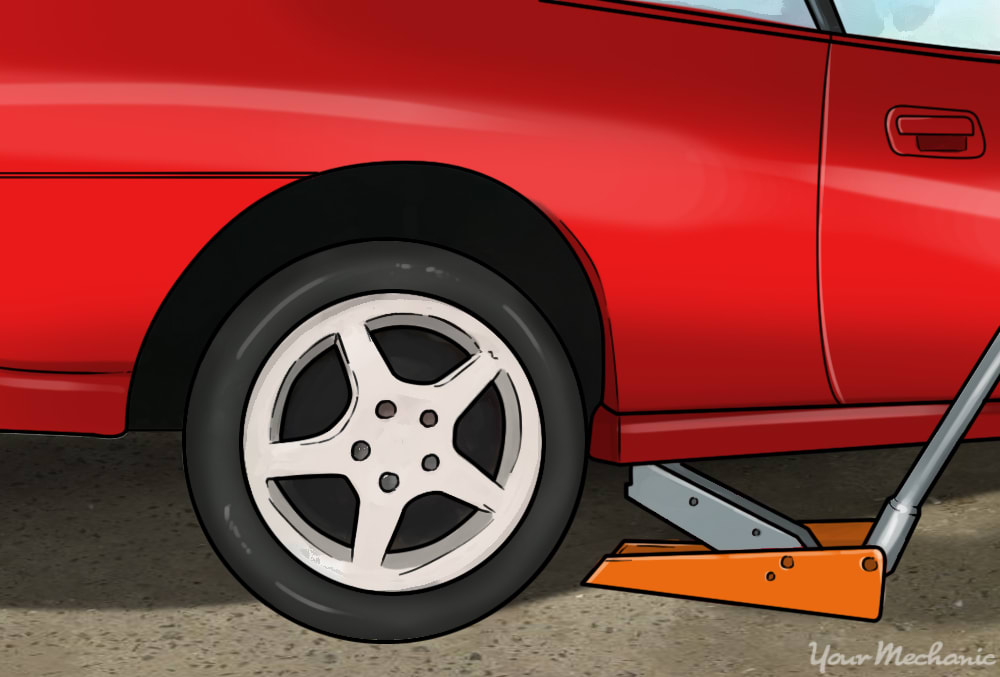
Step 3: Jack up the vehicle and remove the wheels. Place the jack under a sturdy portion of the frame.
If you have any questions as to where to place the jack on your particular vehicle, consult the repair manual. After you have the vehicle in the air, place jackstands under the frame and lower the jack. Then remove the lug nuts completely and remove the wheel.
Part 2 of 3: Remove the brake shoes
Materials Needed
- Digital micrometer
- Drum brake tool kit
- Flathead screwdriver
- Safety glasses
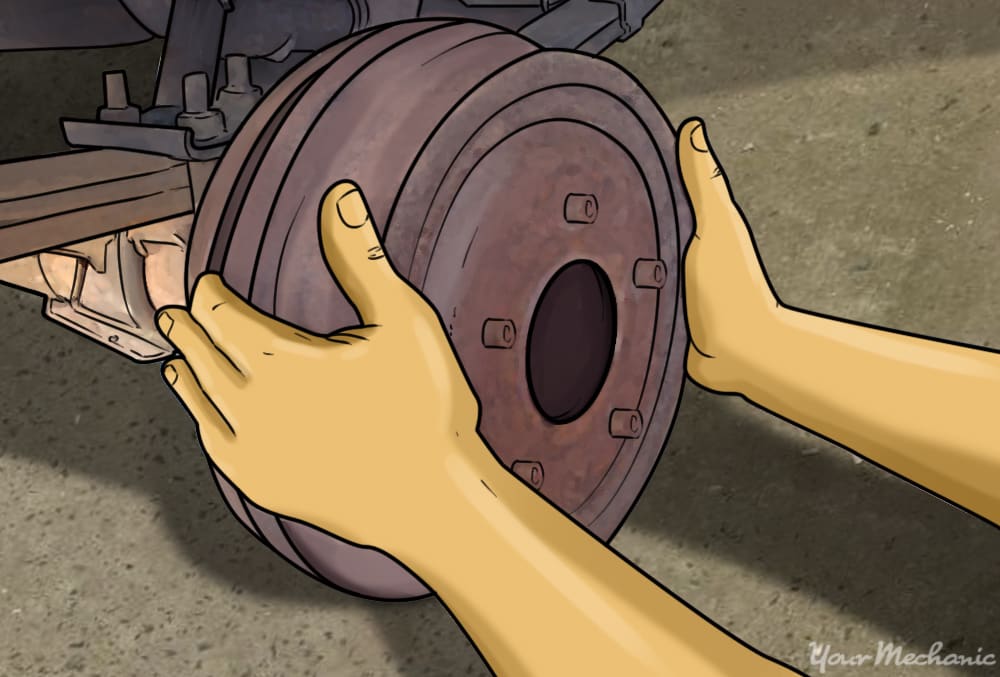
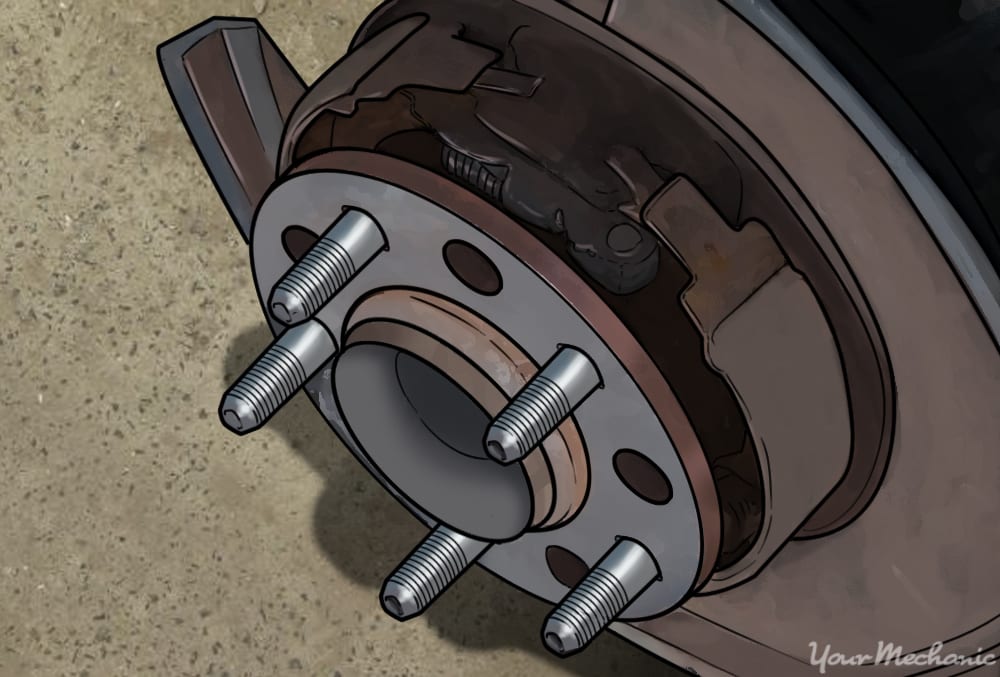
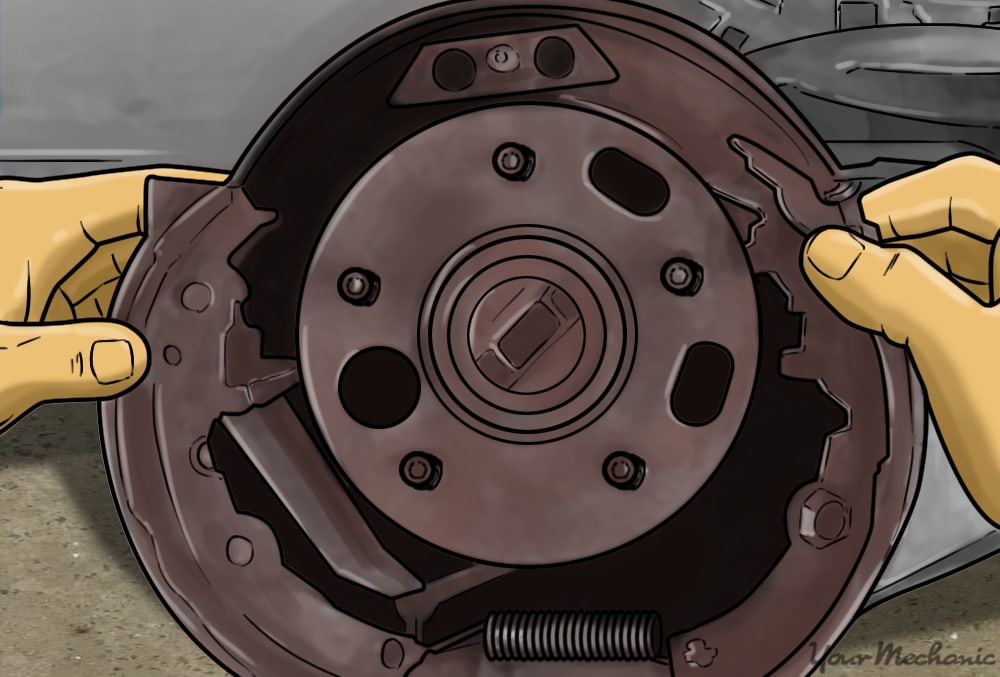
Step 1: Remove the brake drum. Remove the drum by pulling it straight out towards you.
If it does not come off easily, hit the front of it with a hammer to loosen it.
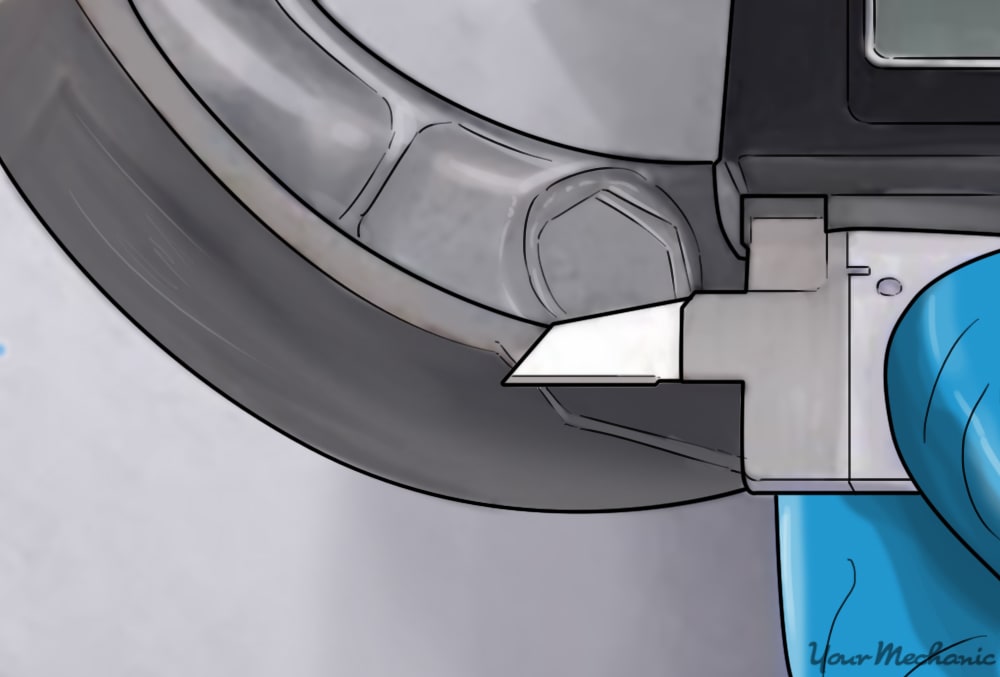
Step 2: Inspect the brakes. Before you dig into replacing your brake shoes you’ll want to measure and inspect everything.
You can measure the old shoes with a digital micrometer set to read inches. Anything less than 2/32” should be replaced. Inspect the drum for scoring, cracking or grooving. Replace if necessary.
While you’re inspecting the shoes and drums, you’ll also want to check the wheel cylinders. If they are leaking brake fluid they should be replaced.
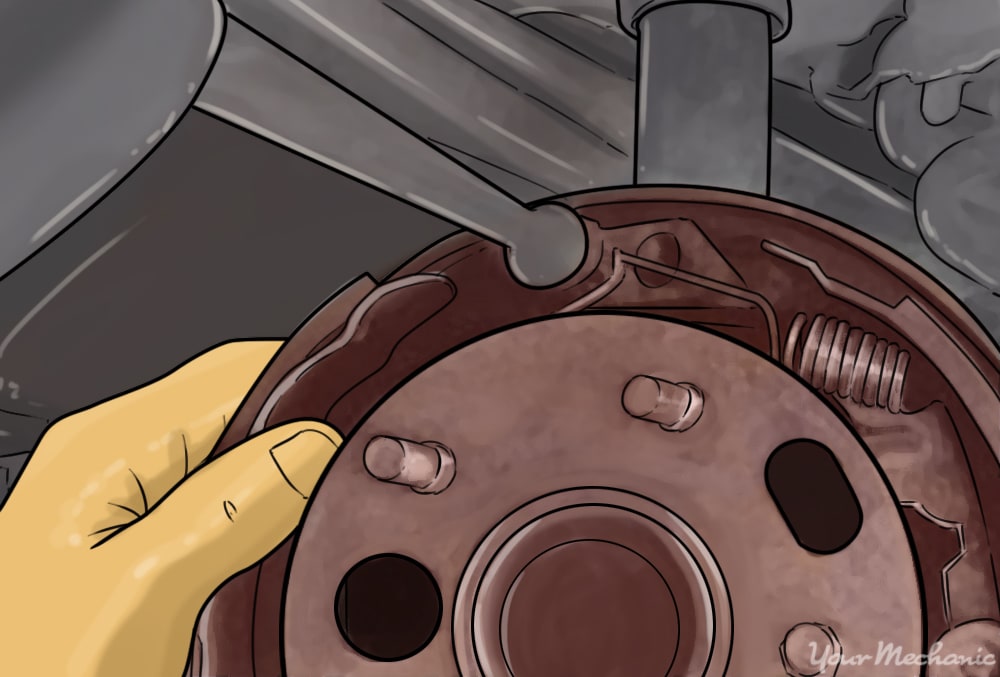
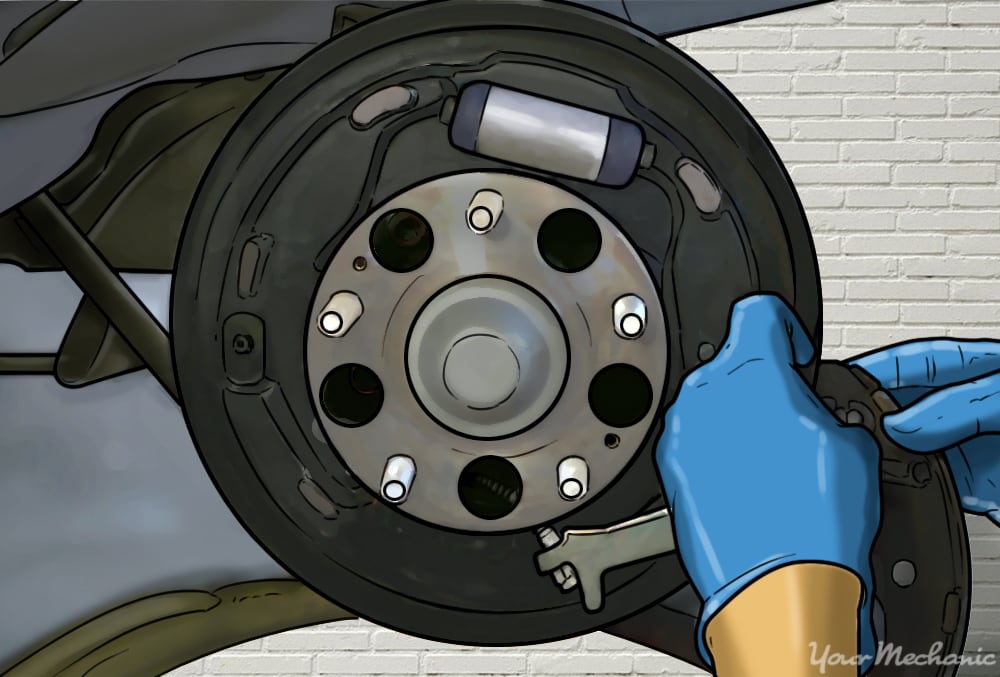
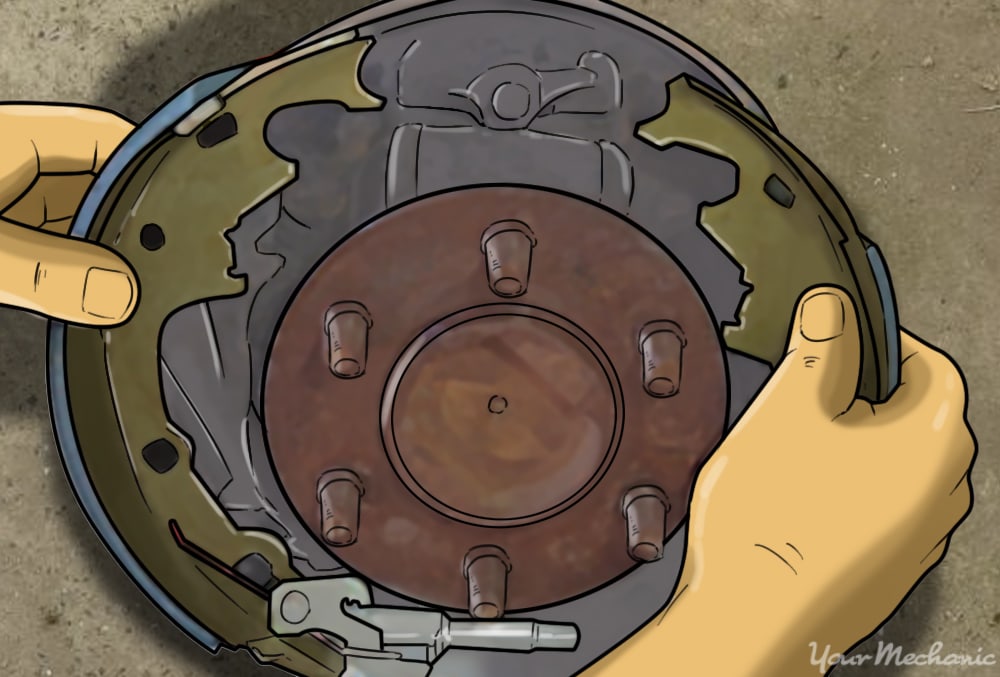
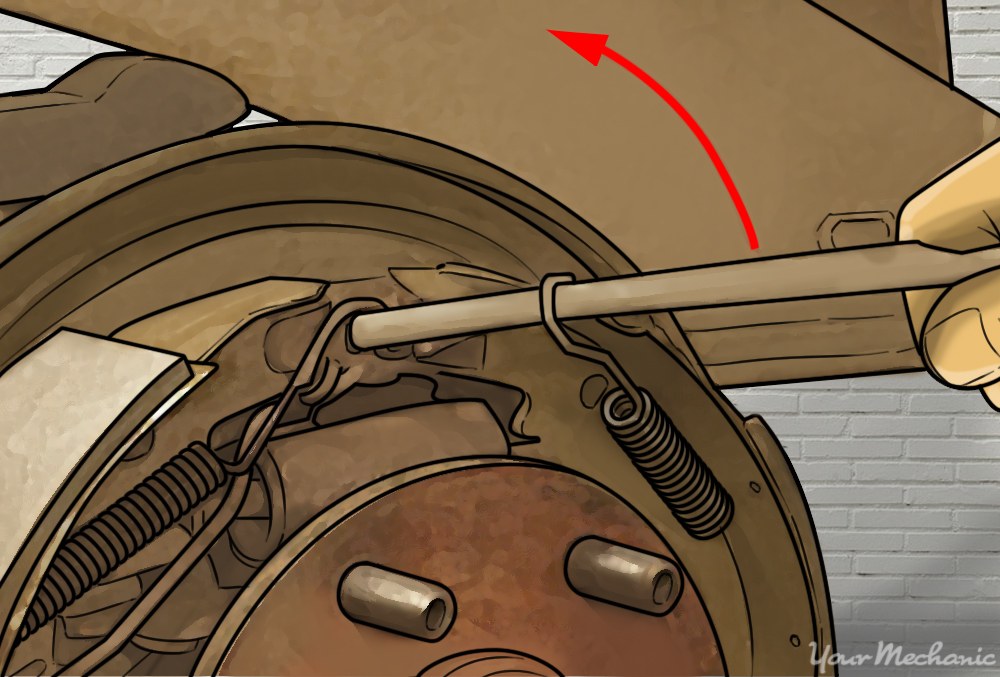
Step 3: Remove the return spring. Remove the return spring(s) with a dedicated brake spring tool or with a pair of locking needle nose pliers.
Also, if applicable, remove any self adjusting mechanism that has been released.
- Note: Make sure you have your safety glasses on while performing this step and all other steps going forward.
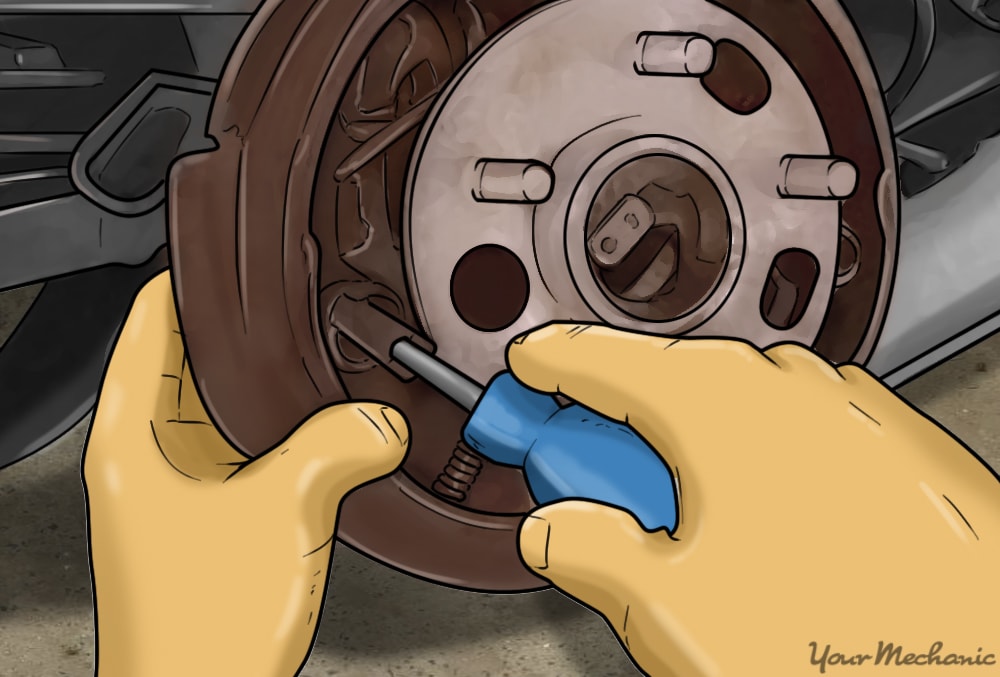
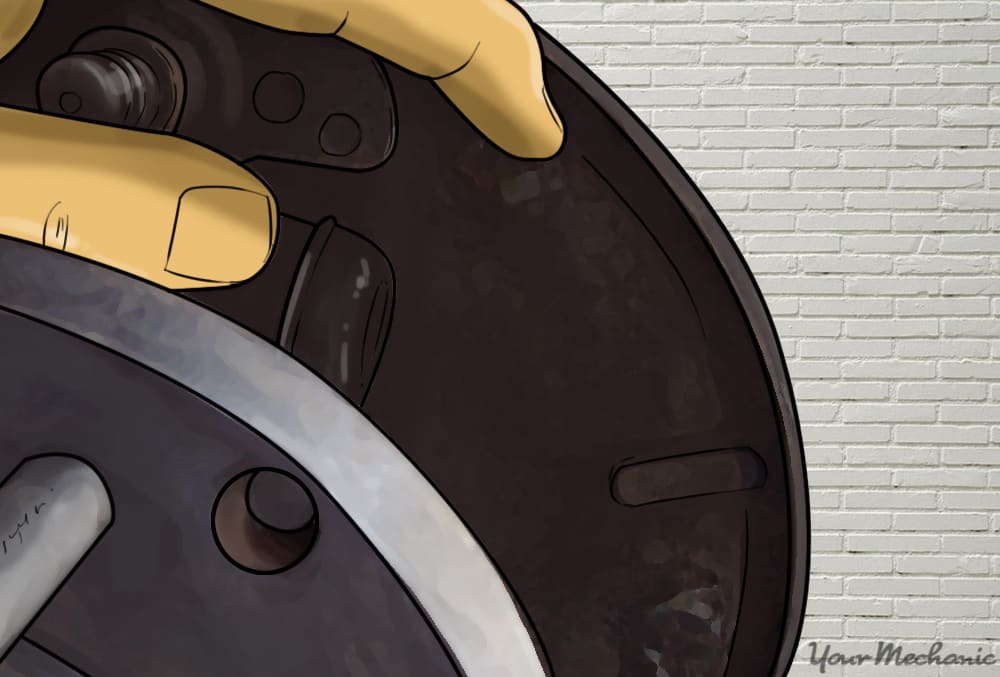
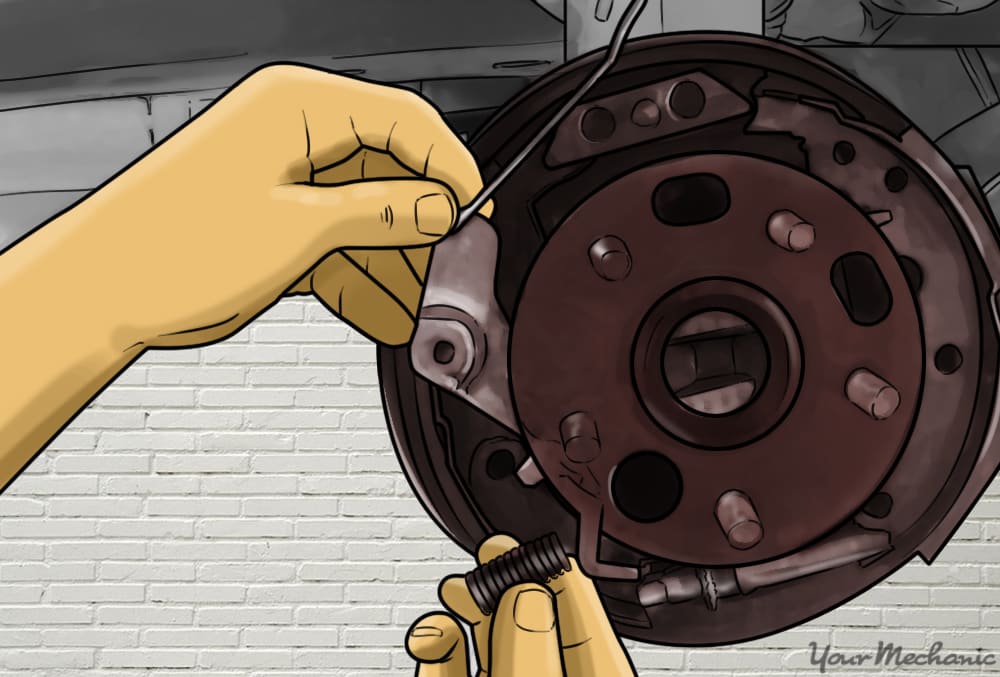
Step 4: Remove the hold-down spring. Remove the hold-down spring using a dedicated tool.
This is almost impossible to do with pliers. Twist the hold down spring until the pin lines up with the notch, allowing the spring to be removed.
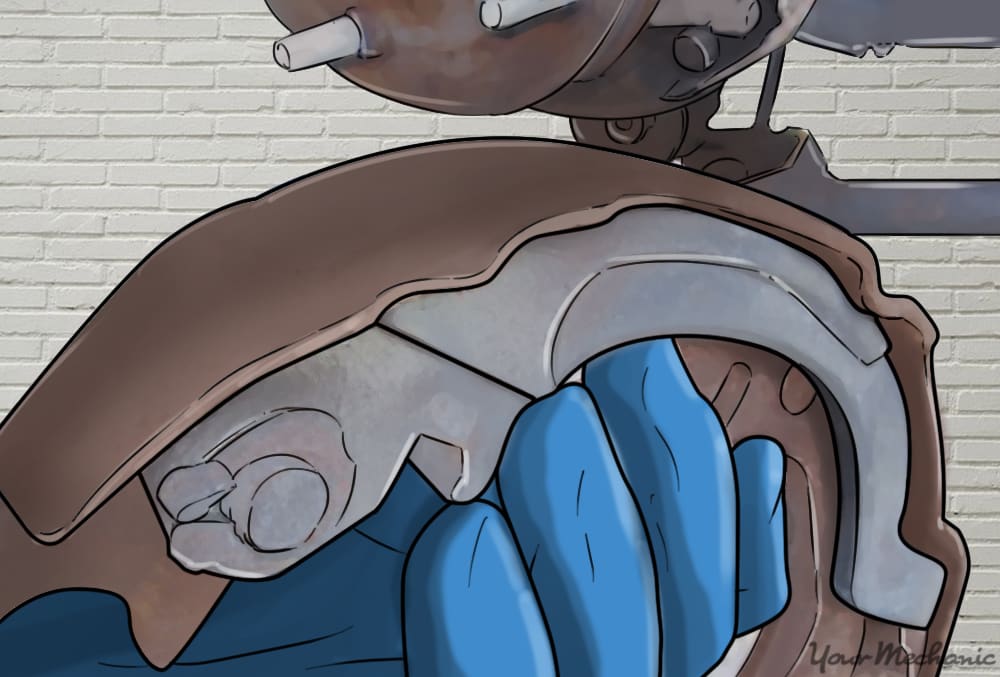
Step 5: Remove the brake shoes. Remove the brake shoes and the rest of the hardware from the backing plate.
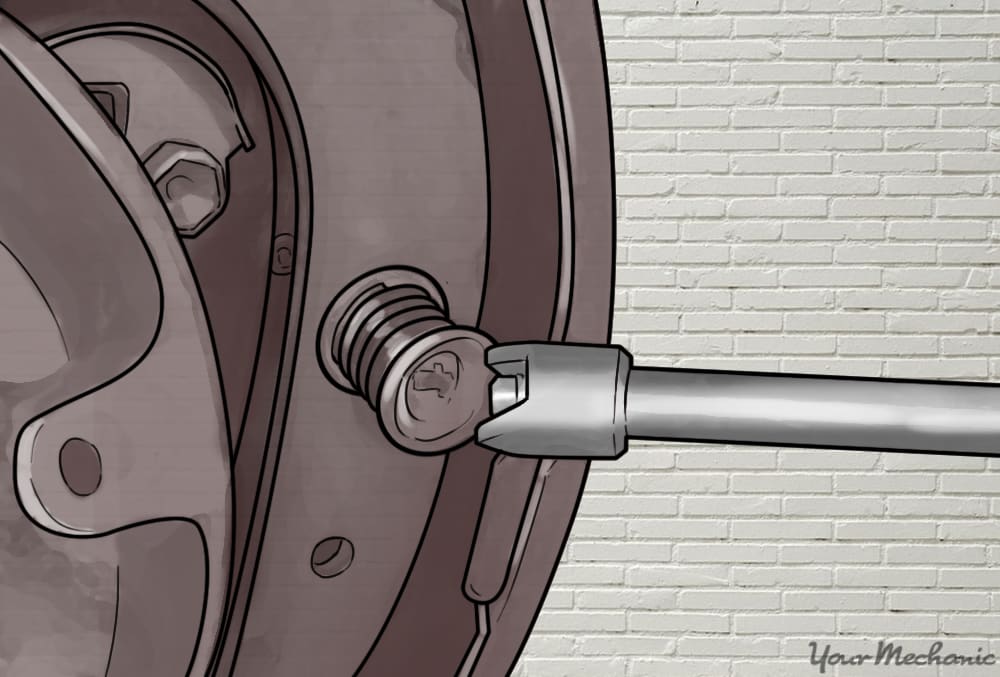
Step 6: Remove the parking brake cable retainer clip. Remove the parking brake cable retainer clip by prying it up with a flathead screwdriver or twisting it with a pair of dykes.
- Note: Some replacement shoes comes with a new clip and some don’t. Be careful removing the clip if your shoes don’t come with a new one.
Part 3 of 3: Install the shoes
Materials Needed
- Brake cleaner
- Brake lubricant
- Drum brake tool kit
- Protective gloves
- Repair manuals
- Safety glasses
Step 1: Clean and lubricate the backing plate. Clean the backing plate with brake cleaner. Step 2: Apply disc brake lubricant. Apply disc brake lubricant to the the bosses, anchor pin and parking brake actuating lever pivot surface
Step 3: Install the parking brake lever and retaining clip. Slide the pin through the new shoe and reinstall the parking brake retaining clip.
Step 4: Install screw assembly parts. Install the adjusting screw assembly and adjusting screw spring
Step 5: Position the shoes on the backing plate.
Step 6: Install the actuator lever and lever return spring. Hook the actuator onto the shoe, then position the return spring in place under it.
Step 7: Install the hold down pins and springs. Install the hold down pins through the backing plate and brake shoe. Then, mount the spring and retainer in place. Push down on and turn the spring/retainer until the pin and alignment slot line up. Use a brake spring compressor tool to do this.
Step 8: Install the return springs. Install the return springs in their mounting slots, then pull them over the anchor using a brake spring pliers.

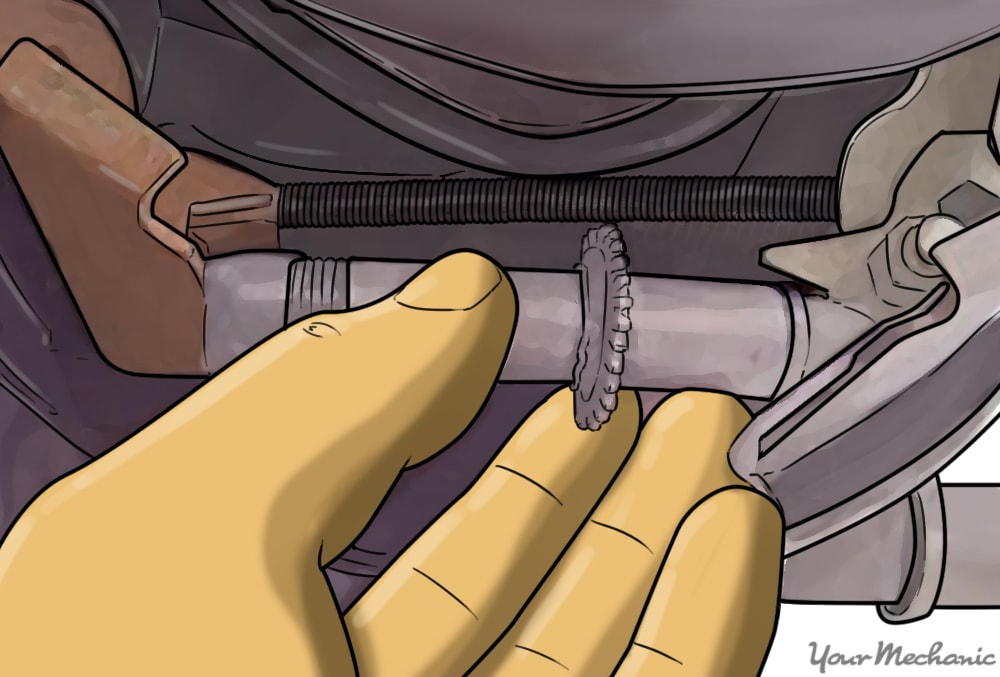
Step 9: Adjust the brakes. Adjust the brakes using a screwdriver or dedicated brake spoon.
Expand the shoes until the drum can just barely be turned by hand. Back off the adjusting screw 12 notches. If the shoes still are dragging, back off the adjusting screw a couple more notches.
Step 10: Install the brake drum. Install the brake drum by sliding it onto the hub assembly.
Step 11: Install the wheel and tire. Put the wheel and tire back on the vehicle and tighten the lug nuts until they are snug but don’t tighten them all the way.
Step 12: Remove the jack stands. Jack up the vehicle in the same location as before.
Remove the jack stands and lower the vehicle.
Step 13: Remove the wheels chocks. Take the chocks away from the tires
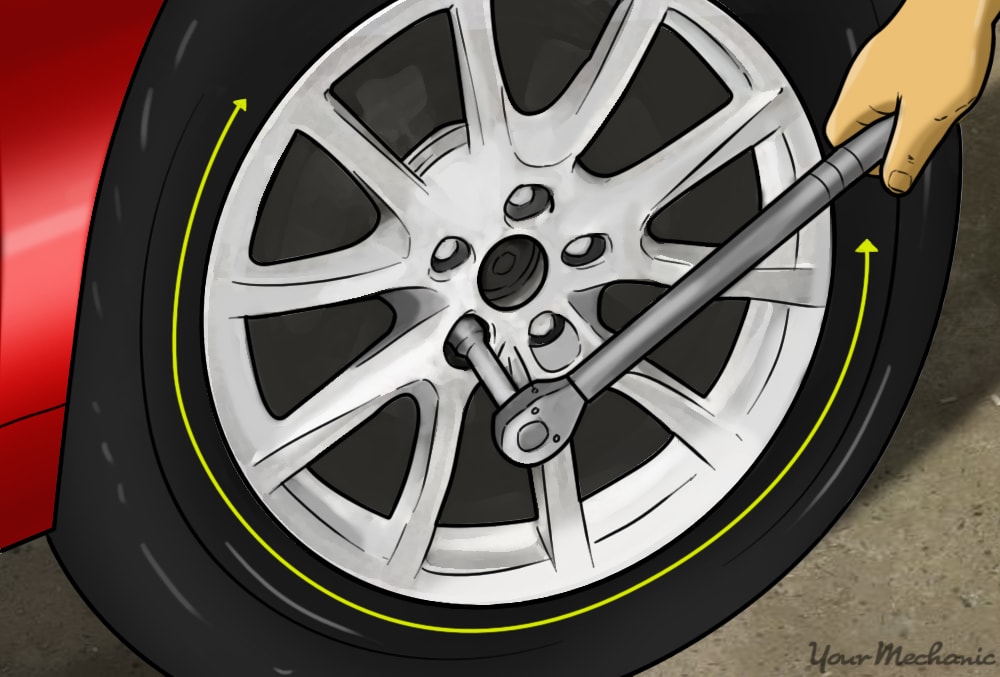
Step 21: Torque the wheels. Torque the wheels to specification using a torque wrench.
Set the wrench to the desired reading and turn it until it clicks. Torque specifications can be found in the repair manual for your vehicle.
Even for professional mechanics, replacing brake shoes can be a real hassle. Trying to wrangle those springs can result in frustration and bloody knuckles. If you prefer to have someone endure the frustration for you, YourMechanic offers expert brake shoe replacement.