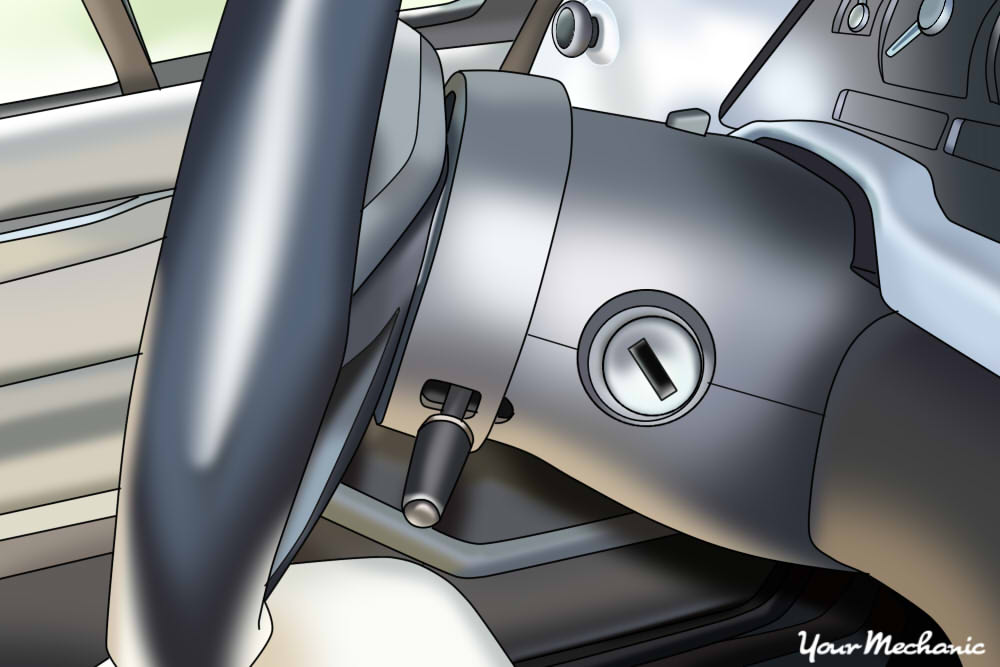
Steering column actuators were designed to connect the contacts from the ignition to the starter relay. A benefit of the steering column actuator is it creates a lock to prevent the ignition key from being removed from the tumbler while the key is in the start, on, or accessory position.
Newer vehicles have an additional lock that keeps the ignition tumbler from going into the off position when the transmission is in gear. Steering column actuators were developed for old vehicles, but on some vehicles they were continued with a newer design in the early 80’s. It was then developed into a more complex design in the early 90’s.
Most vehicles today do not have mechanical steering column actuators. In fact, most cars today have an electronic actuator controlled by the computer and a chip in the key for added security.
The symptoms of a failing steering column actuator include a key lever or rod which is rubbed or worn, which disrupts the connection. This prevents the ignition from sending power to the starter relay, which means the car does not start.
Also, the steering column on most vehicles has a tilt. The tilt has hinges that hold up the tilted steering column. If the hinges get worn out, then the distance between the rod and its contact point is greater. This is when the vehicle may start up in gear or when the column is only in a straight position. Sometimes the steering column actuator could break in a way to where the ignition will turn on but not turn off.
Part 1 of 4: Verifying the steering column actuator condition
Step 1: Put the key into the ignition tumbler. Turn the key onto the start position and check to see if the engine starts up.
If the engine does not start up with a straight only column, then the rod or actuator has failed. If the engine does not start up with a tilt column, try to move the column up and down to see if the engine starts up.
While the key is in the ignition tumbler and the key is in the on position, try to pull out the key. If you can pull out the key, then the actuator has failed.
- Note: If the engine starts up with the tilt column in the straight position, then the steering column hinges may be worn and not the actuator.
Part 2 of 4: Removing the steering column actuator
Materials Needed
- Allen wrench set (SAE/metric)
- Boxed end wrenches
- Cross tip screwdriver
- Dental picks
- Flathead screwdriver
- Protective gloves
- Ratchet with metric and standard sockets
- Safety glasses
- Slip joint pliers
- Snap ring pliers
- Steering wheel puller kit
- Torque bit set
- Wheel chocks
Step 1: Park your vehicle on a flat, hard surface. Make sure that the transmission is in park (for automatics) or in 1st gear (for manuals).
Step 2: Place wheel chocks around the tires. In this case, the wheel chocks go around the front tires since the rear of the vehicle will be lifted up.
Engage the parking brake to the lock the rear tires from moving.
Step 3: Open the vehicle’s hood to disconnect your battery. Take the ground cable off of the battery’s negative post, disabling the power to the the steering column and air bag.
- Warning: Do not hook up the battery or attempt to apply any power to the vehicle for any reason while removing the steering column actuator. This includes keeping the computer live. The airbag will be disabled and may go off if energized (with vehicles that have air bags).
Vehicles from 60’s to late 80’s:
Step 4: Put on safety glasses. The glasses prevent any object from coming out and hitting an eye.
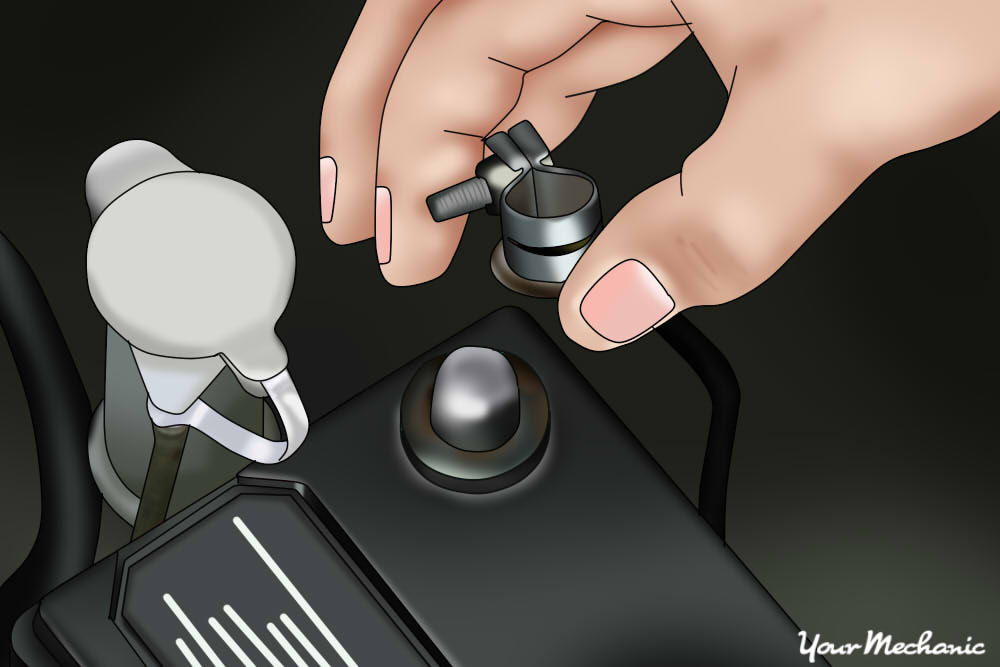
Step 5: Remove the horn button from the steering column. Disconnect the power wire to the horn button.
Make sure that you catch the spring under the horn button.
Step 6: Remove the mounting nut to the steering wheel. You will need to hold the steering wheel to keep it from moving.
If the nut does not come off, use a breaker bar to remove the nut.
Step 7: Get a steering wheel puller kit. Install the steering wheel puller and remove the steering wheel from the steering column.
Step 8: Remove the turn signal cluster panel. Pull out the turn signal arm and wires.
Make sure that you mark the wires before removal.
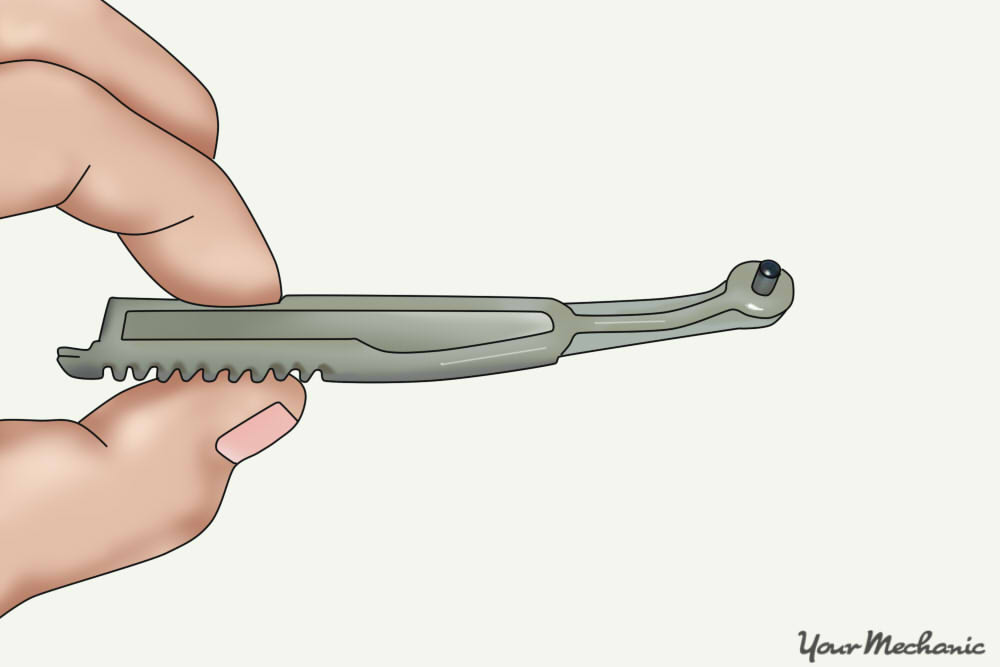
Step 9: Use a dental tool to remove the locking pin from the ignition tumbler. On some models you may have to punch out the pin to the tumbler.
Step 10: Pull out the ignition tumbler from the steering column. Reach in and pull out the rod from the steering column.
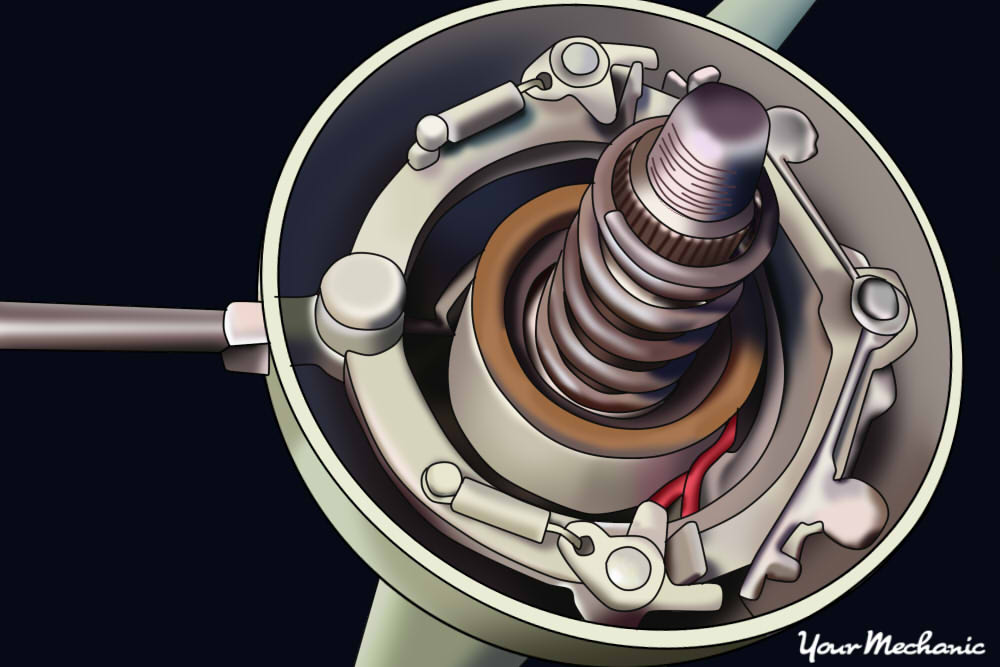
Step 11: Remove the mounting screws under the column that hold on the actuator. Pull the actuator off and unplug it from the vehicle harness.
Vehicles from early 90’s to present:
Step 12: Put on safety glasses. The glasses prevent any object from coming out and hitting an eye.
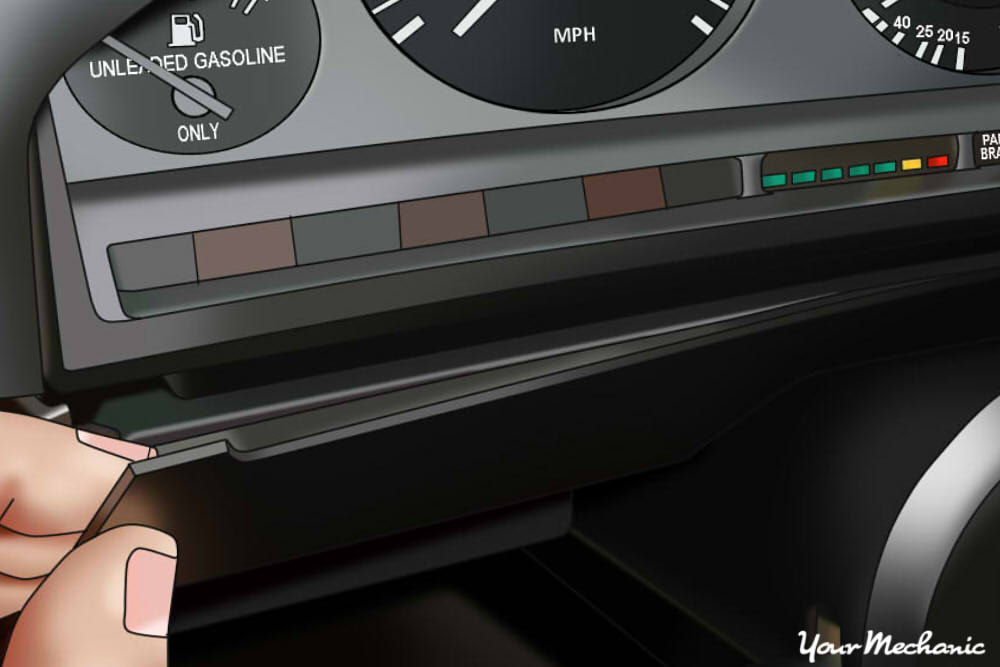
Step 13: Remove the mounting screws to the dash panel. Pull off the dash panel so you can have access to the mounting nuts to the steering wheel base.
Step 14: Remove the mounting nuts located in the back of the steering column.
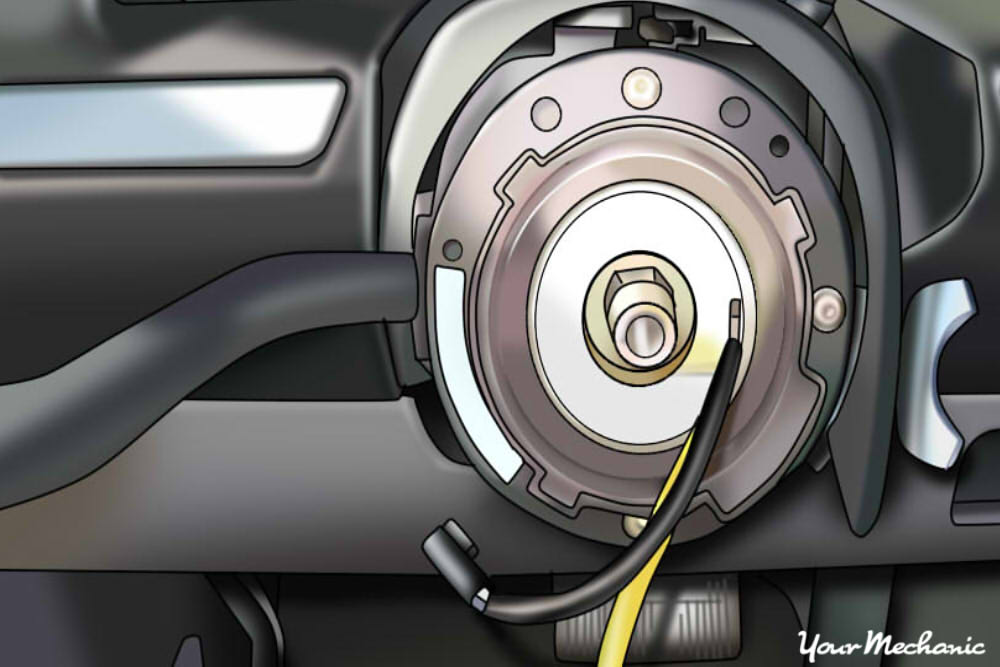
Step 15: Remove the horn button from the steering column. Disconnect the power wire to the horn button.
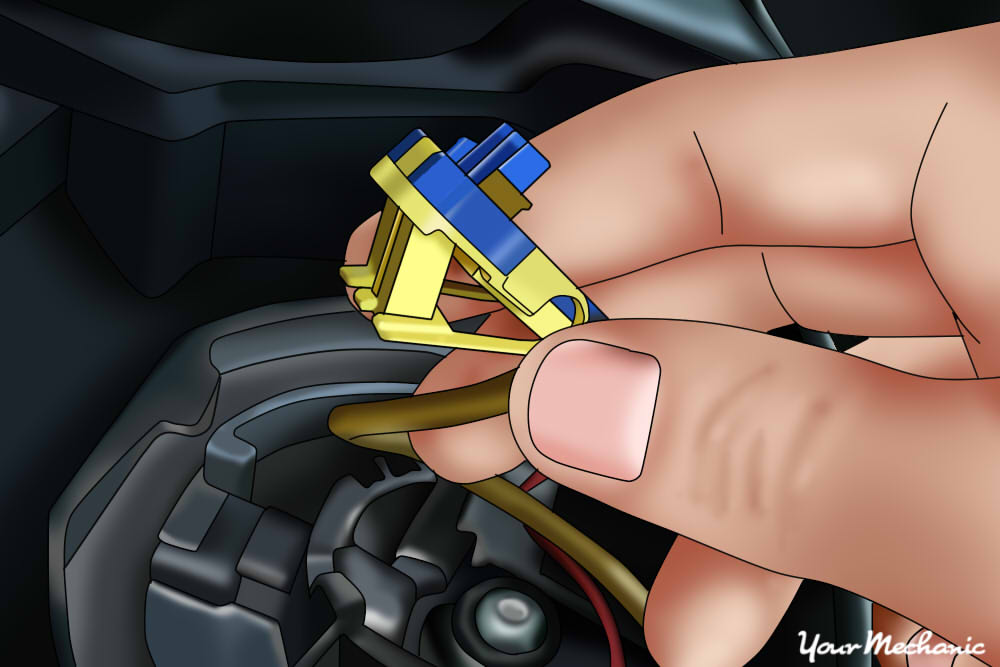
Make sure that you catch the spring under the horn button. Disconnect the yellow power wire to the airbag. Make sure that you mark the location of the airbag connection.
Step 16: Remove the mounting nut or bolt to the steering wheel. Hold the steering wheel to keep it from moving.
If the nut will not come off, you can use a breaker bar to remove the nut.
Step 17: Get a steering wheel puller kit. Install the steering wheel puller and remove the steering wheel assembly from the steering column.
Step 18: Remove the tilt lever with a pair of slip joint pliers. This allows you to gain access to the covers on the steering column.
Step 19: Remove the plastic covers to the steering column. Do this by removing 4 to 5 mounting screws on each side.
You may find some hidden mounting screws in the back of the cover by the trimming of the dash panel.
Step 20: Put the key into the ignition tumbler. Turn the key to the start position and use your straight dental pick to release the pin in the pin hole.
Then gently remove the ignition tumbler from the steering column.

Step 21: Take remove three plastic clips to take out the clock spring. Be sure to remove any brackets that may interfere with the clock spring removal.
Step 22: Remove the connectors in the lower portion of the steering column.
Step 23: Take out the multi-function switch. Disconnect the electrical harness from the switch.
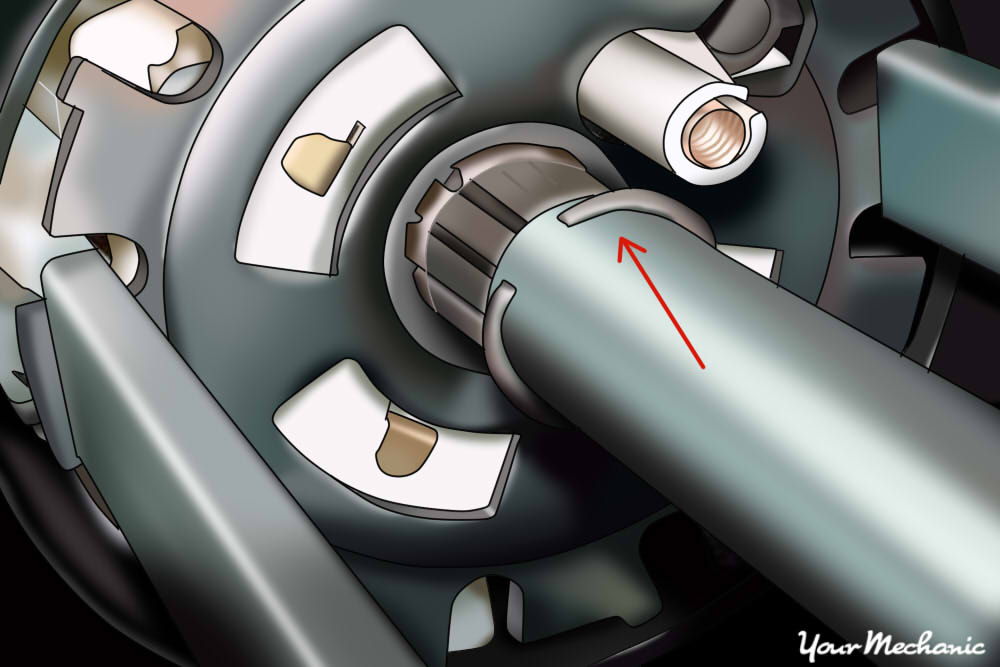
Step 24: Remove the snap ring. Use a pair of snap ring plyers and remove the snap ring that connects the tilt section to the steering shaft.
Step 25: Use a large flat screwdriver and take out the tilt spring. Be very careful, the spring is under pressure and will come out of the steering column with a rush.
Step 26: Remove the mounting screws. Now you can prep the tilt section for removal by removing the mounting screws holding it on.
Step 27: Remove the nut to the bolt on the steering shaft to the u-joint. Remove the bolt and slide the tilt section out of the vehicle.
Step 28: Take off the back section of the steering column tilt section where the u-joint is mounted. Remove the spring and plate.
Step 29: Remove the steering column actuator.
- Note: It is suggested you remove and replace the tilt bearing on the back of the tilt section.
Part 3 of 4: Installing the steering column actuator
Materials Needed
- Allen wrench set (SAE/metric)
- Boxed end wrenches
- Cross tip screwdriver
- Flathead screwdriver
- Ratchet with metric and standard sockets
- Slip joint pliers
- Snap ring pliers
- Torque bit set
Vehicles from 60’s to late 80’s:
Step 1: Install the new actuator into the steering column. Secure the actuator with the mounting screws and plug in the harness to it.
Step 2: Slide the rod into the steering column. Install the tumbler back into the column and make sure that it locks in place.
Step 3: Install the turn signal cluster. Hook up the wires according to the tagged off locations.
Step 4: Put the steering wheel on the steering shaft. Install the mounting nut and draw the steering wheel into the steering column.
Make sure that the nut is tight, but do not over tighten the nut or it will strip out.
Step 5: Put the horn spring back onto the steering column shaft. Hook up the horn wire and snap the horn back into place.
Vehicles from early 90’s to present:
Step 6: Install the new actuator into the steering tilt section. Make sure that the actuator is installed all the way.
Step 7: Put the spring and plate back on over the back section where the u-joint is.
Step 8: Install the tilt section back into the vehicle. Put the bolt into the u-joint and install the nut.
Torque the nut down to finger tight and 1/8 turn.
Step 9: Install mounting screws that secure the tilt section to the steering column.
Step 10: Use your large screwdriver and install the tilt spring. This part is not easy and the spring is hard to install.
Step 11: Install the snap ring onto the steering shaft. This secures the shaft to the tilt section.
Step 12: Install the multifunction switch. Be sure to hook up the harness to each part that you had marked.
Step 13: Install the connectors in the lower part of the steering column.
Step 14: Put in the clock spring into the steering column. Install any brackets you took off and the three plastic clips.
Step 15: Reinstall the key tumbler into the steering column. Remove the key and lock the tumbler in place.
Step 16: Install the plastic covers and secure them with the 4 to 5 mounting screws. Don’t forget the screw that is hidden in the back of the steering column.
Step 17: Reinstall the tilt lever onto the steering column.
Step 18: Put the steering wheel on the steering shaft. Install the mounting nut and draw the steering wheel into the steering column.
Make sure that the nut is tight. Do not over tighten the nut or it will strip out.
Step 19: Grab the horn and airbag assembly. Hook up the yellow wire for the airbag to the connector you marked earlier.
Hook up the power supply to horn and place the horn spring onto the steering column. Snap the horn and airbag onto the steering column.
Step 20: Install the mounting bolts onto the back of the steering column. You may have to push in on the tilt section.
Step 21: Put the dash panel back onto the dashboard. Secure the dash panel with the mounting screws.

Step 22: Reconnect the ground cable back onto the battery’s negative post.
Remove the nine volt battery saver from the cigarette lighter.
Step 23: Tighten the battery clamp. Ensure that the connection is good.
- Note: Since the power was depleted completely, you will have to reset all of the settings in your vehicle, like your radio, electric seats, and electric mirrors.
Step 24: Remove the wheel chocks.
Part 4 of 4: Test drive the vehicle
Step 1: Put the key into the ignition tumbler. Start the engine up and drive the vehicle around the block.
Step 2: Check for a break in ignition sequence. After the road test, adjust the tilt steering wheel up and down to check for a break in the ignition sequence.
Then shut off the engine and move the tilt steering wheel up and down. Restart the engine to make sure that the actuator is functioning correctly.
If your engine will not start after replacing the steering column actuator, then there may be further diagnosis of the steering column actuator circuitry needed. If the problem persists, have one of YourMechanic’s certified mechanics inspect the steering column circuitry and perform a replacement if needed.