Most vehicle doors close to the vehicle body with latches which may be locked to prevent unauthorized access from the exterior. There are a variety of car door locking systems. Door locks may be manually or automatically operated and may be centrally or individually locked. Also, they may be operated by remote control, with the transmitter often integrated into the main vehicle access or ignition key.
Additionally, rear passenger doors are frequently fitted with child safety locks to prevent children from exiting the vehicle unless the door is opened from the exterior. Vehicle door latches on practically all vehicles today are usually operated by use of a handle which requires users to pull, lift, or tug toward themselves with some force rather than push.
The door latch mechanism may need removing for a number of reasons: too many broken outer door handles, the latch is sticking and not releasing the door easily, the door lock button is hard to operate, and so on.
Door latches for vehicles built from the 50’s to the 80’s all have similar design features for most vehicles. These latches were easy to replace considering the construction and location of the latch. However, for vehicles made in the 90’s up to the present, door latches have become more complex, adding in electronic door locks and newer types of interior door panels with the latest electronics.
Part 1 of 4: Verifying the condition of the door latch
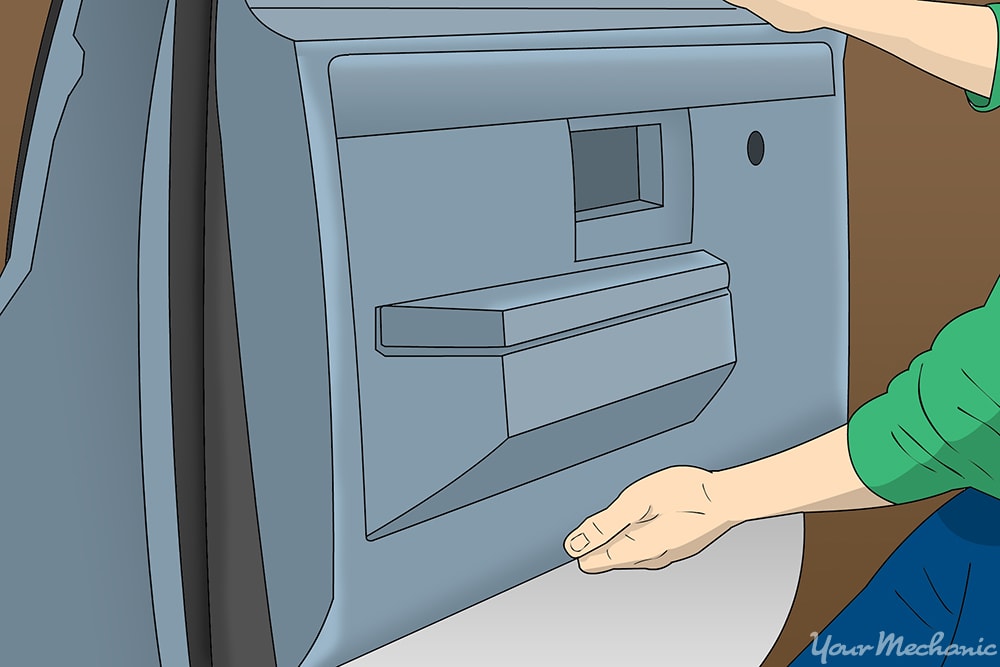
Step 1: Inspect the door latch. Locate the door with the damaged, stuck, or broken latch. Visually look at the lock for any exterior damage.
Gently lift up on the door handle to see if there is any binding of the mechanism within the door.
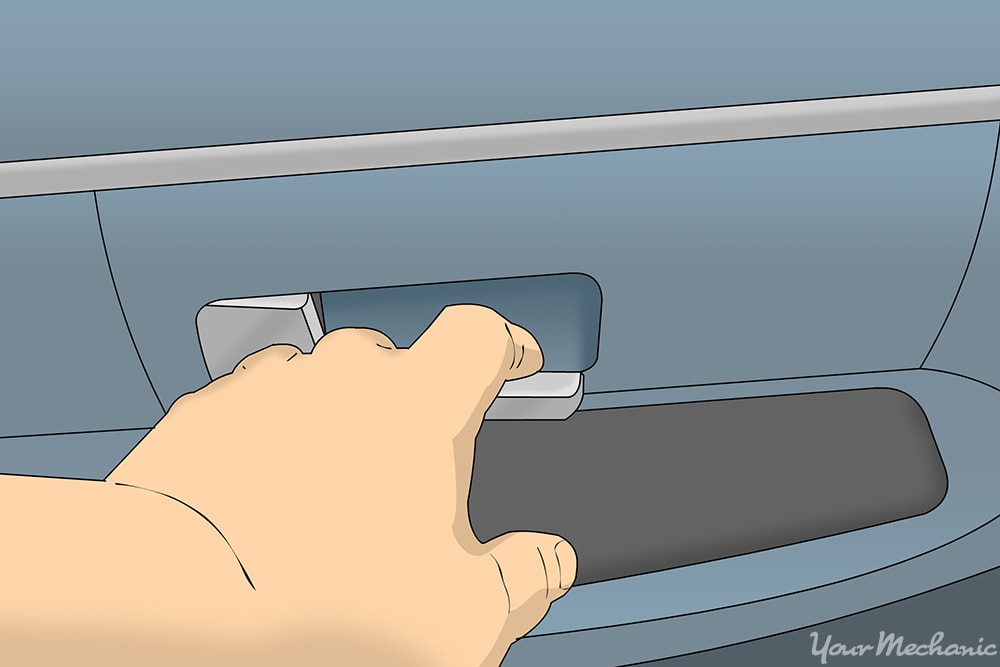
Step 2: Test the latch from the inside. Get into the vehicle from another door if the door you are working on will not let you enter the vehicle. Open the door with the broken, stuck, or damaged latch from the inside of the vehicle.
Step 3: Diagnose the problem. Manually lock the door by pushing on the latch on the side of the door.
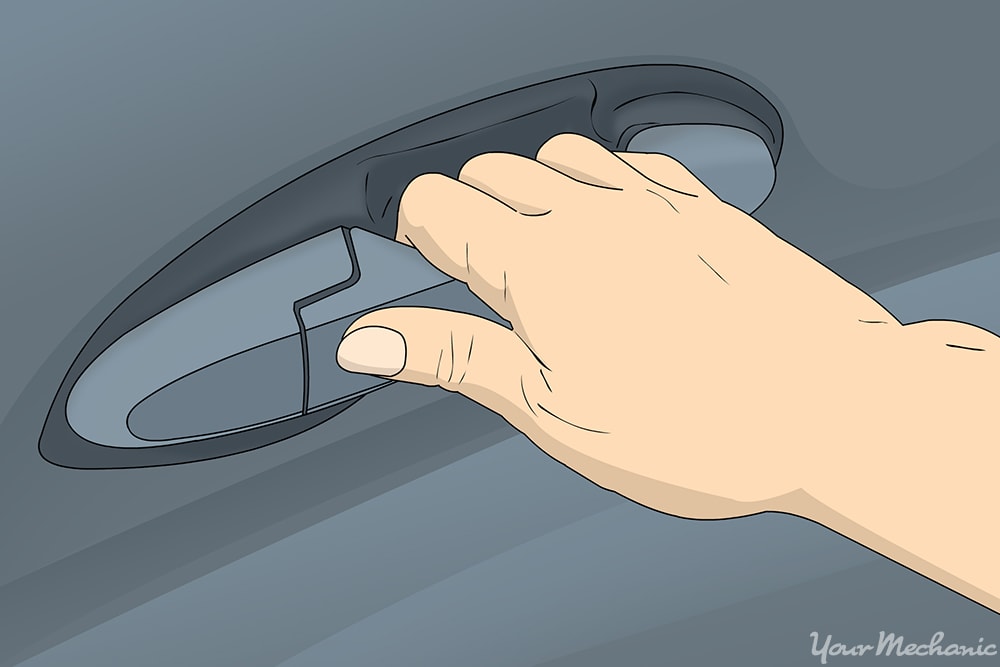
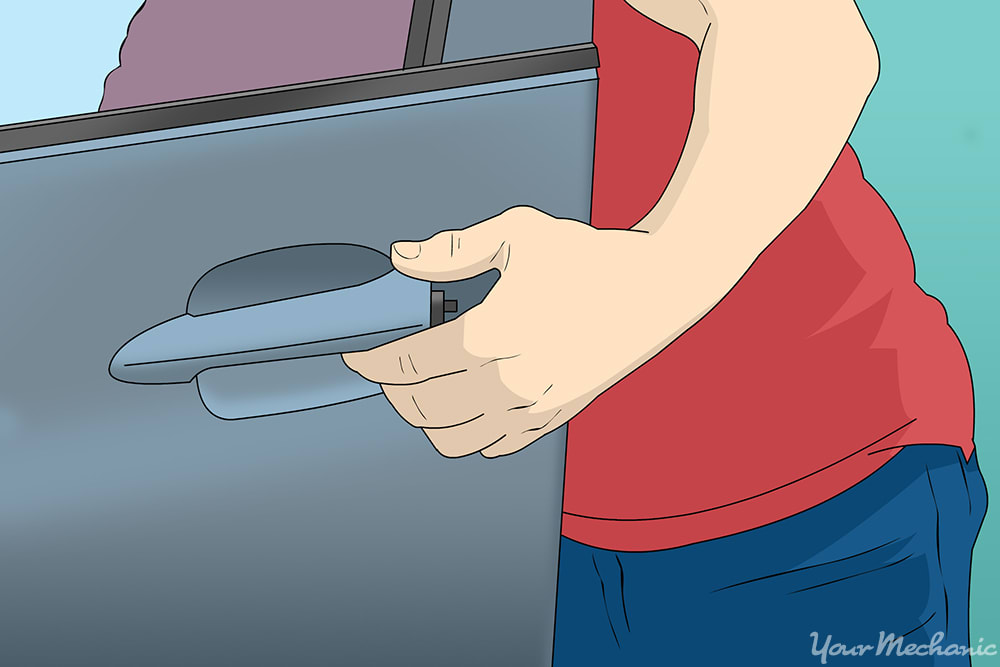
Try operating the damaged latch by pulling on the exterior handle of the door.
If the latch operates, then the problem probably resides in the door striker. However, if the latch does not operate by pulling on the outside door handle but does operate by pulling on the inside door handle, then the handle rod inside the door may be damaged.
If the outside door handle operates the door latch but the inside door handle does not operate the door latch, then the latch lever may be bent or damaged. If the door latch does not operate when the outside handle or inside handle is operated, then the latch has stuck in place or has a missing guide pin.
- Tip: If you are working on a rear door, make sure that any child safety locks are not engaged. A child safety lock will only keep the door from opening when operating the inside handle; the door should still open when the outside door handle is pulled.
Part 2 of 4: Preparing to replace the door latch
Having all of the necessary tools and materials and preparing the vehicle prior to starting the work will allow you to get the job done more efficiently.
Materials Needed
- Boxed end wrenches
- Cross tip, or phillips head, screwdriver
- Electrical cleaner
- Graphite powder
- Mineral spirits cleaner
- Needle nose pliers
- New door latch
- Ratchet with metric and standard sockets
- Removal tool
- Torques bit set
- Wheels chocks
Step 1: Position the vehicle. Park your vehicle on a flat, hard surface.
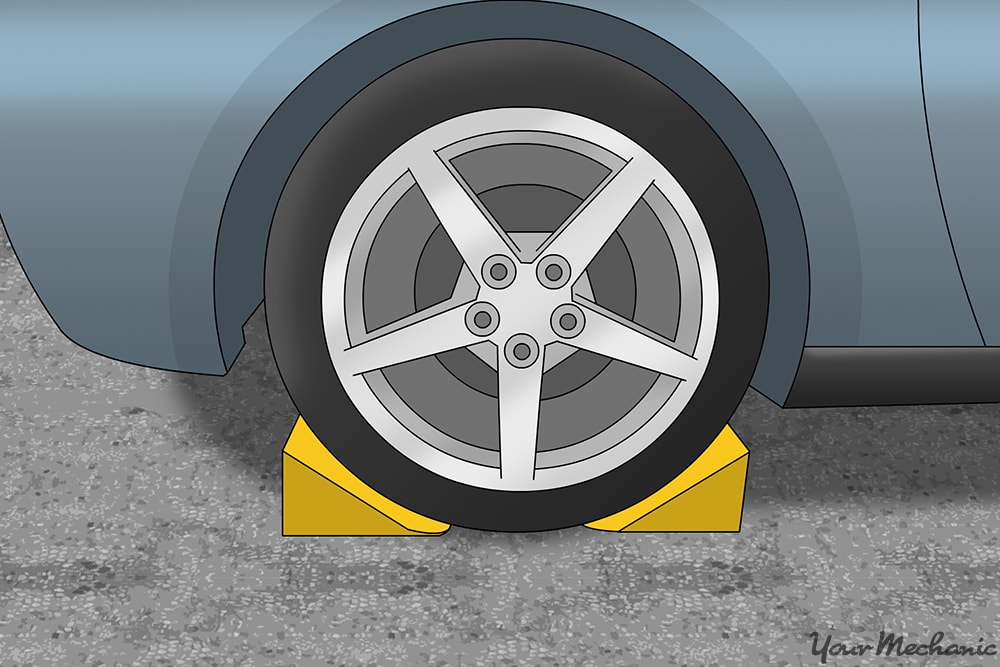
Step 2: Secure the vehicle. Place wheel chocks around the tires. Engage the parking brake to the lock the tires and keep them from moving.
Part 3 of 4: Removing the old door latch
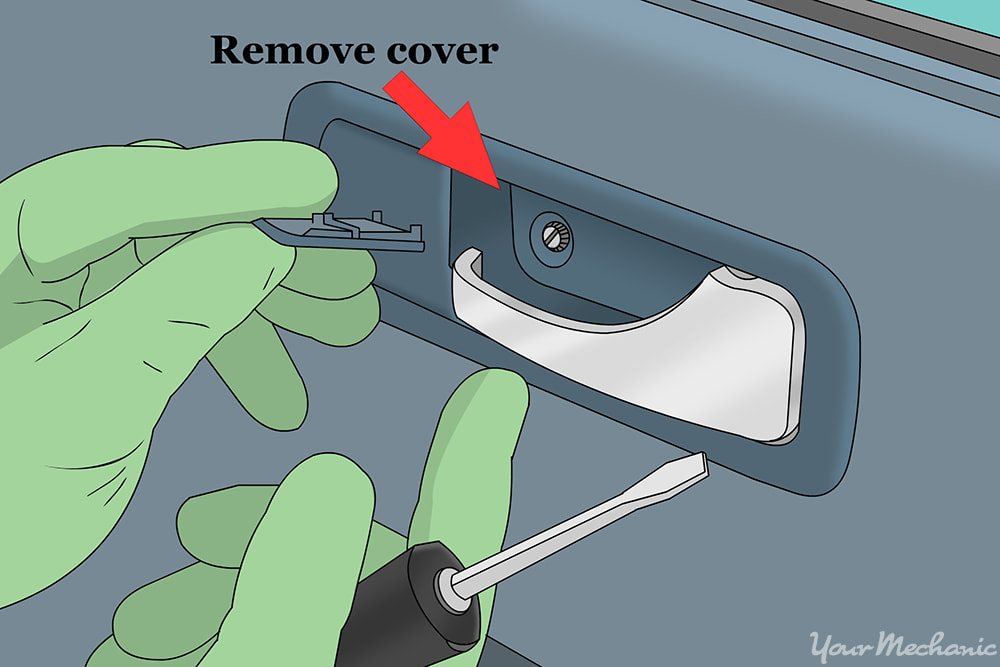
Step 1: Remove the outer door handle. The outer door handle is attached by two cross tip, or phillips, head screws in the outer edge of the door. The upper of the two screws are visible just above the latching mechanism and are partially hidden under the rubber door seal in the door.
Remove the two screws that hold the door handle to the door shell. Push the handle forward to release it and pull it away from the door.
- Tip: Be sure to examine the two plastic seals on the door handle and replace if necessary.
Step 2: Remove the inner door handle. Pry the plastic cover out from under the door handle. This component is separate from the plastic rim around the handle. Use a flathead screwdriver to remove the cover.

Underneath is a cross tip, or phillips, head screw which must be removed.
Once this is done, the plastic rim around the handle can be removed.

Step 3: Remove the window crank. Before removing the window crank, make sure the window is fully closed. Pry up the plastic cover on the crank handle (the handle is a metal or plastic arm with a metal or plastic clip).
Remove the cross tip, or phillips, head screw holding the crank handle to the shaft. Then pull the handle off.
A large plastic washer will come off with the handle. Take notes or a picture to remember which way it sits against the door.
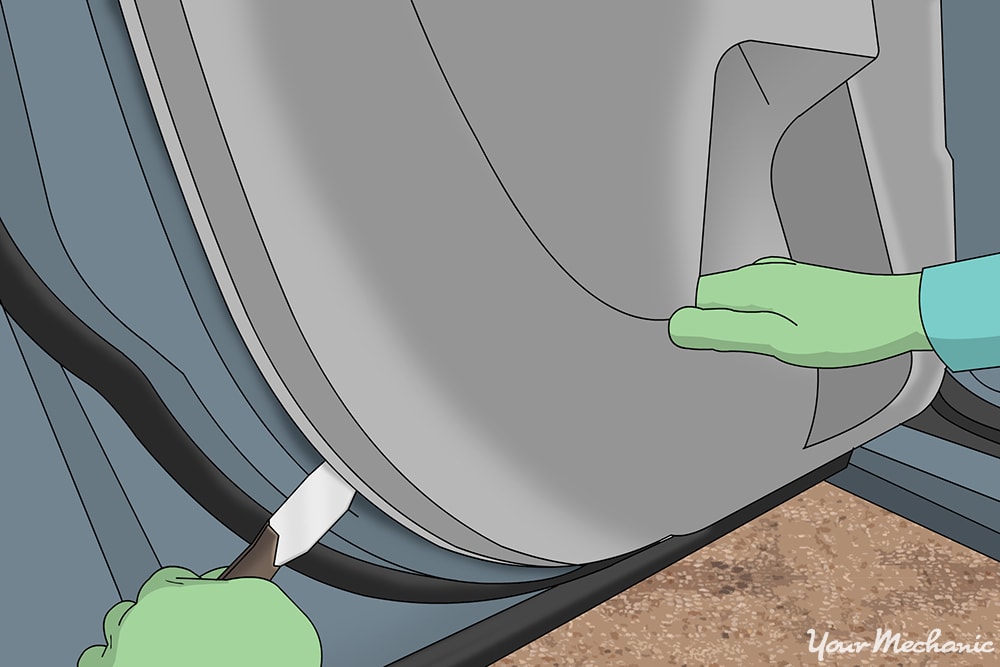
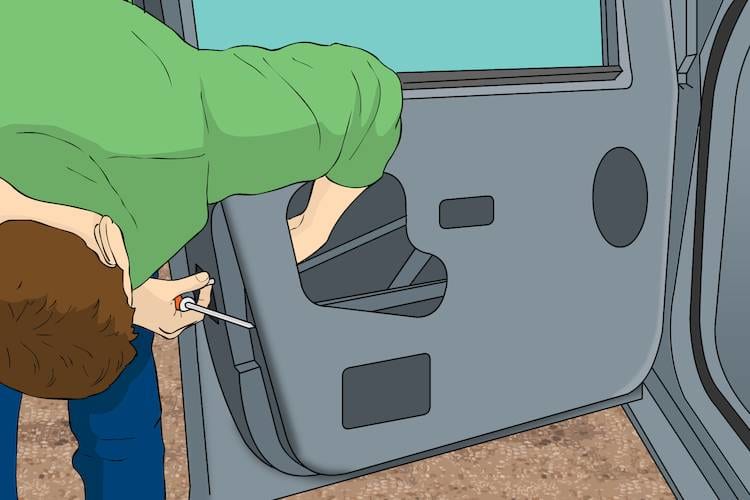
Step 4: Remove the panel on the inside of the door. Gently pry the panel away from the door all the way around. A flat screwdriver or removal tool (preferred) helps here, but be gentle so you don’t damage the painted door around the panel.
Once all the clips are loose, grab the panel top and bottom and bend it slightly away from the door. Lift the whole panel straight up to clear it of the catch behind the door handle.
As you do this a large coil spring will fall out. This spring sits behind the window crank handle, and it’s somewhat fiddly to get back into place when you later reinstall the plastic sheeting. Hang on to this spring and do not lose it.
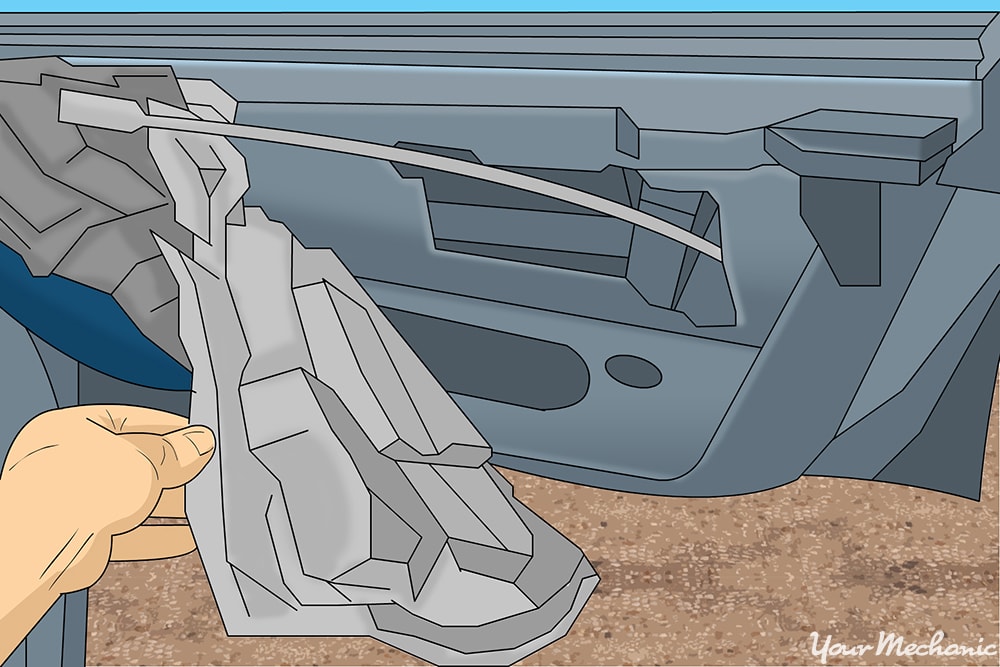
Step 5: Remove the plastic sheeting. Pull the plastic sheeting that sits behind the door panel away from the rear half of the door. Do it gently and you’ll be able to reseal the plastic later.
- Tip: This plastic is essential to forming a water barrier inside the door panel as some water always gets into the inside of the door during rainy days or a car wash. While you are at it, check that the two drain holes in the bottom of the door are clear and there is no buildup of debris there.
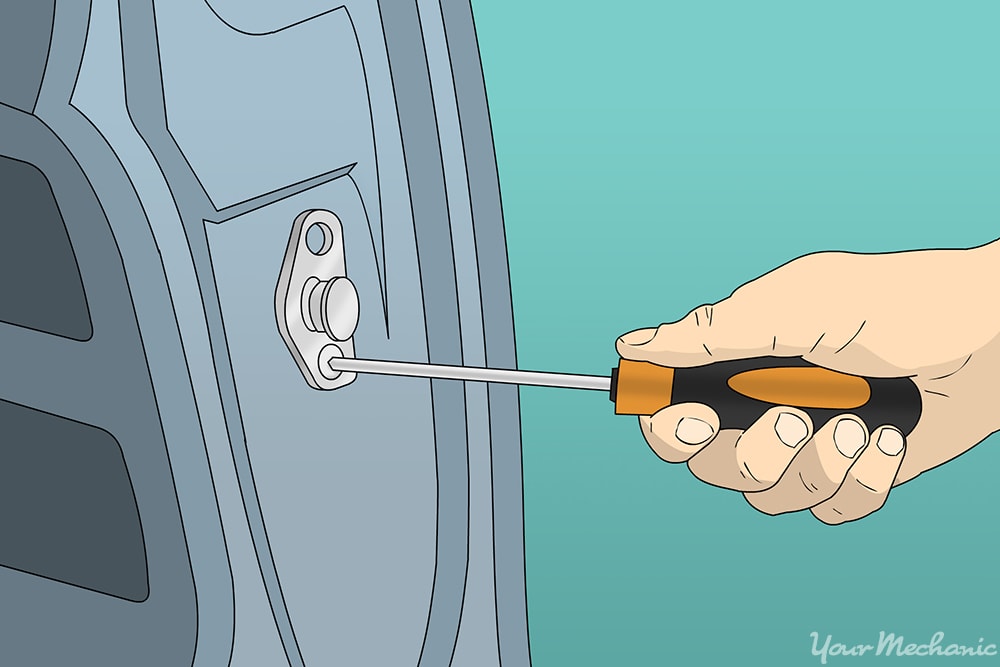
Step 6: Remove the locking knob and unscrew the latch. Unscrew and remove the locking knob in the window sill. Then unscrew the three cross tip, or phillips, head screws which hold the latch in place.
One of these screws is on the inside of the door, and two are in the edge of the door, above and below the latch.
The lower one is hidden under the rubber door seal and you will see a cut-out in the metal edge of the door which holds the rubber seal in place and allows you to get a screwdriver onto the screw after pulling the seal toward the inside of the door.
Step 7: Remove the inside door release pull wire and handle. Remove the two 10mm bolts holding the inner door handle in place, and allow the handle to hang on the pull wire.
Push the whole latching mechanism slightly forward toward the front of the car. As you do this you’ll note that the latch end of the pull wire is visible in a circular access hole in the inner door frame, just in front of the latch itself.
Now you should be able to lift the end of the retaining clip off the pull wire. Rotate the whole clip downward and try not to slide it forward on the pull wire. Leaving it in place and rotating it downward will make it easier to reinstall later.
Once the retaining clip is released, the pull wire and inner door handle can be removed from door.
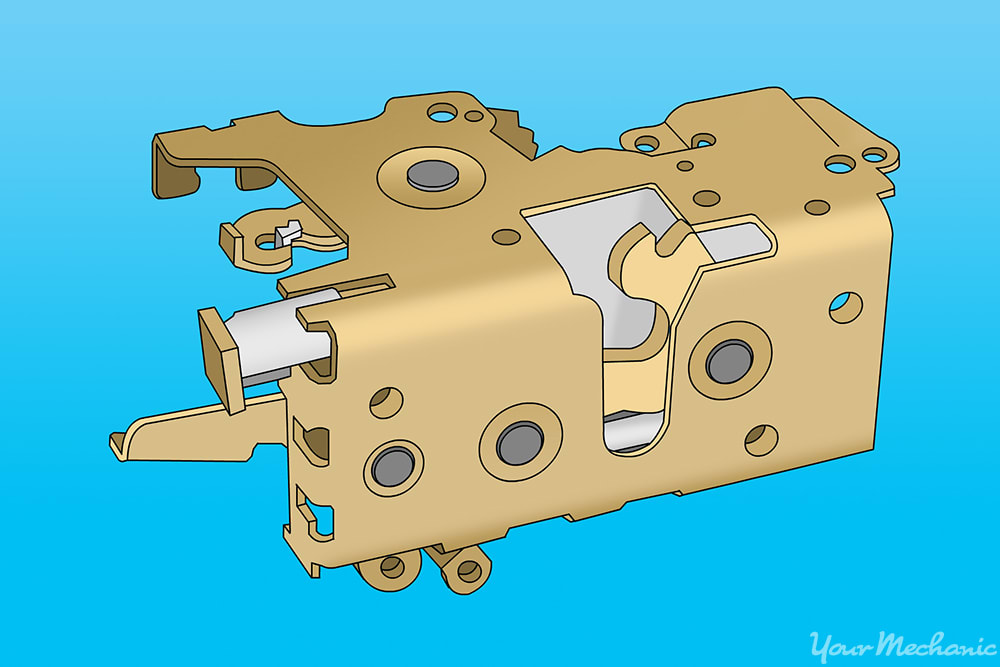
Step 8: Remove the latch. Now you will need to force the latch forward and down to remove it from the door. This step can be difficult as it firmly fits in the space provided.
You can rotate the latch slightly counterclockwise to aid in the removal.
To remove the latch from the door, you’ll also need to remove the bolt from the bottom of the rear window runner so the runner can be moved a little.
- Tip: If the door latch has never been removed from the car door or not for many years, it will probably be covered in grime, and since it relies on sliding and rotating components to work, the grime often makes it too stiff to operate. A good cleaner with mineral spirits and a small paint brush will help remove the grime and make the rotating components ready to use again. If you need to lubricate it, a squirt of graphite powder on the sliding surfaces should suffice. Do not use WD-40 or a similar product for it dries out quickly and forms an oily base which will collect more grime and debris.
Removing the old door latch on a vehicle with electronic locks
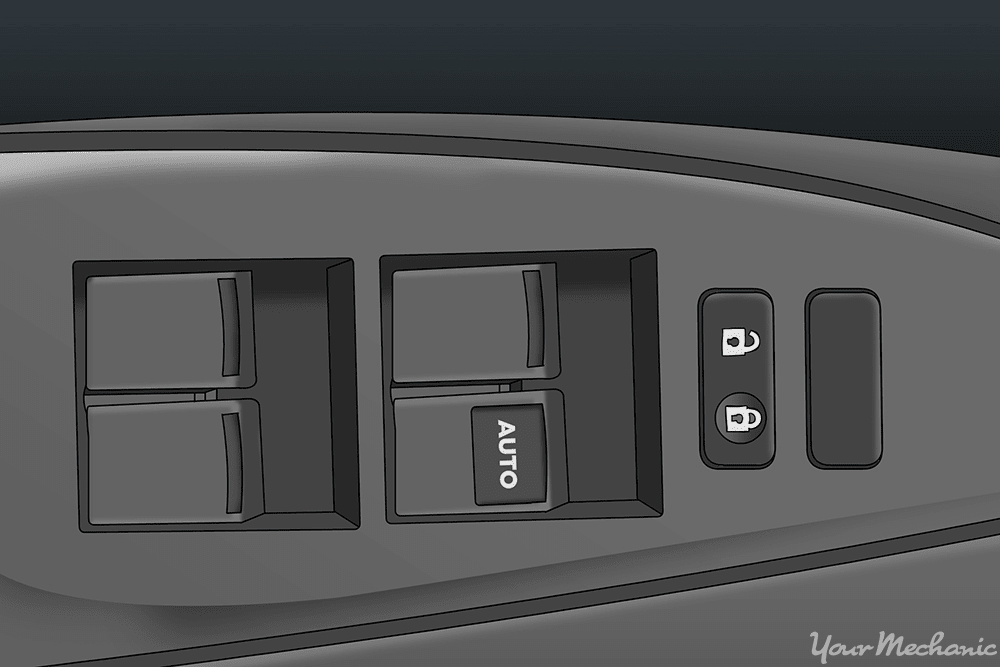
The removal for electronic door latches is the same as that for mechanical door latches. The only difference is the window will have a switch instead of a crank and the door will have a door lock switch instead of a mechanical wire and rod. The door latches will be electronic with no wires and rods. The door will still have a handle to operate the door latch to override the electronics for normal opening of the latch. The electronics is only for the lock the door latch to the door striker ensuring a secured vehicle. Some door lock switches are one whole cluster with the door lock switch, window switch, and / or window lock.
When removing the door panel, you would need to remove the screws attaching the cluster to the door panel. If the cluster is unable to be detached, you may be able to disconnect the harness connectors under the door panel as you pull it off. Plus, prior to removing the door panel, the speakers would need to be removed for the vehicles that have custom speakers that are externally mounted on the door panel.
Part 4 of 4: Installing the new door latch
Step 1: Install the new latch. Push the latch backward and up into place to install it into the door. This part can be difficult as it is meant to firmly fit in the space provided. You could rotate the latch slightly clockwise to help with the installation.
After you install the latch into the door, you’ll need to install the bolt into the bottom of the rear window runner so that the runner is fixed snug and tight.
Step 2: Reinstall the inside door release pull wire and handle. Replace the two 10mm bolts holding the inner door handle in place, and allow the handle to hang on the pull wire.
Pull the whole latching mechanism slightly backward toward the rear of the car. As you do this you’ll note that the latch end of the pull wire is visible in a circular access hole in the inner door frame, just forward of the latch itself.
Now you should be able to place the end of the retaining clip onto the pull wire locking the door handle in place to the pull wire.
Step 3: Screw in the latch and replace the locking knob. Reinstall the three cross tip, or phillips, head screws which hold the latch in place.
One of these screws is on the inside of the door, and two are in the edge of the door, above and below the latch.
Then reinstall the locking knob into the window sill.
Step 4: Replace and reseal the plastic sheeting. Place the plastic sheeting back against the rear half of the door and reseal it.
Step 5: Put the door panel back into place. Be sure to reinstall the spring that sits behind the window crank and try not to move it when replacing the panel. Set the whole panel straight onto the door and slide it over the locking knob. Place all of the panel clips into the holes located in the door and with a firm tap, snap all of the clips back in.
Step 6: Replace the window crank. Put the window crank handle in place with the large plastic washer and reinstall the screw that holds the crank handle to the shaft. Then replace the plastic cover over the handle.
Turn the window crank to ensure that the window can move up and down.
Step 7: Reinstall the inner door handle. Replace the plastic rim that goes around the handle. Install a cross tip, or phillips, head screw to secure the handle into place and then replace the plastic cover that goes over the screw.
Step 8: Reinstall the outer door handle. Pull the handle forward to release it and place it into the door. Install the two screws that hold the door handle to the door shell.
Step 9: Test the new door latch. Pull on the outside door handle and ensure that the door opens from the latched position. Shut the door and get inside the vehicle through another door. Pull on the inside door handle and ensure that the door opens from the latched position.
Lock the door and make sure that the door will not open from the outside or inside handles. Then unlock the door and make sure that the door will open from the outside and inside handles. This goes for electronic door locks as well.
If your door will not open after replacing the door latch, then there may be further diagnosis of the door latch assembly or the door striker, or a possible electronic component failure for the vehicles with electronic door locks.
If the problem resides with the door latch, though, following the steps in this guide should ensure a successful repair. However, if you have any questions, you can always Ask a Mechanic to get quick, detailed advice from one of the certified technicians at YourMechanic. Or, if you’d rather a professional do the job for you, one of our mechanics can come and replace your door latch for you.