Fuel systems are always maintained under pressure whether the engine is running or not. The O-rings on injectors are designed to seal all fuel and fuel vapors from escaping into the engine compartment. These rings are made of a type of rubber that is petroleum and hydrocarbon resistant.
It is very important to have an effective O-ring that can seal fuel vapors in and keep them from escaping. The exhaust temperature on the exhaust manifold where it connects to the cylinder head can reach temperatures up to 1,250 degrees fahrenheit. Fuel vapors will ignite at a minimum temperature of 850 degrees fahrenheit. If the vapors were to come in contact with the manifolds with a temperature of 850 degrees fahrenheit or higher, the fuel vapors will ignite.
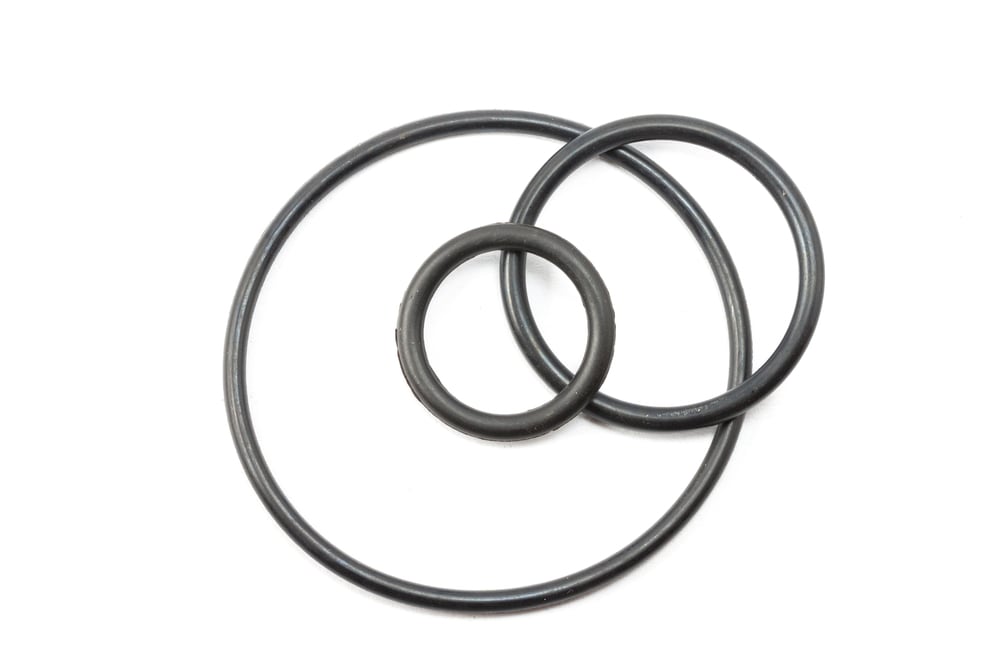
The O-rings for fuel injectors are designed to hold pressures up to 750 pounds per square inch (psi). Most fuel operating systems have between 60 psi to 125 psi while the engine is running.
Note: It is recommended that you replace the fuel injector O-rings with original manufacturer equipment (OEM). Aftermarket fuel injector O-rings may be thicker or thinner than the original design. If the O-ring is too big, it can damage the injector as it is being installed. It the O-ring is too thin, then there will be a fuel leak when it is under pressure.
Warning: If you smell gasoline vapors on top of the engine, do not wash the top of the engine off with water. The smell of gasoline vapors indicates a leak and if wash the top of the engine, water may enter the combustion chamber. Water is a liquid and liquids are not compressible. Water in the combustion chamber will damage the piston, valves, and spark plug.
Warning: Do not smoke around a vehicle if you smell fuel! You are smelling the vapors which are very flammable.
The engine light codes related to the fuel hose on vehicles with computers are:
Part 1 of 7: Check the condition of the fuel injector O-rings
Step 1: Start the engine. Check the dash for any engine light. Listen to the engine operation for the sounds of any cylinders not firing correctly. Feel for any odd vibrations during engine operation.
Step 2: Shut the engine off and open the hood. Check for any puddling of fuel around the base of the injector and intake manifold.
Part 2 of 7: Prepare to replace the fuel injector O-rings
Materials Needed
- Allen wrench set
- Boxed end wrenches
- Combustible gas detector
- Drip pan
- Flash light
- Flat tip screwdriver
- Fuel hose quick disconnect kit
- Fuel resistant gloves
- Non-abrasive cleaner
- Protective clothing
- Ratchet w/metric and standard sockets
- Safety glasses
- Torque wrench
- Torques bit set
- Wheel chocks
Step 1: Park your vehicle. Make sure that the transmission is in park mode (for automatics) or in 1st gear (for manuals). Park your vehicle on a flat, hard surface.
Step 2: Place wheel chocks around the tires that will be remaining on the ground. In this case, the wheel chocks will be around the front tires since the rear of the vehicle will be lifted up. Engage the parking brake to the lock the rear tires from moving.
Step 3: Install a nine volt battery saver into your cigarette lighter. This will keep your computer live and keep your settings current in the vehicle. If you do not have a nine volt battery saver, you can skip this step.
Step 4: Disconnect the battery. Open the vehicle’s hood and disconnect the car’s battery. Take the ground cable off the battery’s negative post to disable the power going to the ignition system and fuel system.
Part 3 of 7: Remove the fuel injector O-ring
Step 1: Disconnect the fuel rail from the fuel lines. Remove the cover from the top of the engine. Using a quick disconnect tool, disconnect the fuel rail from the fuel lines.
Step 2: Remove the fuel rail from the injectors. Unscrew the mounting bolts that secure the fuel rail onto the engine.
- Note: If your engine has an intake on the engine that is transverse mounted or overlaps the fuel rail, you must remove the intake before removing the fuel rail.
Pull up on the fuel rail and remove the rail off the injectors.
Step 3: Remove the injectors from the intake ports. With using a small pry bar, lightly pry up on the injectors and pop them out of the intake ports. Clean the ports with a non-abrasive cleaner and wipe them out with a lint-free cloth.
Step 4: Remove the O-ring from the injectors. Clean the injector tips with a non-abrasive cleaner and wipe them off with a lint free cloth.
Part 4 of 7: Install the new fuel injector O-ring
Step 1: Install new O-rings onto the new injectors. Place the injectors into the intake ports and lightly push them down into place.
Step 2: Install the fuel rail onto the injectors. Screw in the mounting bolts, all the way down to hand tight. Turn an additional 1/8 turn to secure the bolts.
- Note: If you had to remove the intake, make sure that you install new intake gaskets or O-rings when putting the intake back on.
Step 3: Snap the fuel rail and fuel line connections together. Install the engine cover and snap into place.
Part 5 of 7: Check for leaks
Step 1: Reconnect the battery. Open the vehicle’s hood. Reconnect the ground cable back onto the battery’s negative post. Remove the nine volt battery saver.
Step 2: Tighten the battery clamp. Check that the clamp is tight to ensure that the connection is good.
- Note: If you did not have a nine volt battery saver, you will have to reset all of the settings in your vehicle, like your radio, electric seats, and electric mirrors.
Step 3: Turn the ignition key on. Listen for the fuel pump to activate. Turn off the Ignition after the fuel pump stops making noise.
- Note: You will need to cycle the ignition key on and off 3 to 4 time to ensure that the fuel rail is full of fuel.
Step 4: Check for leaks. Use a combustible gas detector and check all of the connections for any leaks. Sniff the air for any fuel odors.
Part 6 of 7: Lower the vehicle
Step 1: Clear up your tools. Collect all tools and your creeper and place them out of the way.
Step 2: Raise the vehicle. Using a floor jack that is recommended for the weight of the vehicle, lift under the vehicle at its specified jacking points until the wheels are completely off the ground.
Remove the jack stands and keep them far away from the vehicle.
Step 3: Lower the vehicle. Lower the vehicle so that all four wheels are on the ground. Pull out the jack and put it aside.
Step 4: Remove the wheel chocks. Remove the wheel chocks from the rear wheels and put them aside.
Part 7 of 7: Test drive the vehicle
Step 1: Drive the vehicle around the block. During the test, listen for any engine cylinder that may not be firing correctly and feel for any vibrations.
Step 2: Check for any dashboard warning lights. Monitor the dash for the fuel level and for any engine light to appear.
If your engine light comes on after replacing the fuel injectors O-rings, then further diagnosis of the fuel system may be required.
If the problem persists, ask a certified technician from YourMechanic to inspect the fuel system and diagnose the problem.