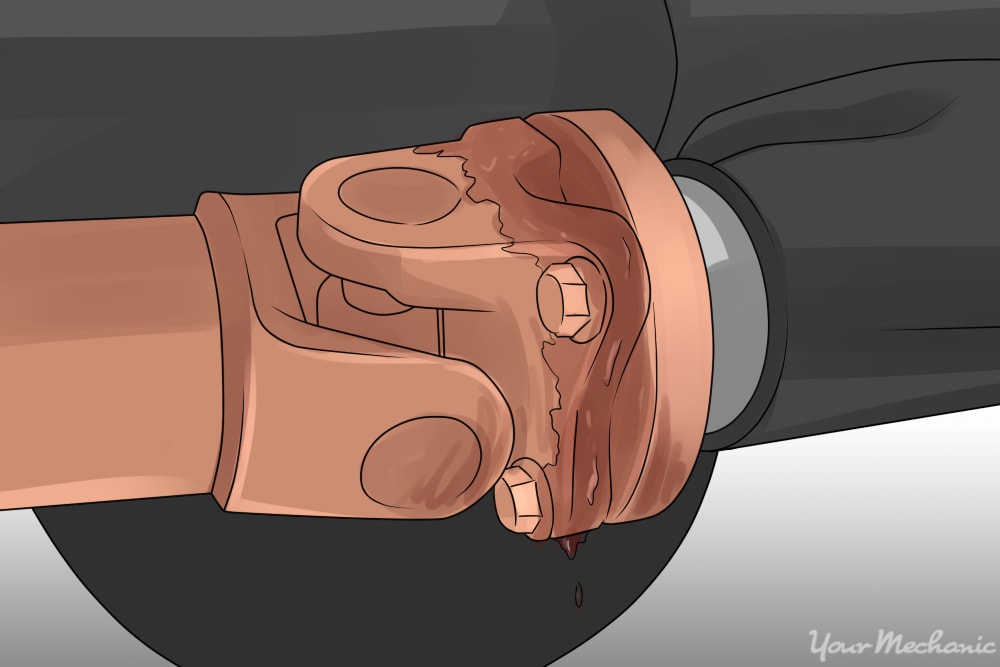

The pinion seal, also called a pinion shaft, is designed to keep oil in and any water, dirt or debris out. As long as the pinion seal is in place and performing well, the differential will stay in good shape and operate as it is supposed to. A failed pinion seal can result in a minor leak where fluid seeps out, or a major leak that can ruin the differential bearings and gears. As long as the seal is replaced in a timely manner, there will be little chance of any internal damage taking place.
Materials Needed
- ⅜ Ratchet
- ⅜ Socket set - Metric and Standard
- ½ Ratchet - at least a 18 inches long for leverage
- ½ Breaker bar - 24 inch
- ½ Socket set - Metric and Standard
- ½ socket for pinion nut - this will need to be determined when disassembling
- Ball peen hammer
- Brake cleaner
- Drain pan
- Gear oil
- Jack
- Jack Stands
- Mallet/plastic hammer
- Metric wrench set
- Paint marker
- Pinion Seal
- Puller set
- Repair Manual - For torque specifications
- RTV Silicone
- Seal puller
- Shop towels
- Standard wrench set
- Wheel Chocks
Part 1 of 8: Securing your vehicle
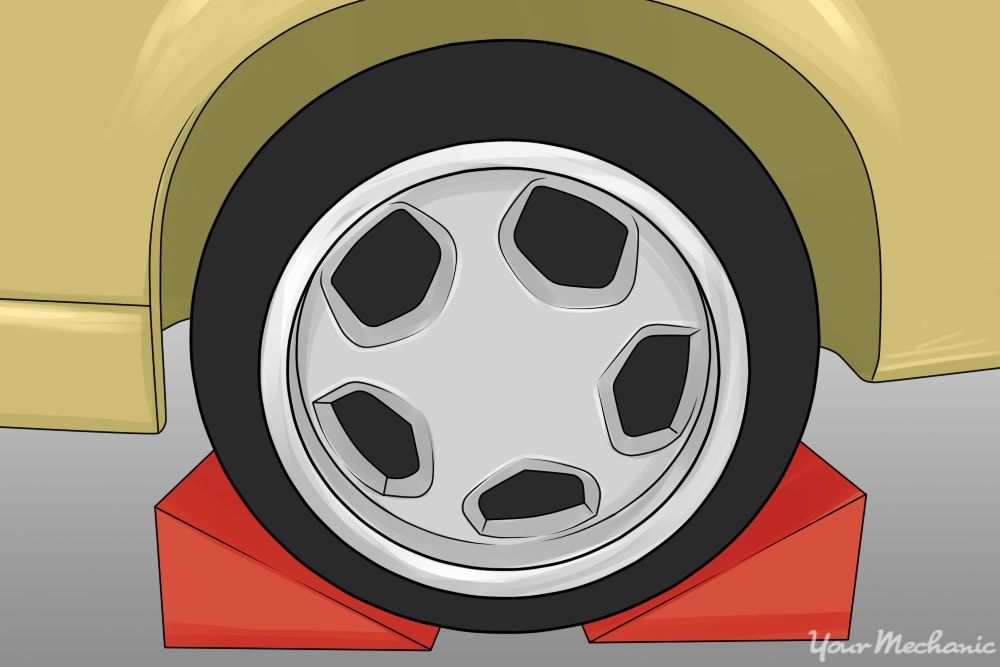
Step 1: Chock the front wheels. It is recommended to lift your vehicle on flat ground. Chock the front and rear of one front tire to prevent your vehicle from rolling forward or backward.
Step 2: Raise the axle. Raise the axle high enough that you are comfortable working underneath.
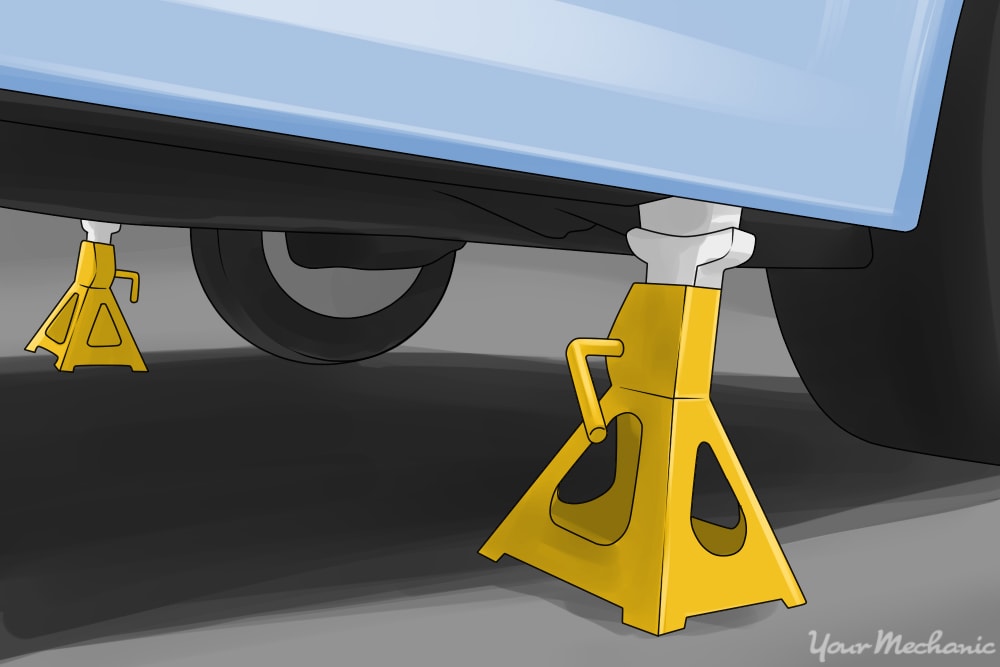
Step 3: Set the jack stands. Set the jack stands securely under each side of the axle.
Part 2 of 8: Removing the driveline
Step 1: Set the parking brake. Set the parking brake on your vehicle. This will stabilize the axle to keep it from moving and will assist in the process.
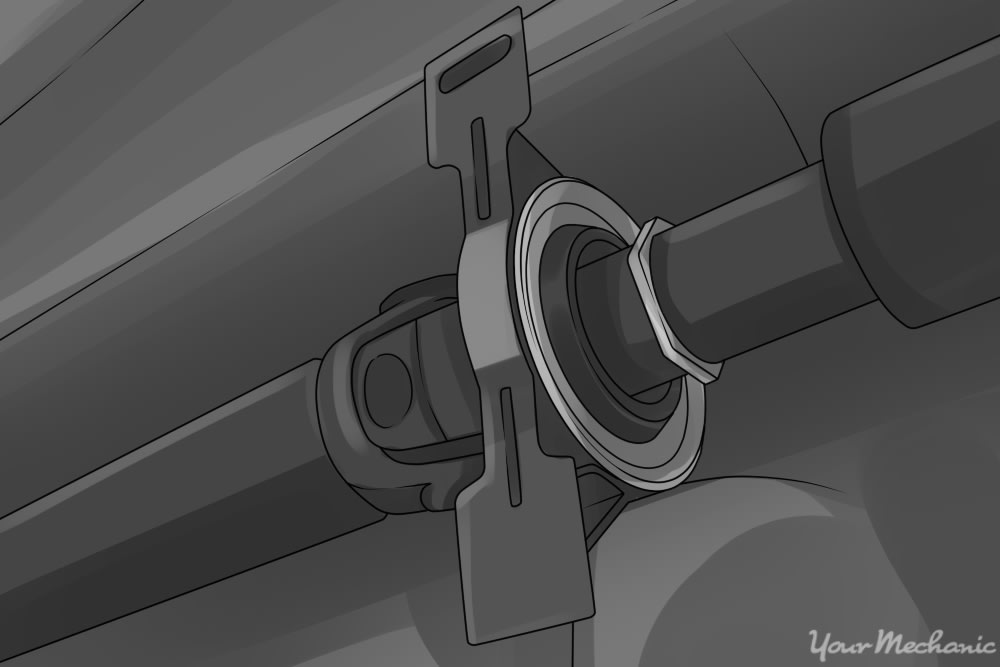
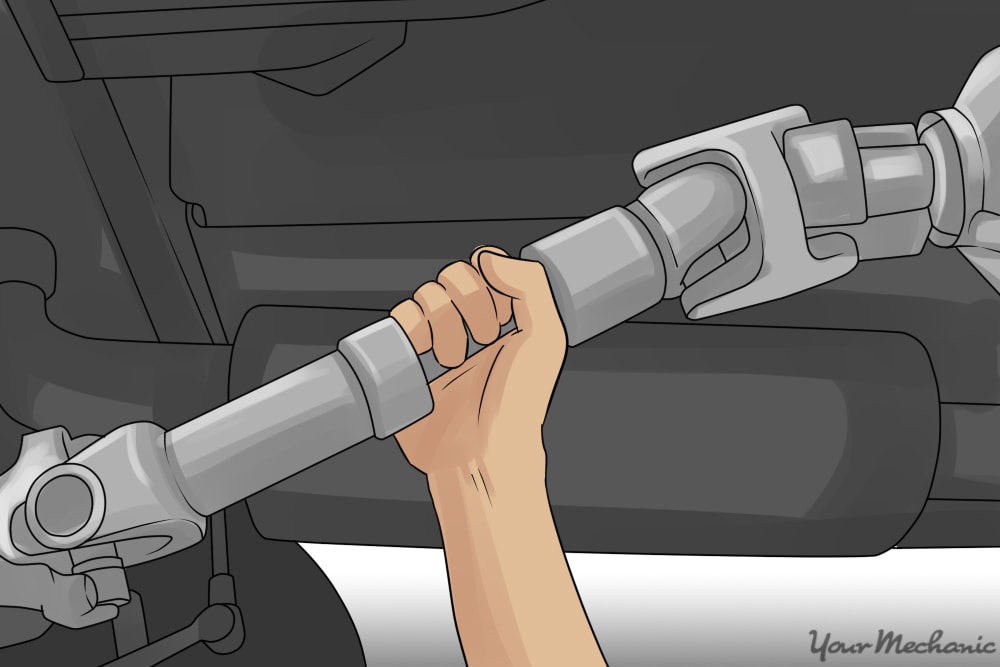
Step 2: Secure the driveline. Use a bungee or a strap to support to the driveline. This will prevent the driveline from falling on you when separated from the flange/yoke.
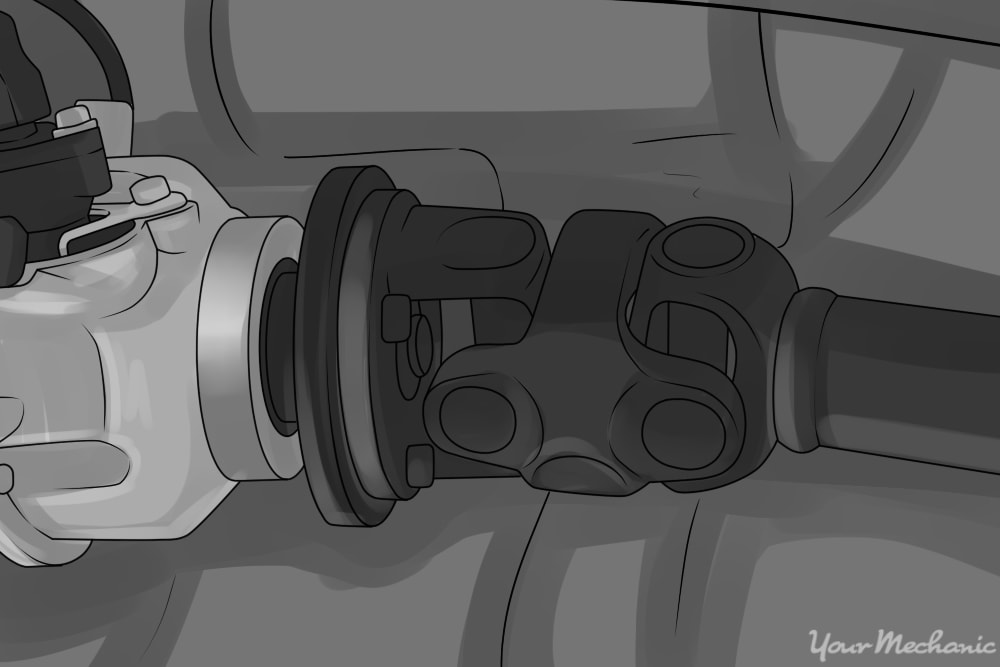
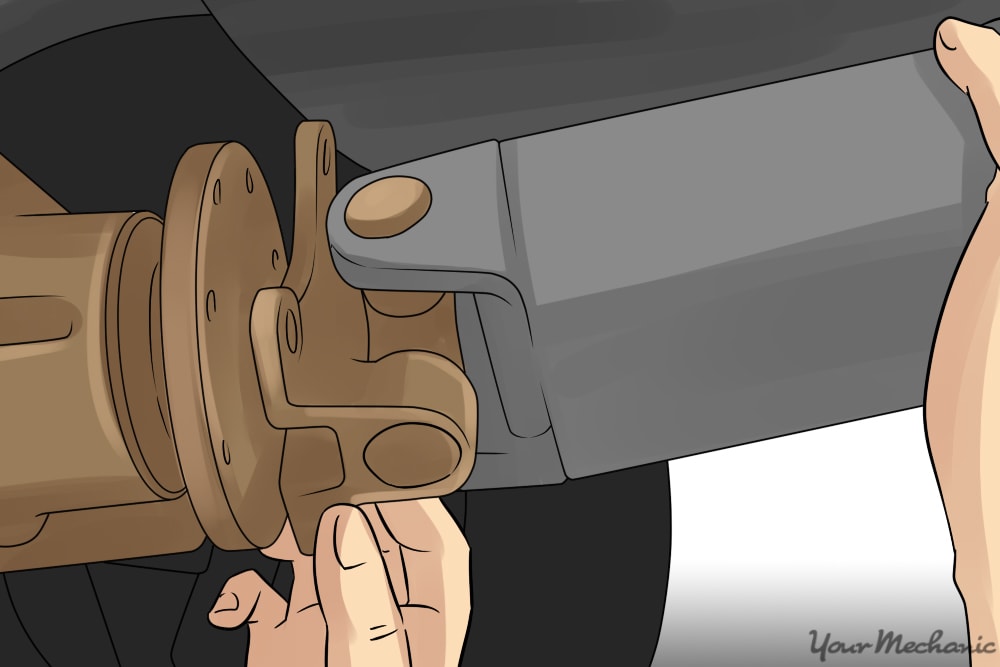
Step 3: Remove the driveline mounting bolts. These are located where the driveline and axle meet.
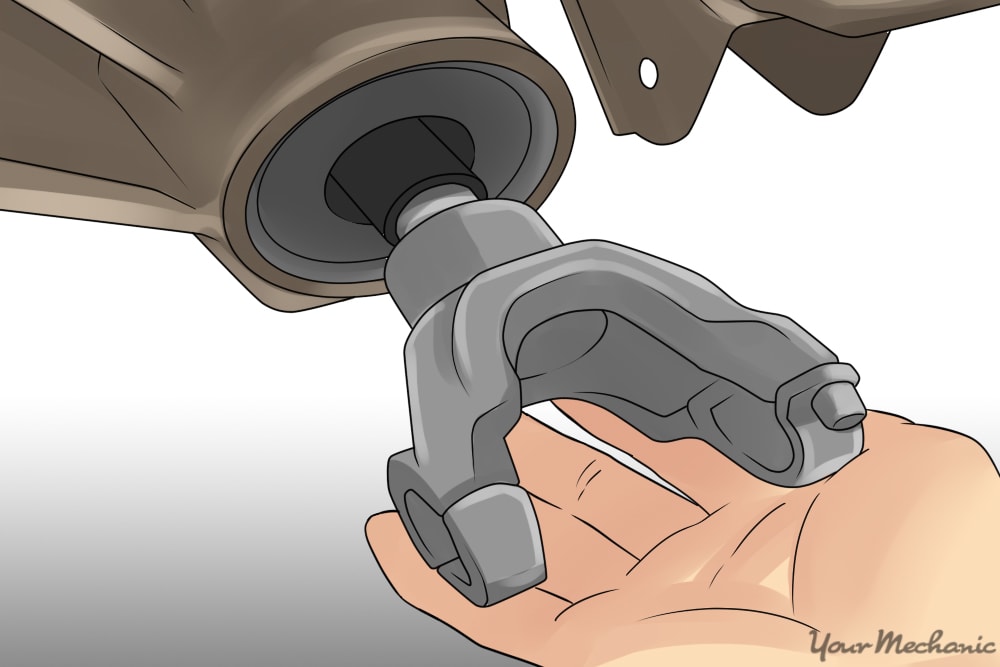
Step 4: Separate the driveline. Using a mallet or plastic hammer, strike the end of the driveline away from the flange.
Once the driveline is separated from the flange, you can either tie it up and out of the way or remove it completely from the transmission.
- Note: If you decide to remove the driveline, place a drain pan underneath the end of the transmission. The image above shows where the fluid will come out and where to set drain pan. The other end of the driveline will slide out of the transmission and fluid will drizzle out and into the drain pan.
Part 3 of 8: Removing the axle flange
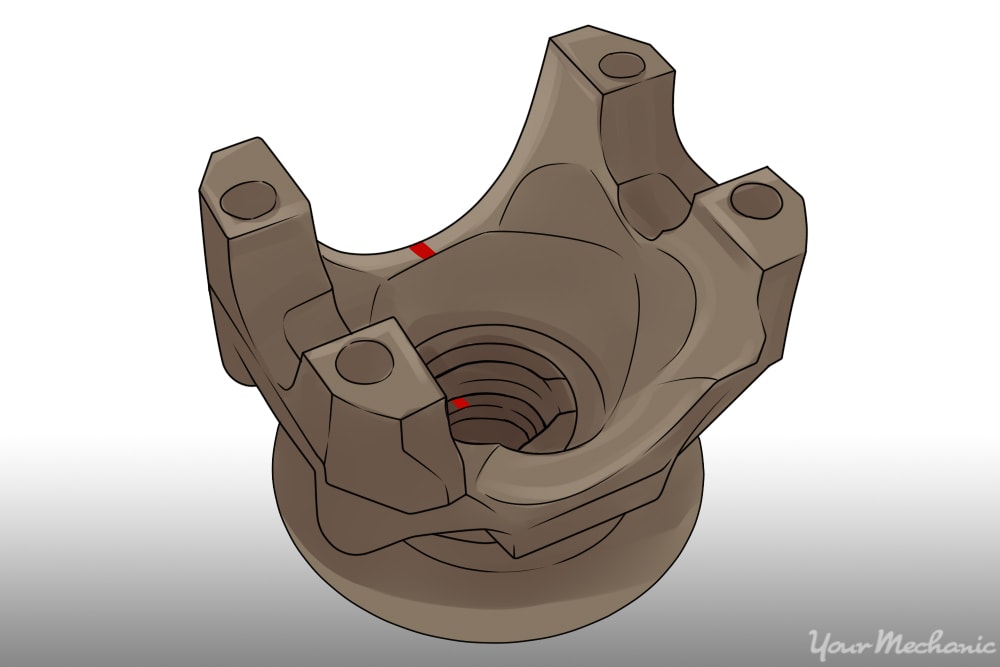
Step 1: Make reference marks. Mark the position of the flange and pinion shaft with a paint pen. You will also want to count the exposed threads and write the number down.
This is done so the correct amount of torque is applied and it won't be overtightened.
Step 2: Remove the flange/yoke nut. Remove the mounting nut on the flange/yoke.
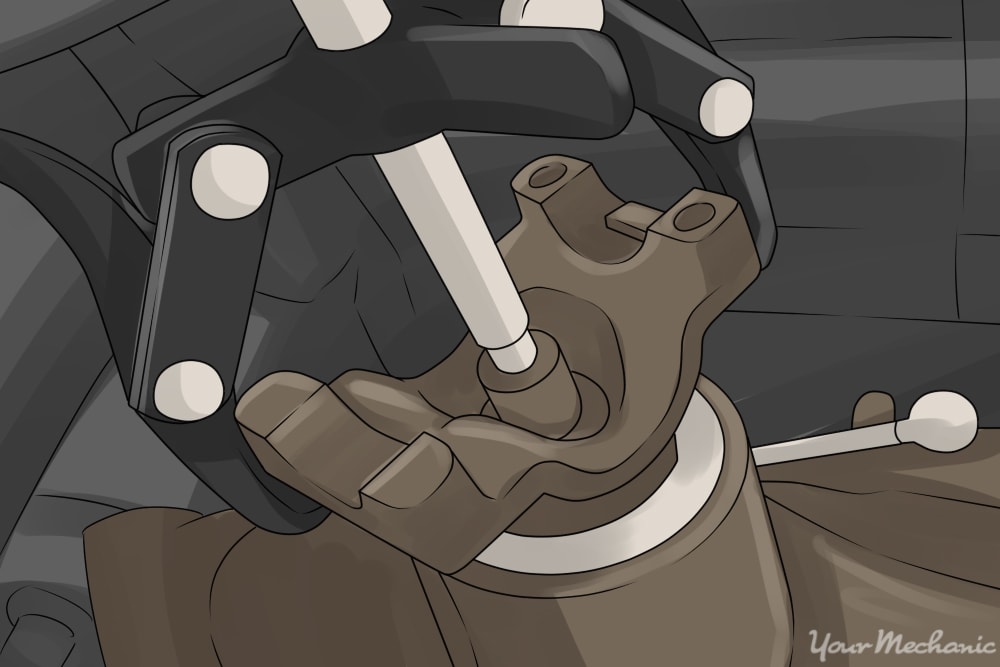
Step 3: Install the puller. To remove the flange/yoke, you will need to use a puller. Install the puller so that it is secure and will pull the flange/yoke off evenly from the pinion.
The driving shaft of the puller needs to be centered as in the image above. The arms of the puller will need a solid square edge to pull on.
Step 4: Use the puller to remove the flange/yoke. Once the puller is in place and mounted, by slowly tightening the drive shaft it will begin pulling the flange/yoke off the pinion shaft.
In most cases, continue driving the center shaft until the the flange comes loose and off the pinion shaft.
Part 4 of 8: Removing the pinion seal
Step 1: Set up a drain pan. Place a drain pan underneath the pinion seal area.
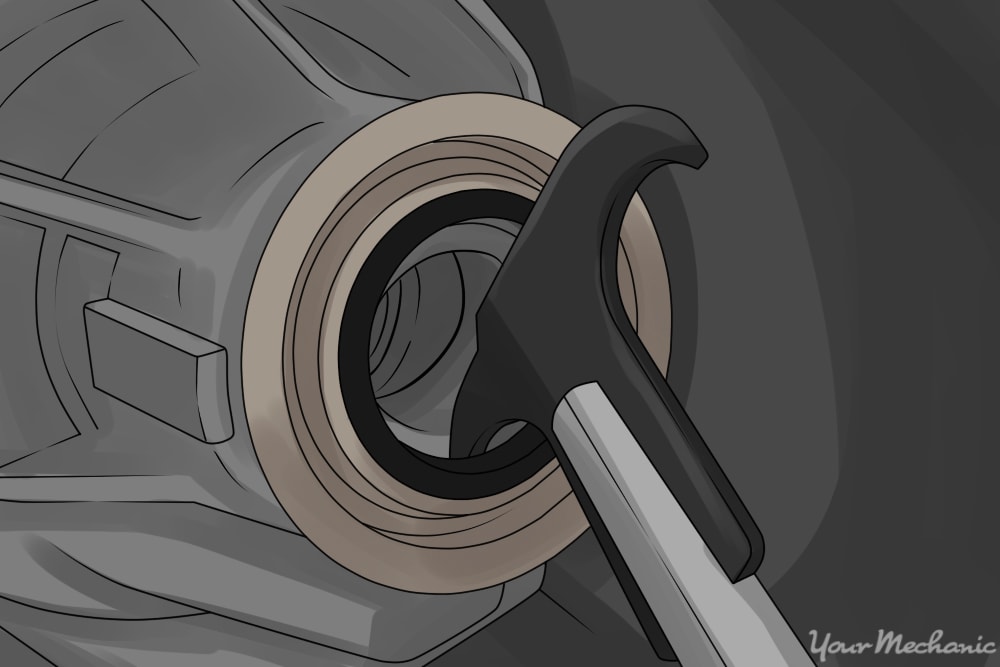
Step 2: Remove the seal. Take a seal puller, hook the inside of the seal and pry to remove the seal. It may take a couple of different placements to get it removed.
Step 3: Prep the area. After the pinion seal is removed, clean the inside surface of the pinion seal mounts.
Get any dirt and grime removed and the surface cleaned and prepared for the new seal.
Part 5 of 8: Installing the new pinion seal
Step 1: Apply RTV silicone. Apply a thin layer of RTV silicone on the mating surface of the new seal. The mating surface will in most cases have an orange or green sealing surface.
Step 2: Install the new pinion seal. Position the seal according to how it needs to be installed against the axle housing.
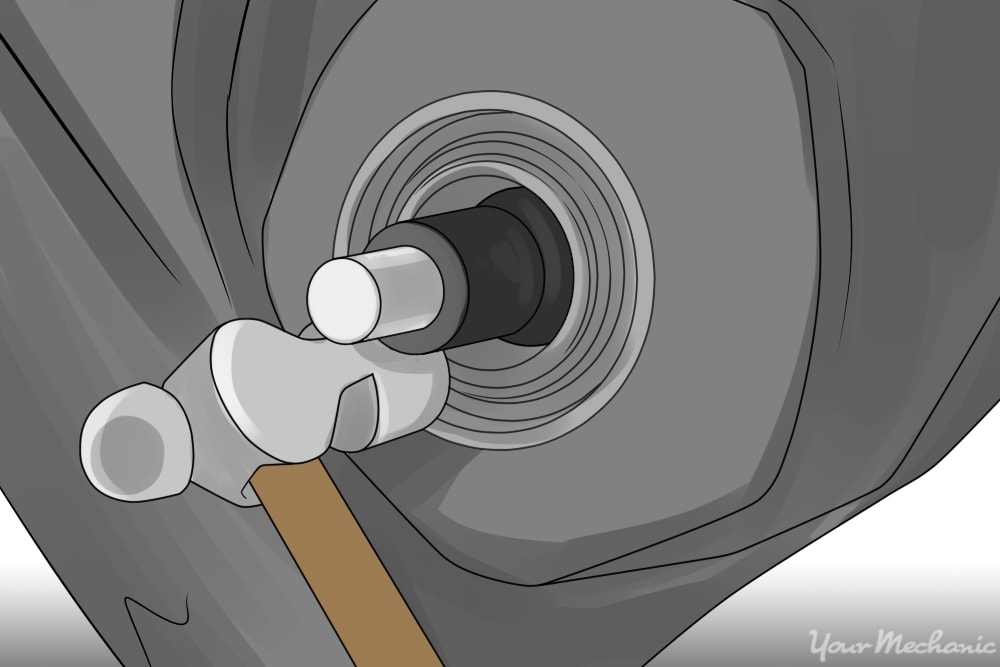
With the seal in position, begin tapping on a seal edge to begin seating it. When tapping, tap in a cross pattern so you are installing the seal as evenly as possible. Doing this will prevent any damage to the new pinion seal.
Once the seal begins to seat, tap the seal until it is flush with the axle housing. After it is installed, inspect the seal to be sure it is flush with the axle housing.
Part 6 of 8: Installing the axle flange/yoke
Step 1: Apply RTV silicone. Apply a small bead of RTV silicone to the inside of the flange/yoke on the splines.
Step 2: Apply lubrication where needed. Apply a thin layer of grease to the smooth surface that is going into the pinion seal.
Step 3: Install the flange/yoke. Make sure to match the reference marks that you made.
Step 4: Seat the flange/yoke. Once the flange is in place, you may need to use a mallet to get the flange/yoke to seat enough to get the washer and nut started.
Step 5: Apply silicone to the pinion washer and install. Before tightening the nut, put a small bead of RTV silicone on the inside of the flat washer.
Install the washer and nut onto the pinion.
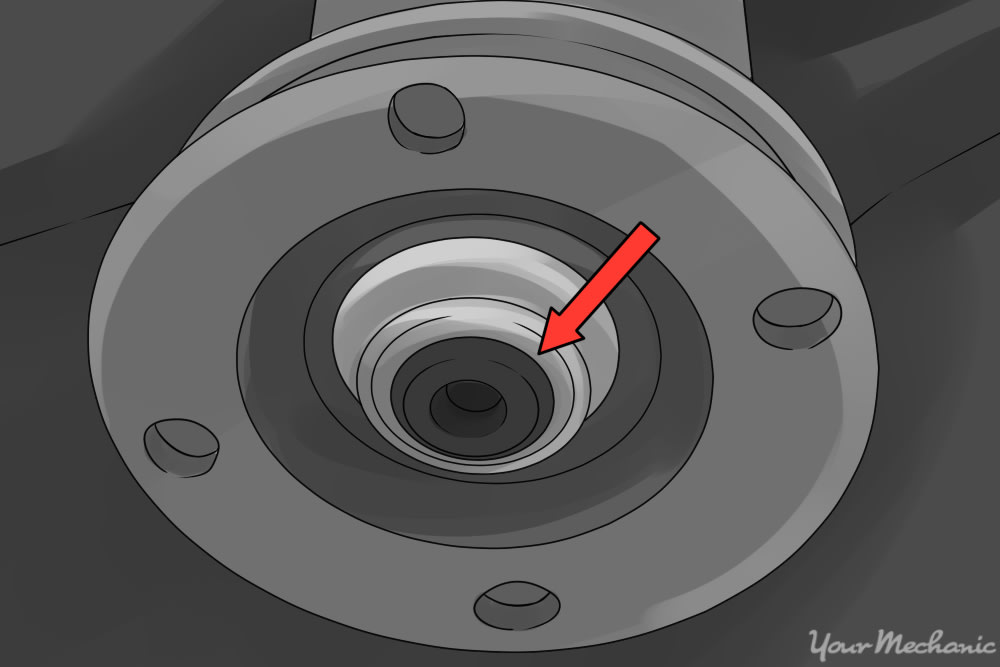
Step 6: Tighten the pinion nut. As you are tightening, inspect after every turn to watch the reference marks and to keep an eye on the number of threads exposed on the end of the shaft (where the red arrow points in the image above).
Step 7: Line up the reference marks. When you reach the number of threads needed, check the paint marks to see if they are lined up as you marked.
If they are not lined up, you may have to tighten it up slightly to match.
Part 7 of 8: Installing the driveline
Step 1: Reinsert the driveline. If you removed the driveline earlier, start by inserting the driveline carefully into the transmission extension housing.
If you just secured the driveling without removing it, just release the drive line from where it was tied up.
Step 2: Mount the driveline. Lift, line up, and mount the driveline to the flange/yoke.
The driveline slides in and out of the transmission; this will give you the travel needed to adjust and mount the driveline.
Step 3: Mount and tighten the bolts. Once you have the flange/yoke in place, start the mounting bolts. Tighten the mounting bolts to specifications.
Part 8 of 8: Lowering and checking fluid levels
Step 1: Remove the axle fill plug. You will use your finger to check the axle fluid level. The fluid level should be just below the fill hole. If it is low, add what is needed.
Step 2: Raise the vehicle. Raise the vehicle off the jack stands.
Step 3: Remove the stands. Remove the jack stands and lower the vehicle by releasing the jack.
Step 4: Release the brake. Release the parking brake now that your vehicle is safely on the ground.
Replacing a leaking pinion is very important in preventing any major repairs. The pinion seal leaking is a good indicator that something needs attention. If replacing your pinion seal is something you would rather leave to a professional, have one of YourMechanic’s certified technicians perform the replacement.


