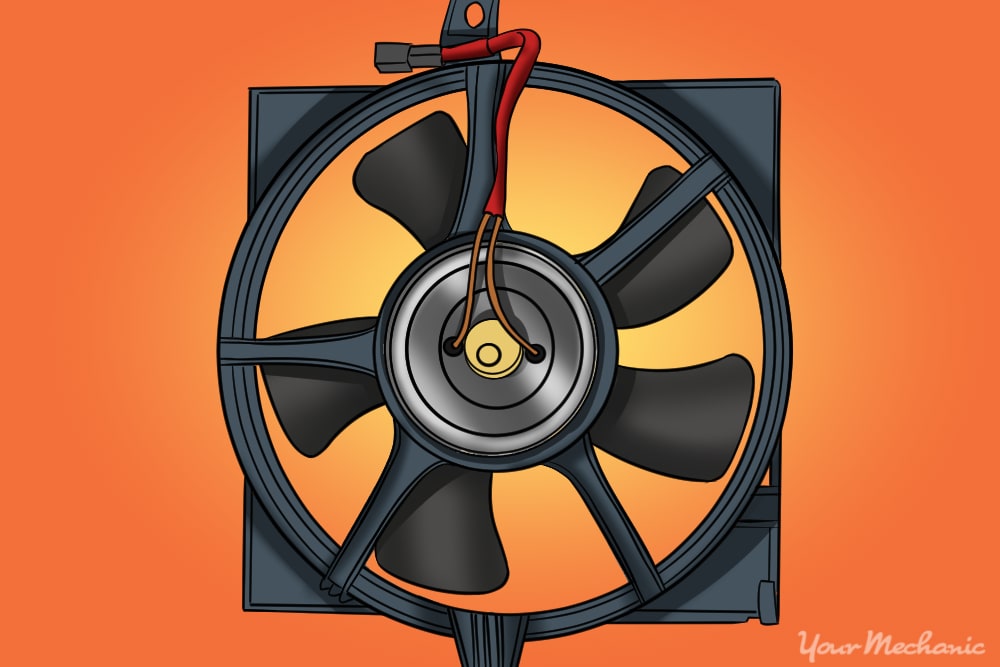

The cooling/radiator fan motor is an essential part of the cooling system in a vehicle. An engine is designed to operate within a given temperature range not only for optimum efficiency and power, but also for meeting emissions standards.
The cooling/radiator fan motor completes this task by being coupled to a fan blade that draws air through the radiator. The radiator holds a coolant mixture of mostly water and propylene glycol. This mixture is very efficient at transferring and regulating the engine’s temperature and preventing overheating.
The coolant flows throughout the engine and cooling system so it can absorb heat from the engine and carry it to the radiator. The radiator is designed with many small tubes arranged so that the air that is drawn through the radiator is able to transfer the heat in the coolant into the air, thus allowing the coolant temperature to drop very quickly. By using many small tubes in the radiator, the coolant is expose to more surface area and the cooling effects are much greater.
This is why it is so very important that the cooling fan motor be operational. Without the cooling fan, very little air is drawn through the radiator allowing the exchange of heat within the coolant. Without this exchange of temperature the engine overheats very quickly, especially at lower speeds or idling.
The cooling/radiator fan assembly must be removed in order to change the motor. Below we will cover the process necessary to complete the change of the cooling/radiator fan motor, for most cars. Keep in mind, this article is meant to cover a broad range of vehicles and is written in a way that will give a general overview of the process.
Part 1 of 5: Remove the cooling/radiator fan assembly
Materials Needed
- Assorted pliers
- Screwdriver set
- Socket set
- Wrench set
Step 1: Identify parts to be removed. Take a look at the area around the engine compartment and identify anything obstructing access to the cooling/radiator fan motor.
Make a note of any ductwork, wiring, bracketry, or any other obstructions that will need to be removed to allow the cooling/radiator fan assembly to be removed.
- Note: Most vehicles will require any combination of bolts, screws, and clips to be removed.
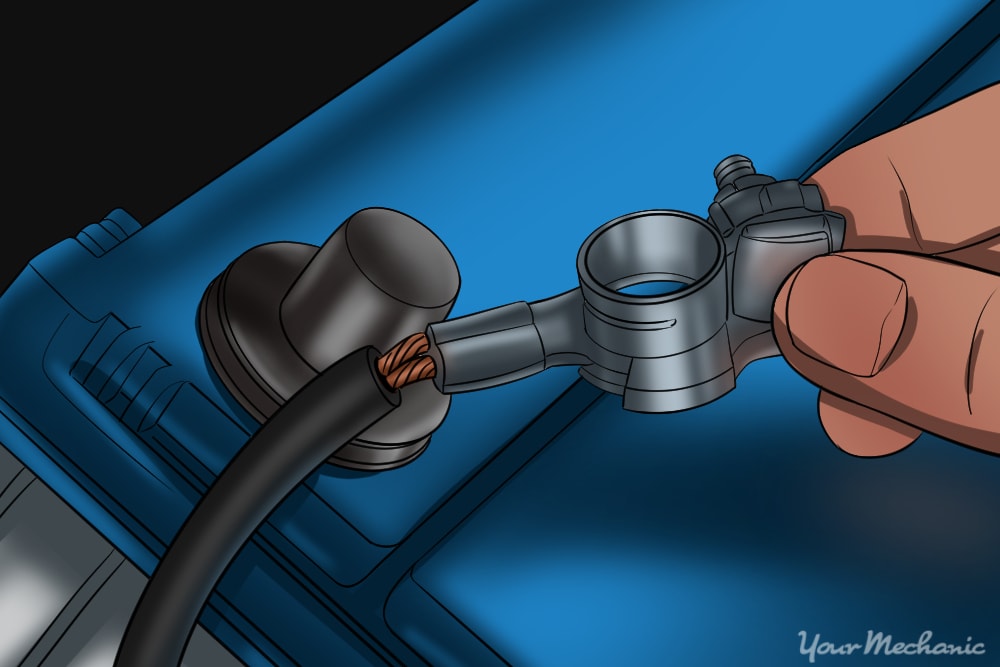
Step 2: Disconnect battery. Locate the battery inside the vehicle and disconnect the terminals to keep the cooling/radiator fan from being energized and causing injury.
Disconnect the negative (-) battery cable first, and then the positive (+) cable. Position the battery cables off to the side and out of the way.
Note: The battery cables and terminals are color-coded. The positive (+) is marked in red and the negative (-) is black.
Warning: The cooling/radiator fan is able to come on even with the ignition key in the off/park position. For safety, it is highly recommended that you disconnect the battery to avoid injury.
Step 3: Remove any necessary obstructions. You will first need to remove any obstructions preventing you from pulling the cooling/radiator fan assembly out.
This includes any ductwork, hoses, bracketry, etc. that was identified in the previous sections. Position them off to the side, and out of the way.
Step 4: Disconnect the electrical connector. Locate the electrical connector for the cooling/radiator fan motor and unplug it.
A plug that has been sitting for a long period of time may have collected dirt and debris and may require you to gently pry the connector apart with a small screwdriver.
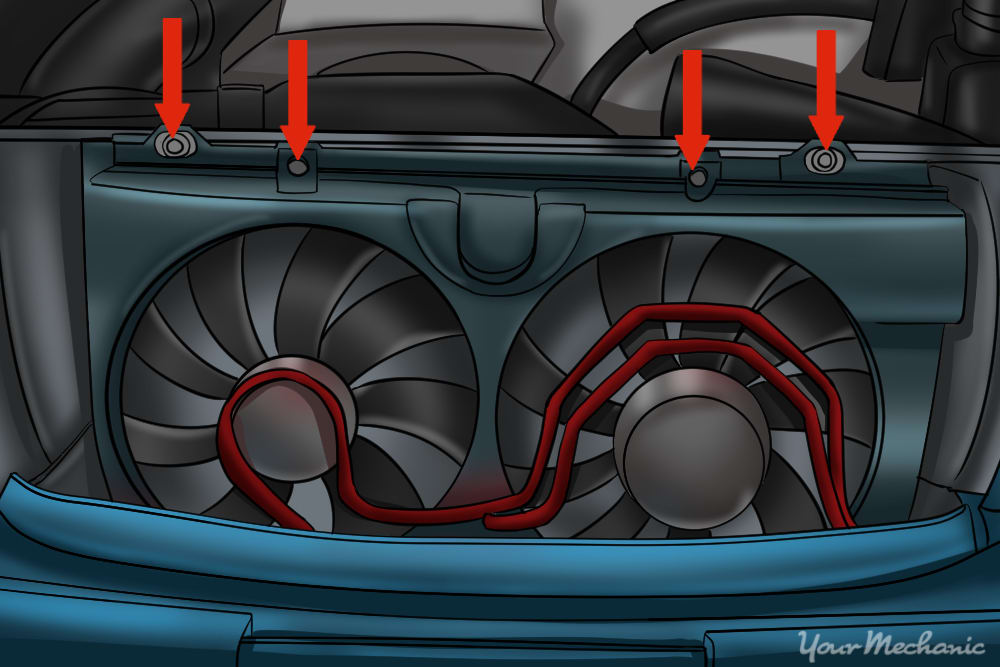
Step 5: Remove all mounting hardware. Remove all hardware that is holding the cooling/radiator fan assembly in place.
The mounting hardware is typically around the outside perimeter of the assembly. Some manufacturers may also employ tabs on the bottom of the cooling/radiator fan assembly that simply slide into a recess, while the other hardware secures the assembly in place.
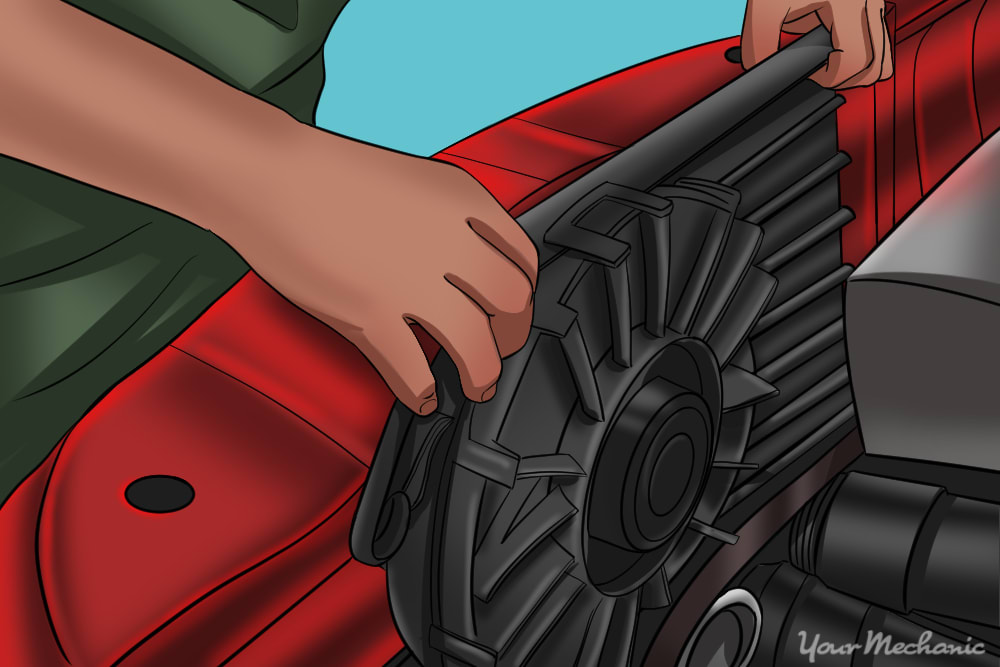
Step 6: Remove the cooling/radiator fan assembly from the vehicle. Once all mounting hardware and obstructions have been removed, remove the fan assembly from the vehicle.
- Warning: If at any point it seems like there is an abnormal amount of effort needed to remove the assembly, stop and verify that all wiring, hoses, and the like have been disconnected. Some connections may not visible until the cooling/radiator fan assembly has been unseated.
Part 2 of 5: Remove the cooling/radiator fan motor
Materials Needed
- Hammer (soft face)
- Pliers
- Socket set
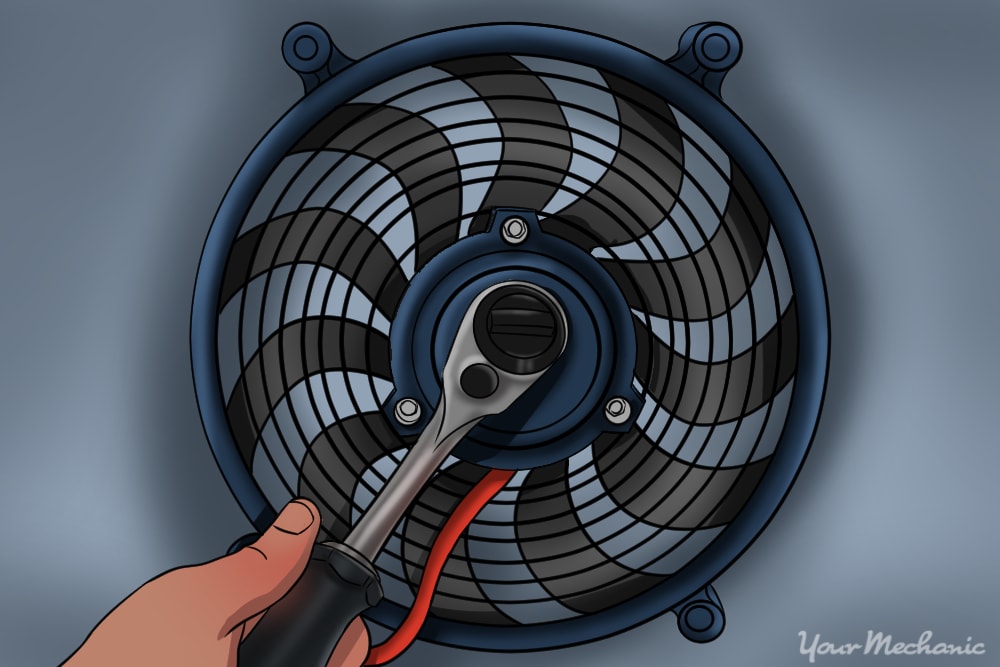
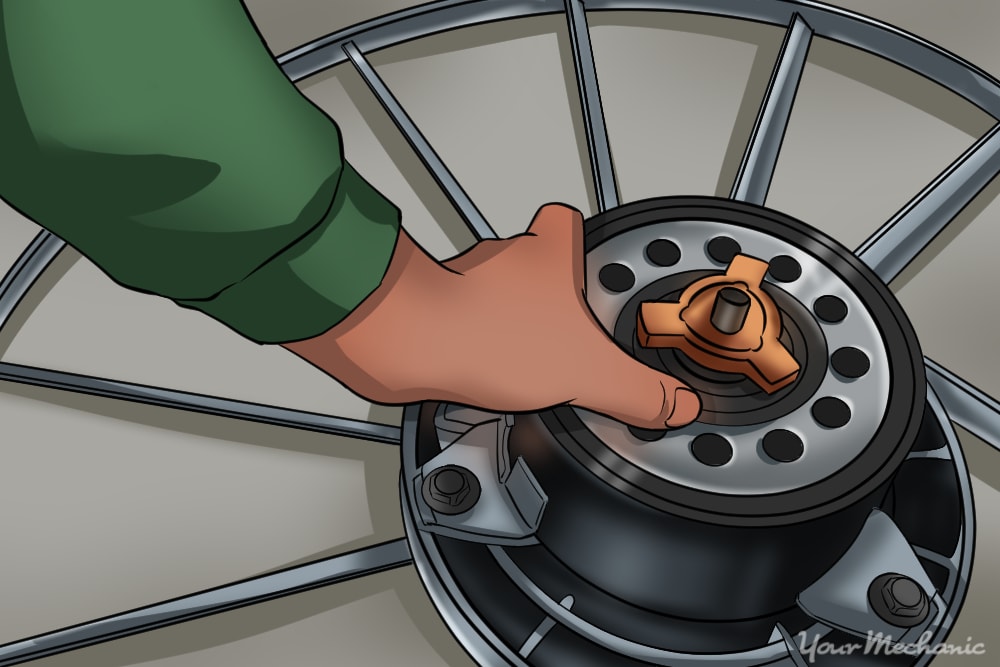
Step 1: Remove the fan blade retaining clip or nut. Remove the fan blade from the radiator fan motor by removing the retaining clip, or retainer nut, from the shaft on the motor.
This will allow the shaft to pass through the housing once the cooling/radiator fan motor hardware is removed.
Step 2: Remove the cooling/radiator fan blade. While holding the cooling/radiator fan assembly an inch or two above the work surface, hold the fan blade in one hand.
While holding it as close to the center as possible, carefully tap on the cooling/radiator fan motor shaft with a soft face hammer. This should dislodge the fan from the shaft and allow the removal of the fan blade.
Step 3: Remove the cooling/radiator fan motor. Remove the hardware that holds the cooling/radiator fan motor into the housing.
This can be any combination of clips, bolts, or screws. Lift the cooling/radiator fan motor from the housing.
- Note: If the cooling/radiator fan motor sticks in the housing, verify all hardware has been removed, then carefully pry the motor from its seat with a screwdriver. Being careful not to damage the housing.
Part 3 of 5: Installing the replacement cooling/radiator fan motor
Materials Needed
- Hammer (soft face)
- Socket set
Step 1: Match cooling/radiator fan motor to the replacement unit. Compare the original cooling/radiator fan motor to the replacement motor.
Check to be sure the mounting hole positions are the same, the electrical connector is the same, the shaft diameter is the same, and the height where the fan blade rides is the same height.
Step 2: Install replacement cooling/radiator fan motor into the housing. Install the replacement cooling/radiator fan motor into the housing.
Reinstall the retaining hardware that hold the motor into the housing.
Step 3: Reinstall the cooling/radiator fan blade onto the motor. Place the fan blade onto the shaft of the replacement cooling/radiator fan motor.
If it doesn’t reinstall by hand, gently tap into place with a soft faced hammer while being careful not to damage the fan blade or the motor.
Part 4 of 5: Reinstall cooling/radiator fan assembly back into vehicle
Materials Needed
- Assorted pliers
- Screwdriver set
- Socket set
- Wrench set
Step 1: Reinstall the cooling/radiator fan assembly back into vehicle. Place the cooling/radiator fan motor and assembly back into the vehicle.
Step 2: Reconnect retaining hardware, electrical connectors, and any remaining bracketry. Reinstall the hardware that retains the fan motor assembly to the radiator and/or core support.
Reinstall any other items removed during disassembly.
Step 3: Take a minute to double-check installation. Take a minute to look over the installation of the replacement cooling/radiator fan assembly.
It is very easy, even for a well seasoned professional, to get in a hurry and overlook something.
Step 4: Reconnect battery. Reconnect the terminals to the battery.
Connect the positive (+) terminal first, followed by the negative (-) terminal.
- Note: The battery cables and terminals are color-coded. The positive (+) is marked in red and the negative (-) is black.
Part 5 of 5: Test for proper function of cooling/radiator fan motor
Step 1: Start the engine. While listening for any unusual noises, such as grinding or anything that sounds out of the ordinary, start the vehicle.
Step 2: Check the operation of the cooling/radiator fan motor. Turn the air conditioning on and look to see that the fan comes on.
Almost all manufacturers have designed the cooling fan to come on while the air conditioning is in operation.
Step 3: Get the engine up to operating temperature. Once the cooling/radiator fan operation is working when the air conditioning is on, allow the engine to get up to operating temperature.
A repair manual can help you determine this exact temperature if needed.
A properly functioning cooling/radiator fan assembly helps to ensure the life and performance of your vehicle. Many factors go into the longevity of any given vehicle, but a correctly functioning cooling system is a very important part of that equation. If at any point you feel you could use a hand with replacing a cooling/radiator fan motor, contact one of YourMechanic’s certified professionals.


