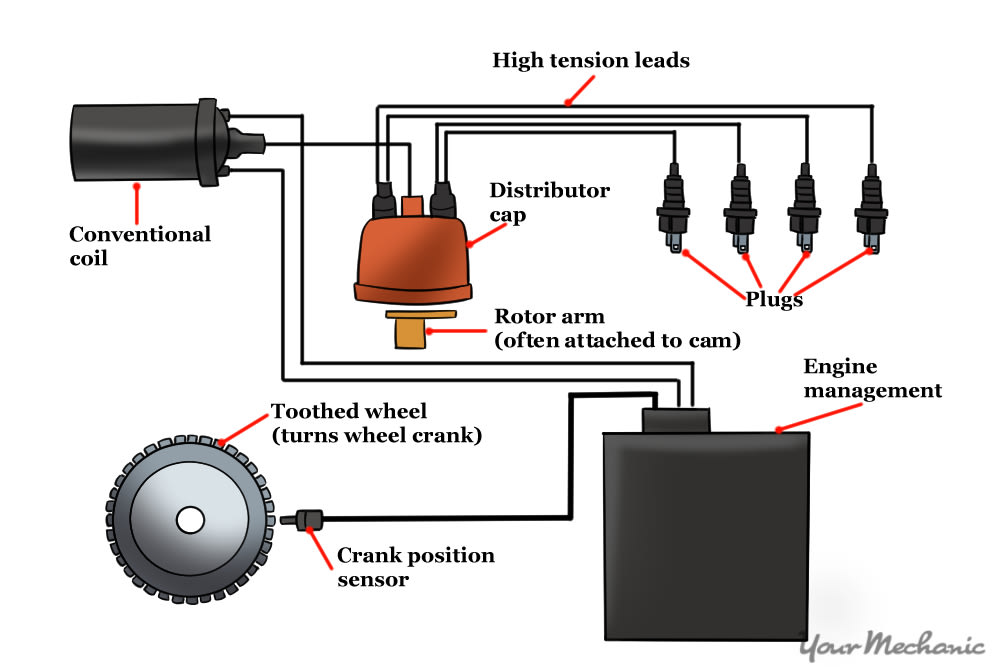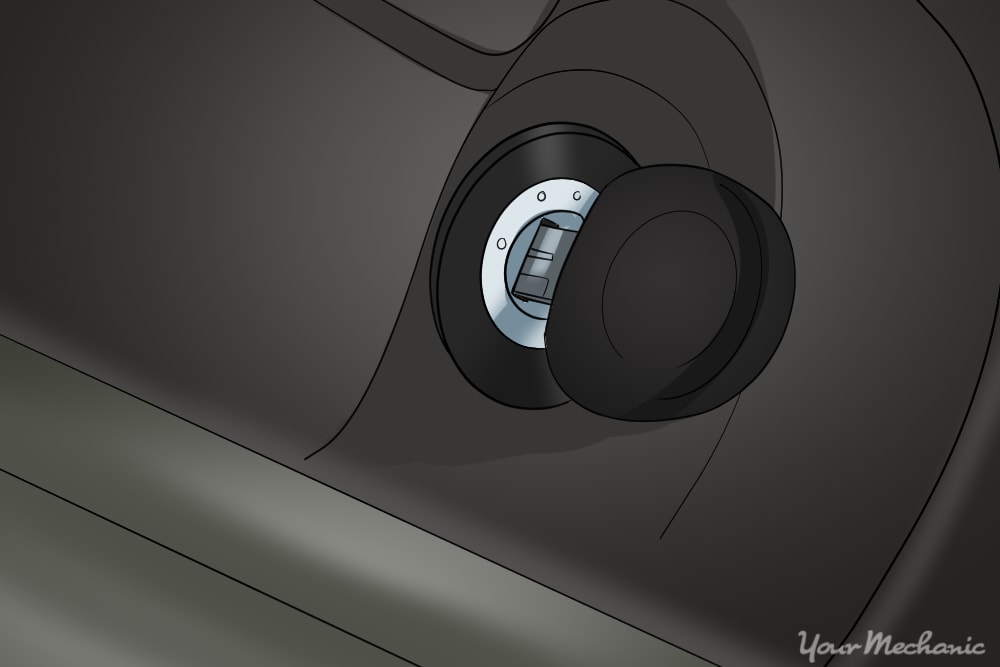

The ignition system relies on multiple mechanical and electrical components to start and keep an engine running. One of the most overlooked parts of this system is the ignition trigger or the crankshaft position sensor or optical sensor. The purpose of this component is to monitor the location of the crankshaft and corresponding connecting rods and pistons. This relays critical information through the distributor and onboard computer of most new vehicles to determine the engine ignition timing.
Ignition triggers are magnetic in nature and "trigger" when the unit rotates or other metallic components rotate around them. They can be found inside underneath the distributor cap, under the ignition rotor, near the crankshaft pulley or as a component of the harmonic balancer found on several vehicles. When the trigger fails to compile data or stops working entirely, it may cause the engine to misfire or not operate at all.
Regardless of the exact location, the ignition trigger depends on proper alignment in order to work efficiently. In fact, most of the time, problems with the ignition trigger result from it either coming loose or with support brackets that keep the ignition trigger secured. For the most part, the ignition trigger should last the lifespan of a vehicle, but like any other mechanical component, they may wear out prematurely.
This part exists in several different locations depending on the make, model, year and type of engine it supports. It's recommended to check with your vehicle's service manual to determine the exact location and steps you need to complete in order to replace the ignition trigger for your specific vehicle. The steps listed below will outline the process for diagnosing and replacing an ignition trigger that is most common on domestic and foreign vehicles manufactured from 1985 till 2000.
Part 1 of 4: Knowing the symptoms of failure
Like any other part, a bad or failing ignition trigger displays a few common warning signs. Noted below are a few of the typical warning signs that the ignition trigger is failing and needs to be replaced:
Check engine light comes on: On most vehicles, the check engine light is the default alert that tells a driver that a problem exists somewhere. However, in the case of the ignition trigger, it's usually triggered because the vehicle's ECM has detected an error code. For OBD-II systems, this error code is typically P-0016, signifying that a problem with the crankshaft position sensor exists.
Problems starting the engine: If the engine will crank over, but won't ignite, it may be caused by a malfunction within the ignition system. This may be due to a faulty ignition coil, distributor, relay, spark plug wires, or the spark plugs themselves. However, it's also common for this issue to be caused by a faulty ignition trigger or crankshaft position sensor.
Engine misfiring: In some cases, the ignition trigger harness that relays information to the ignition coil, distributor, or the ECM comes loose (especially if it's attached to the engine block). This may cause a misfiring situation to occur while the vehicle is under acceleration or even at idle.
- Warning: Most modern cars that have electronic ignition systems do not have this type of ignition trigger. This requires a different type of ignition system and often has a very complex ignition relay system. As such, the instructions noted below are for older vehicles that have a distributor/coil ignition system. Please refer to the vehicle's service manual or contact your local ASE certified mechanic for assistance with modern ignition systems.
Part 2 of 4: Determining if the ignition trigger is faulty
The ignition trigger measures the movement of the crankshaft so that the correct ignition timing is activated when the driver wants to start the vehicle. Ignition timing tells individual cylinders when to fire, so accurate measuring of the crankshaft allows this operation to occur.
Step 1: Complete a physical inspection of the ignition system. There are a few ways that you can diagnose this problem manually.
In most cases, the problems associated with a bad ignition trigger are caused by damaged wires or connectors that relay the information from component to component within the ignition system. The best way to save time, money, and resources replacing parts that aren't damaged is to start by tracing the wires and connectors that comprise the ignition system. Be sure to use a diagram as a guide.
Look for damage to electrical wires (including burns, frays, or split wires), loose fitting electrical connections (harnesses or ground wire attachments), or loose brackets securing components.
Step 2: Download OBD-II error codes. If the vehicle has OBD-II monitors, then usually an error with the crankshaft position sensor or ignition trigger will display a generic code of P-0016.
Using a digital scanner, plug into the reader port and download any error codes, especially if the check engine light has been illuminated. If you find this error code, it's most likely due to a faulty ignition trigger and will need to be replaced.
Part 2 of 3: Replacing the ignition trigger
Materials Needed
- Boxed end wrench or ratchet sets (metric or standard)
- Flashlight
- Flat and Philips screwdrivers
- New engine cover gaskets
- Replacement ignition trigger and harness
- Safety glasses
Note: Depending on the specific vehicle, you may not need new engine cover gaskets. Below are the general steps for replacing the ignition trigger (crankshaft position sensor) on most domestic and foreign vehicles with traditional distributor and coil ignition systems. Vehicles with electronic ignition modules should be serviced by a professional. Be sure to consult your service manual for any additional steps you’ll need to take.
Step 1: Disconnect the vehicle's battery. Locate the vehicle's battery and disconnect the positive and negative battery cables before proceeding.
You'll be working with electrical components so you need to remove any power sources before beginning this project.
Step 2: Remove the engine cover. In order to gain access to this part you'll have to remove the engine cover and potentially other components.
These may include air filters, air filter lines, intake support hoses, or coolant lines. As always, refer to your service manual for exact items you need to remove to gain access to the crankshaft position sensor or ignition trigger.
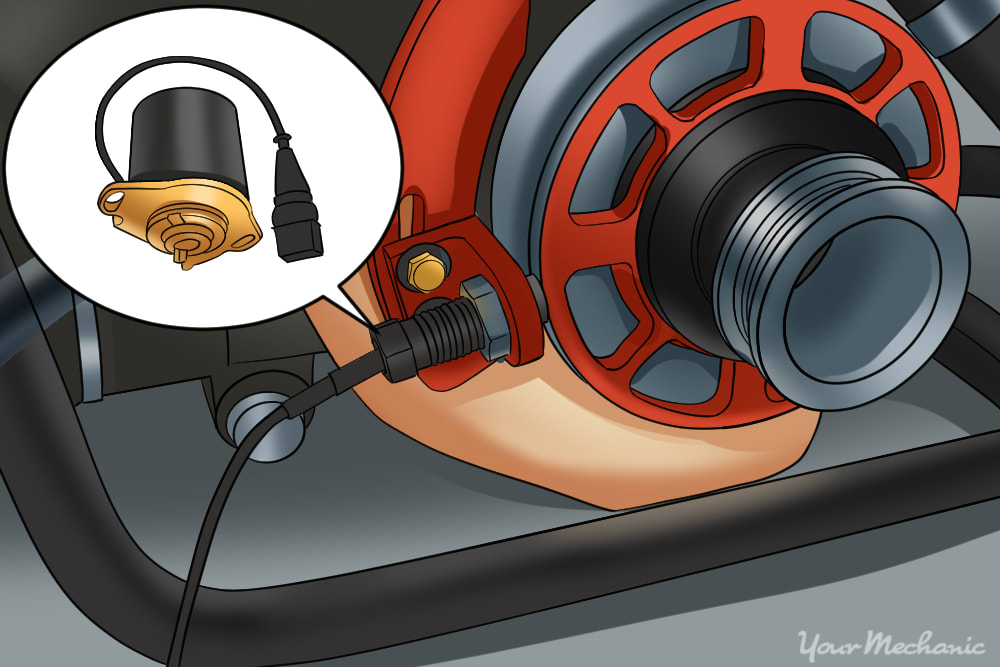
Step 3: Locate the ignition trigger connections. Most of the time the ignition trigger is located on the side of the engine connected to the engine block with a series of screws or small bolts.
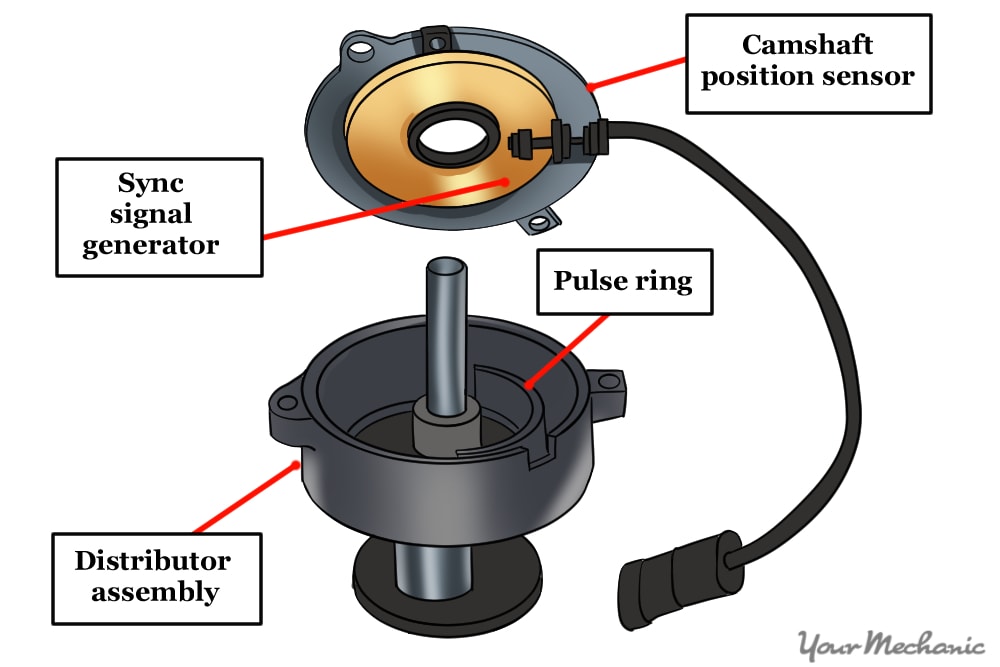
There is a connector that runs from the trigger to the distributor. In some cases, this harness attaches to a snap fitting on the outside of the distributor or the inside of the distributor as the image indicates. If the harness attaches to the outside of the distributor to another electrical harness fitting, simply remove the harness from that fitting and set it aside.
If the harness is attached to the inside of the distributor, you'll have to remove the distributor cap, the rotor, and then remove the attached harness which is typically secured by two small screws.
Step 4: Locate the ignition trigger. The trigger itself is connected to the engine block in most cases.
It will be metallic and most likely silver. Other common locations of this component include the ignition trigger inside the distributor, ignition trigger aligned with the harmonic balancer, and an electronic ignition trigger inside the vehicle's electronic control module.
Step 5: Remove engine cover. On many vehicles the ignition trigger is located under the engine cover and next to the timing chain.
If your vehicle is one of these, you'll have to remove the engine cover, which might require you to remove a water pump, an alternator, or an AC compressor first.
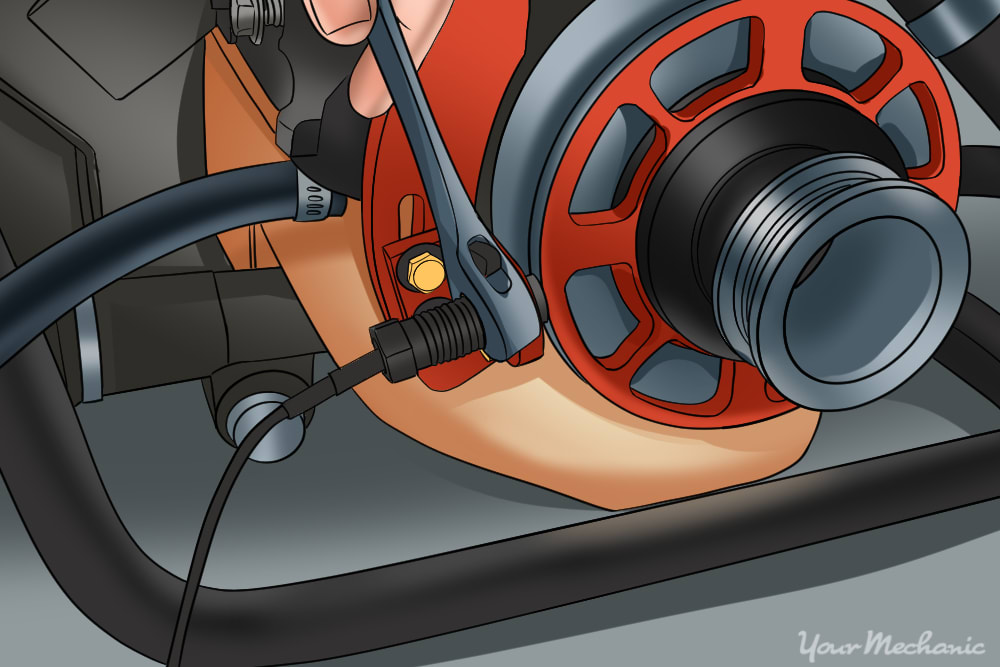
Step 6: Remove the ignition trigger. You'll need to take off the two screws or bolts that secure it to the engine block.
Step 7: Clean the connection where the ignition trigger was installed. When you remove the ignition trigger, you'll see that the connection underneath is likely dirty.
Using a clean rag, simply remove any debris located underneath or near this connection to ensure your new ignition trigger is clean.
Step 8: Install the new ignition trigger to the block. Do this with the same screws or bolts and tighten bolts to manufacturer’s recommended torque setting.
Step 9: Attach wiring harness to the ignition trigger. On many ignition triggers it will be hard wired into the unit, so you can skip this step if so.
Step 10: Reattach the engine cover. If this applies to your vehicle, use a new gasket.
Step 11: Reattach the wiring harness to the distributor. Also, reattach any components that needed to be removed for you to gain access to this part.
Step 12: Refill radiator with new coolant. Do this if you needed to drain and remove coolant lines earlier.
Step 13: Reconnect the battery terminals. Be sure these are installed as you originally found them.
Step 14: Clear error codes with scanner. On newer vehicles with ECM’s and a standard ignition system, the check engine light illuminates on your dashboard if the ECM detected a problem.
If these error codes are not cleared before you test fire the engine, it is possible that the ECM will not allow you to start the vehicle. Make sure to clear any error codes before you test the repair with a digital scanner.
Part 3 of 3: Test driving the vehicle
Material Needed
Step 1: Start your vehicle as you normally would. The best way to start your motor is to make sure the hood is opened.
Step 2: Listen for unusual sounds. This might include clanking sounds or clicking noises. If a part was left untightened or loose, it may cause the a clanking noise.
Sometimes mechanics will not run the wiring harness correctly from the ignition trigger to the distributor and may be hitting a serpentine belt if not secured correctly. Listen for this sound when you start the car.
Step 3: Check the timing. Once the engine has been started, check the timing of your vehicle with timing light.
Check with your vehicle manufacturer's service manual for exact timing settings and adjust if needed.
It's always best to refer to your service manual and completely review their recommendations before taking on this type of job. If you've read these instructions and still don't feel 100% confident in completing this repair, have one of YourMechanic’s local, ASE certified mechanics complete an ignition trigger replacement for you.


