The automotive industry has experienced periods of conflict, especially when trying to integrate modern technology into older components. Case in point, in the early to mid-1990's many automotive manufacturers began to switch from mechanically controlled systems to those fully controlled by computers and electronics. An example of this was when older vacuum-powered EGR systems were slowly adapted until they eventually became fully computer controlled. This created a hybrid type of design for the EGR system, and parts were created to expedite this conversion. One of these parts is known as the EVP shut off solenoid, or EGR valve position solenoid, and was used on cars, trucks, and SUVs sold in the United States from 1991 till the early 2000's.
Introduced in 1966 as an attempt to reduce vehicle emissions, the EGR system is designed to redistribute exhaust gases containing unburned fuel (or vehicle emissions) back into the intake manifold where it is burned during the combustion process. By allowing unburnt fuel molecules a second opportunity to burn, vehicle emissions coming out of the exhaust system are reduced and fuel economy is typically improved.
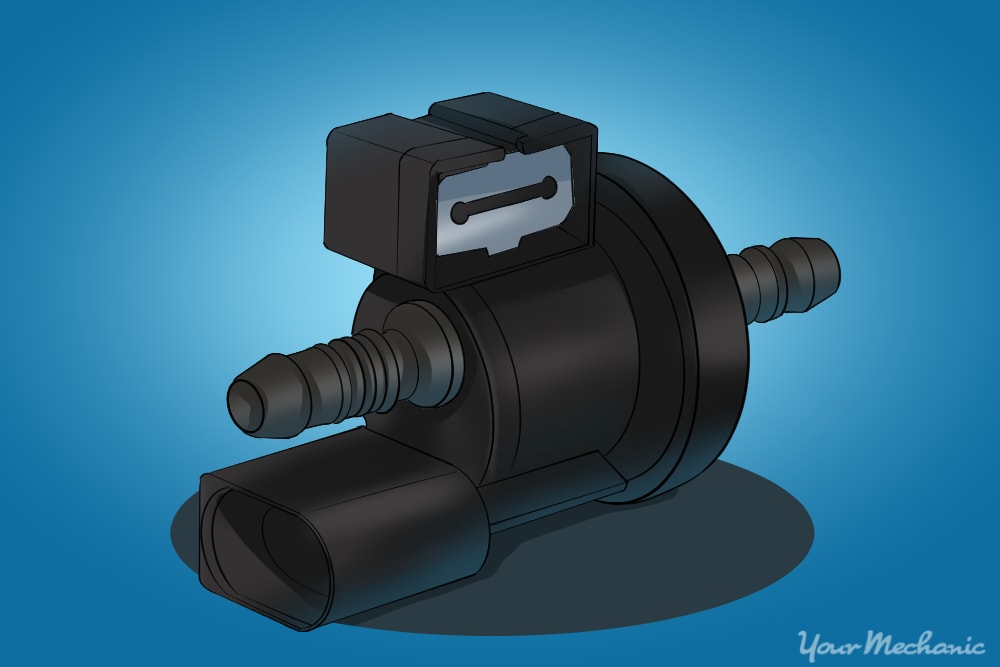
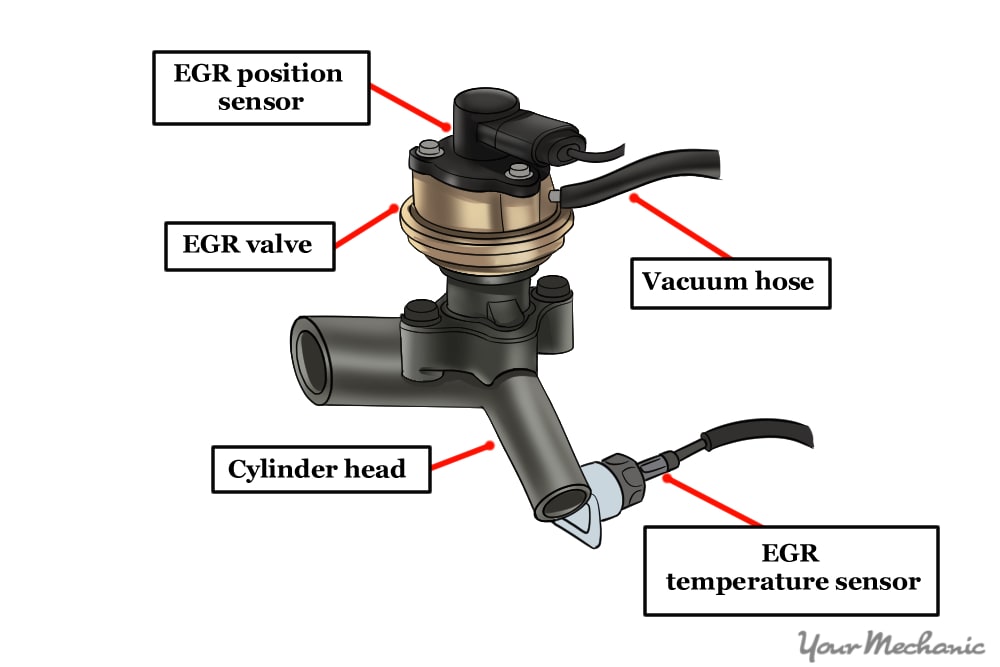
The first EGR systems used a vacuum controlled system. Today's modern cars, trucks, and SUVs all use computer controlled EGR valves that contain multiple sensors and controls that frequently monitor the position and operation of the EGR system for optimal performance. In between these two developments, different components were designed to accomplish the same task of measuring and monitoring the operation of the EGR system. In this second-generation system, the EVP shut off solenoid, or EGR valve position solenoid, is connected to the EGR valve by way of a vacuum line and is typically attached separately from the EGR valve. By contrast, today's more modern EVP position sensors are installed on top of the EGR valve and are connected to an electrical harness that monitors and controls its operation.
The job of the EVP shut off solenoid is to control the flow of the EGR valve. Data is monitored by a sensor built into the EVP shut off solenoid which is relayed to the vehicle’s engine control module (ECM) and assisted by a vacuum hose attached to a vacuum pump. If the shut off solenoid becomes dirty (commonly due to excess carbon buildup from unburnt fuel in the exhaust system), the sensor can fail or become stuck. If this occurs, it can lead to increased vehicle emissions introduced into the combustion chamber, which eventually creates a rich air-to-fuel ratio.
When fuel is unable to burn efficiently, excess fuel exits from the vehicle's exhaust, which will typically cause the vehicle to fail emissions inspections and can cause damage to the engine and other mechanical components under the hood.
Unlike an EVP position sensor, the EVP shut off solenoid is mechanical in nature. In many cases, the solenoid spring becomes stuck and can be cleaned and repaired without having to replace the unit. However, this process is incredibly complex and should only be attempted by a certified technician, such as those at YourMechanic.
There are a number of warning signs or symptoms of a bad EVP shut off solenoid that can alert the driver to a problem with this component. Some of these include the following:
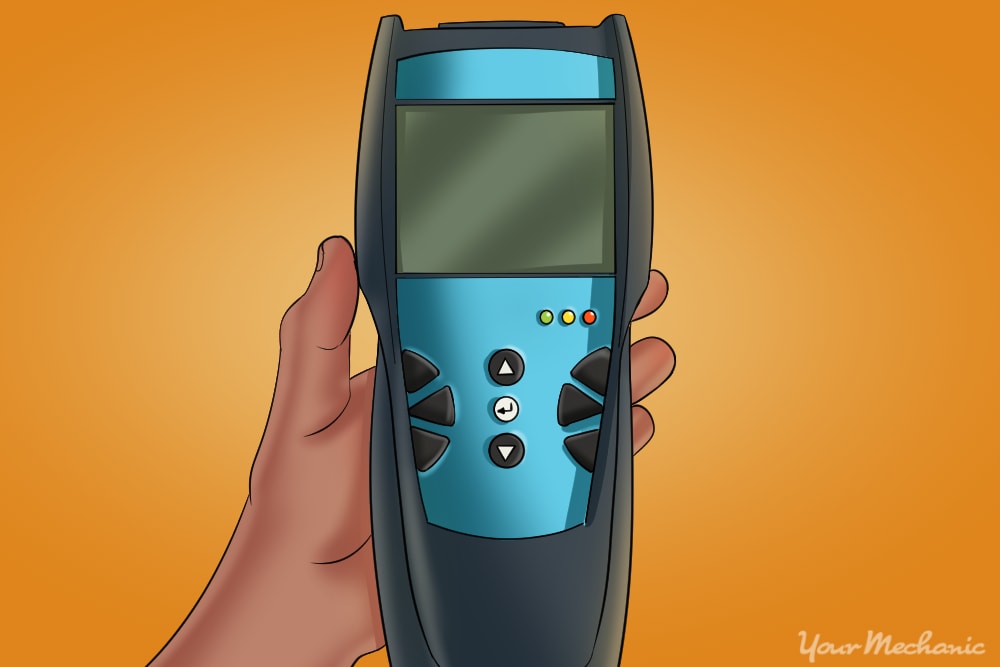
The Check Engine Light comes on. The first indication of a mechanical problem with the EVP shut off solenoid is when the Check Engine Light comes on. Since this part is monitored by the vehicle’s onboard computer, a faulty solenoid will trigger an OBD-II error code that will illuminate the Check Engine Light on the dashboard. The code that is most commonly associated with an EVP shut off solenoid issue is P-0405. Although it can be repaired, it's recommended to replace this part or the entire EGR valve/EVP housing and reset the error codes with a diagnostic scanner for testing.
The vehicle fails an emissions test. In some cases, the failure of this part will cause the EGR valve to introduce more unburnt fuel into the combustion chamber. This will result in a rich air-to-fuel ratio and can lead to failure of an emissions test.
The engine has difficulty starting. A broken or damaged EVP shut off solenoid typically impacts startup performance including idle, which can also create rough idling, engine misfiring, or low engine RPMs.
Because of its remote position, most EVP shut off solenoids are very simple to replace. This process is made even more simple by the fact that most vehicles produced in the 1990's and early 2000's did not have multiple engine covers or complex air filtration and intake manifold designs to obstruct the location of the solenoid.
- Note: Although the location of the EVP shut off solenoid is typically very easy to access, each manufacturer will have its own unique instructions for removing and replacing this part. The steps described below are general instructions for replacing an EVP shut off solenoid on most domestic and imported vehicles made between the 1990’s and early 2000’s. It's always recommended to purchase a service manual for your vehicle’s exact make, model, and year so that you can follow the manufacturer’s guidelines.
Part 1 of 2: Replacing the EVP shut off solenoid
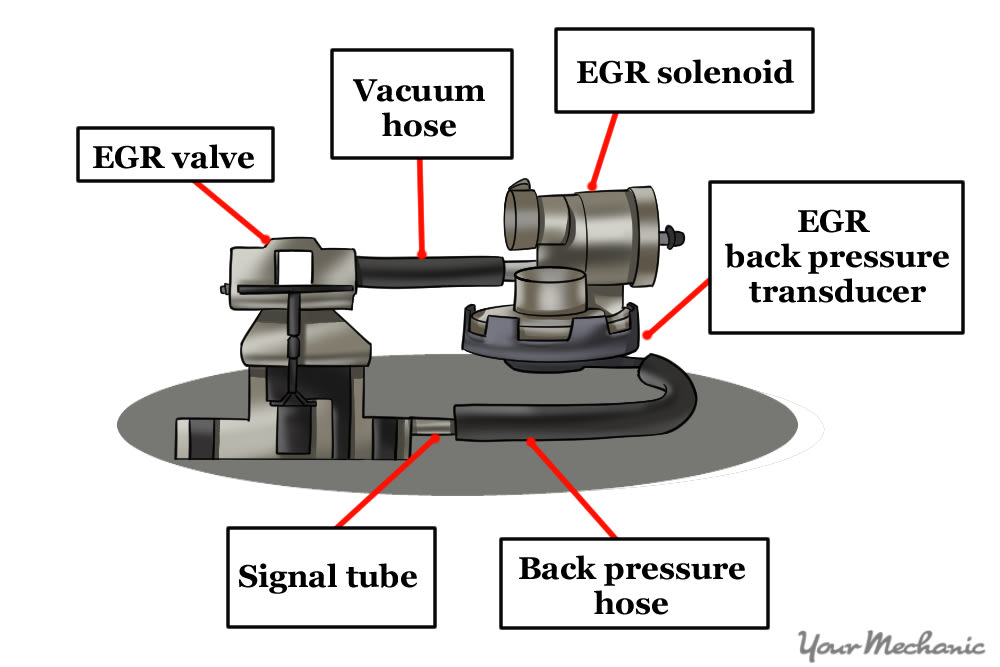
Before you decide to replace the EVP shut off solenoid, you need to know exactly what type of setup you have. Some of the older EGR systems have a detached EVP shut off solenoid or EGR valve position solenoid that is connected to the EGR valve by a vacuum hose. It is also usually connected to a back pressure transducer.
Because of the variance in setup possibilities, it is strongly recommended that you buy and read a service manual for your specific make, model, and year of vehicle before you purchase any new parts or attempt replacement. In many cases, there may also be replacement gaskets you'll have to use, so again, check with the service manual for the exact parts you'll need for your vehicle.
Most ASE certified mechanics recommend replacing the EGR valve and EVP shut off solenoid at the same time, especially if you intend on keeping the vehicle longer than a year. Usually when one part fails, the other is close behind. Keep in mind that noted below are the general instructions for replacing the solenoid and EGR valve.
Materials Needed
- Flashlight or droplight
- Clean shop rags
- Carburetor cleaner
- Boxed end wrench or ratchet wrench set(s); ¼" drive if the EGR valve is located next to the alternator
- OBD-II diagnostic code scanner
- Replacement EGR valve, if you are replacing this part at the same time
- Replacement EVP shut off solenoid and any necessary hardware (e.g., gaskets or extra vacuum hoses)
- Service manual specific to your vehicle
- Silicone
- Flathead and philips head screwdrivers
Safety equipment (safety glasses, protective gloves, etc.)
Note: According to most service manuals, this job will take between one to two hours to complete, so make sure you have adequate time to perform the repair. The majority of this time is spent removing engine covers, air filters, and some electronic harnesses. You will also replace the EVP shut off solenoid away from the vehicle, so make sure you have a clean work space available to disassemble the EGR valve and prepare for installation.
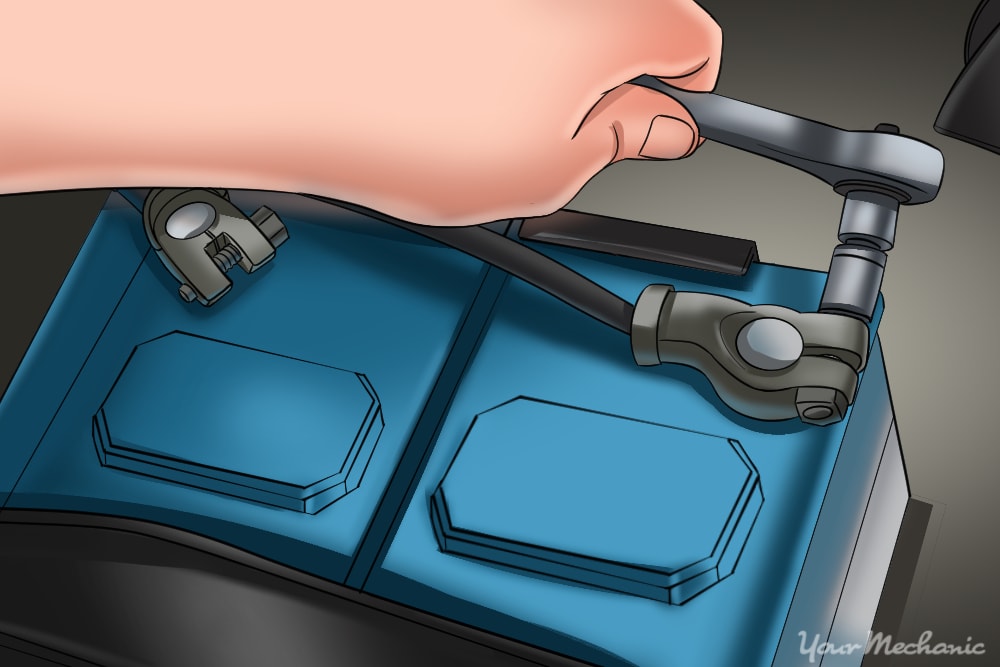
Step 1: Disconnect the vehicle's battery. Locate the vehicle's battery and disconnect the positive and negative battery cables.
Place the battery cables away from the terminals to avoid accidental sparks or attachment.
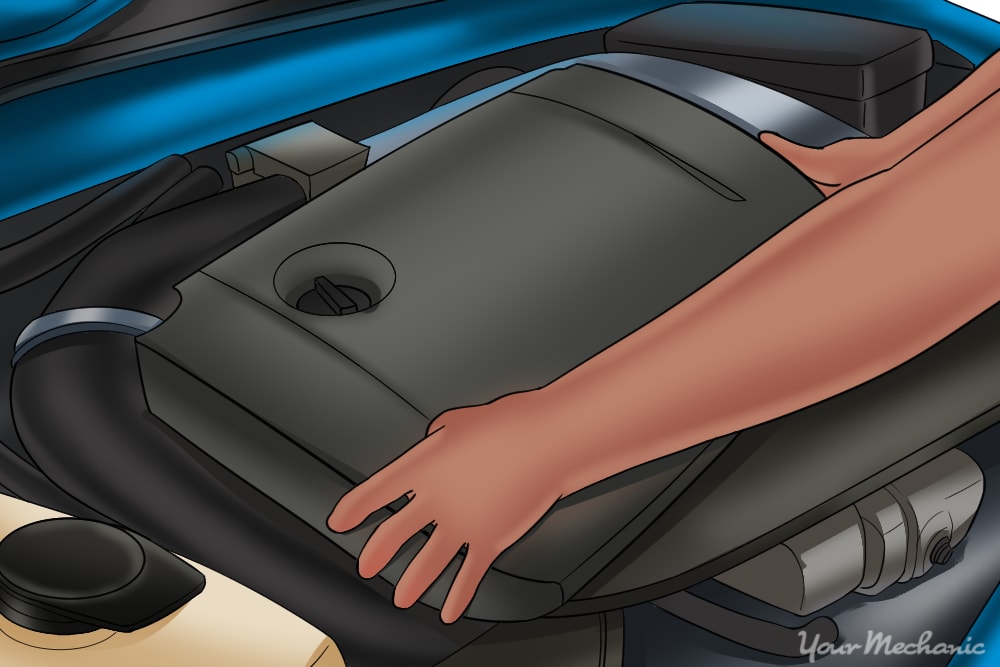
Step 2: Remove any covers or components blocking the EGR valve. Refer to your vehicle service manual for specific instructions on how to remove any components blocking your access to the EGR valve.
This can include engine covers, air cleaners, or any other additional attachments that will hinder your ability to gain access to this valve.
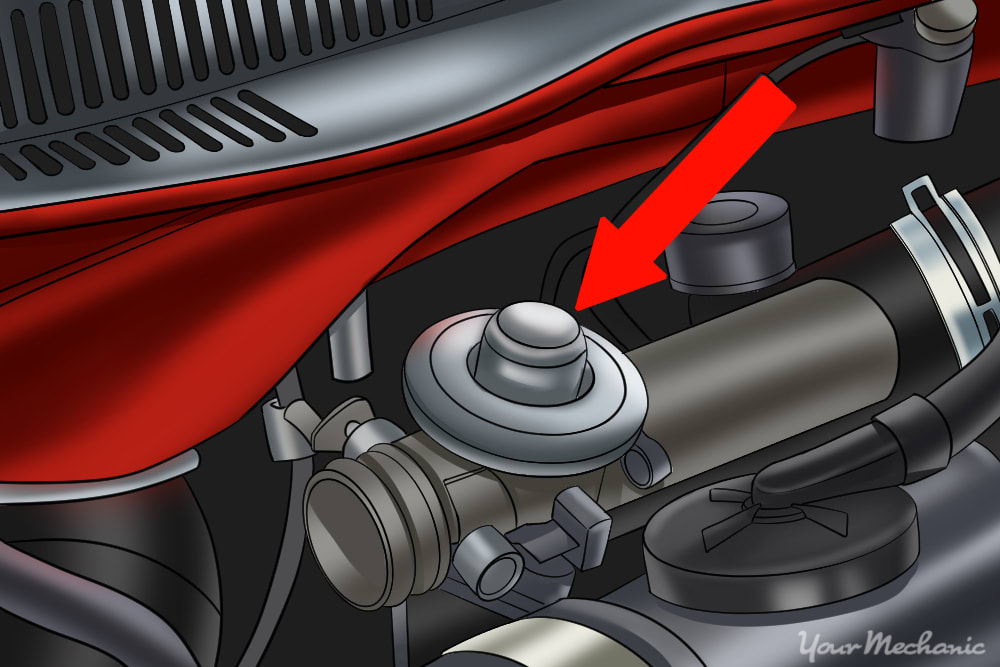
Step 3: Locate the EGR valve. On most domestic vehicles made from 1996 to the present, the EGR valve will be located on the front of the engine on top of the alternator.
This location is especially common in minivans, trucks, and SUVs. Other cars may have the EGR valve located near the rear of the engine.
The valve will have two hoses (usually metal) attached to it, one coming from the vehicle's exhaust pipe and the other running into the throttle body.
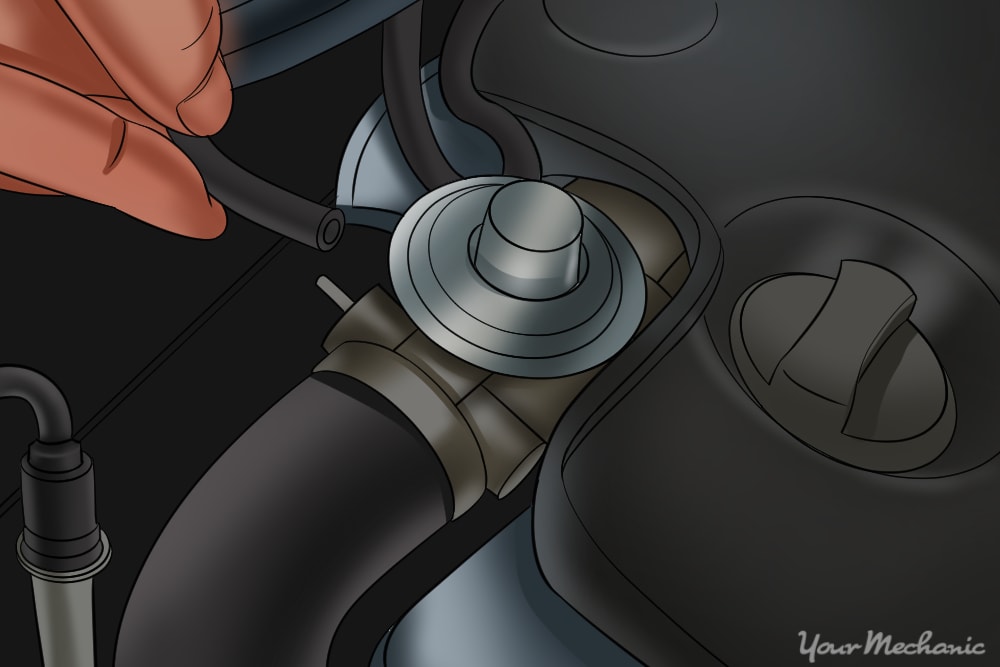
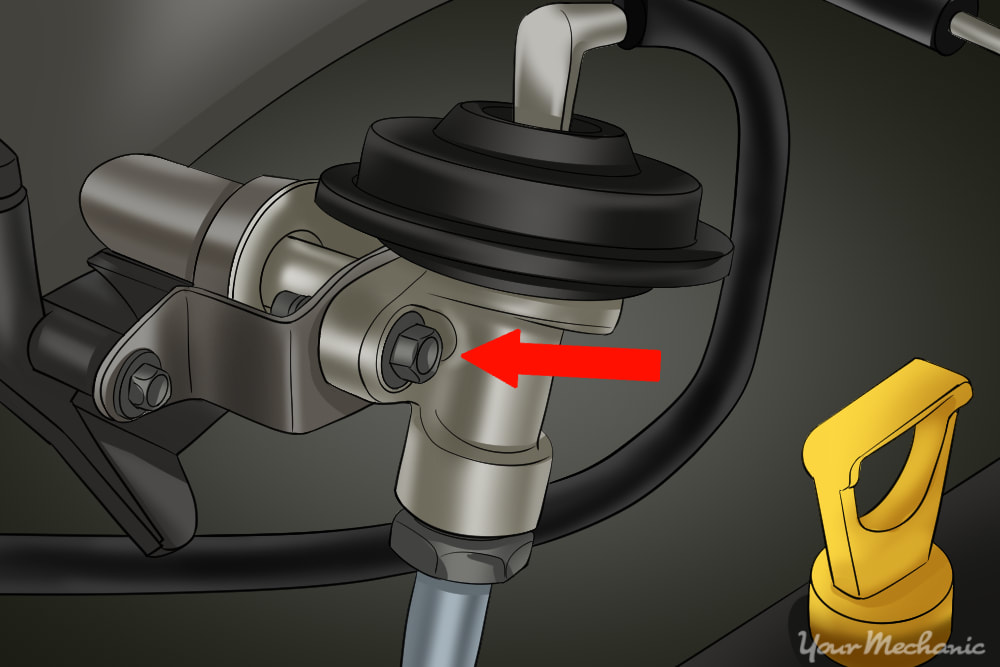
Step 4: Remove the vacuum hose attached to the EGR valve. If there is a vacuum hose attached to the EGR valve, remove it.
Inspect the condition of the hose. If it is frayed or damaged, it is a good idea to replace it.

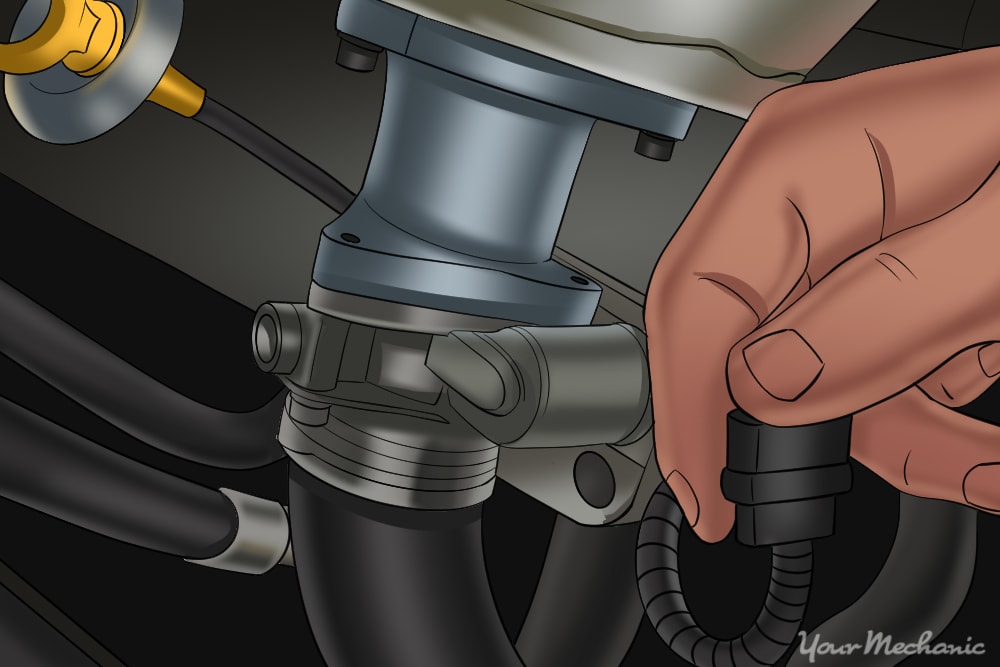
Step 5: Remove the metal tubes connecting the valve to the exhaust and intake manifold. There are usually two metal pipes or hoses connecting the EGR valve to the exhaust and the intake. Remove both of these connections using a boxed end wrench and the corresponding socket.
Step 6: Remove the EGR valve wiring harness. If your EGR valve has a wiring harness attached to the sensor on top of the valve, remove this harness.
If your vehicle has an EVP shut off solenoid that is not on top of the EGR valve, remove any wires or harnesses attached to this solenoid.
To remove the harness, carefully pry the clip ending open or press down on the tab to allow the harness to slip off.
Step 7: Remove the EGR valve. The EGR valve can be attached to one of three areas:
The engine block (typically near the rear of the vehicle).
The cylinder head or intake manifold (typically near the alternator or water pump in front of the motor).
A bracket attached to the firewall (this is common on EGR valves with a detached EVP shut off solenoid that also has a vacuum line attached).
To remove the EGR valve, you will need to remove two mounting bolts, usually a top and a bottom bolt. Unscrew the top bolt and remove it; then unscrew the bottom bolt until it is loose. Once it's loose, you can rotate the EGR valve to more easily remove the bottom bolt.
- Note: If your vehicle has an EVP shut off solenoid that is not attached to the EGR valve and you are not also replacing your EGR valve, you don't have to remove the EGR valve at all. Simply remove the solenoid component and replace it with a new unit. Then you can continue on to reattach all the connections and test the repair. However, if your vehicle has an EVP shut off solenoid that is in fact attached to the EGR valve, continue directly to the next step.
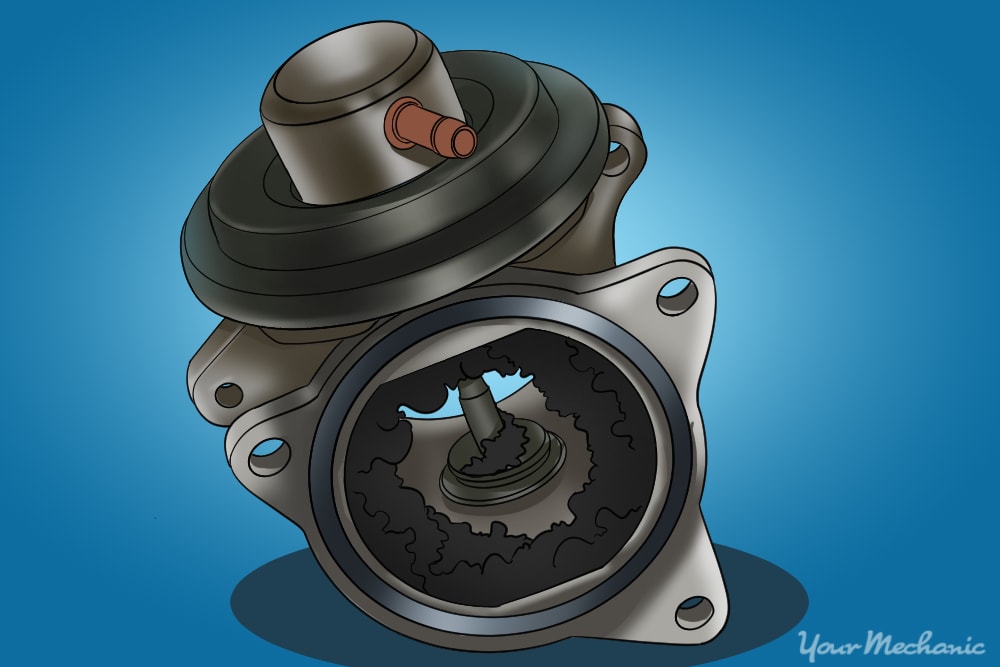
Step 8: Clean the EGR valve connection. Since the EGR valve is now removed, this is a great opportunity to clean the area, especially if you intend to replace the entire EGR valve.
This will ensure a secure connection and reduce leaks.
Using carburetor cleaner, soak a shop rag and clean the outside and inside port edges where the EGR valve was attached.
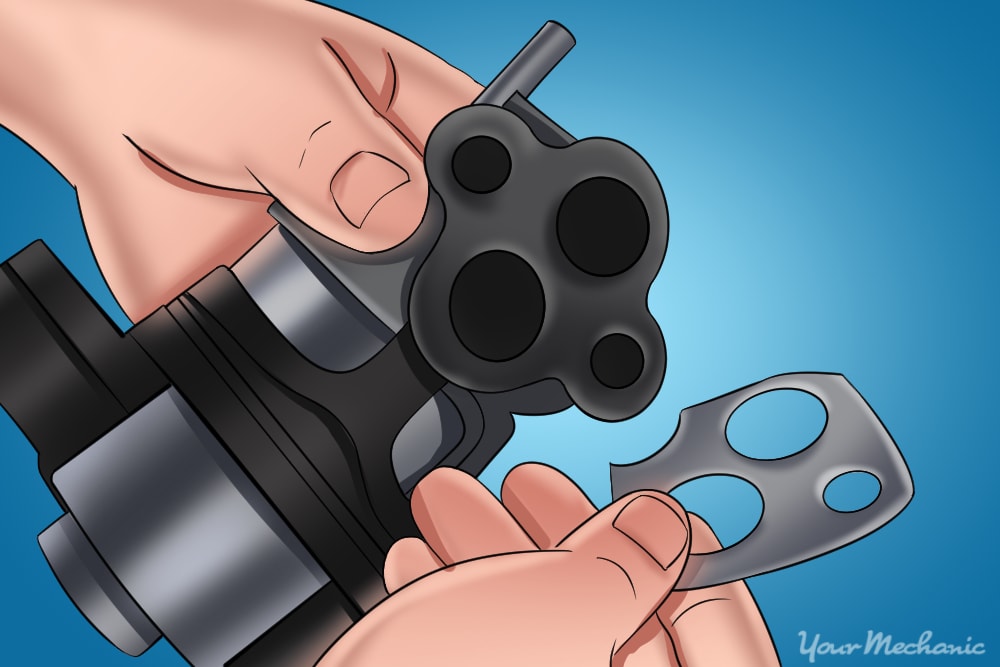
Step 9: Replace the EVP shut off solenoid. After you've removed the EGR valve from the vehicle, you need to remove the EVP shut off solenoid from the EGR valve and replace it with the new one.
On most EGR valves, there is one screw and a clip that holds this unit onto the EGR valve. Remove the screw and clip to remove the old unit. Then put the new one in its place and reattach the screw and clip.
Step 10: Install a new EGR valve gasket to the base of the EGR valve if needed. Once you've removed the old EVP shut off solenoid, remove any residue left behind by the old EGR valve gasket and replace it with a new one.
It's best to apply silicone to the base of the EGR valve and then secure the gasket. Let it dry before proceeding.
If your vehicle service manual indicates that you don't have a gasket, skip this step and proceed to next one.
Step 11: Reinstall the EGR valve. Once the new EVP shut off solenoid is installed, you can reinstall the EGR valve.
Reinstall the EGR valve into the appropriate place (the engine block, the cylinder head/intake manifold, or the firewall bracket) using the top and bottom mounting bolts you removed previously.
Step 12: Reconnect the electric harness. Whether it connects to the EGR valve or the EVP shut off solenoid, reattach the wiring harness by plugging the connector back into place and securing the clip or tab.
Step 13: Reconnect the exhaust and intake pipes. Reinstall the metal connections from the exhaust and the intake manifold back into the EGR valve and secure them.
Step 14: Reconnect the vacuum hose. Reattach the vacuum hose to the EGR valve.
Step 15: Replace any covers or other parts that were previously removed. Reinstall any engine covers, air filters, or other components that needed to be removed to access the EGR valve.
Step 16: Reattach the battery cables. Once everything else is put back together, reinstall the battery cables to return power to the vehicle.
Part 2 of 2: Testing the repair
After replacing the EVP shut off solenoid, you will need to start the vehicle and clear all error codes before you complete a test drive.
If the Check Engine Light comes back on after clearing the error codes, check the following:
Inspect the hoses attached to the EGR valve and EVP shut off solenoid to verify that they are securely fastened.
Inspect the EGR valve attachments to the exhaust and intake manifold to verify that they are secure.
Verify that any electrical components that were removed have been properly reattached. If the engine starts fine and there are no error codes displayed after resetting them, complete a standard test drive as described below.
Step 1: Start the vehicle. Start your engine and let it warm up to operating temperature.
Step 2: Check the dashboard. Verify that the Check Engine Light does not come on.
If it does, you should shut the vehicle off and complete a diagnostic scan.
The error codes will have to be cleared on most vehicles after completing this service.
Step 3: Test drive the car. Take the vehicle on a 10-mile road test and then return home to check for any leaks or error codes.
Depending on the make and model of your vehicle, the replacement of this component is usually rather simple. However, if you've read these instructions and still don't feel 100% confident about completing the job yourself, or you would just rather have a professional perform the repair, you can always contact one of the certified mechanics at YourMechanic to come and complete the EVP shut off solenoid replacement for you.