
The brake system is one of the most critical systems in any vehicle. The brake system relies on the brake fluid to allow the vehicle to stop at the right moment. The brake fluid is pumped by the brake pedal and master cylinder which operates the disc brakes.
Brake fluid attracts moisture and air can form bubbles in the system in turn causing brake fluid contamination. When this occurs, you will need to flush the brake system of your car.
This article shows you how to perform a brake flush on your vehicle. The locations of various parts may be different on your vehicle but the basic procedure will be the same.
- Warning: Always check your owner's manual for the procedure for your exact vehicle. Brakes can fail on a vehicle if the flush is not done properly.
Part 1 of 3: Lift the vehicle and prepare to bleed the brakes
Materials Needed
- Brake fluid
- Bottle for fluid
- Clear tubing
- Jack
- Jack stands
- Socket set
- Torque wrench
- Turkey baster
- Wheel chocks
- Wrench set
Step 1: Test drive the vehicle. First, you will need to check the brake performance by taking your vehicle out for a test drive.
Pay close attention to the pedal feel as this will improve with the brake flush.
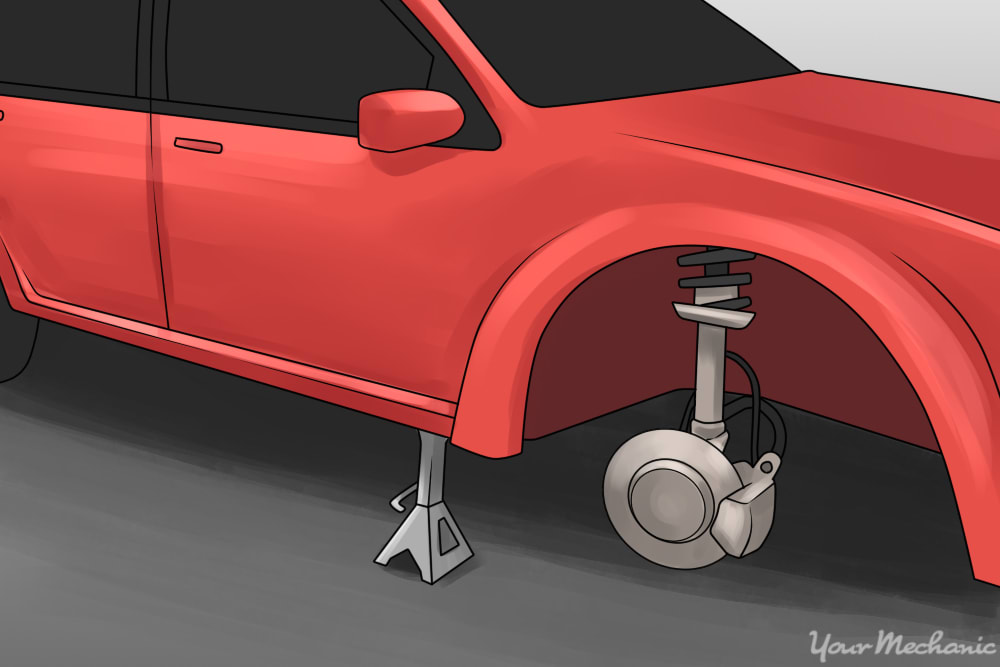
Step 2: Lift the vehicle. Park the vehicle on a level ground and apply the parking brake.
Use wheel chocks on the rear wheels while the front wheels are being removed.
- Tip: Check this article to make sure you know how to safely use a jack and jack stand.
Break the lug nuts loose on each wheel but do not remove them.
Using a jack on the vehicle's lift points, raise the vehicle and place it on the jack stands.
Part 2 of 3: Bleed the brakes
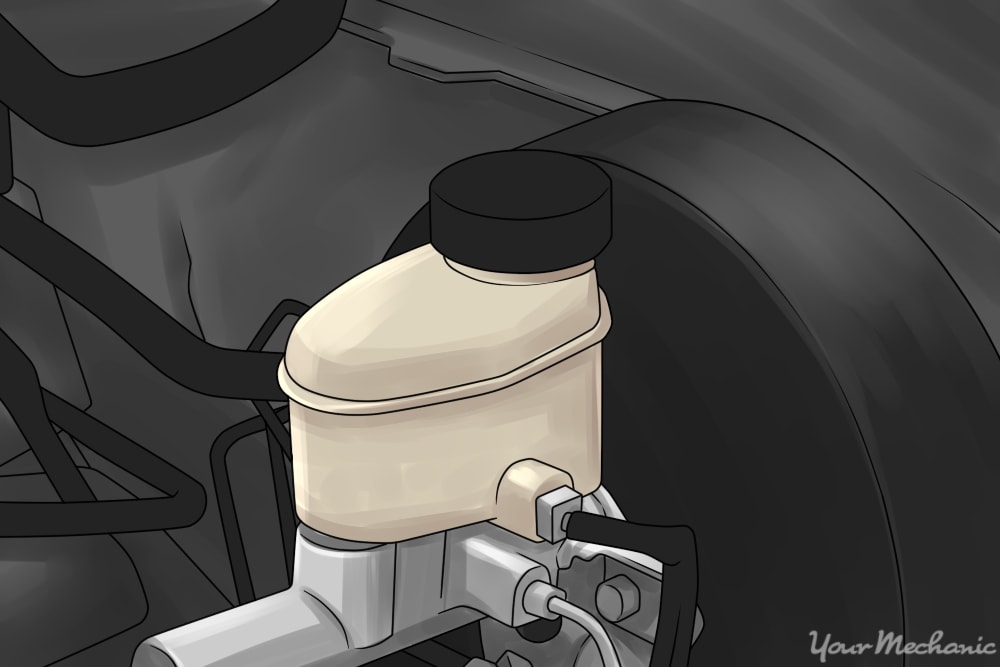
Step 1: Locate the fluid reservoir and drain it. Open the hood and locate the fluid reservoir on top of the brake fluid master cylinder.
Remove the cap of the fluid reservoir. Using the turkey baster, suck all of the old fluid out of the reservoir. This is done to push only the fresh fluid through the system.
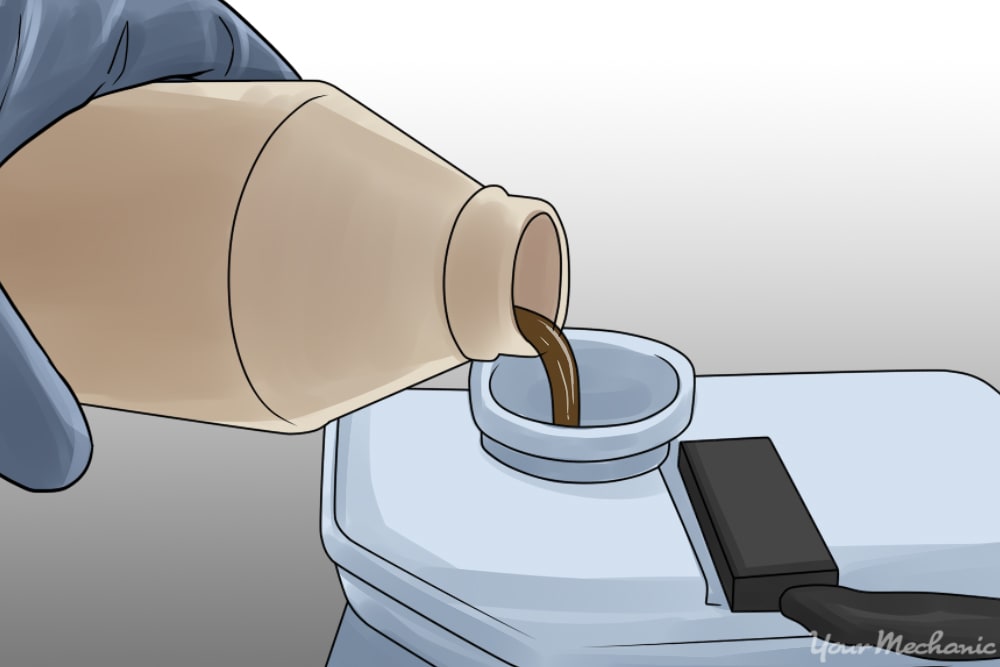
Fill the reservoir with new brake fluid.
- Tip: Refer to the owner’s manual of your car to find the right brake fluid for your specific vehicle.
Step 2: Remove the tires. The lugs nuts should already be loose. Remove all the lug nuts and set the tires aside.
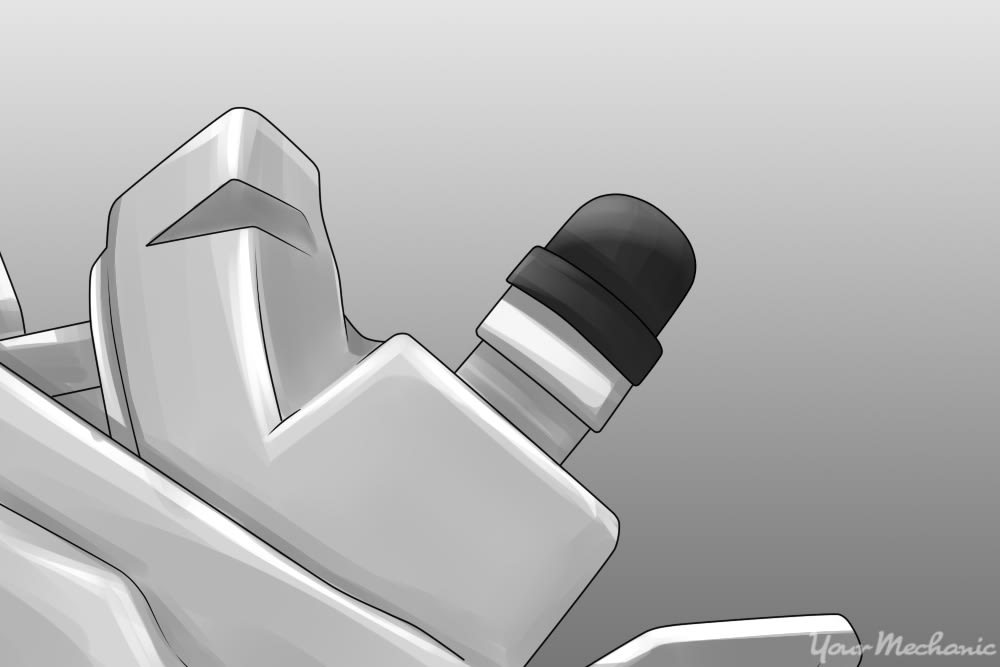
With the tires removed, look at the brake caliper and locate the bleeder screw.
Step 3: Start to bleed the brakes. This step will require a partner.
Read the procedure in its entirety before you attempt to follow it.
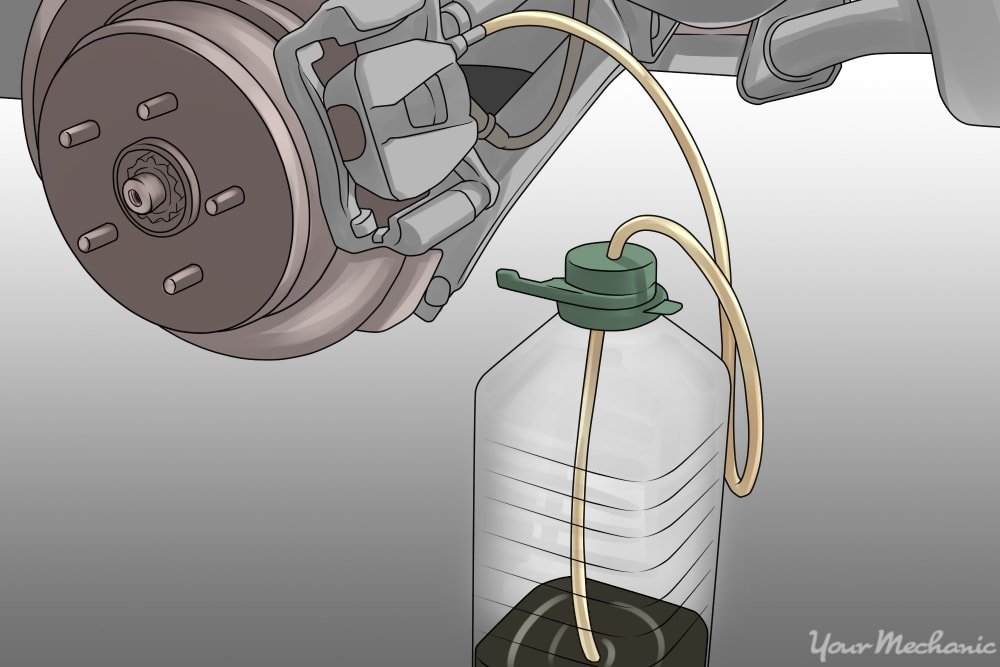
Begin with the brake bleeder furthest from the master cylinder, typically the passenger rear one, unless otherwise noted in the manual. Slip the clear tubing onto the top of the bleeder screw and run it into the fluid container.
Get your helper to press the brake pedal several times and then hold it down. Ask them to hold the brake pedal down until you close the brake bleeder screw. While your partner is holding the brakes down, loosen the bleeder screw. You will see brake fluid come out and some air bubbles, if any.
Bleed the brakes at each wheel until the fluid comes out clear and free of air bubbles. This may take several attempts to accomplish. After several attempts, check the brake fluid and refill, if needed. You will also need to check and fill the brake fluid after each corner is bled.
- Warning: If the brake pedal is released while the bleeder screw is open this will allow air in the system. The brake bleeding procedure will need to be restarted if this occurs.
Part 3 of 3: Complete the process
Step 1: Check the pedal feel. Once all the brakes are bled and all the bleeder screws are tight, press the brake pedal several times and hold it. The pedal should stay firm as long as the pedal is pressed.
If the brake pedal sinks, there is a leak in the system somewhere that must be addressed.
Step 2: Put the wheels back on. Install the wheels back onto the vehicle. Tighten the lug nuts as much as possible keeping the vehicle raised.
Step 3: Lower the vehicle and torque the lug nuts. With the wheels installed, lower the vehicle by using the jack at each corner. Remove the jack stand at the corner and then lower it down.
Once the vehicle is fully on the ground, you will need to torque the lug nuts. Torque the lug nuts in a star pattern at each corner of the vehicle. * Note: Refer to the owner’s manual of your car to find the torque specification for your vehicle.
Step 4: Take the vehicle on a test drive. Before driving your vehicle, check and make sure that the brake pedal works properly.
Take the vehicle for a test drive and compare how the current feel of the pedal to how it felt before. The pedal should feel much more firm once the brakes are flushed.
Now that your brake system is flushed, you can rest easy knowing that the brake fluid is in good shape. Performing your own brake flush can save money and allow you to get to know your vehicle better. A brake flush will help to ensure that the brakes last a long time and will avoid any issues due to moisture in the system.
Bleeding the brakes can cause issues if it is not done properly. If you do not feel comfortable performing this service on your own, get a certified mechanic from YourMechanic to flush the brake system for you.


