On older vehicles, radiators were built with aluminum tubes on the sides of the radiator core. They were cast in one piece and a hole was drilled inside one of the tubes to allow metal particles to drain out during the cleaning process after manufacturing. The hole was then tapped out with a thread size and a plug was inserted into the tube. This was a good way to seal off the hole in the radiator and also keep the coolant from leaking out.
However, when it was time to change the coolant a radiator, the mechanic had to remove the plug. This was easy but it resulted in a large mess. As the plug is being removed, coolant will start to escape from the threads. Just like most plugs, the coolant plug was hard to remove and coolant travels down the tool and down the mechanics arm making a large mess.
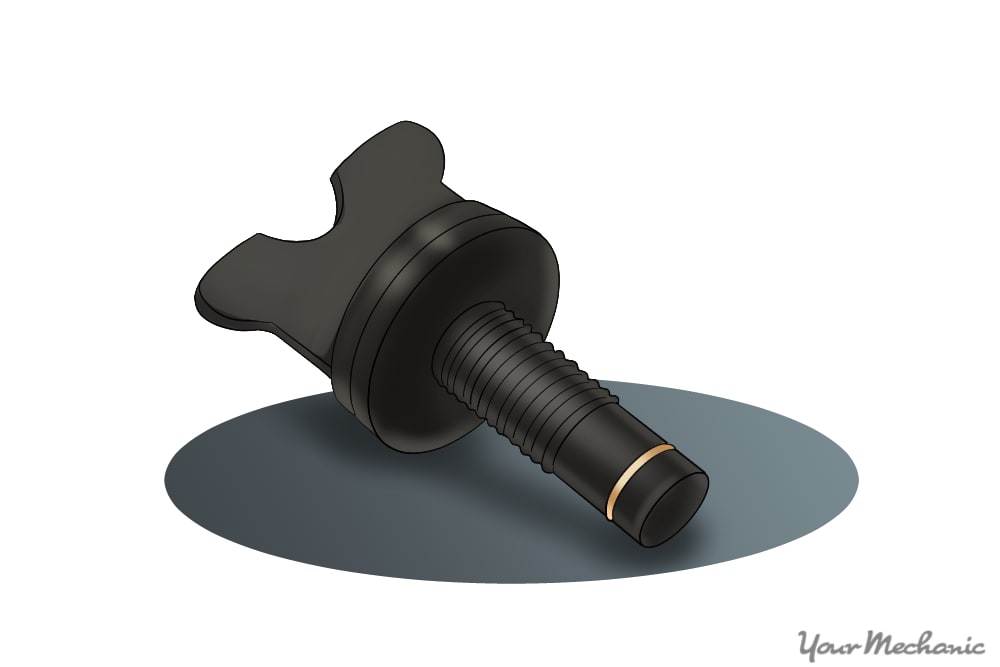
Today, vehicles have aluminum radiators with plastic (carbon fiber) tubes. The tubes are attached to the main core radiator and hole is drilled into them and a drain cock (petcock) was inserted. Some of these drain cocks were threaded while others were designed to twist and lock. This aided the vehicles in draining out the coolant during a radiator or system flush without the mess.
If there is an event that the drain cock begins to leak, coolant will drip or spray out. This depends on the coolant temperature and if the cooling system has built up any pressure or not. Other symptoms include lower oil pressure.
If the drain cock leaks and the system get low on coolant, the computer will sense a problem and illuminate the engine light and a low coolant light. Engine light codes related to the fuel hose on vehicles with computers:
If the cooling system is not pressurized properly, then the coolant will create a flash boil. Flash boil occurs when liquid that is not boiling under pressure begins to boil when the pressure is released.

- Warning: Do not open the radiator cap when engine is hot after shutting off the engine - flash boil will occur
Part 1 of 3: Verifying the condition of the radiator drain cock
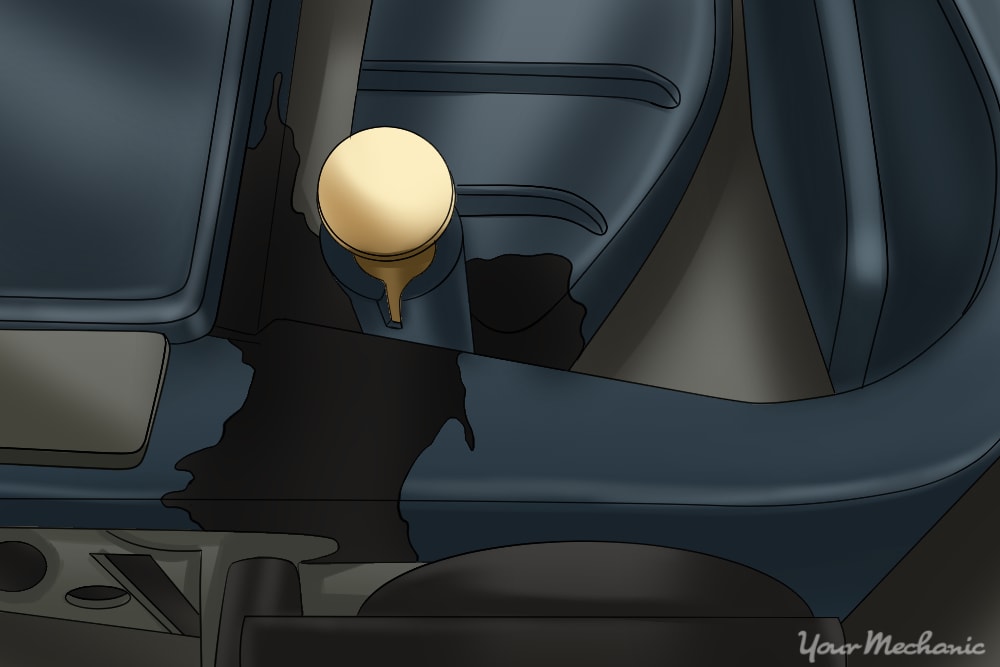
Step 1: Check for security and leaks. Locate where the radiator drain cock is mounted on the radiator.
Check to see if it is secured correctly. Look to see if any coolant is leaking out of the drain cock mounting area.
Part 2 of 3: Replacing the radiator drain cock
Materials Needed
- Drip pan
- Flash light
- SAE and Metric wrench set
- Disposable gloves (Ethanol Glycol safe)
- Small funnel
- Protective clothing
- Safety glasses
- Floor jack
- Jack stands
- Wheel chocks
Step 1: Park your vehicle on a flat, hard surface. Make sure that the transmission is in park (for automatics) or in 1st gear (for manuals).
Step 2: Place wheel chocks around the tires. In this case, the wheel chocks will be around the front tires since the rear of the vehicle will be lifted up.
Engage the parking brake to the lock the rear tires from moving.
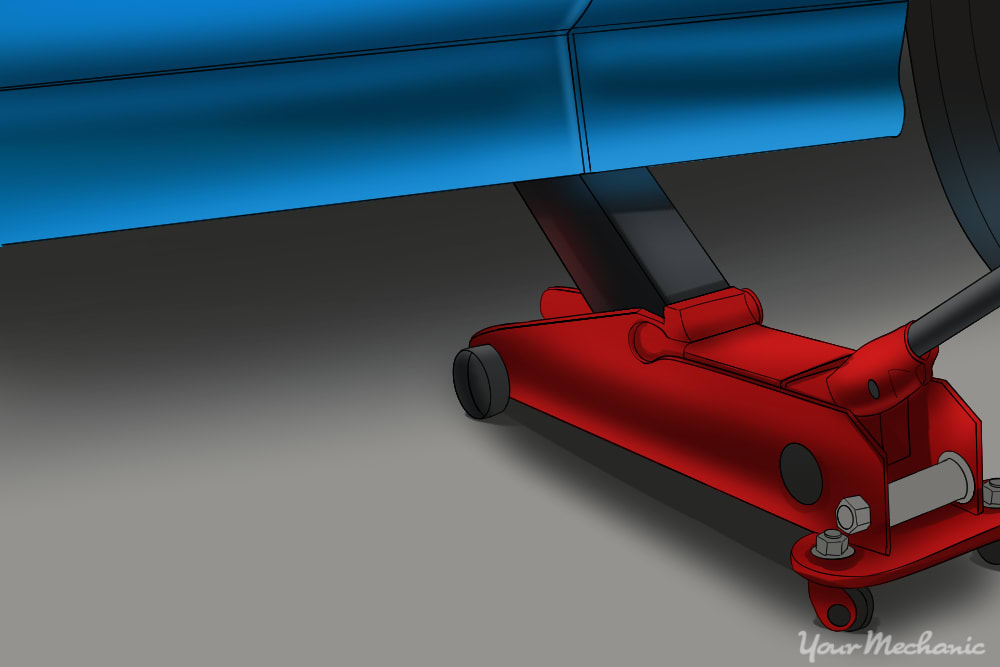
Step 3: Raise the vehicle. Using a floor jack, lift under the vehicle at its specified jacking points until the wheels are completely off the ground.
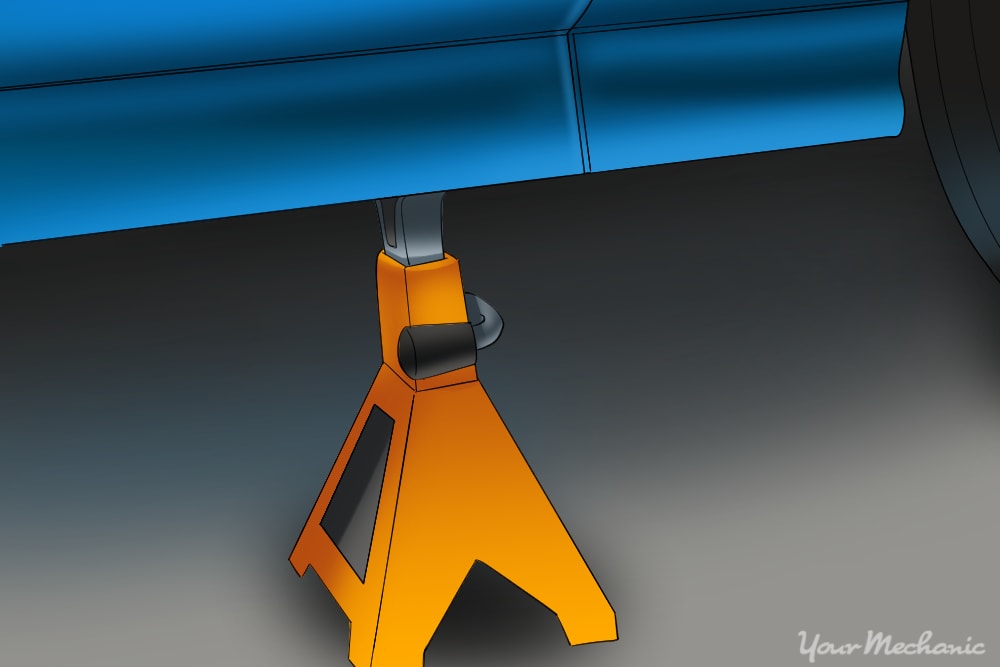
Step 4: Place the jack stands. The jack stands should go under the jacking point locations.
Lower the vehicle onto the jack stands. For most modern cars, the jacking points for jack stands are on the pinch weld just under the doors along the bottom of the car.
Step 5: Open the vehicle’s hood. Remove the radiator cap or reservoir cap and place the cap where the hood latch is.
This prevents you from shutting the hood and forgetting the cap.
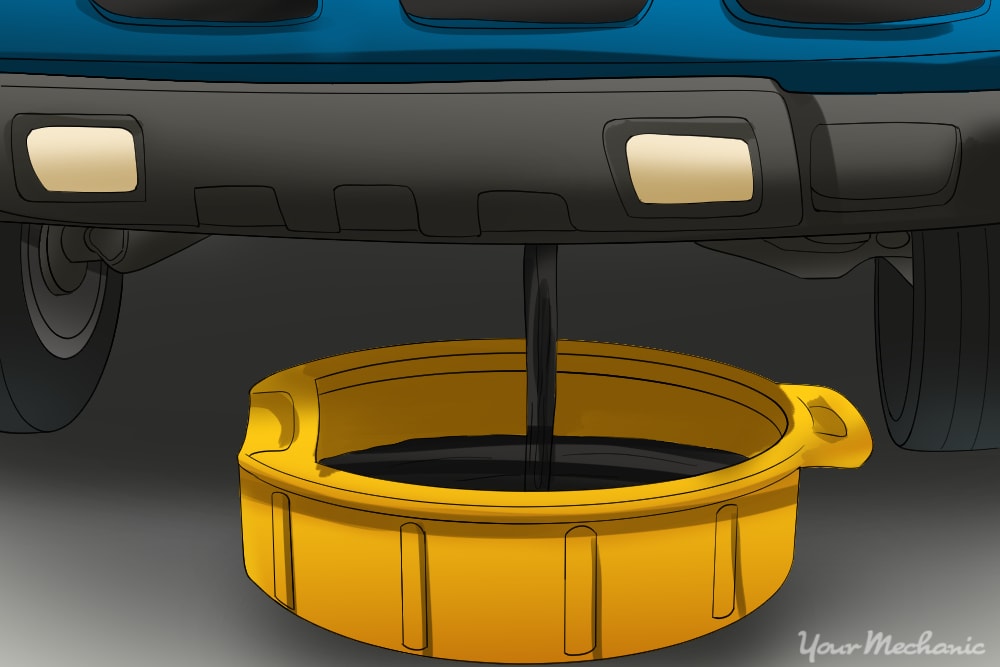
Step 6: Drain the radiator. Place a large drain pan under the radiator drain cock and open the drain cock, letting the coolant drain out of the radiator into the drain pan.
Step 7: Remove the drain cock. Once the fluid is out, either unscrew the cap, twist the cap off and pull out the latch, or twist and slide out.
- Note: If you have a drain cock that will not come out or if the radiator is cracked around the drain cock mounting surface, you will need to remove and replace the radiator.
Step 8: Install the new radiator drain cock. Screw it in tight, twist it in tight, or push it into place and turn to lock it into place.
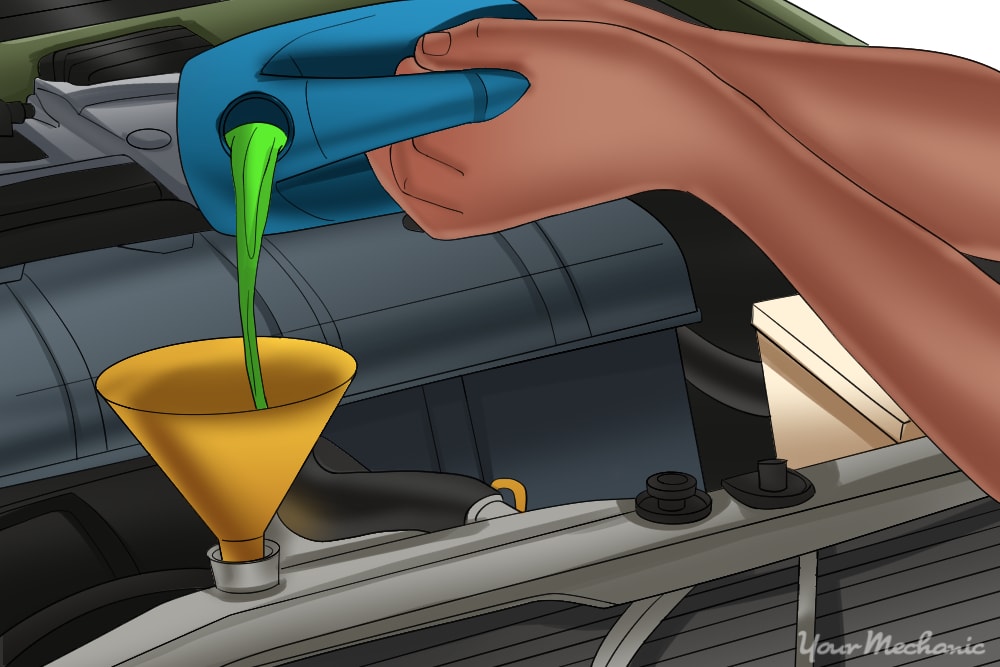
Step 9: Use a small funnel and pour in new coolant into the radiator. Make sure that the mixture of the coolant is what the owner’s manual calls for.
Warning: If your vehicle is under warranty and you use the wrong coolant, you will void the warranty.
Note: Do not use the old coolant that was drained out of the radiator. There are contaminants in the coolant and the coolant’s protection rate is less than the recommended specifications.
Step 10: Put on the radiator cap or reservoir cap.
Step 11: Check for leaks. Start up the engine and get it to operating temperature.
Check to see if any coolant is leaking out of the radiator drain cock.
Step 12: Raise the vehicle. Using a floor jack, lift under the vehicle at its specified jacking points until the wheels are completely off the ground.
Step 13: Remove the jack stands.
Step 14: Lower the vehicle to where all four wheels are on the ground. Pull out the jack and put it aside.
Step 15: Remove the wheel chocks.
Part 3 of 3: Test drive the vehicle
Step 1: Drive the vehicle around the block. Monitor the dash for the engine light or coolant light to appear.
If your engine light or low coolant light comes on after replacing the radiator drain cock, then there may be further diagnosis of the cooling system needed. If the problem persists, then you should seek out help from one of YourMechanic’s certified technicians who can inspect the cooling system and perform a replacement if needed.
