There are many different valves used in the conversion from drum brakes to disc brakes and in brake systems in general. Some valves work in conjunction with the brake master cylinder while other valves work independently from the master cylinder.
The proportioning valve was developed to apply metered pressure to the rear brakes on rear wheel drive vehicles to prevent locking up. As front wheel drive vehicles were introduced in the automotive industry, the proportioning valve had more of a purpose: it is designed to adjust during braking applications. This valve is known as the adjustable proportioning valve.
The adjustable proportioning valve is used to set rear brake pressure to reduce rear wheel lockup on front wheel drive vehicles. This valve allows rear brake pressure to be reduced for driver preference and are typically used in conjunction with a metering valve.
The problem with the proportioning valve is it only affected the rear wheels. So, in the event that the front wheels lock up, the front wheels had no way to release. An ABS control module was introduced to plunger the front wheels to prevent locking.
Vehicles with proportioning valves did not have any electrical features and would not warn the driver that the valve failed. On computer controlled vehicles, the ABS light may come on for too much pressure build up during light braking applications.
As long as the system has fluid at the proper level, applied force, and all of the air bled out, then the clutch hydraulic system will work correctly. However, when air is let into the system the air becomes compressible allowing the fluid to create a stand still. If the fluid is low or if the applied force is minimal, then the force is low causing the wheel cylinder to operate at about half way. This causes the brakes not to engage, making the wheels unable to apply the brake shoes to the brake drums.
When operating a vehicle, if the proportioning valve has failed, the vehicle may nose dive when applying the brakes hard. The vehicle may not stop fast enough and tend to lock up the rear brakes since most of the weight is applied to the front of the vehicle. You may notice locking up in the rear wheels if the proportioning valve is failing, especially when driving on wet surfaces.
Note: The proportioning valve allows the rear brakes to apply before the front brakes are applied. This prevents any nose diving.
Note: It is recommended you replace the proportioning valve with original manufacturer equipment (OEM). Aftermarket proportioning valves may produce more or less braking power than specified for the vehicle. Also, aftermarket proportioning valve may have different hydraulic connections making the vehicle's brake lines not match up.
Part 1 of 4: Verifying the condition of the proportioning valve
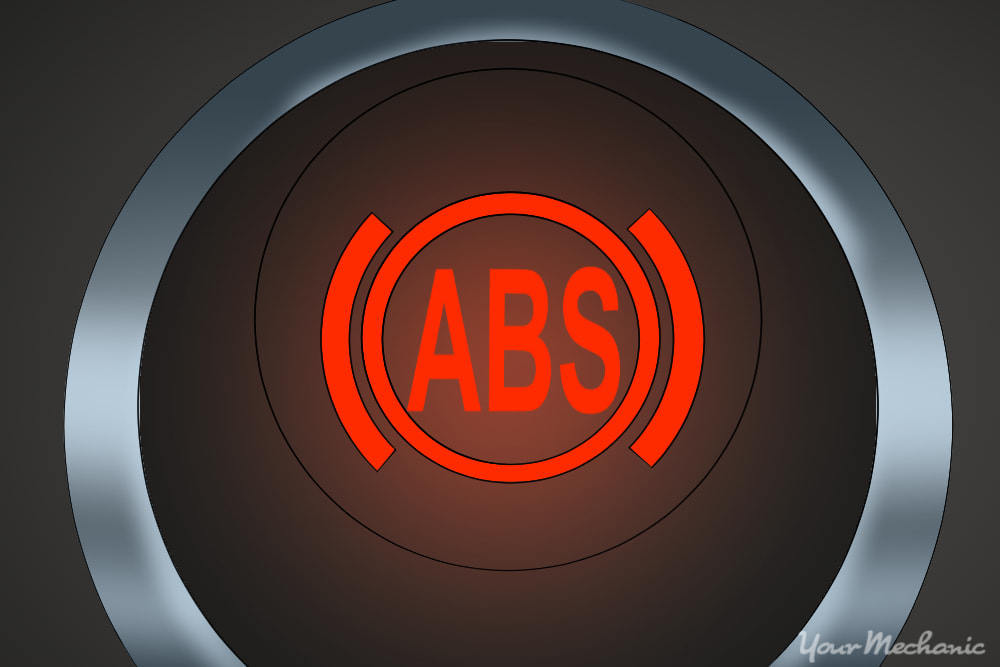
Step 1: Start the engine. Check the dash for any ABS lights.
Get in the vehicle and take it to a street or parking lot where there are not any cars.
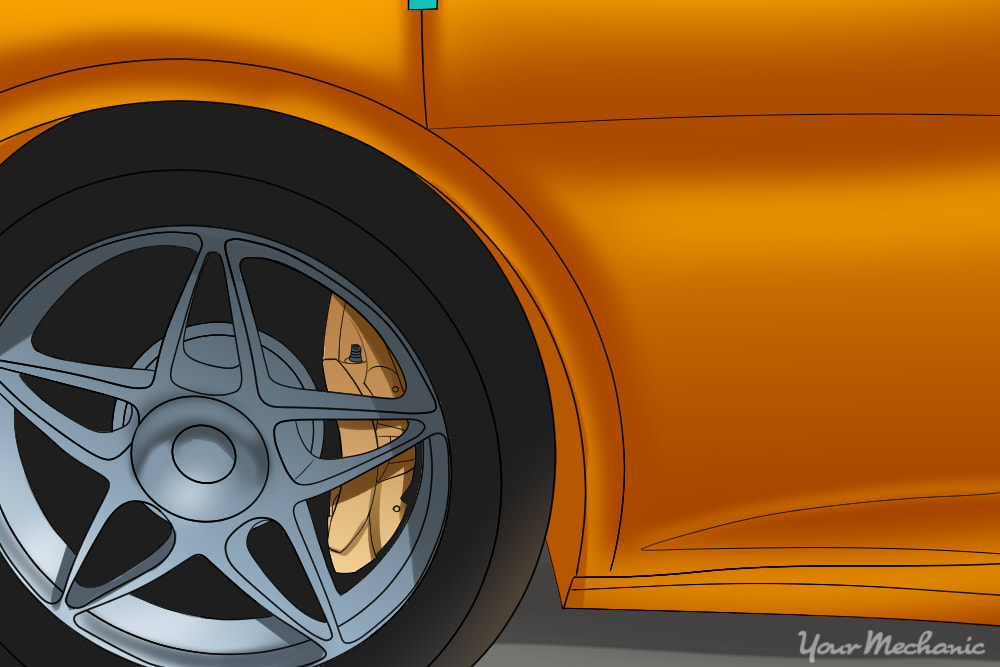
Step 2: Drive the vehicle quickly and apply the brakes fast and hard. If the proportioning valve is working, the vehicle will stop without locking up the rear wheels.
If the proportioning valve has failed, the rear wheels will lock up.
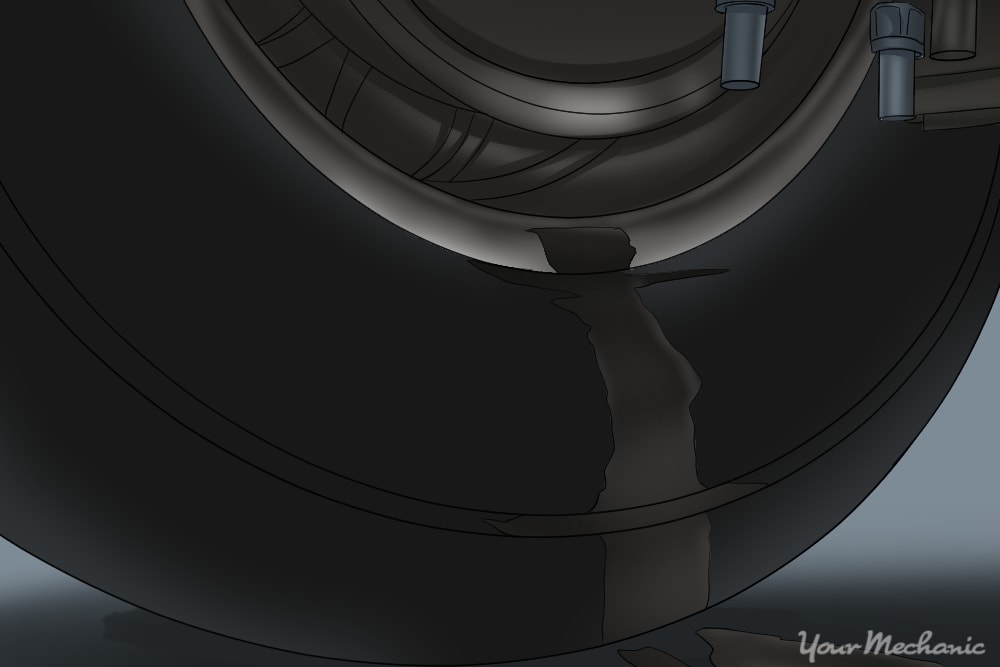
Step 3: Check for leaking brake fluid. Using a flashlight, look under the vehicle for any leaking brake fluid around the proportioning valve.
If there is any leaking brake fluid, the pedal will become spongy and unresponsive. This can result in brake failure during the test. Be sure that the parking brake is functional to help stop the vehicle in the event of an emergency.
Part 2 of 4: Replacing the proportioning valve
Materials Needed
- Allen wrench set
- Boxed end wrenches
- Chemical resistant gloves
- Creeper
- Drip pan
- Flashlight
- Flat tip screwdriver
- Floor jack
- Jack stands
- Large bottle of brake fluid
- Line wrench metric and standard set
- Protective clothing
- Ratchet w/metric and standard sockets
- Safety glasses
- Threadlocker
- Torque bit set
- Torque wrench
- Vampire pump
- Wheel chocks
Step 1: Park your vehicle on a flat, hard surface. Make sure that the transmission is in park (for automatics) or in 1st gear (for manuals).
Step 2: Place wheel chocks around the tires. In this case, the wheel chocks go around the front tires since the rear of the vehicle will be lifted up.
Engage the parking brake to the lock the rear tires from moving.
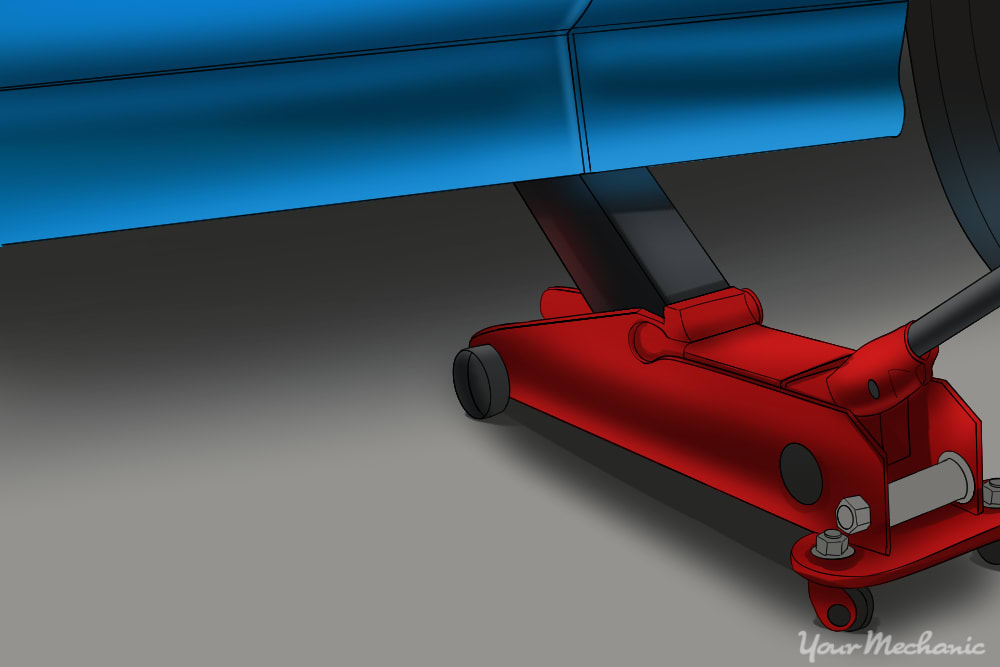
Step 3: Raise the vehicle. Using a floor jack, lift under the vehicle at its specified jacking points until the wheels are completely off the ground.
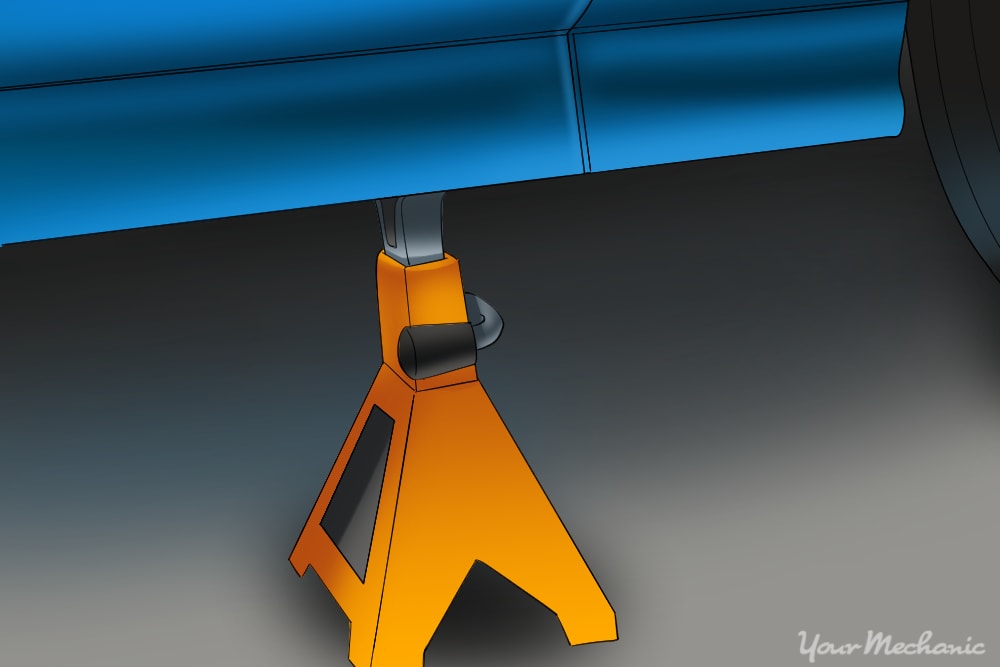
Step 4: Place the jack stands. The jack stands should go under the jacking point locations.
Lower the vehicle onto the jack stands. For most modern cars, the jacking points for jack stands are on the pinch weld just under the doors along the bottom of the car.
Step 5: Put on safety glasses. Before attempting to remove any parts of the brake system, put on safety glasses that are chemical resistant.
It is best to have safety glasses that cover your eyes and go around your eyes. You can wear a face shield for added safety if needed.

Step 6: Open the hood to the vehicle. Remove the cap to the master cylinder.
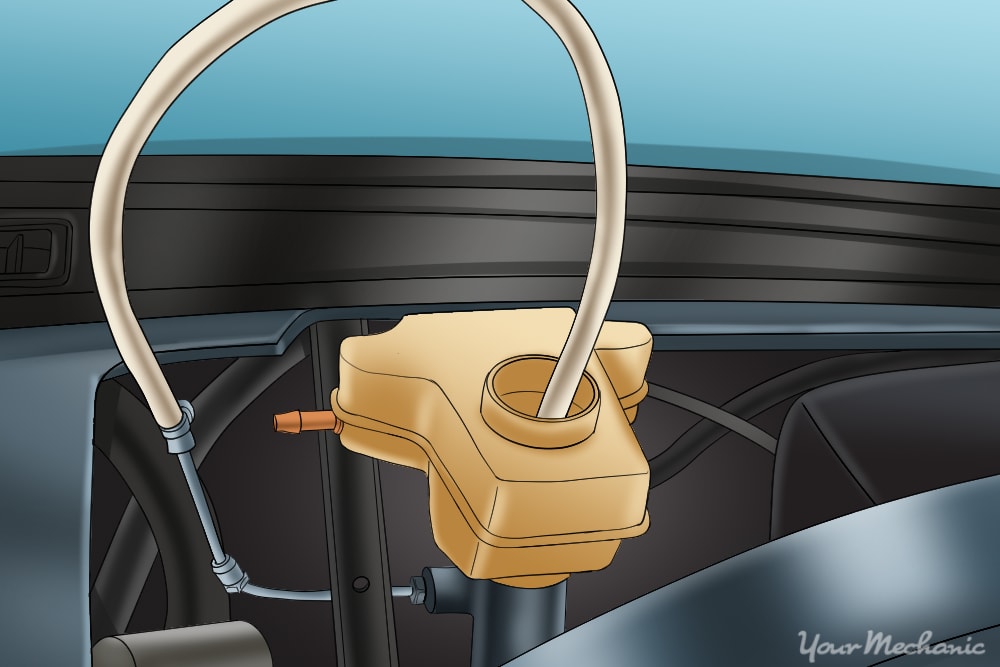
Step 7: Use a vampire pump to pull out brake fluid from the master cylinder. This helps prevent fluid from draining out of the master cylinder while the system is open.
Step 8: Place a drip pan underneath the proportioning valve. Look for the proportioning valve and place a drip pan directly underneath the valve.
Put on chemical resistant gloves as well.
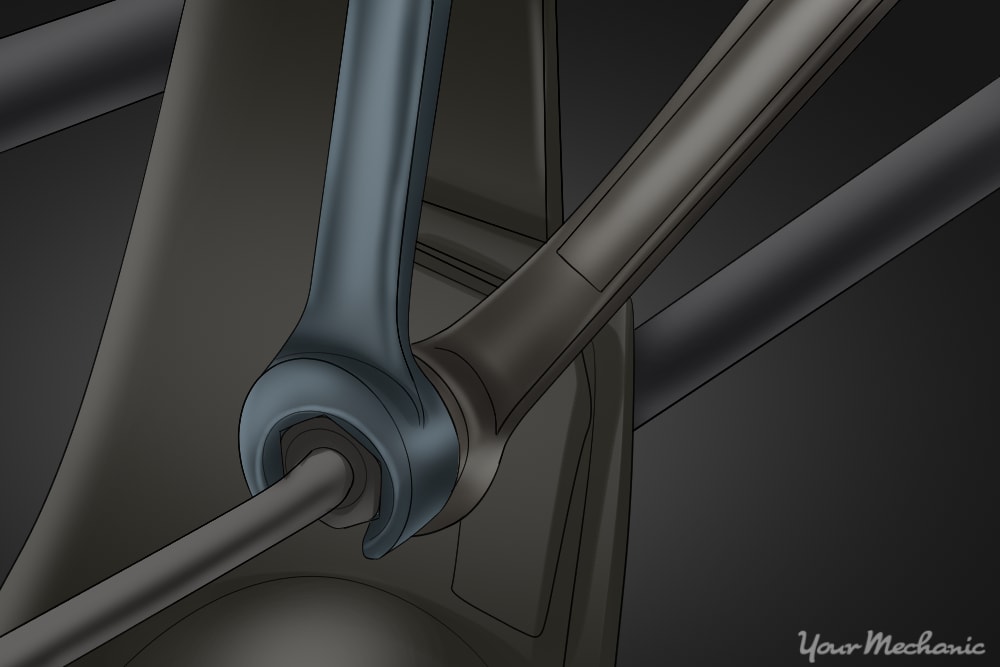
Step 9: Removing intake and exhaust lines. Using line wrenches, remove the intake and exhaust lines from the proportioning valve.
Be sure not to strip the lines as this may result in a major brake job.
Step 10: Remove the mounting bolts to the proportioning valve. Drop the valve down into the pan.
Step 11: Place the new valve in the same place as the old one. Install the mounting bolts with threadlocker.
Use a torque wrench and torque the bolts to 30 inch pounds.
Step 12: Screw in the lines to the intake and exhaust ports on the valve. Use the line wrench to tighten the line ends up.
Do not over tighten them.
Warning: Do not bend the hydraulic line for it may crack or break.
Warning: Do not cross thread the hydraulic line as you install it. Brake fluid will leak out.
Step 13: Fill master cylinder with brake fluid. If you are working on a standard daily driver vehicle, the type of brake fluid you would need to use is Dot 3.
Put the brake fluid in the master cylinder.
- Warning: Do not get brake fluid on any paint. This will cause the paint to peel and chip away.
Step 14: Get an assistant to help you bleed the brake system. Have the assistant step on the brake pedal.
While the brake pedal is down, release the bleeder screw to the left and right rear wheels and then tighten them. You will need to bleed the rear brakes at least five to six times to remove the air from the rear brakes.
Step 15: Have your assistant help bleed the entire system. As your assistant steps down on the brake pedal, release the front wheel bleeder screws one at a time.
You will need to bleed the rear brakes at least five to six times to remove the air from the front brakes since the master cylinder was empty.
- Note: If you have a brake controller on your vehicle, make sure that you bleed the brake controller to remove any air that may have been trapped inside a channel.
Step 16: Have your assistant step down on the brake pedal. Loosen the lines to the master cylinder to bleed the air out.

Step 17: Fill up the master cylinder with brake fluid. Put the cap back onto the master cylinder and pump the brake pedal until the pedal is firm.
Step 18: Check the entire brake system for any leaks. Make sure that all of the bleeder screws are tight.
Step 19: Remove jacks and jackstands. Using a floor jack, lift under the vehicle at its specified jacking points until the wheels are completely off the ground.
Remove the jack stands and keep them far away from the vehicle.
Step 20: Lower the vehicle to where all four wheels are on the ground. Pull out the jack and put it aside.
Step 21: Remove the wheel chocks.
Part 3 of 4: Resetting the ABS light
Material Needed
Step 1: Find your computer digital data reader port. Get a portable engine light tester and make sure that the settings are on ABS or brakes.
Step 2: Scan for current codes. When the codes are present, erase them and the ABS light should go out.
Part 4 of 4: Test drive the vehicle
Step 1: Drive the vehicle around the block. Use normal stopping to ensure that the brake system is functioning correctly.
Step 2: Take the vehicle onto a road or parking lot without any cars. Drive the vehicle quickly and apply the brakes fast and hard.
During this stop, the proportioning valve should be functioning correctly. The brakes may squeak a little when stopping hard, but should not lock up the rear brakes.
Step 3: Monitor the dash. Look for the for the ABS light to appear during the road test.
If your engine light comes on after replacing the proportioning valve, then there may be further diagnosis of the rear brake system needed or a possible brake system failure. If you are not confident in completing this job on your own, have one of YourMechanic’s certified technicians come to your home or place of business and perform the replacement for you.