If the fuel meter on your auto has stopped measuring fuel levels it is most likely broken. A broken fuel meter is not only annoying, it also can be dangerous because you won’t be able to tell when you are about to run out of gas.
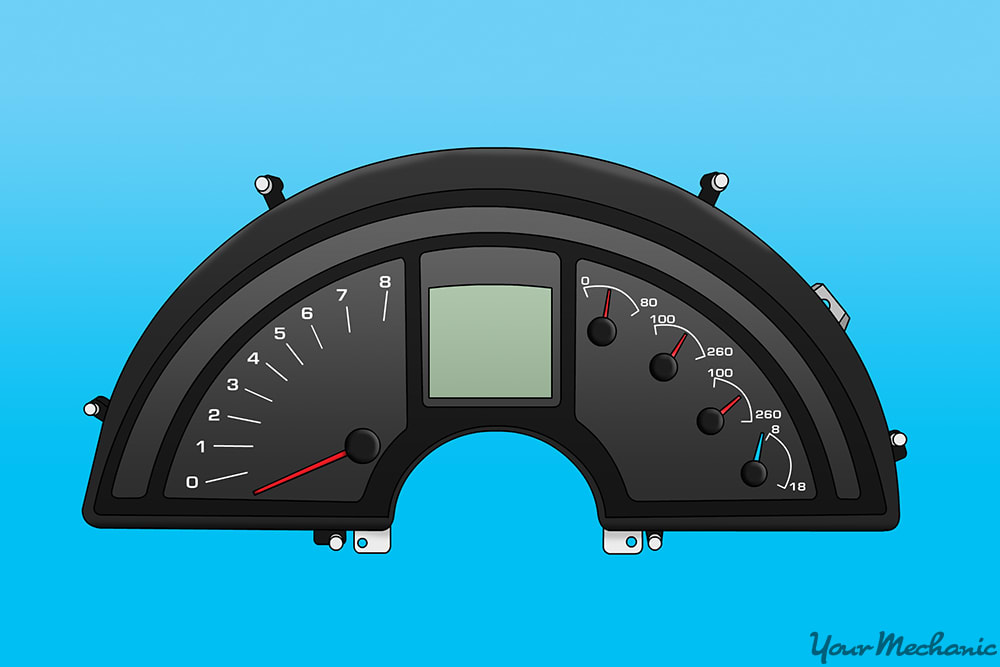
The fuel meter works like a rheostat that measures current at different levels all the time. Some fuel meter assemblies are just installed with two screws inside the gauge panel while other fuel meter assemblies are part of a cluster on the gauge instrument panel. This panel is usually made of fine plastic with soldered internal wiring, like a sheet of paper with lines on it.
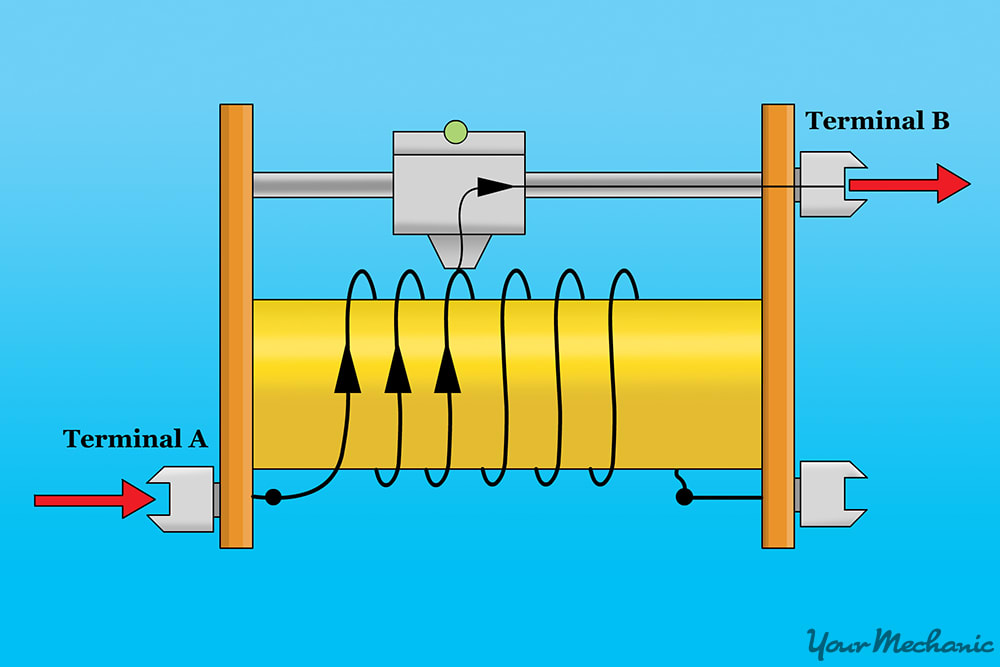
A rheostat is an electrical instrument that is used to control an electrical current by varying the resistance. Inside the rheostat, there is a coil that is wound up loosely at one end and wound up tightly at the other. Throughout the coil, there are multiple ground connections, usually pieces of metal. On the other side of the coil, there is another piece of metal that has power from the car’s battery with the key on. The rod acts as a connector between the positive and ground inside the base.
When the fuel is inserted into the fuel tank, the float moves as the fuel tank fills up. When the float moves, the rod attached to the float moves across the coil connecting a different resistance pattern. If the float is lowered, the resistance pattern is low and an electrical current is quick to move. If the float is raised, the resistance pattern is high and an electrical current is slow to move.
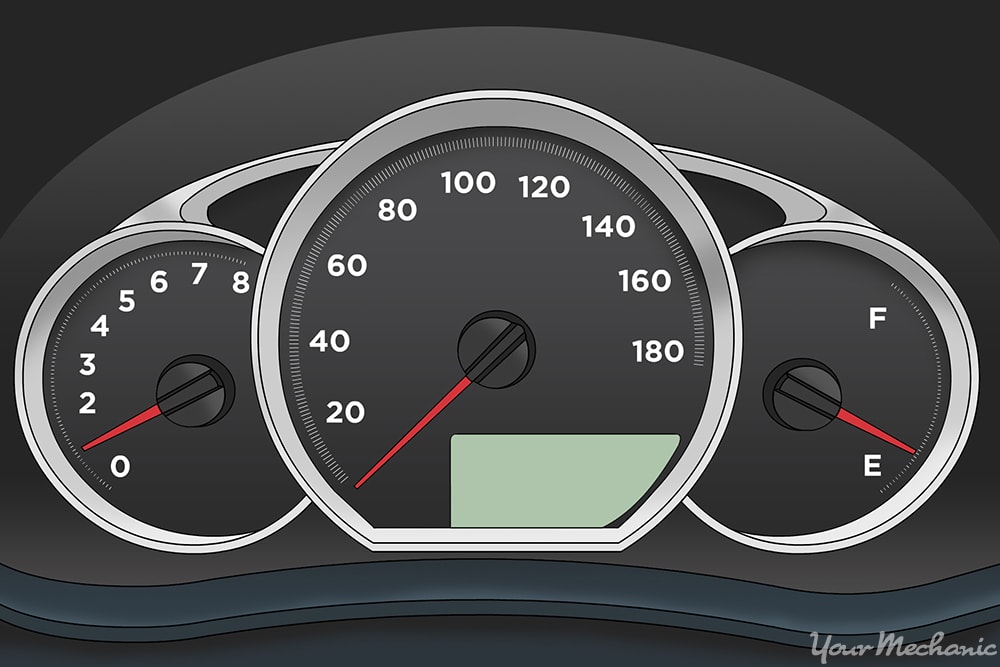
The fuel gauge is designed to register the resistance of the fuel gauge sender. The fuel gauge has a rheostat in it to accept the current sent from the rheostat in the fuel gauge sender. This allows the meter to vary with the amount of fuel registered in the fuel tank. If the resistance is lowered all the way in the sender, the fuel gauge will register “E” or empty. If the resistance is raised all the way in the sender, the fuel gauge will register “F” or full. Any other location within the sender will vary register the correct amount of fuel in the fuel gauge.
The causes of fuel gauge failure include:
Wear of the fuel meter assembly: Due to driving conditions, the fuel meter assembly wears out from sliding the rod up and down within the rheostat. This causes the rod to gain clearance causing the resistance to increase. When this happens, the fuel meter assembly will begin to register as overfull when the fuel tank is full and seem to still have 1/8 to 1/4 tank left when the fuel tank is empty.
Application of reverse charge onto the circuits: This occurs when the battery is hooked up backwards, meaning the positive cable is on the negative post and the negative cable is on the positive post. Even if this happens just for a brief second, the dash circuits can be damaged because of reverse polarity.
Corrosion of the wiring: Any corrosion to the wiring from the battery or computer to the sender and to the fuel gauge will cause more resistance than normal.
If the fuel meter assembly fails, the engine management system will record this event. A fuel level sensor will let the computer know of the level and resistance transmitted to the fuel meter. The computer will communicate with the fuel meter and determine the settings with its rheostat and the sender rheostat. If the settings do not match, then the computer will display a code.
The codes for fuel meter assembly failure are:
Part 1 of 6: Check the condition of the fuel meter assembly
As the fuel meter is located inside the instrument panel, there is no real way to check it without taking apart the instrument panel. You can check the fuel meter to see how much fuel there is in reference to the actual amount of fuel in the fuel tank.
Step 1: Fuel up the vehicle. Fuel up the vehicle to the point when the fuel pump at the gas station stops. Check the fuel meter to see the level.
Document the location of the needle or percentage of the fuel level.
Step 2: Check when the low fuel light comes on. Drive the vehicle to the point when the low fuel light comes on. Check the fuel meter to see the level.
Document the location of the needle or percentage of the fuel level.
The fuel light should come on when the fuel meter reads E. If the light comes on before E, then either the fuel gauge sender or the fuel meter assembly has too much resistance.
Part 2 of 6: Prepare to replace the fuel gauge sender
Having all of the necessary tools and materials prior to starting the work will allow you to get the job done more efficiently.
Materials Needed
- Allen wrench set
- Boxed end wrenches
- Flash light
- Flat tip screwdriver
- Needle nose pliers
- Ratchet w/metric and standard sockets
- Torques bit set
- Wheel chocks
Step 1: Park your vehicle on a flat, hard surface. Make sure that the transmission is in park (for automatics) or in 1st gear (for manuals).
Step 2: Secure the front tires. Place wheel chocks around the tires that will be remaining on the ground.
In this case, the wheel chocks will be around the front tires since the rear of the vehicle will be lifted up.
Engage the parking brake to lock the rear tires from moving.
Step 3: Install a nine volt battery saver into your cigarette lighter. This will keep your computer live and keep your setting current in the vehicle.
- Note: If you do not have a nine volt battery saver, you can skip this step.
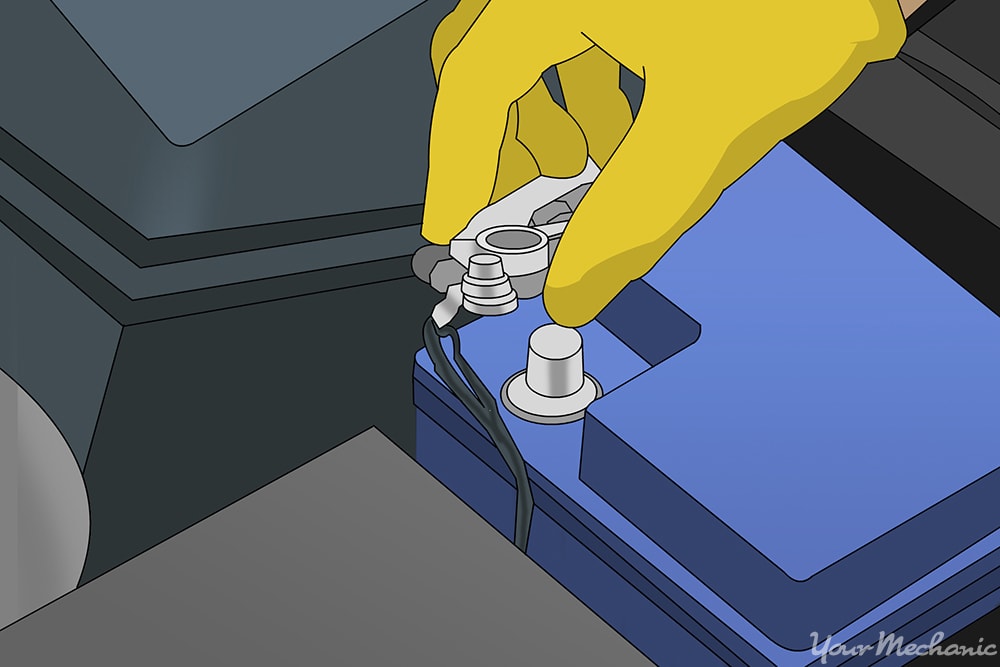
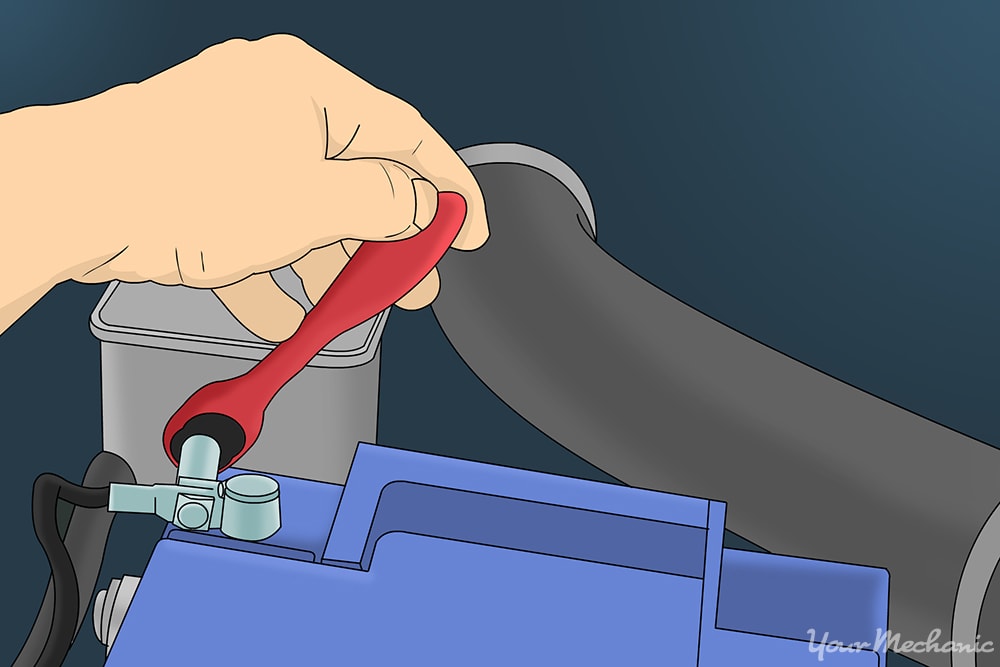
Step 4: Disconnect the battery. Open the vehicle’s hood to disconnect your battery.
Take the ground cable off the battery’s negative post to disable the power going to the fuel pump.
Note: It is important to protect your hands. Make sure to put on protective gloves prior to removing any battery terminals.
Tip: It is best to follow the vehicles owners manual for proper battery cable removal.
Part 3 of 6: Remove the fuel meter assembly
Step 1: Open the driver’s side door. Remove the dash panel cover using your screwdriver, torques bit, or allen wrenches.
- Note: On some vehicles you may have to remove the center console prior to removing the dash panel.
Step 2: Remove the lower panel. Remove the lower panel under the dash, if any.
This allows you to gain access to the wiring for the instrument cluster.
Step 3: Remove the clear shield from the dash cluster. Remove the mounting hardware that secures the instrument cluster to the dash.
Step 4: Disconnect the harnesses. Disconnect the harnesses from the instrument cluster. You may have to reach up under the dash to remove the harnesses.
Tag each harness to what it connects to on the instrument cluster.
- Note: If you have a vehicle prior to computer systems and have a regular type of fuel meter that is mounted on the instrument panel, you will need to remove the mounting hardware and remove the meter from the panel. You also may need to remove a light from the meter.
Step 5: Remove the mounting hardware of the meter. If your meter can be removed from the instrument cluster, do so by removing the mounting hardware or the locking tabs.
- Note: If your instrument panel is one piece, you will need to purchase an entire instrument panel to fix the fuel meter assembly.
Part 4 of 6: Install the new fuel meter assembly
Step 1: Install the fuel meter assembly into the instrument panel. Attach the hardware to the fuel meter to secure it in place.
- Note: If you have a vehicle prior to computer systems and have a regular type of fuel meter that is mounted on the instrument panel, you will need to install install the meter into the panel and install the mounting hardware. You also may need to install a light into the meter.
Step 2: Reconnect the harness to the instrument cluster. Make sure that each harness connects to the cluster at the points where it was taken off.
Step 3: Install the instrument cluster into the dash. Fasten all connectors into place or screw in all mounting hardware.
Step 4: Install the clear shield into the dash cluster. Tighten all fasteners to secure the shield.
Step 5: Install the lower panel. Install the lower panel onto the dash and tighten up the screws. Install the dash panel cover and secure it with the mounting hardware.
- Note: If you had to remove the center console, you would need to reinstall the center console after you installed the dash panel.
Part 5 of 6: Connect the battery
Step 1: Reconnect the battery. Open the vehicle’s hood. Reconnect the ground cable back onto the battery’s negative post.
Remove the nine volt battery saver from the cigarette lighter.
Tighten up the battery clamp to ensure that the connection is good.
- Note: If you did not use a nine volt battery saver, you will have to reset all of the settings in your vehicle, like your radio, electric seats, and electric mirrors.
Step 2: Remove the wheel chocks. Remove the wheel chocks from the rear wheels and put them aside.
Part 6 of 6: Test drive the vehicle
Step 1: Drive the vehicle around the block. During the test, go over different bumps to let the fuel to slosh around inside the fuel tank.
Step 2: Check for dashboard warning lights. Monitor the dash for the fuel level and for any engine light to appear.
If your engine light comes on after replacing the fuel meter assembly, then further diagnosis of the fuel electrical system may be required. This issue may be due to a possible electrical issue within the vehicle.
If the problem persists, get a certified technician, such as one from YourMechanic, to inspect the fuel gauge sender and diagnose the problem.
